Follow these step-by-step instructions to make a gorgeous, professional-looking Christmas garland to decorate your home for the holidays this year.
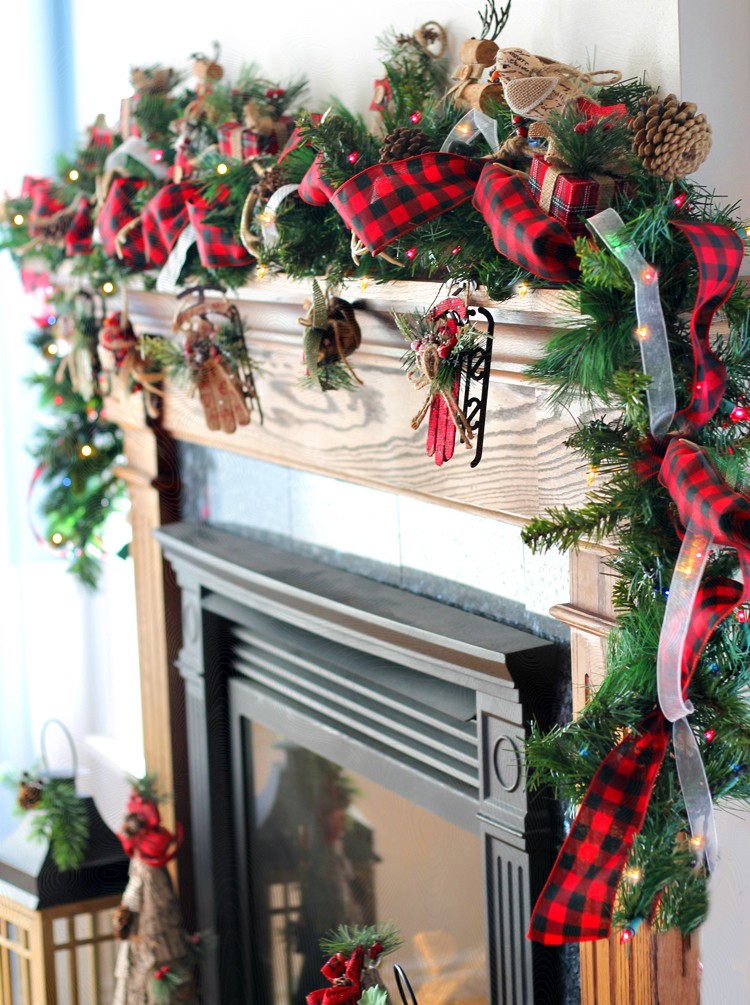
Garland is one of my favorite ways to decorate for Christmas. A pretty garland on the fireplace mantel is such a classic look. Today I’m going to show you how to create beautiful holiday garland. I’ll teach you all the tips and tricks to making it look professional and expensive and awesome. Christmas garland is something you can definitely DIY, so let’s do this!!
Check out my new post: How To Decorate Your Christmas Tree Like A Pro!
And here are the step-by-step written instructions for creating stunning, expensive-looking DIY Christmas garland.
How To Decorate Christmas Garland
- Double up the greenery
- Add lights.
- Add ribbon.
- Add a second contrasting ribbon.
- Add details and embellishments.
1. Double up the greenery. Most pine garlands are too thin to look expensive. It’s a simple fix… just wind two or three together for a luxe look and spend plenty of time fluffing out all of the branches. It’s also a really high-end look to mix two or more different types of greenery together. Pine, cedar, juniper and eucalyptus all look great together.
2. Add lights. String them on thick and try to tuck the wires into the branches as much as possible. If your garland came with lights, you still might want to add more so it’s extra bright and twinkly at night. And I love the look of using two different types of lights— like mixing standard lights with larger bulb lights or star-shaped lights or mini fairy lights. It adds dimension and interest to the finished garland. One other thing to consider with lights is whether your garland will be near a plug. If not, there are lots of battery-operated light strings that will work. Nothing ruins the look of a garland like an extension cord running down the wall.
3. Add ribbon. The trick to getting ribbon to look great on a garland is to buy wired ribbon and to use florist wire. Prep your ribbon by twisting an eight inch piece of wire around the ribbon every 12 inches.
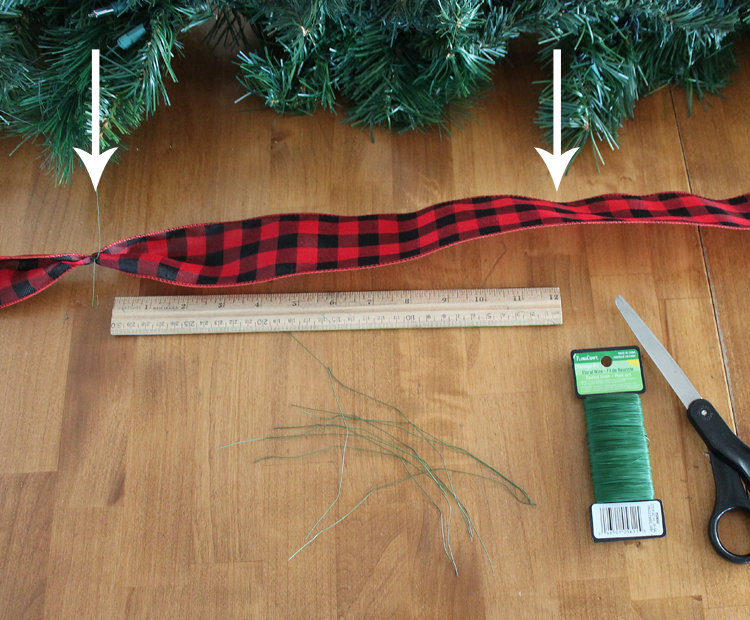
Then use the florist wire to attach the ribbon to the greenery. See how it makes the ribbon poof? So pretty!
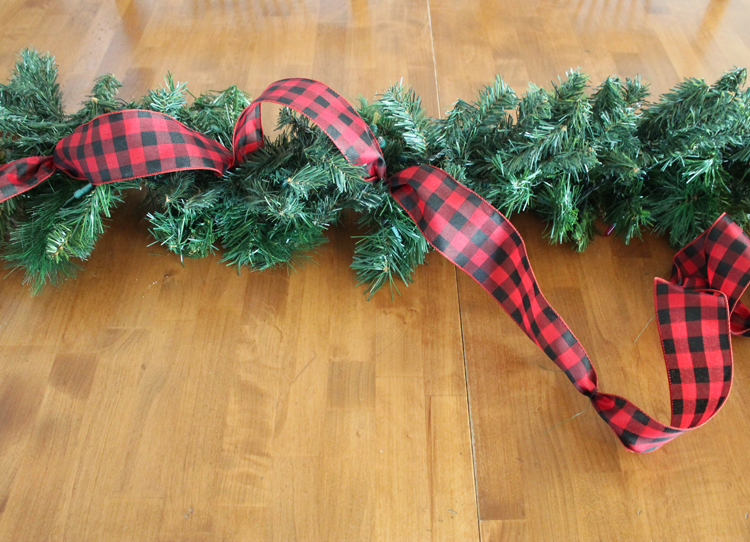
4. Add a second, contrasting ribbon. Since I used a wide printed ribbon, I chose a transparent solid ribbon as my second. I love transparent ribbon on garland because it catches the lights and makes things sparkle at night.
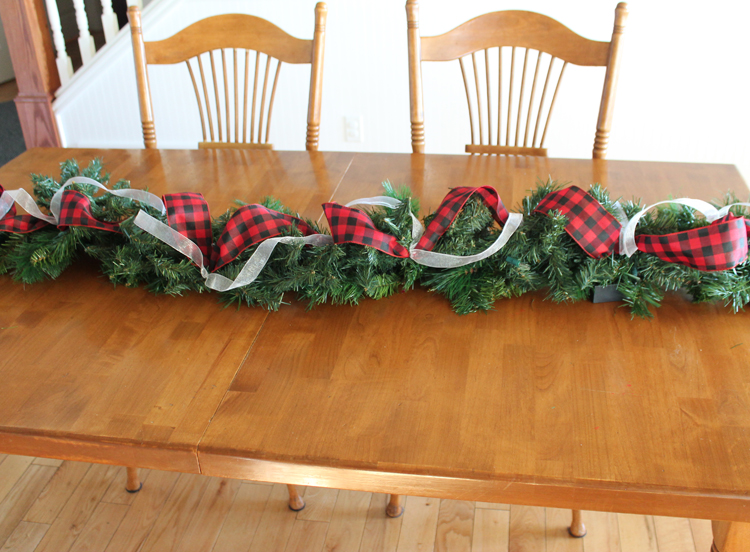
5. Add details. This is the fun part! Now you get to add all of the cute ornaments, floral picks and other accessories that take your garland to the next level and really make it special. You can use anything you’d like for this part. Just make sure to attach anything breakable securely with florist wire. I usually put my garland in it’s home before adding the details so I make sure the placement looks right.
Watch this 3 minute video tutorial to see exactly how I put my garland together.
Christmas Garland Video Tutorial
Now I will admit that you may be a little shocked at the price of garland, especially if you want something fancier than a plain bushy pine garland. But here’s the thing… it will last you for years. Buy the garland base once and you may not have to again for 10+ years. Because it’s the base of whatever decorations you add, it will always look good with your Christmas decor.
Where’s The Best Place to Buy Christmas Garland?
My favorite stores for Christmas decor are Hobby Lobby, Big Lots, Joann and Michaels, especially when their stuff goes on sale. Walmart and Target also have cute and affordable garland and supplies. Here are a few of my favorite garlands that I have used over the years:
My Favorite Garlands
- Walmart Flocked Pine Garland Gorgeous and fluffy if you don’t mind the flocking mess.
- Hobby Lobby Cedar Garland My favorite ever. It’s sold out online, but take the SKU number to your local store and you may find it in person. See how I styled it HERE.
- Hobby Lobby Pine & Pinecone Garland It’s got that charming Charlie Brown tree look.
- Big Lots Pre-Lit Green Pine Garland Pre-lit and pretty traditional style without flocking.
- Amazon Cypress Garland More natural and rustic looking, it would be a perfect one to mix with pine!
Be sure to double check the length of these garlands before purchasing to make sure they are long enough for your space. Remember you will probably have to put two or even three together end-to-end to have a garland long enough for a typical fireplace.
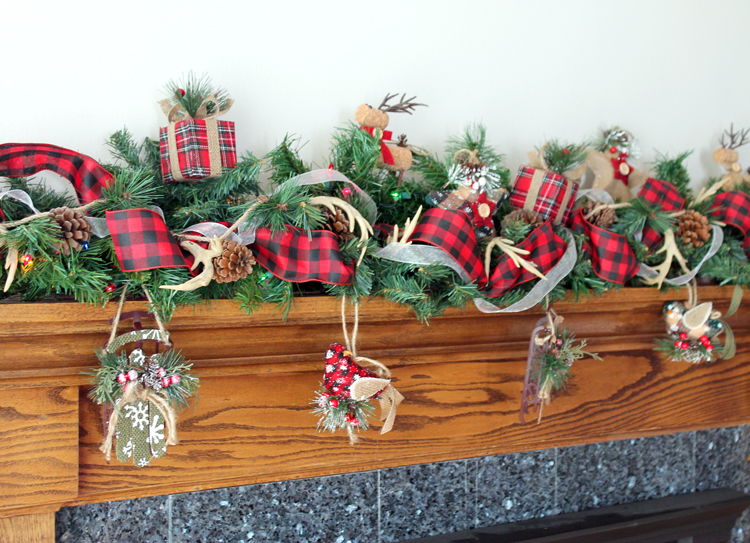
Here’s how my finished garland looks on the fireplace mantel:
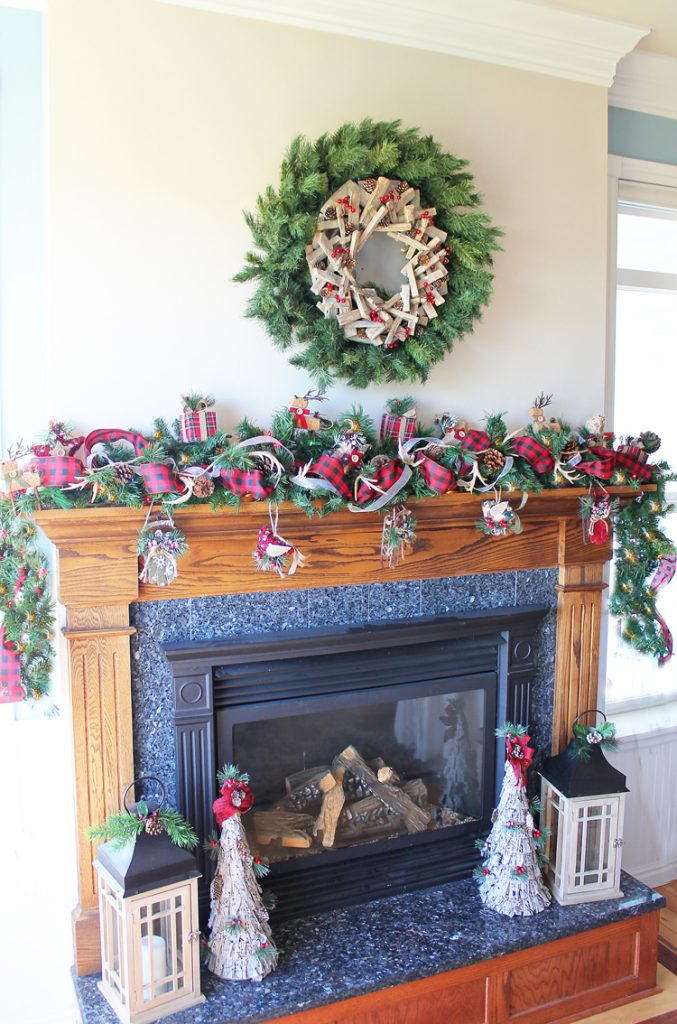
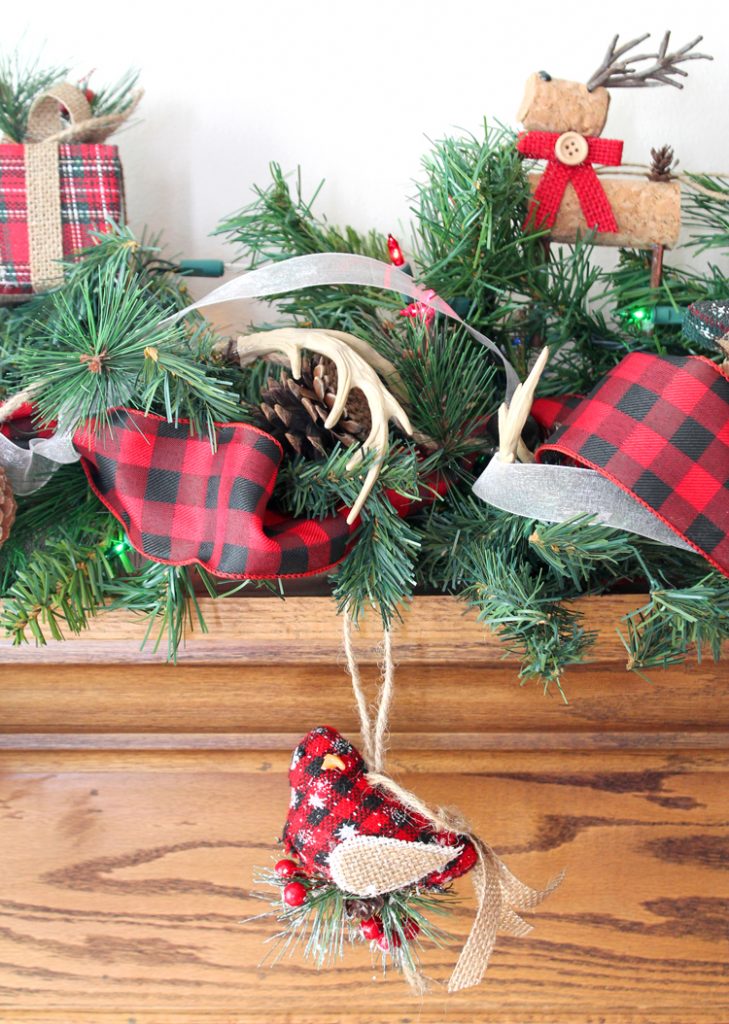
And another little close up. The antler garland is my favorite.
I’ll share another holiday decorating tip with you. That amazing wreath is actually two wreaths layered together!

I loved the look of this rustic wood wreath, but it was a little small for my space, so I wired it on top of a plain pine wreath. It makes it into so much more of a show piece and I love the look of the two together.
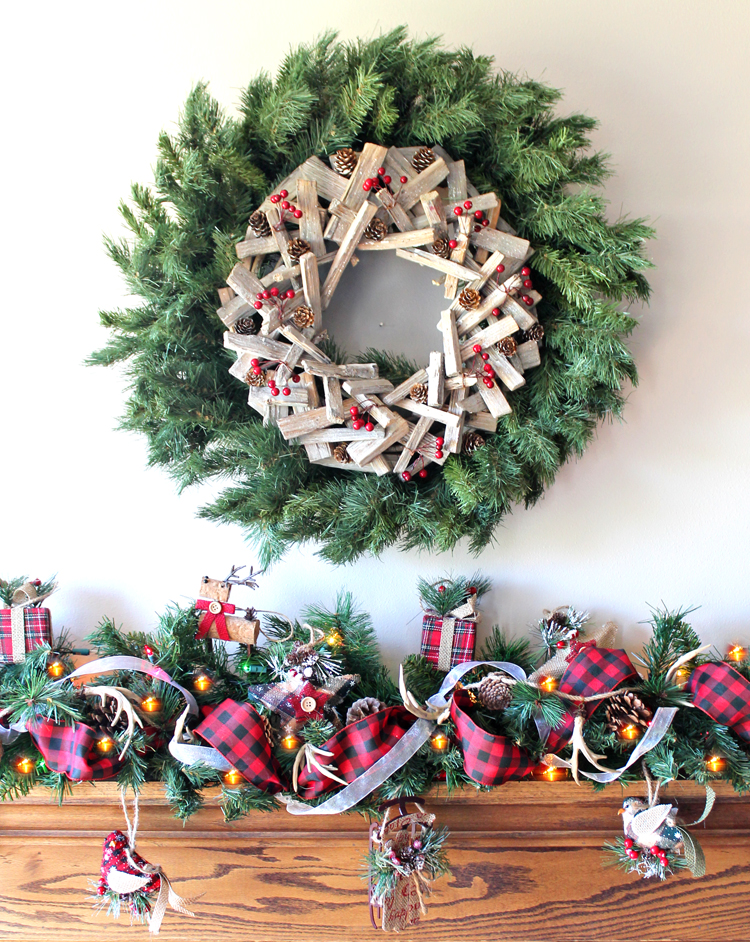
Don’t you just love that buffalo check ribbon? I’m mad for plaid again this year. It’s just so cozy!

Here’s another mantel I decorated a different year using the same garland technique.
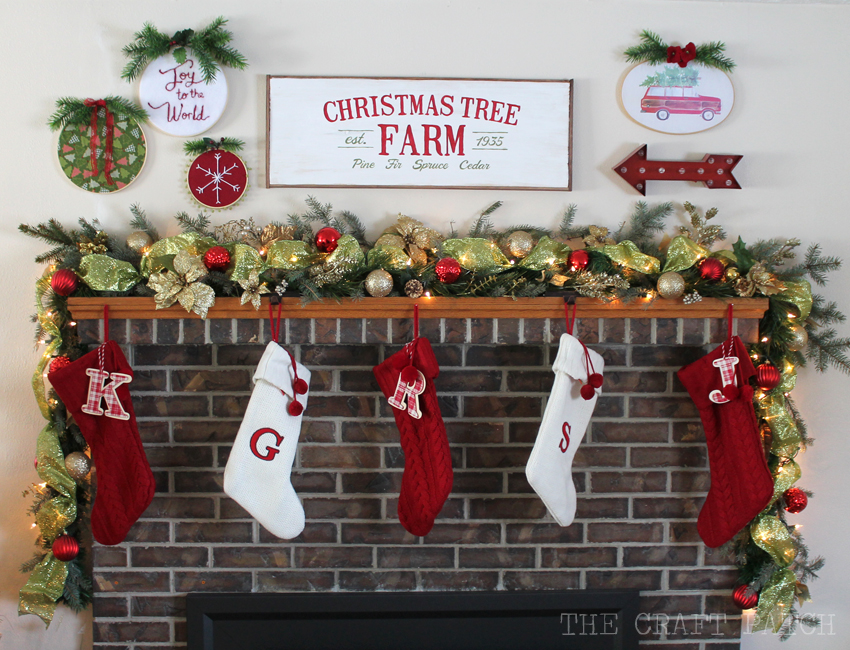
Totally different look just by changing up the color scheme and materials used. But I followed the exact same steps!
I hope this post helps you get your home ready for the holidays. Merry Christmas!
Don’t miss my Christmas Home Tours for more holiday decorating inspiration:
Classic Christmas Home Tour 2020
Colorful Vintage Christmas
Farmhouse Christmas
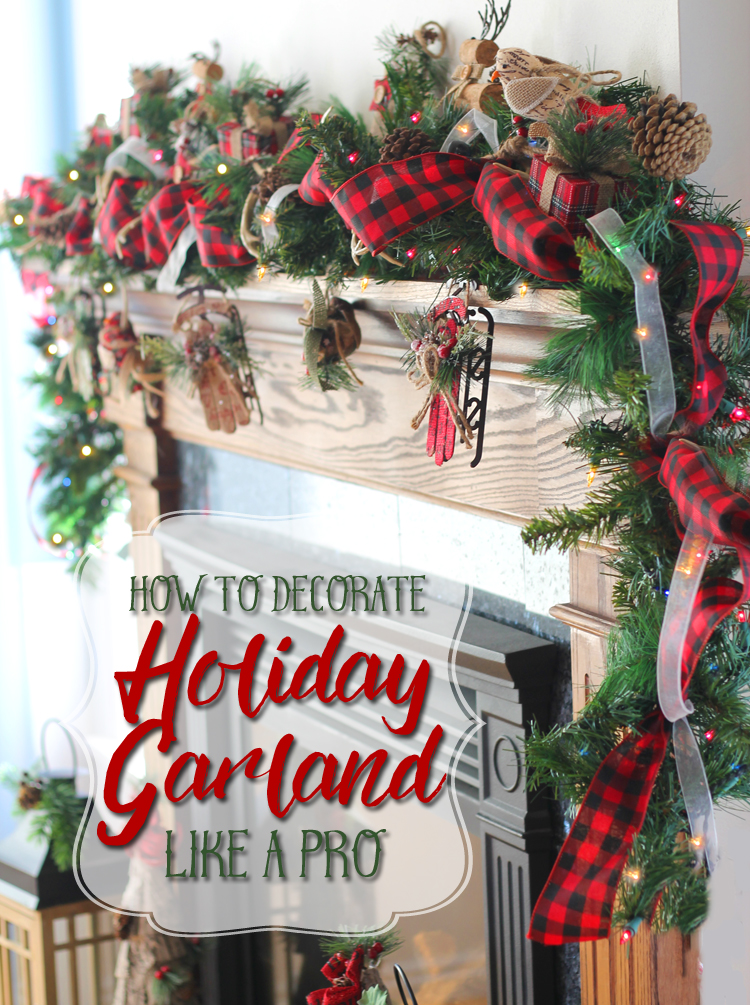
Like this project? Pin it so you don’t forget it!

Comments & Reviews
Your mantel is so pretty. Thanks for the tutorial on making the garland mantel. I am wanting to do the buffalo check/lodge look this year too. Where did you find the check ribbon?
I bought it at Big Lots.
Love it, how can I make it work for me I have a flat screen tv over my fireplace
If the TV is wall-mounted, just put the garland underneath it. If the TV is sitting on the actual mantel, try doing two separate shorter pieces of garland on either side of the TV?
Great tutorial on making the garland. You have creativity.
Wow thanks for sharing your creativity. I don't have that talent but I've learned that I can duplicate what I see. Yours is so great. Thanks again.
Being able to duplicate what you see is a talent all on its own. <3
The mantle looks great! I love the look of garland but have not has success with it in the past. Where did you get the garland?
I bought the actual greenery at a thrift store, but they sell this type of pine garland at almost every store that sells Christmas decorations.
I always wondered how to get my garland to look like that! It will adorn my fireplace this Christmas.
I have a question though and would appreciate any ideas. I decorate my outdoor flower boxes under the windows. I live in a cold and snowy state and wondered if you have any tips about putting garland outside or if you know of any waterproof type ribbon?
Thanks much.
You could try DecoMesh and they also sell outdoor ribbon. Google it so you know what to look for in-store. I love the idea of putting garland outside. It would look so pretty!
This is gorgeous! You got the antler garland at Big Lots, too?
Yes, but it was last year (2016). I haven't checked to see if they are stocking them again this year.
I've seen Michael's have antler stuff this yr. In both the floral and Xmas depts
Thank you for the heads up!
Jennifer, I love your fireplace and décor! We are trying to build a new mantel/surround. Is your fireplace gas or electric? Is that painted wood between the opening of the insert and the tile? I want to copy the whole look. 🙂 Thanks!
Hey Lisa! This is actually my parents fireplace. My husband built the surround for them. The fireplace is gas and the black trim around it is part of the metal fireplace insert. Then there is black granite tile surround and the mantel is made of oak with a cherry stain. Hope that helps!
It does. Thanks, Jennifer. 🙂
How did you attach the Garland to the mantel? So beautiful
The garland is just sitting on top of the mantel. But if that won't work for you, I've used Command Strips before and they work great!
Is the garland the wirey kind where you can manipulate the different branches?
Yes it is!
Thank you so much for the quick reply. I am already on my way to making great holiday looking garland. Thank you for this tutorial!
Did you use the florist's wire on the contrasting ribbon? How long was the ribbon?
Yes, I used it on both ribbons. When using a thinner ribbon, it looks better to space the wire closer together.
I found your mantle on pinterest & i just fell in love!! It was exactly what I was looking for! I love the cork reindeer & thought there was no way I'll find them, but I took a chance at my local Big Lots & they had them! I was over the moon excited! My mantle turned out just as beautiful. Thank you so much!!
Wonderful, simple tutorial! Thank you.
The garland is beautiful. I am going shopping this afternoon and will certainly pick up some cheap garland and accessories. I have looked for years at different places for garland and they want $40.00 or more for a 9 foot string. I just couldn’t justify the cost. Thank you so much for the ideas. Love it!! Merry Christmas.
Thanks for a great video tutorial on how to make garland. Your tips and tricks are just what I need!
Can anyone tell me how much ribbon, picks, sprays, & ornaments are normally used for a heavily decorated garland? I am replacing all of mine this year which were predecorated & I’m doing it myself an I’m totally lost of how much decor I actually need per 9ft
No rules – you just add as much as you think it needs. I use at least 10 yards of each ribbon and depending on size of ornaments – large 3″ balls I add every 12-18 inches, smaller 1-1.5 inch ones are added wherever they fit. It’s personal preference….. Just keep adding until you get the look you want.
Great video
Thanks
I just tackled this project and I love it!! Thanks so much!
Hi
Can you tell me what size ribbon you used on both mantel pictures?
Love the mantels and good idea to twist the ribbon BEFORE you put it on the garland!
Thank you
2 inch ribbon
Can you do a CORNER Fireplace? These are lovely, but don’t work for a corner!
Love this! Do you know how many feet of the plaid ribbon you used for a 6 foot garland?
I don’t know exactly, but I would plan to buy twice as much length of ribbon as there is length of greenery. If your garland is six feet long, you’ll need at least 12 feet of ribbon… at least that’s my best guess.
Nothing useful 🙁
What were you hoping to see?