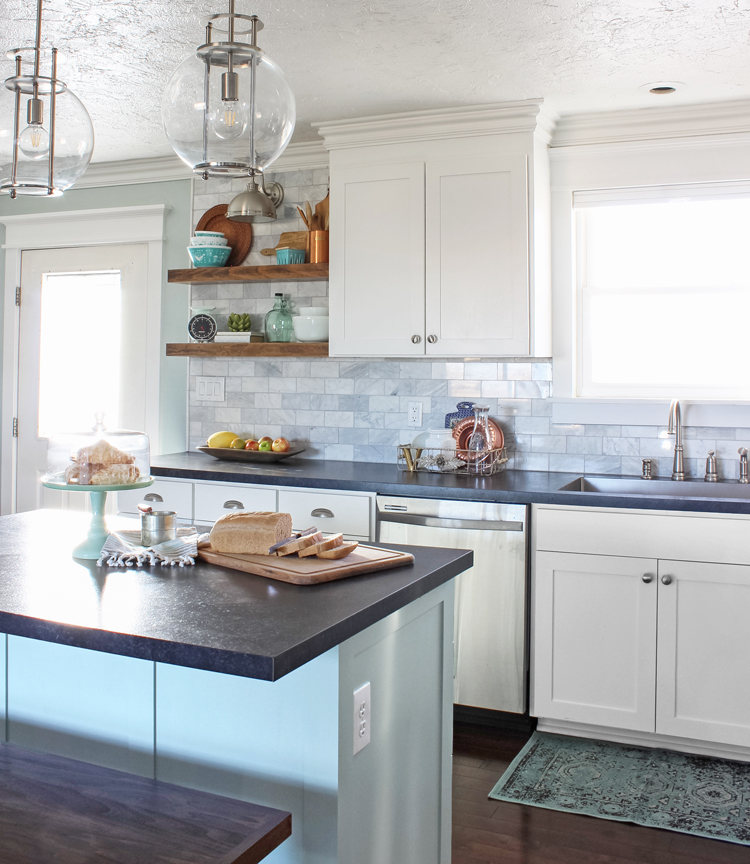
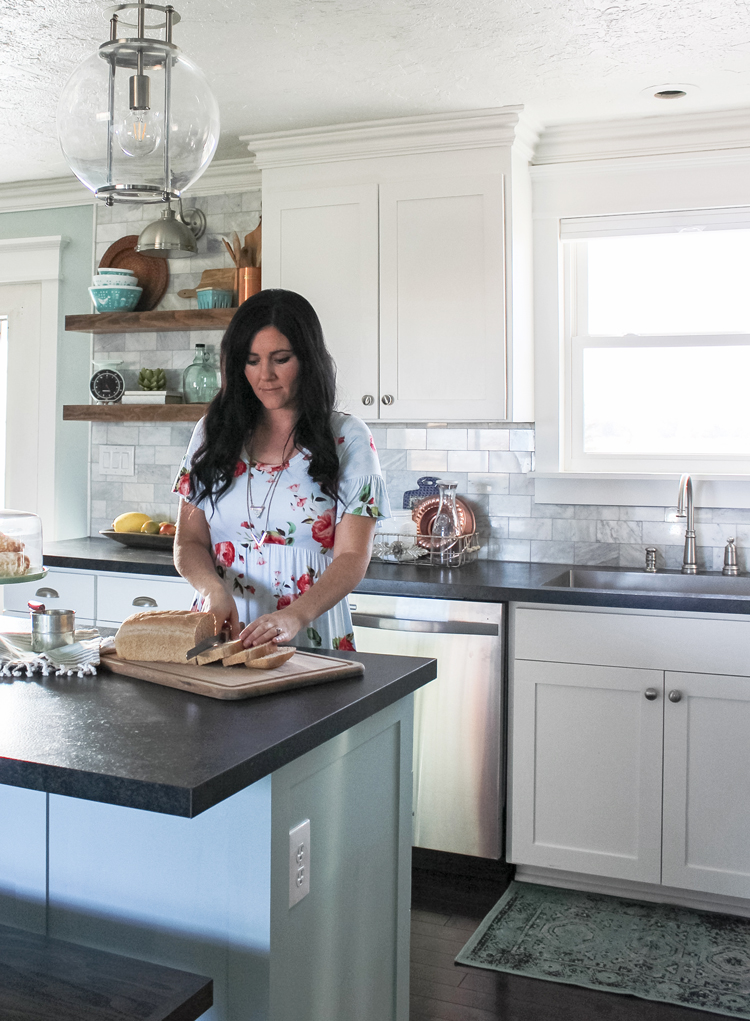
If you’ve been a reader around this little ole blog for a while, then you know how long this post has been in the works. Today I am just as ticked as can be to announce that the big kitchen remodel is finally complete! I can’t wait to show you all of the amazing changes we’ve made. I feel like I’ve given birth. This kitchen is officially my baby! Presenting…
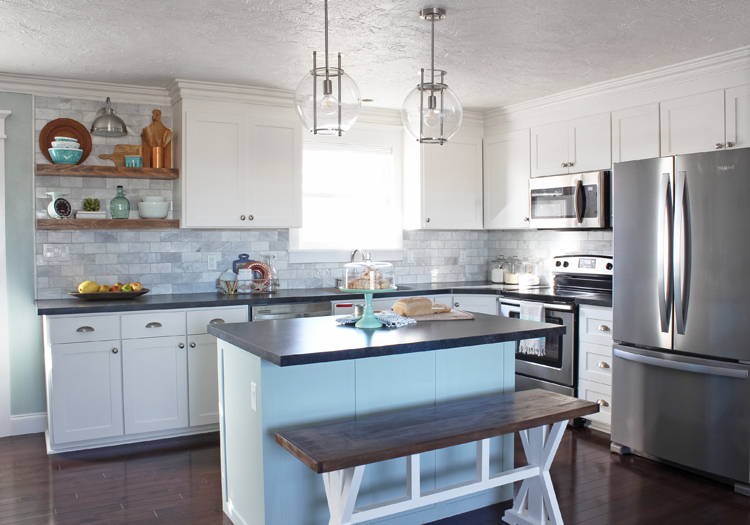
Aahhh! Oooohhhhh!!! Eeeeee!!! I’m squealing with delight over here.
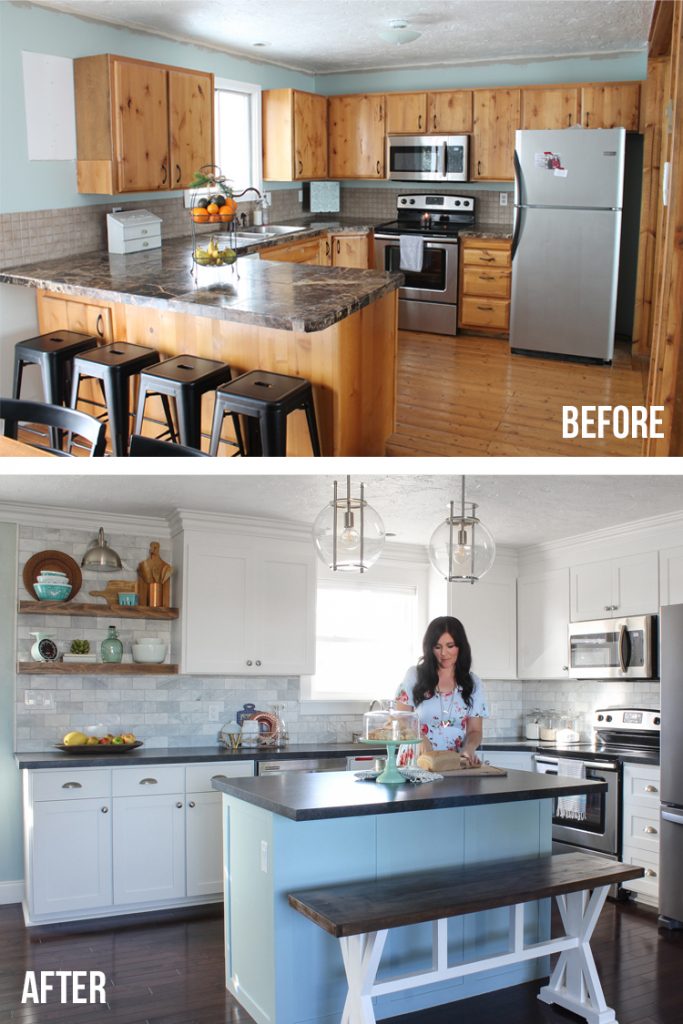
Let’s just refresh your memory with some before and photos, shall we?
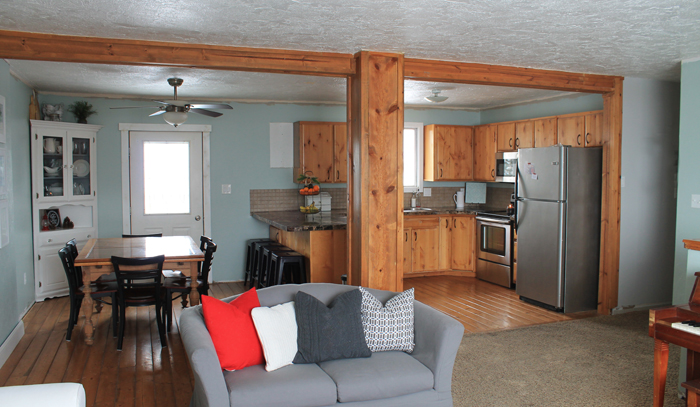
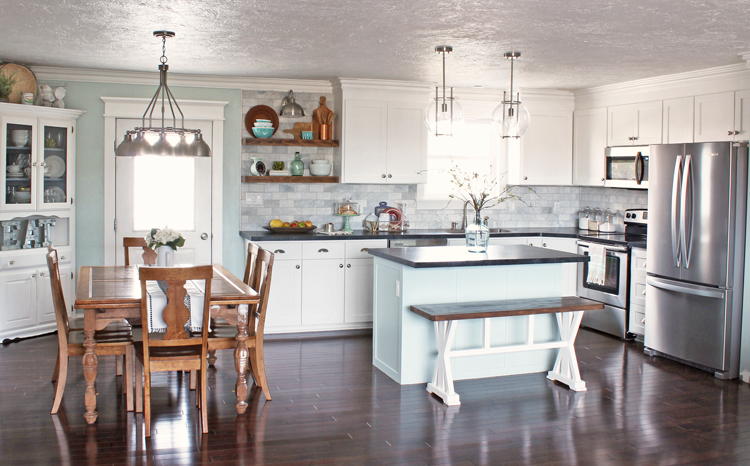
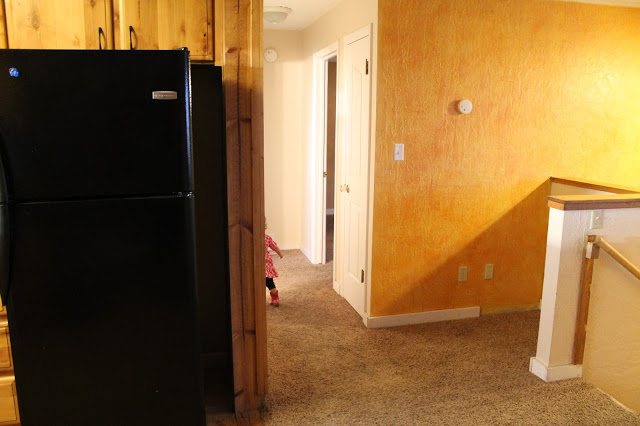
Before, the kitchen was partitioned off with a weird beam going across and a wood pillar in the middle of the room. The cabinets were all knotty pine and the floor was made of pine shiplap planks. Yep, it was like having a log cabin floor and it was impossible to clean. The backsplash was blah, the countertops had been tiled over with granite tile (and it was done really poorly). And the layout was not very functional. If you opened the dishwasher, you couldn’t access any of the cupboards in the peninsula and you couldn’t reach the cupboard above the dishwasher to put dishes away. Plus the space between the bar stools and the kitchen table was pretty tight and when we had guests over, people were always bumping into each other right there. Major traffic clog.
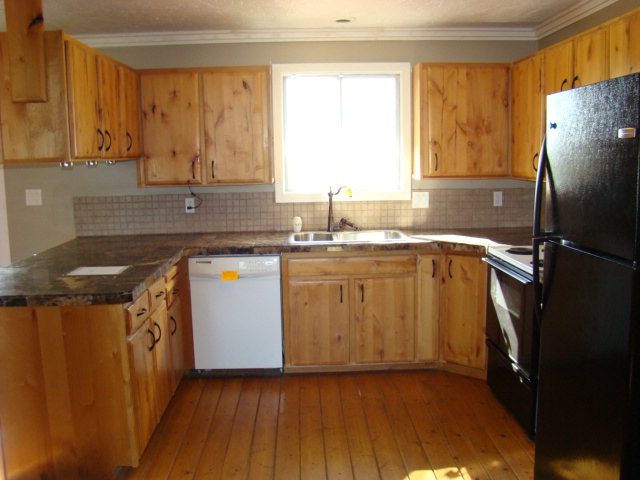
We started in January of 2016 by replacing the flooring throughout the kitchen, dining and living rooms. You can read the detailed tutorial we wrote for Wayfair about how to install your own hardwood floor.
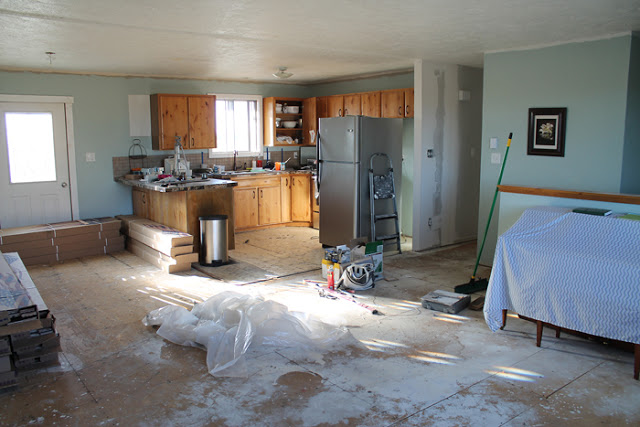
At the same time we replaced the flooring, we rotated the cabinets that made up the peninsula to sit flush on the back wall, turning our U-shaped kitchen into an L-shaped kitchen.
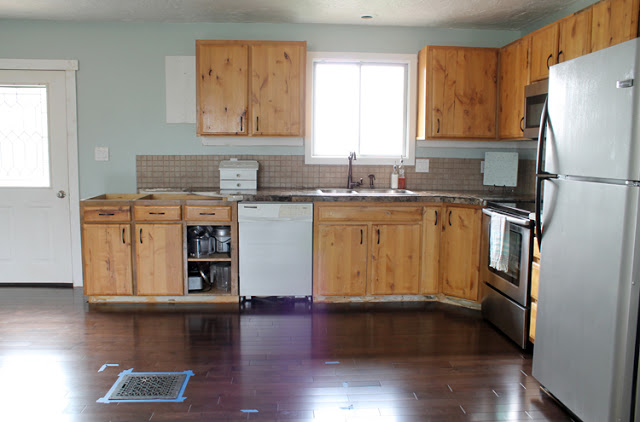
Then we built a custom island out of pre-fab cabinets from Home Depot.
We DIY-ed our own laminate countertops and even found a way to have an undermount sink with laminate countertops!
Then came the marble subway tile backsplash. It is my favorite part of the kitchen, hands down. Here’s a progress shot:
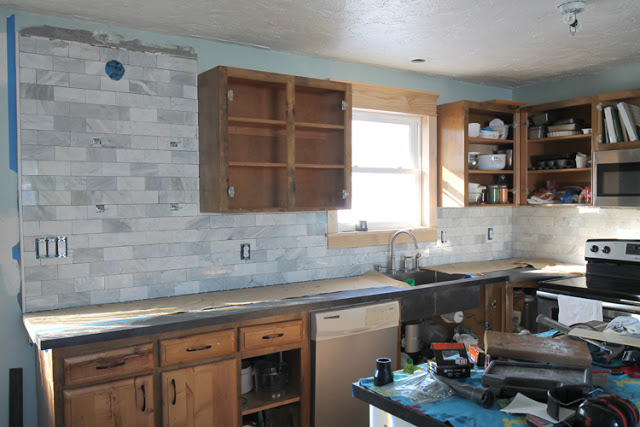
We removed the cabinets that used to hang down above the peninsula and added floating shelves to fill in the space visually and give me a fun place to display pretty dishes and seasonal decor. I love the warmth and character the shelves give the kitchen!
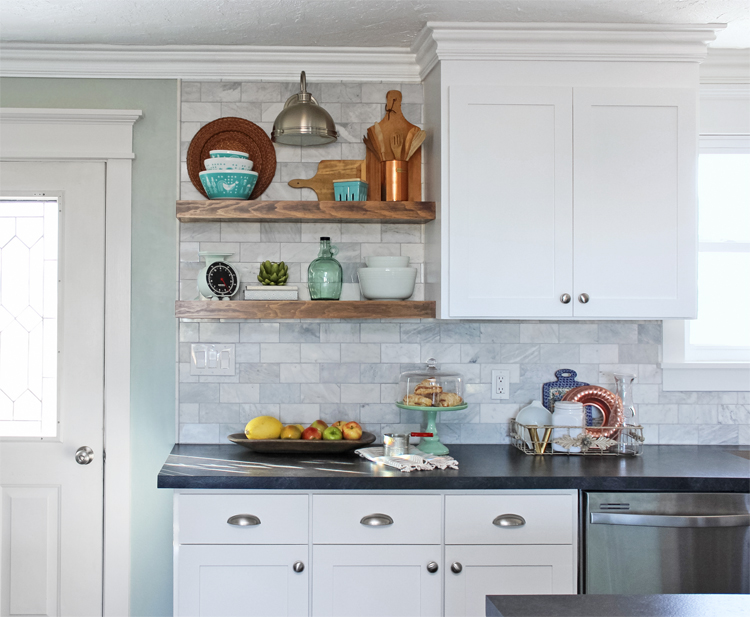
One way we saved a ton of money on our kitchen remodel was to reuse our existing cabinet boxes and just put new doors on. My husband built 30+ new cabinet doors all by himself. Isn’t that amazing? We chose a timeless shaker style and I love the clean look.
We added a walk-in pantry to what used to be an awkward space at the top of our steps.
We also added pendant lights above the island.
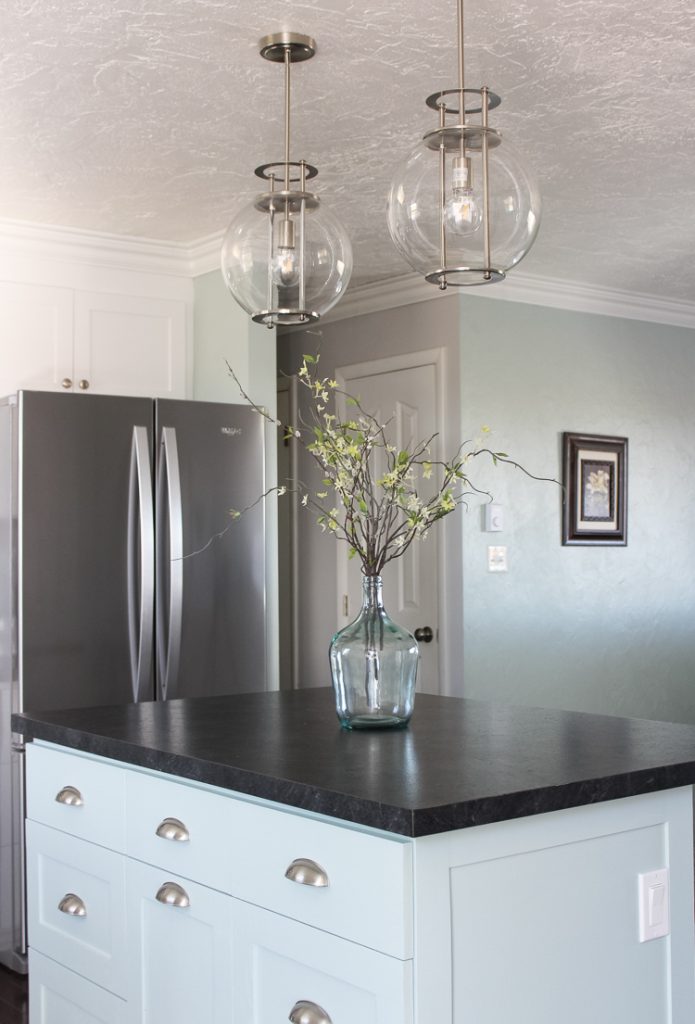
Then we built the upper cabinets up to the ceiling and topped them with crown molding. And guess what? It’s not regular wood molding… it’s foam molding! I wrote a whole post all about why we chose foam crown molding.
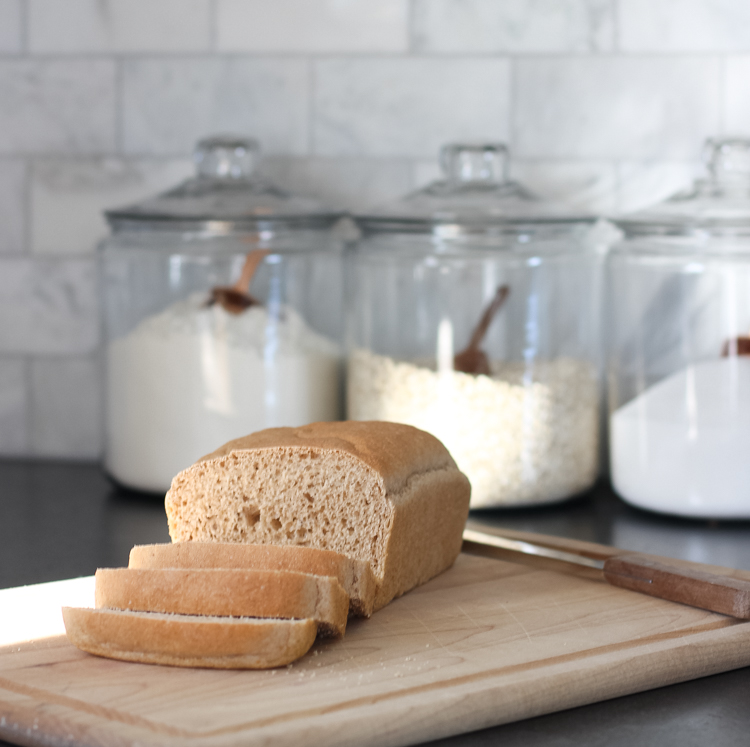
I searched the entire internet for barstools that I loved and in the end, we decided to build a counter height bench to go at our island instead of traditional bar stools. I shared the building plans here. So far I can say that I LOVE not having to chase down the stools that my kids drag all around the kitchen.
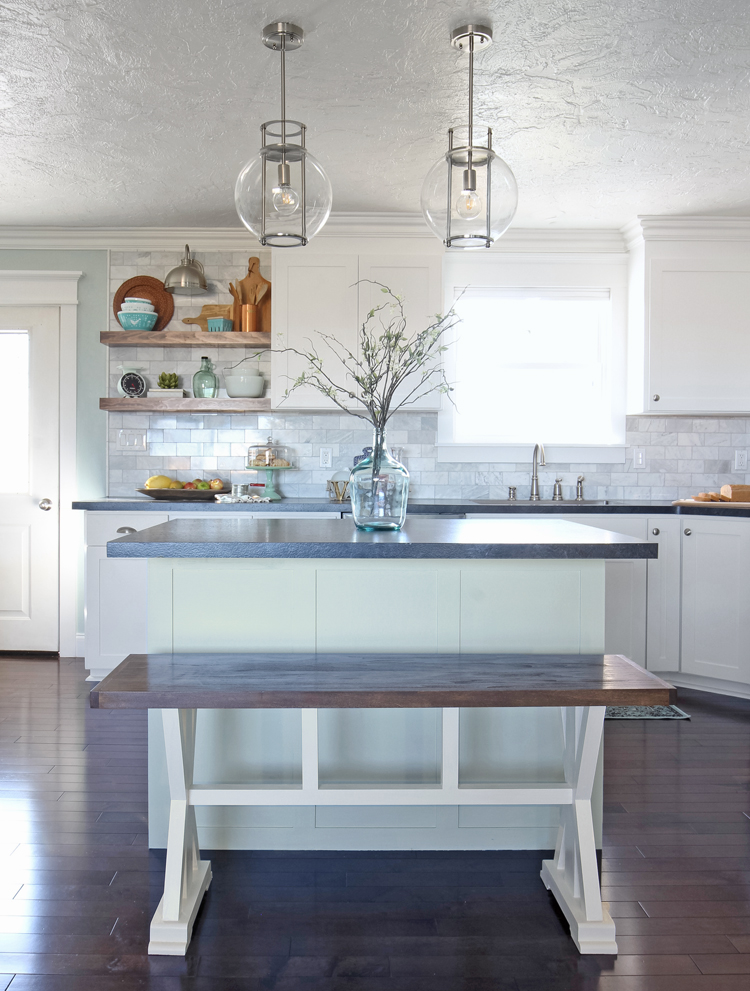
It is so much more fun to cook in this kitchen. The flow is so much better!
Now there are four separate work zones, which means four adults could easily work in this kitchen at the same time—one at the large counter space to the left of the sink, one at the stove, one on the front side of the island and one on the back side of the island! There is plenty of space to open the dishwasher and put dishes away. And the center section of the island is a pull out garbage can, which is something I’ve wanted forever and absolutely love.
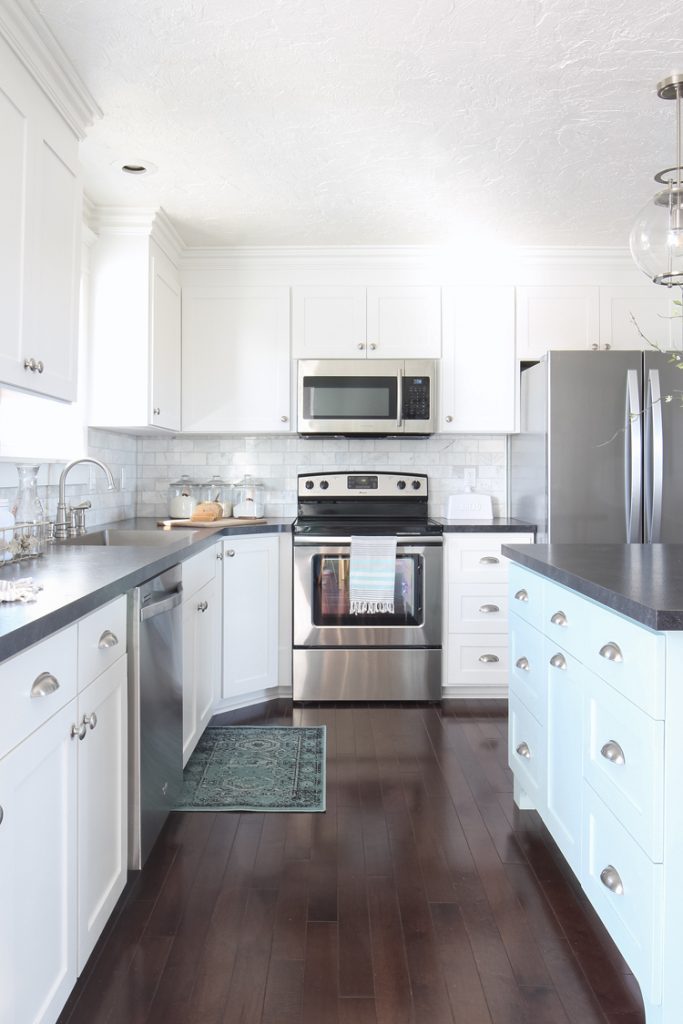
If I were to do it again, there’s not much I would change… mostly just doing things right the first time instead of learning from our mistakes as we went along. Ha! I would choose a lighter color of wood flooring. Our floor is gorgeous, but it’s hard to keep clean.
Source List
(some affiliate links may be used)
- Solid Maple Hardwood Floors from Shaw Floors in Montrose/Brandt Point Brown
- Laminate Countertops: Formica Basalt Slate Scovato Finish
- Foam Crown Molding
- Marble Subway Tile Backsplash
- Undermount Sink
- Moen Edison Kitchen Faucet
- Wall and Island Paint Color: Sherwin-Williams Rainwashed
- Kitchen Cabinet Paint
- Floating Shelves Tutorial
- Cabinet Hardware Knobs and Pulls
- Globe Pendant Lights
- Wall Sconce Over Floating Shelves
- Chandelier
- Rug

Comments & Reviews
Wow! Good job it looks fabulous! Working on my kitchen now, thanks for the inspiring photos.
Thanks Ronda! I've been watching your kitchen progress and I'm excited to see how it all turns out!
JENNIFER! It turned out SO GOOD! Wow! What a beautiful kitchen!!! Nice work! It's been fun to follow along. Keep posting such fun stuff!
Thank you Julie! I'm so happy with how it all turned out. The only thing I'm disappointed on is that I couldn't have a pretty vent hood. But there just wasn't any other practical place for the microwave. Oh well.
Your kitchen is gorgeous!! I'm in the middle of doing mine and having the hardest time choosing a white for the cabinets. What color did you go with? It really looks great!
Thank you so much! I'm really happy with how the kitchen turned out and I'm even happier to be done working on it! Ha!
The white I chose was one I color matched to the existing doors in our home so that I wouldn't have to repaint all of them as we've been changing out the door casings, so I can't tell you exactly what it is. BUT… it is a very bright white, not a cream or gray at all. Sorry I can't be more helpful! If you really want, I can dig out a paint can and try to give you the formula on the lid.
What stunningly beautiful kitchen! I was surprised how much more open it is just with the small amount you removed!
Isn't it amazing what a few small changes made? When we first removed the beams and pillar I was in SHOCK. It was like a whole new house! Thank you for your kind words. Hope you're having a great day!
I have questions about how you remove the pillar. Was it load bearing?
No, it was NOT load bearing. We even checked with a local architecture firm.
I love, love your new kitchen. It surely made a big difference and a wise choice to use your old cabinets. I love the bench instead of stools.
Evie, thank you so much! It was definitely the right choice for us to reuse our cabinet bases. It saved us SOOOOO much money! And the bench? I'll never go back to barstools. My kids used to move them all over the house and they were always tucked in crooked and hard to clean. The bench is heavenly!
Beautiful! But I have to say I think stools would balance better but surely understand about chasing them around. Great job!!!
I’m obsessed with this whole remodel. We are doing ours as well. We did an initial stage when we bought out house and we DIYed our own laminate but I am updating that with a different laminate sheet and a backsplash as well as doing two toned cabinets. I’ve seen the sink before and watched the link video a while ago, how does the edge feel and last over time? How are your kitchen cabinets holding up now?
The sink still looks great… although there is one teeny tiny chip in the edge where we dropped a heavy pan. It’s not noticeable though. The cabinets have held up exceptionally well. I would recommend the painting process and products we did without reservation.
Looks amazing!. Great job. Enjoy your new kitchen.
I just ran across your blog this morning while contemplating what countertops to use for an angled corner like yours. Standard pre-molded tops wont work and I also feel that spending $5000 on granite countertops would not justify the overall price my house will be worth in the end. I have done the custom $25k kitchen before, but sometimes you have to make different remodeling choices. My current old 1970’s kitchen looks pretty similar to what yours looked like in the beginning (even the 2″ tan tile) and I have an ending vision in mind that is also pretty similar to yours. I have to say I feel inspired by your blog 🙂 There are days that disappointment is overwhelming because I always end up finding that one obstacle that will cost a fortune to complete my plan. And its back to the drawing board every week. What a wonderful job you guys have done and the cost cutting tips help too. I knew there was a way to put an under mount sink in laminate!! Thanks for that! And “foam molding”…Interesting, I’ll have to check out more of your blogs. Congratulations on your new bright and cheery kitchen!!! I hope you reap the benefits of all your hard work.
Hi. Do you mind me asking the color of your island? I love the pop of color
It is Sherwin-Williams Rainwashed.
I’m trying to figure out how to transform my corner peninsula layout into an island one just like you did — how did you separate your cabinets and countertop to do the switch? Did you just saw the countertop off while it was still attached and then detach the cabinets? Thanks!
We did not reuse our old countertops, so we just took them off before moving the cabinets. They are usually attached to the base cabinets with l brackets from underneath. If you open the cupboards and look around in the back, you might find them and be able to unscrew them. Sometimes there’s glue as well around the top edges. Score with a utility knife, then pry off the countertops. Hope that helps!
Your kitchen is beautiful! I have a very similar layout and plan to do the same renovation. Swing the cabinets and dishwasher from the peninsula over to the wall next to the sink. Would you mind giving me the dimensions of your kitchen – from the wall your refrigerator is on to the end of your cabinets next to the door? I’m also curious about the dimensions of your island and how much space is between the dishwasher and the island. Thanks so much!
Hi Cathy! From the wall behind the oven to the end of the cabinetry by the door is 12 feet 9 inches. The island is 38 inches by 55 inches and the walkway spaces are 44 inches from countertop edge to countertop edge. Hope that helps. Changing the layout of this kitchen was one of the best decisions I’ve ever made. It functions SO much more efficiently now! Good luck with your renovation!
Great! Completly different kitchen! Fresh, bright, modern!
Hey. Could I get the bench plans please? The Home Depot site doesn’t have it on there anymore.
I’m so glad to have stumbled upon your blog!! 🙌We’re redoing our 80’s kitchen and the look I’m going for is very similar to what you did. We just ordered Basalt Slate countertops and now I’m second guessing myself so much! It’s so hard to picture what it’ll look like from a little sample square! Your pictures and details are wonderful! I feel so much better about the direction we’re headed after seeing your kitchen. Thank you for sharing all the details! 😊