Learn to make washi tape twist ties, washi tape pencils and a washi tape cake topper.
DIY Patterned Twist Ties
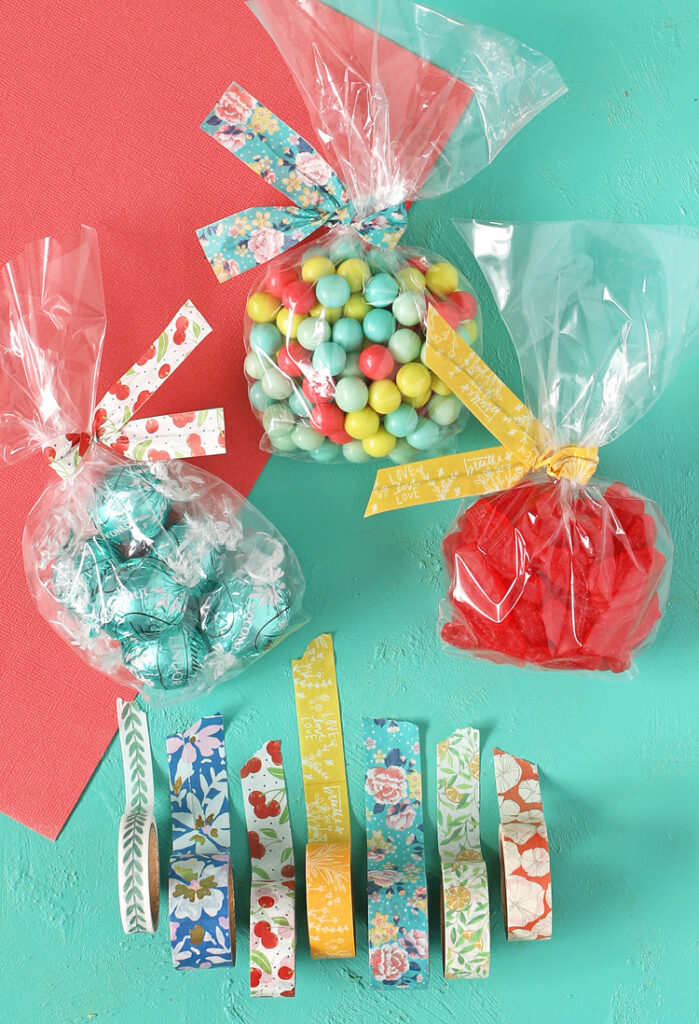
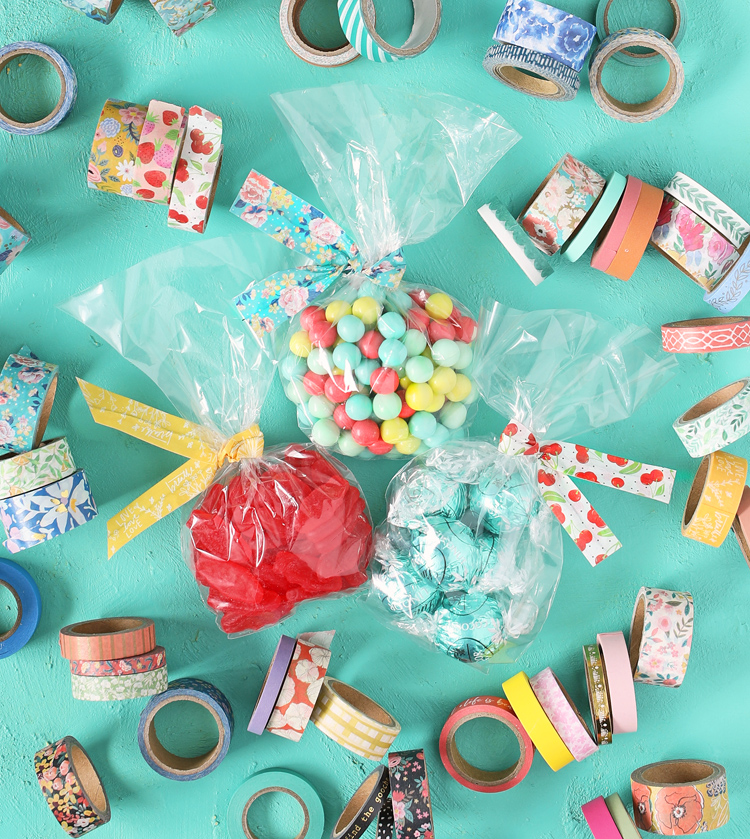
Did you know you can make your own twist ties? They’re super easy and they turn out so happy and fun. Let me show you how to make the cutest twist ties ever. Here’s what you need:

Materials Needed
- Washi Tape from Hobby Lobby
- Florist Wire (26 Gauge)
- Scissors
I bought everything I needed for this craft at Hobby Lobby. Their washi tape is located in the paper crafts section of the store and I just adore the happy floral patterns of the set I chose.
Instructions
Step 1: Cut a 6-8 inch piece of washi tape and lay it on your work surface sticky side up. The size is totally customizable, of course. This is just a good standard size to give you a starting point.
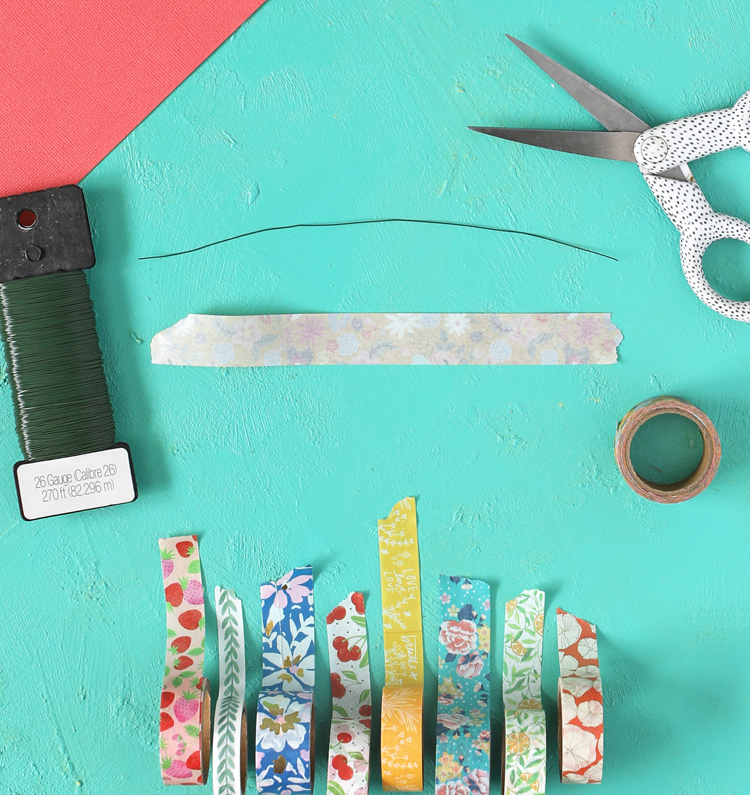
Step 2: Cut a piece of wire the same size as your washi tape. Place the wire down the center of the washi tape.
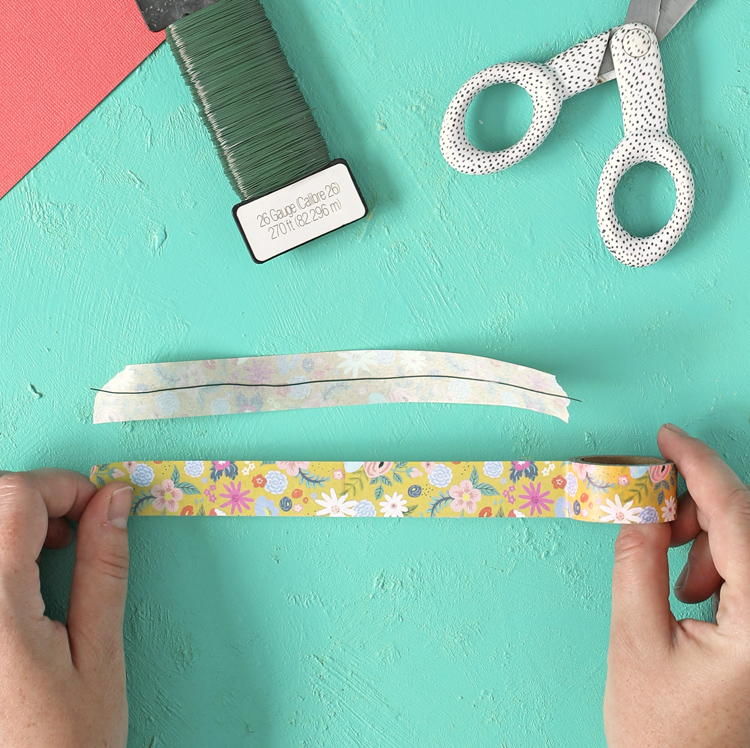
Step 3: Cut a second piece of washi tape the same size as the first, then place it on top of the first piece of tape, sandwiching the wire inside.
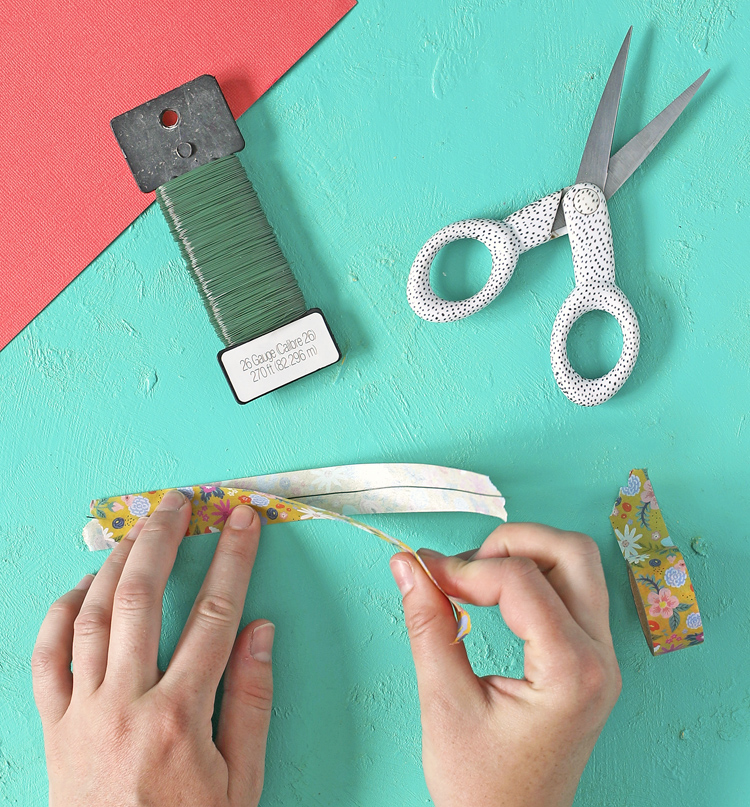
Step 4: Trim the ends to even things up. You can keep them straight or cut a decorative edge like you would with ribbon. Totally up to you!
How’s that for the easiest little craft idea?! I am obsessed and now I want to make so many little goodie bags just so I can make washi tape twist ties for all of them. So fun!
Patterned Pencils With Washi Tape
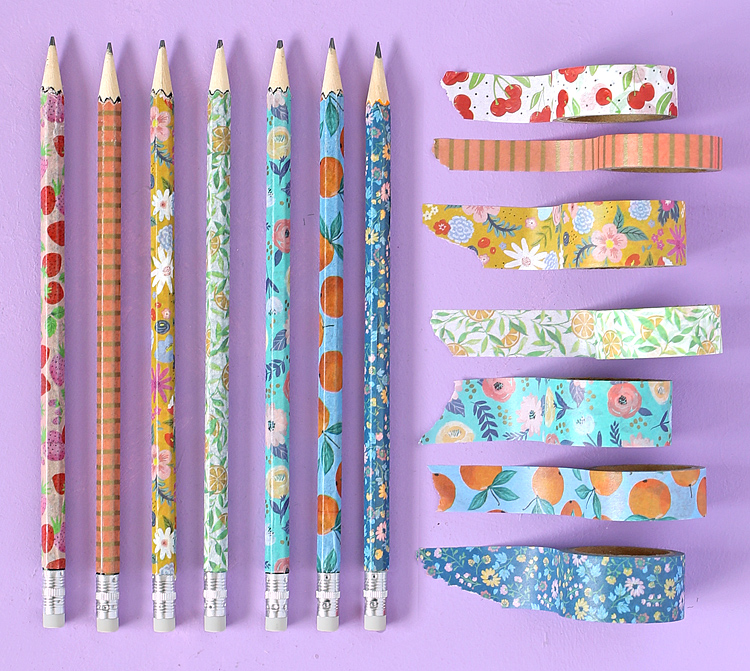
It’s super easy to dress up a plain pencil with washi tape and they just look so darn cute and happy when finished. And don’t worry— in case you were wondering, they sharpen like normal.
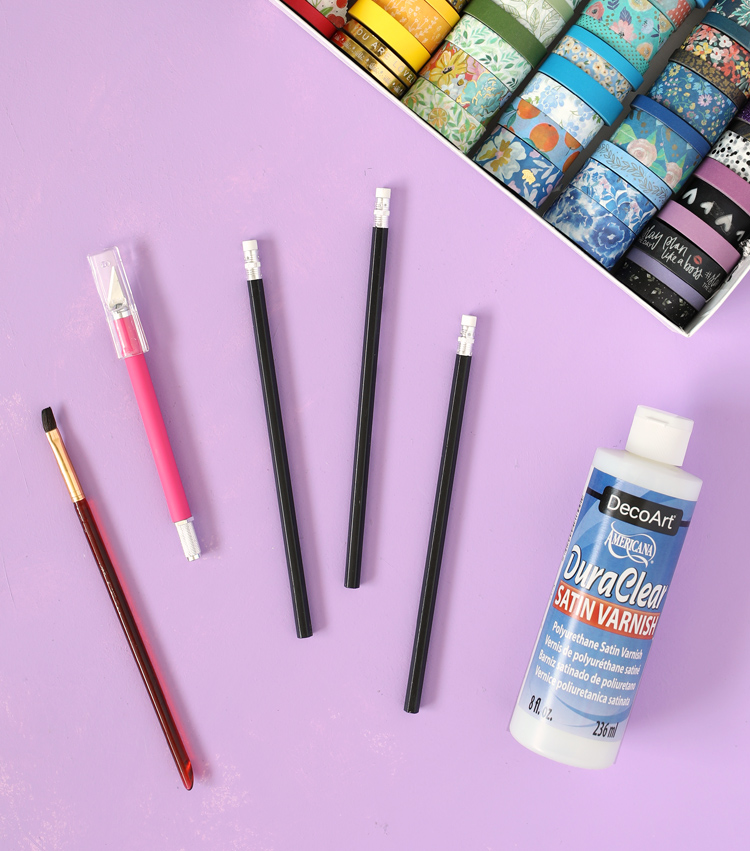
Here’s what you’ll need to make washi tape pencils:
Materials Needed
- Pencils
- Washi Tape
- DuraClear Varnish
- Paint Brush
- Craft Knife
Instructions
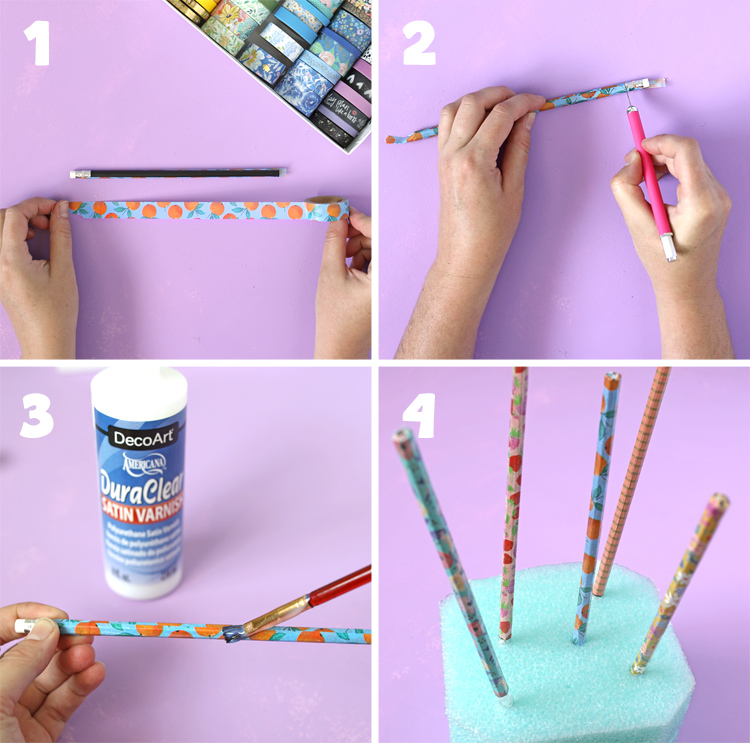
Step 1: Cover the entire pencil with washi tape. Running the strips along the length of the pencil seemed easiest to me. If one piece didn’t wrap around the whole pencil, I just layered another piece until it was fully covered. Press the paper down firmly and make sure there are no creases or edges sticking up.
Step 2: Use a sharp craft blade to trim the excess paper off around the eraser and then then bottom of the pencil too.
Step 3: Brush an even coat of varnish over all of the tape. This is where the magic happens. The flimsy tape becomes strong and durable after a coat of varnish and can withstand the regular use that a pencil gets. The varnish also seals the edges of the tape down so it doesn’t peel off.
Step 4: Place the eraser ends of the wet pencils into a piece of foam to dry. It took my pencils about an hour to dry, then they were ready to be sharpened!
Washi Tape Cake Topper Garland
Washi tape is an easy way to decorate a ton of different party decor items in a cohesive way. Add tape to the paper cups and napkins, the invitations, you name it… no surface is safe! I made a quick and easy cake topper using washi tape and it makes a plain cake so cheery.
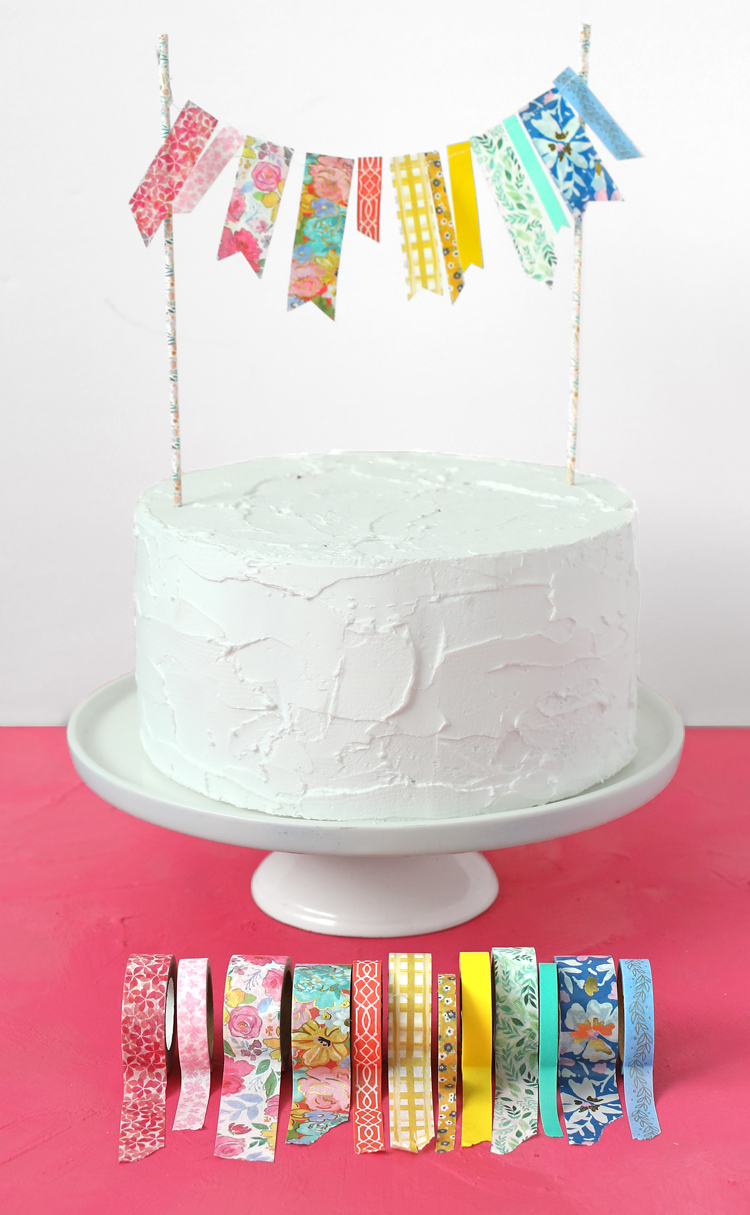
To make a washi tape garland, you will need:
Materials Needed
- Washi Tape
- White Thread
- Bamboo Skewers
- Scissors
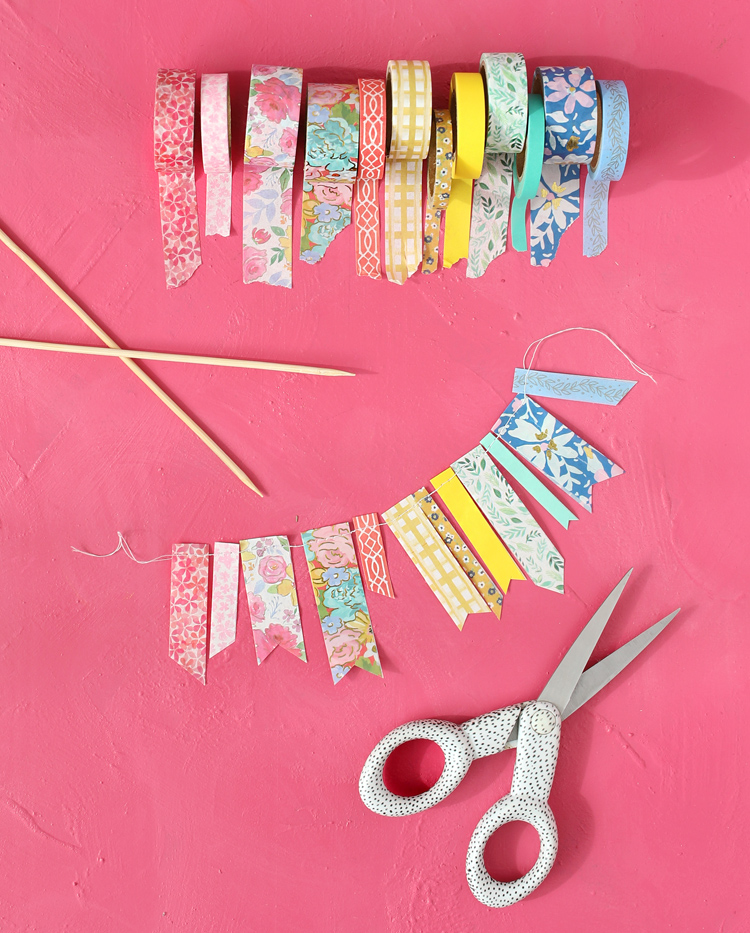
Instructions
Step 1: Fold a piece of washi tape over on itself. Cut the ends to even it up and add a decorative shape to edge if desired.
Step 2: Run all of the washi tape pieces through the sewing machine to connect them together. If you don’t own a sewing machine, you could fold the washi tape over a piece of baker’s twine instead.
Step 3: Wrap two bamboo skewers with washi tape, then attach the garland between the skewers and tape them in place.
Step 4:Poke the skewers into the top of a cake and voila! Cuteness!
So there you have it… three cute and easy ways to use washi tape. If you’re looking for even more washi tape crafts, check out this Hobby Lobby Decorative Tape Creations project sheet full of creative ideas.
Like this post? Pin it to save it for later!

Comments & Reviews
I never thought of using washi tape in these ways. These tips are very helpful and easy to make. Thanks for sharing this fun activity.