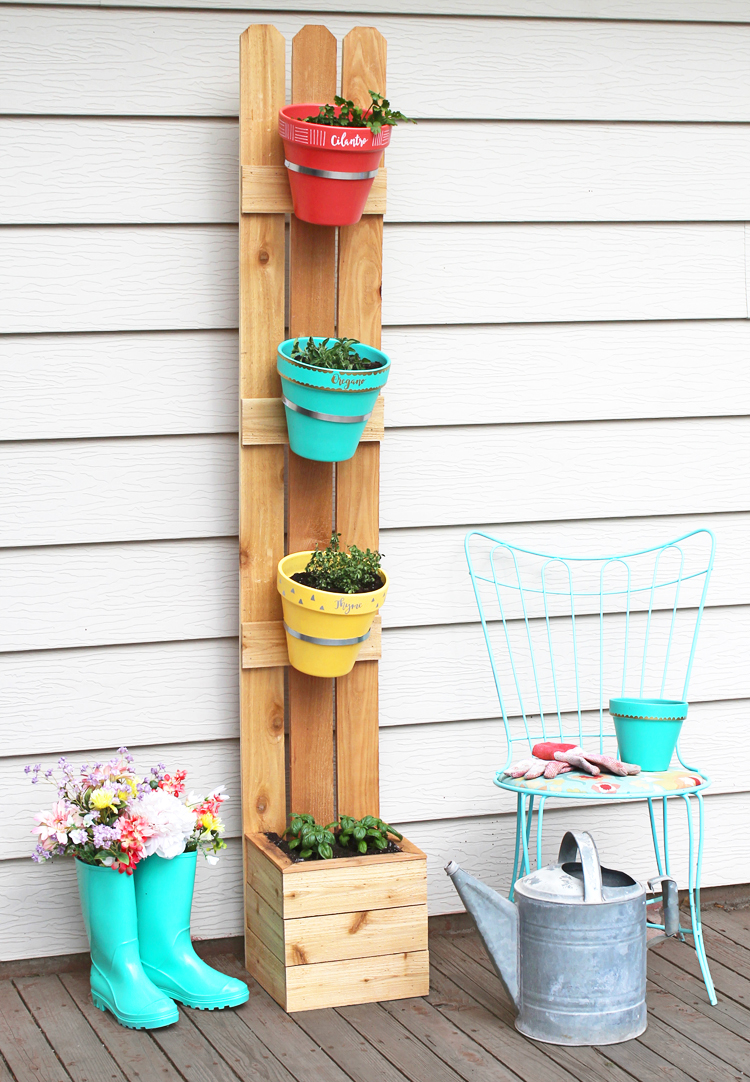
This fun vertical planter is made with cedar fencing and terra cotta pots. It’s the perfect way to grow herbs or flowers in a small space or to add height to your porch decor. Free building plans.
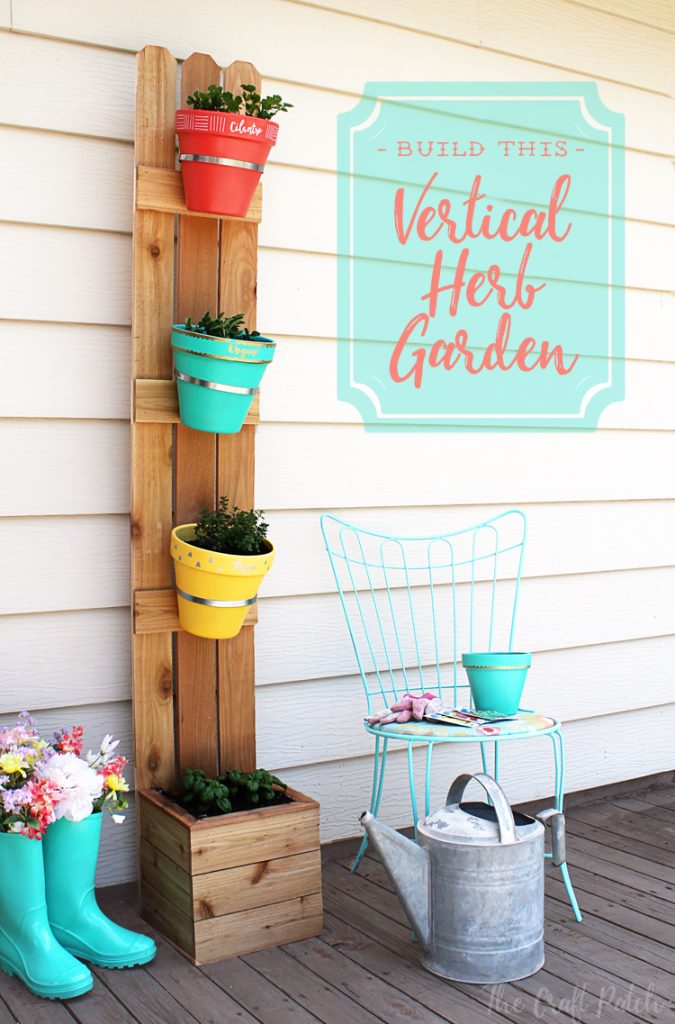
I wanted to add some height to the decor on my back patio, so I asked my husband to help me build a vertical herb garden. This is the design we came up with. I love the mix of the raw, natural cedar with the colorful terra cotta pots. It has held up really well over the summer and I just love my vertical planter! Want to make one too? Here are the full instructions.
Materials
- 5 cedar fence pickets, 3 1/2 inch
- 1 48″ piece wood lathe
- 3 metal hose clamps (5-7 inch size)
- 1 1×2 board 6 feet in length
- scrap piece of MDF
- scrap pieces of 2×4
- 3 terra cotta pots (8 inch size)
- spray paint
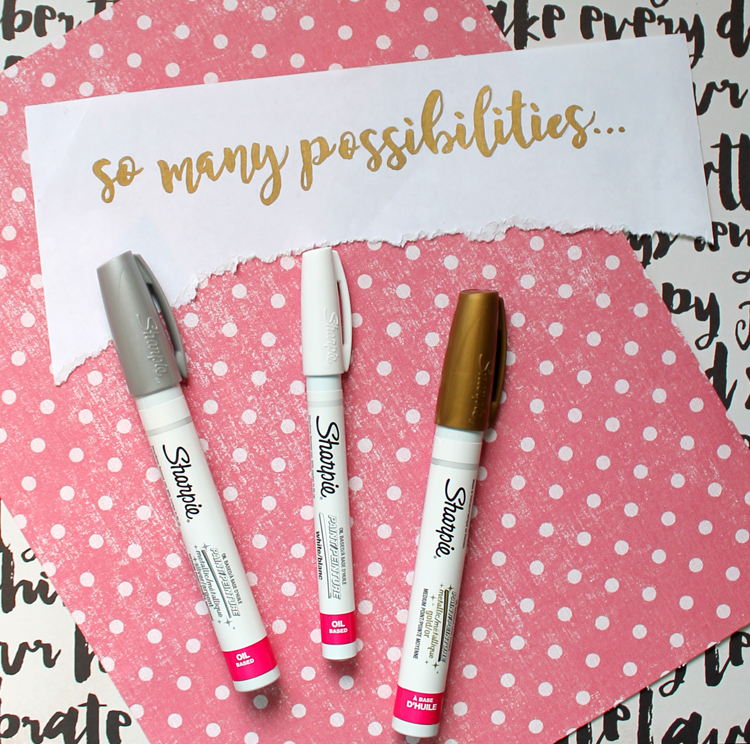
- Sharpie Oil-Based Paint Markers (available at Michaels in the art supply section)
- plastic sheeting
- screws
- nails
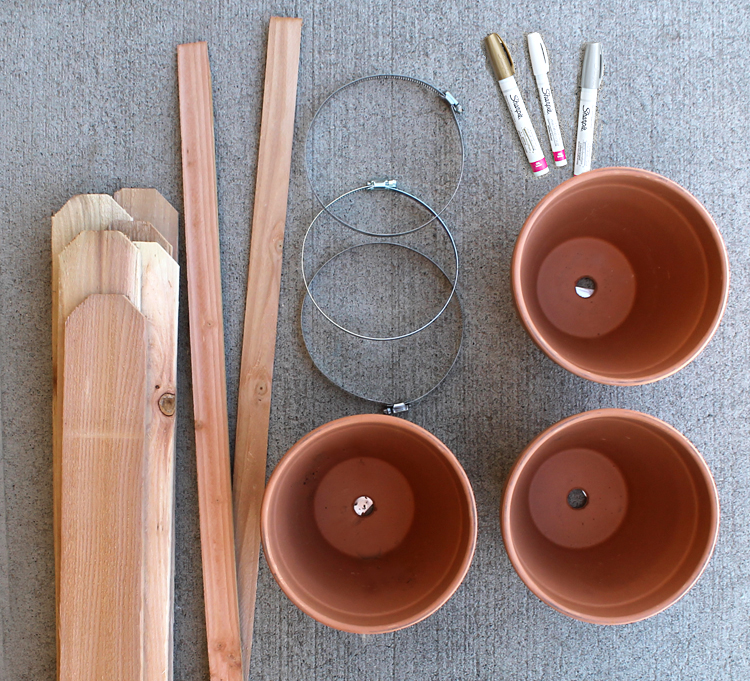
Tools
- hammer or pneumatic nail gun
- screwdriver
- hand saw or miter saw
- staple gun
Instructions
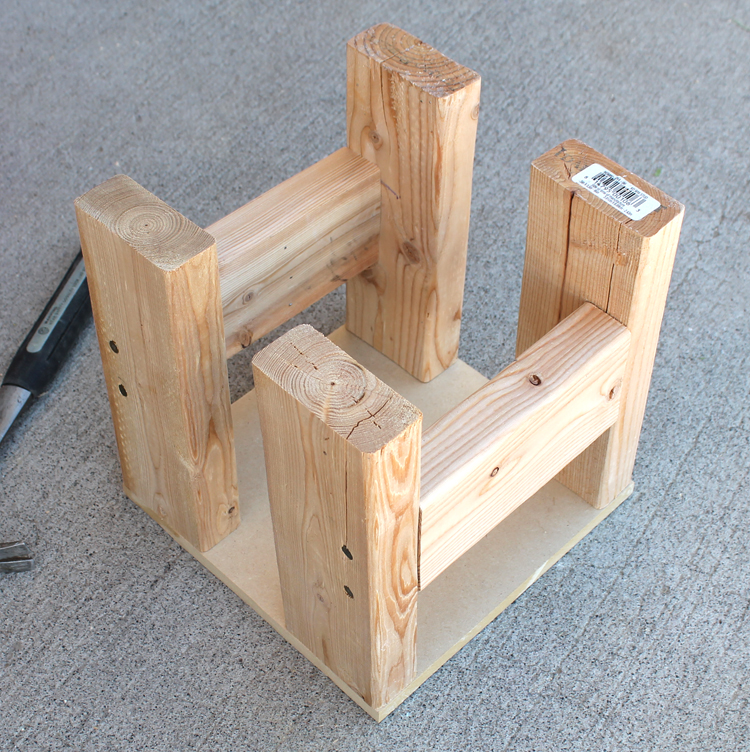
Cut four 10 inch pieces and two 7 inch pieces of 2×4. Build a support frame for the planter box out of these pieces, with the shorter ones in the center.

Cut a 10×10 square of 1/2 inch MDF. Nail the 2×4 frames to the MDF, like this:
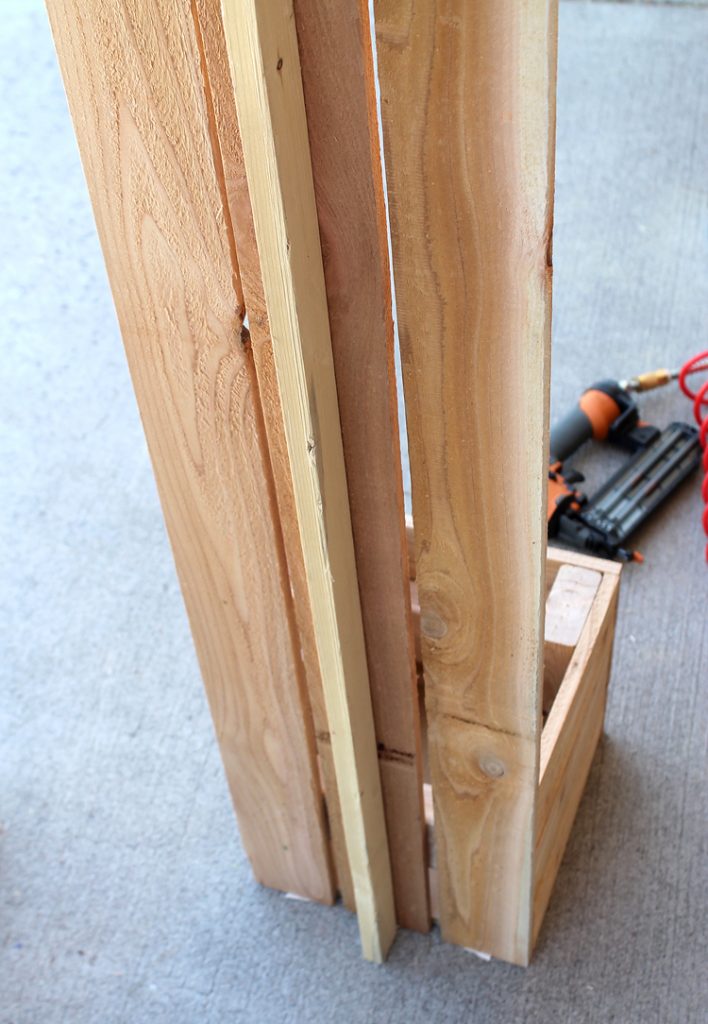
Attach the full length fence pickets to the back side of the 2×4 box.
Cut fence picket into six 10 inch pieces and three 11 inch pieces. Nail the smaller pieces along the two sides and the longer pieces across the front of the planter box.

A pneumatic nail gun makes this step super easy!
Cut the wood lathe down to size and use it to trim out the top edge of the box, mitering the corners to fit.
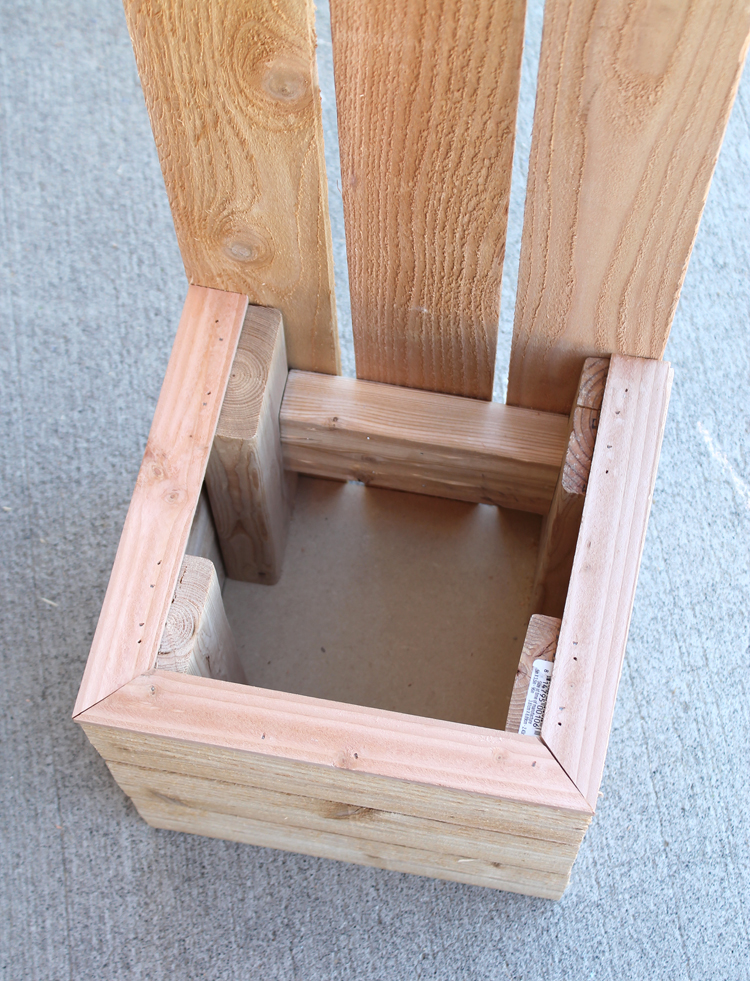
The tall fence pickets are not very sturdy on their own. To add strength, screw the 1×2 strip of wood along the back center board. If you want it even stronger, add 1×2 strips behind each fence piece.
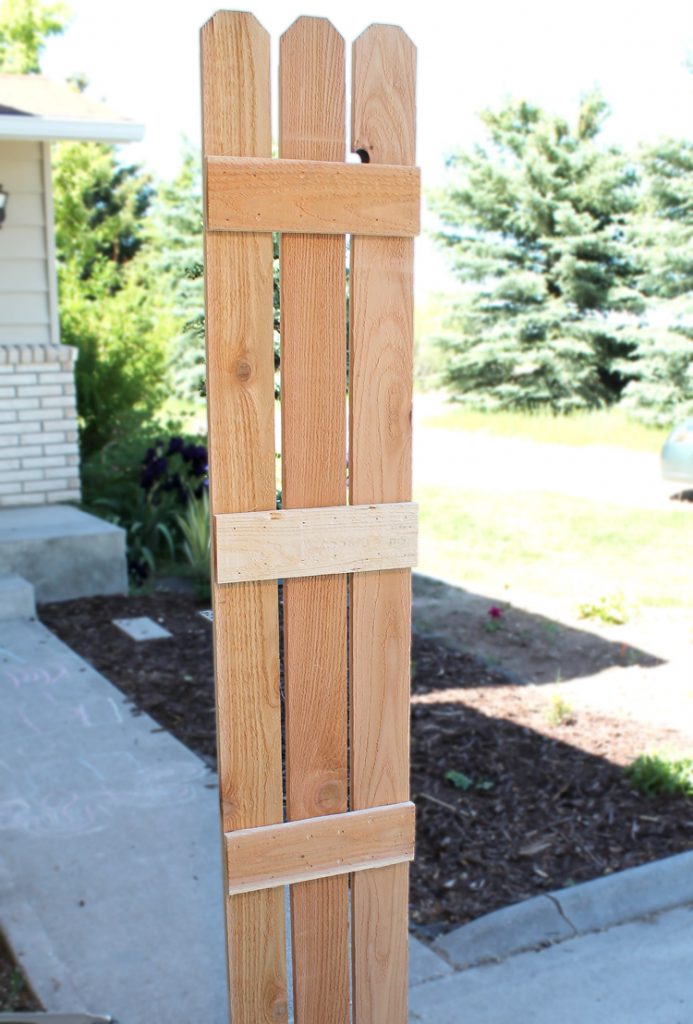
Cut three 11 inch pieces of fencing and space them evenly across the pickets. Nail in place.
Screw the metal hose clamps to the back using two screws. Screwing them into the horizontal pieces will make the pots lean too far forward, so place them about an inch above instead.

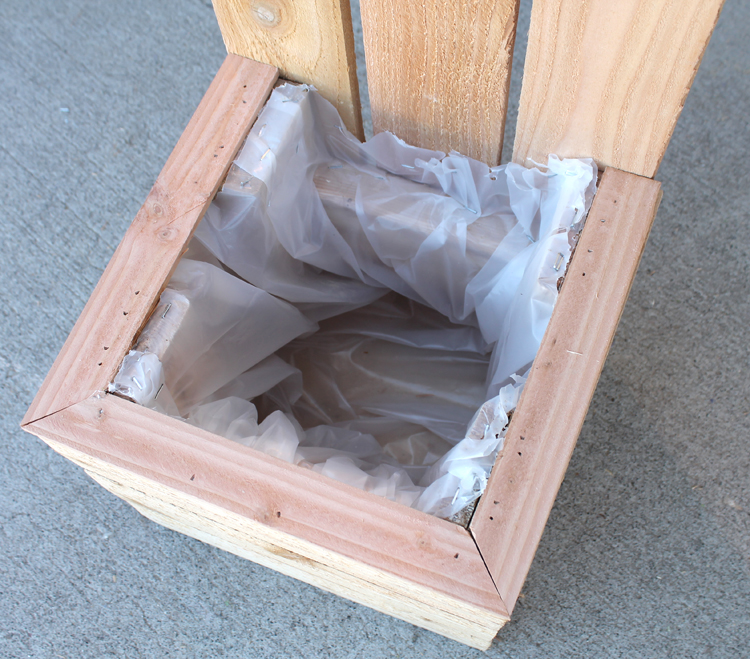
Drape plastic lining inside the bottom box. Cut a few drainage slits in the bottom of the plastic. Staple it to the 2×4’s.
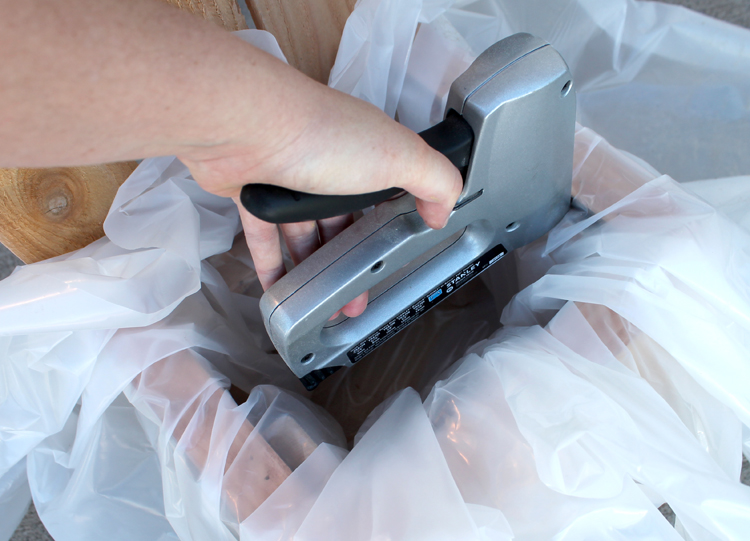
Cut off excess plastic so it won’t show when the dirt is added.
Now comes the fun part…. decorating your terra cotta pots!
Spray paint them fun colors and let the paint dry overnight.
If you’ve got great handwriting, go right ahead and start with the Sharpies. If you’re like me and are nervous about messing up, draw your design on first with a pencil.
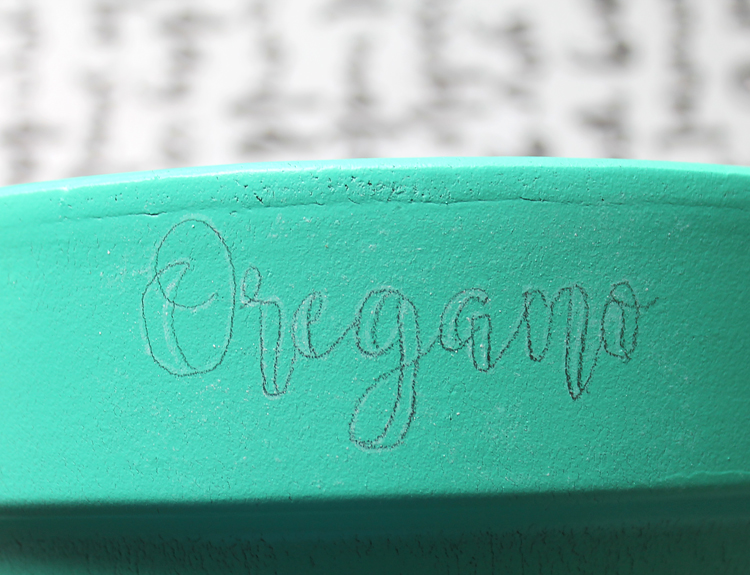
Then fill in the design with the Sharpie Paint Marker. It’s that easy!
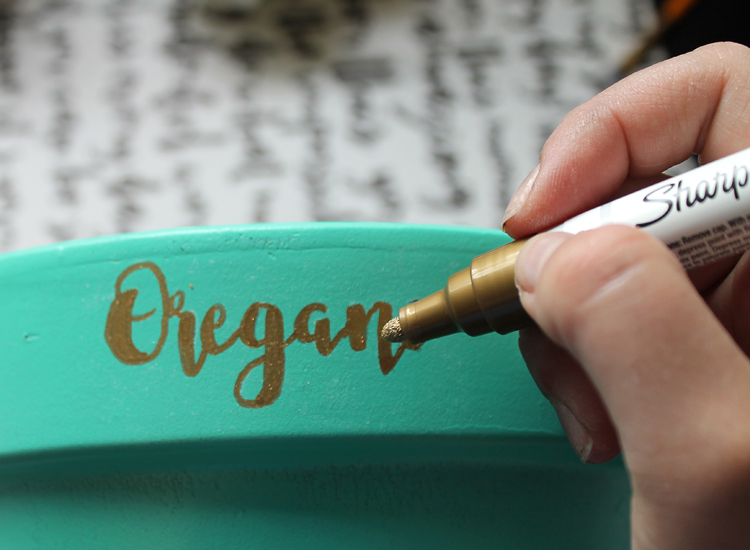
These markers were the perfect fit for this project because they are oil-based, which means they hold up to sun, water and abrasion. Perfect for decorating terra cotta pots! They work on wood, metal, plastic, stone, glass, pottery, rubber and more, so I’ll be using them a lot in the future. They also dry quickly, which I love because I’m impatient.
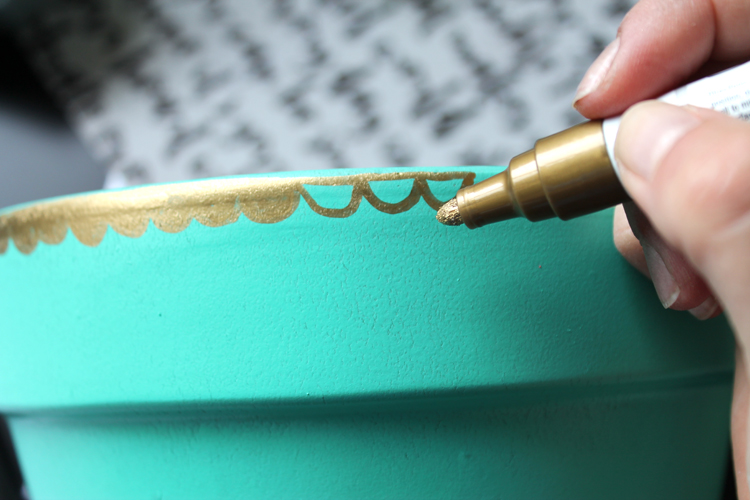
Isn’t that little bit of detail so cute?! Here are close-ups of the three different pots:
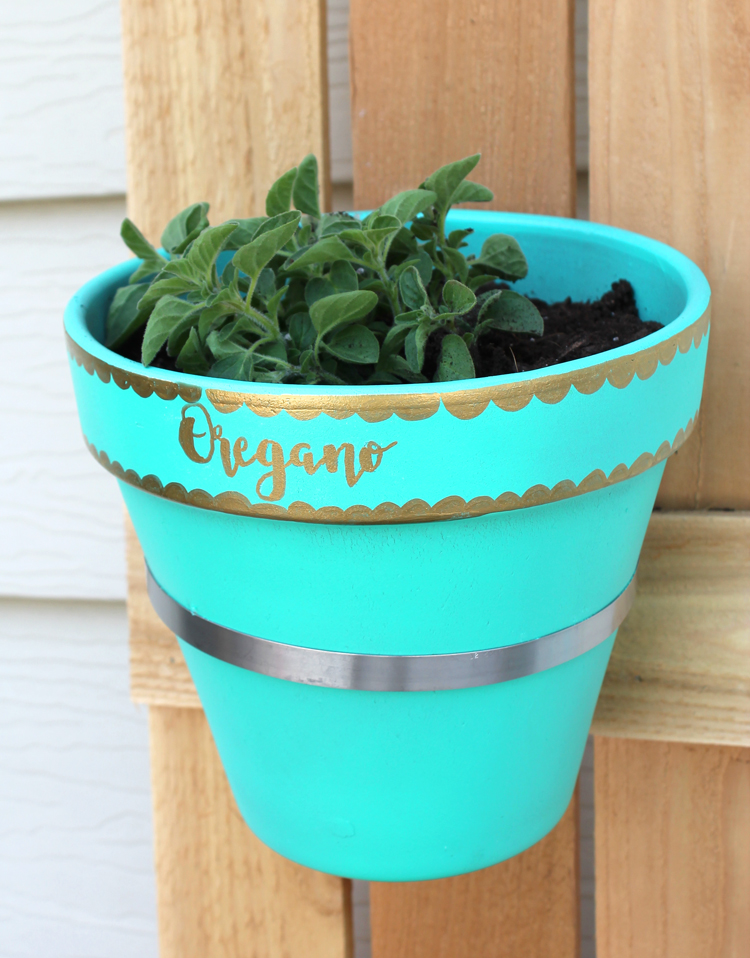
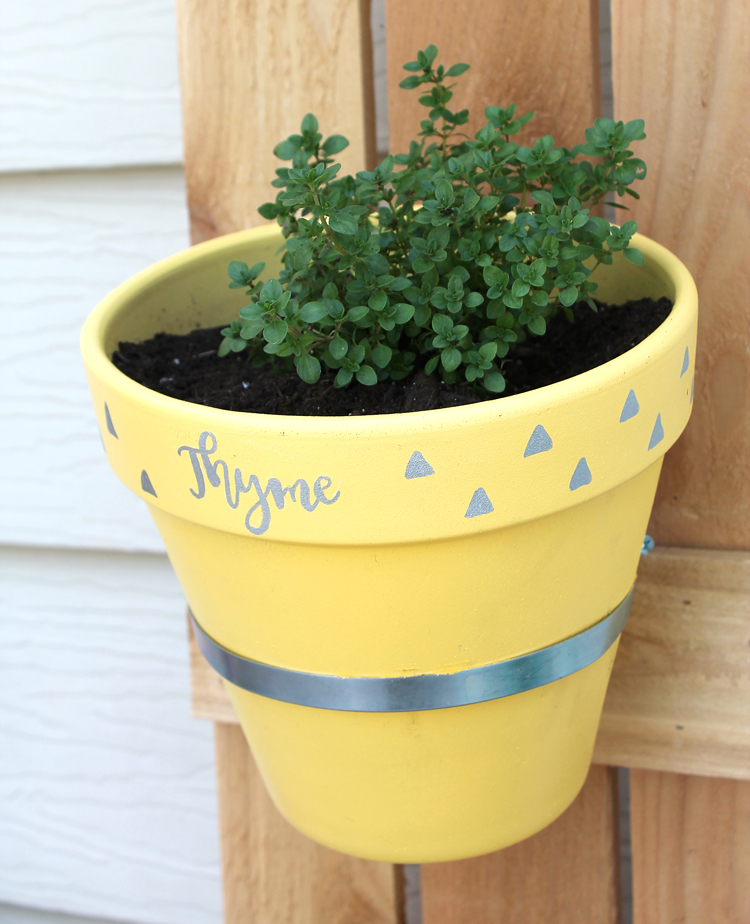
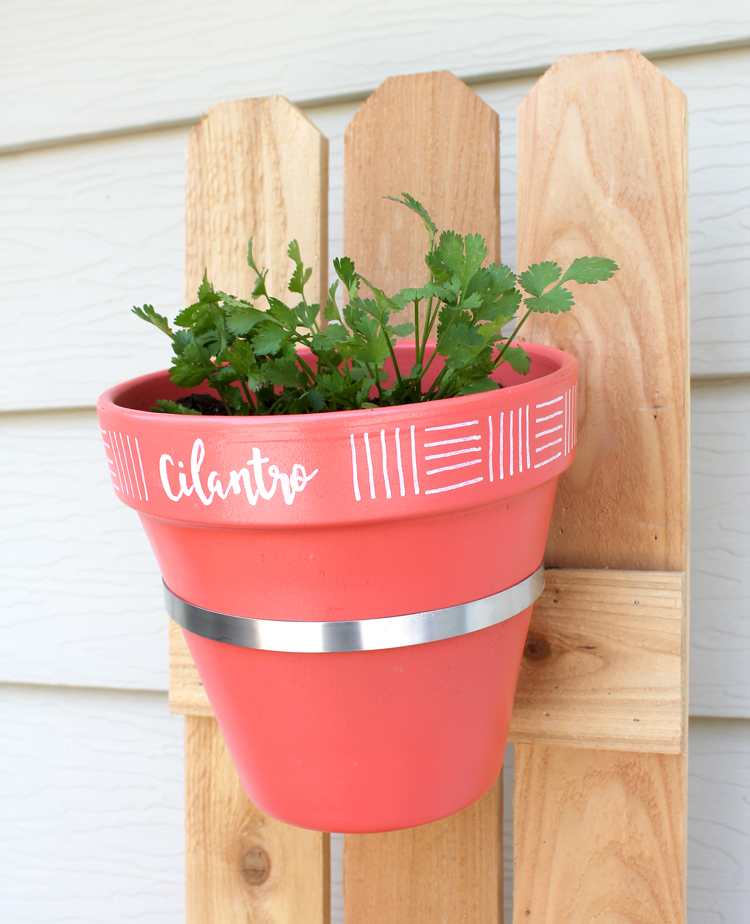
I am so happy with how my little planter turned out. In fact, I love it so much that I want to make another one that’s three times as wide. That’s the great thing about this project… you can customize the measurements to fit any space!
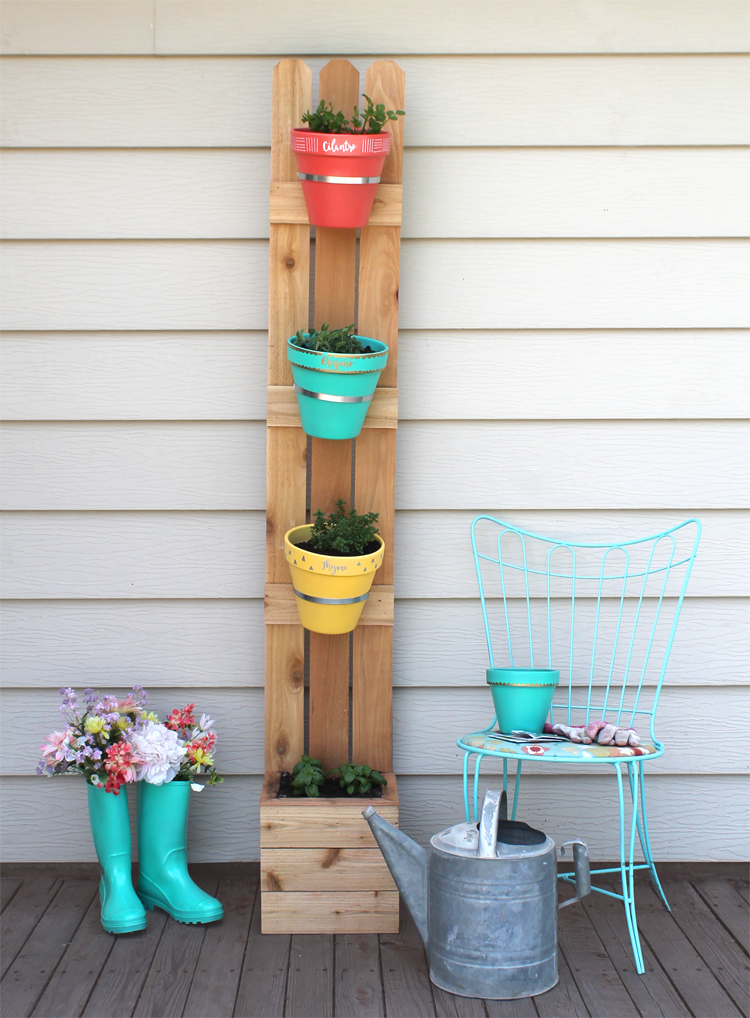
I can’t wait to eat fresh herbs all summer and to hang out on the deck sipping lemonade watching the kids play while my husband grills.


Comments & Reviews
Love this! Question: did you need to attach to the wall, looks like it might topple over when the herb pots are full of dirt. I want to build this!
Thank you Nadine! It makes me happy every time I walk by it!
To answer your question: If you add the extra wood to the back of each fence picket, it does not need to be attached to the wall. The bottom square planter is heavy enough to keep the pots from falling over.
Do you have a blog post (or will you have one) that teaches on how to write the "calligraphy font" that you used on the pots?
I wasn't planning to write a post on it because I'm not an expert. I've just watched YouTube videos and read tutorials on other blogs and I'm sort of winging it.
One other thing… try downloading free fonts that have the calligraphy look to them. Then you can print words out and trace them to practice!
What spray paint did you use on the pots? Love the colors!
Blue: Krylon Sea Glass
Yellow: Krylon Bright Idea
Coral: Rust-oleum Coral
Hope that helps!
Thank you so much for sharing!
You bet! 🙂
This planter is amazing! I help run the "Talk DIY to Me" link party and we will be featuring DIY planters from this week's link up! You should add this one to the party! http://mydiyenvy.com/outdoor-decor-ideas/
Do you have the names of the paint colors you used on the pots ?
Coral, Aqua and the yellow is Bright Idea.