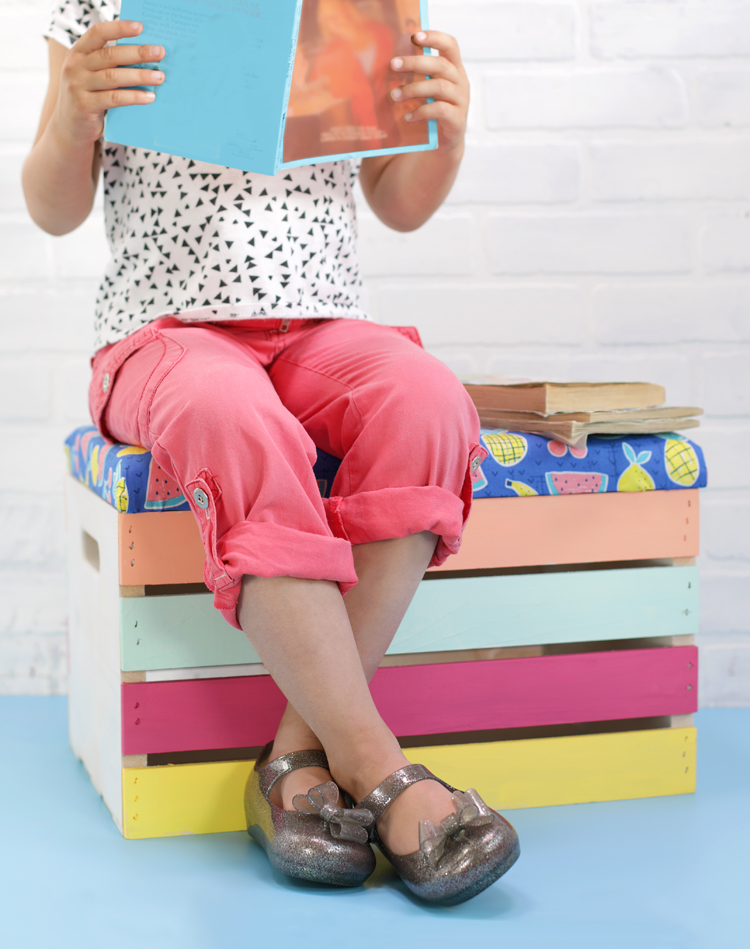
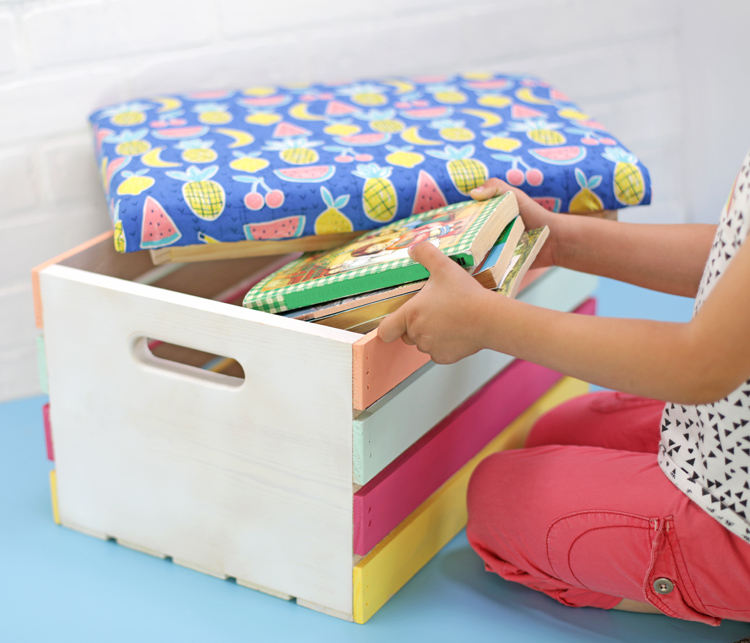
Turn a basic wooden crate into an awesome upholstered storage seat.
Today’s project is brought to you by Arrow Fastener. I’m going to show you how to make an upholstered lid to fit on a pre-made wooden crate so that it becomes a handy storage seat. I love these little seats. They’re easy for my kids to move around to whichever room they like and they love being able to store books, toys or blankets inside.
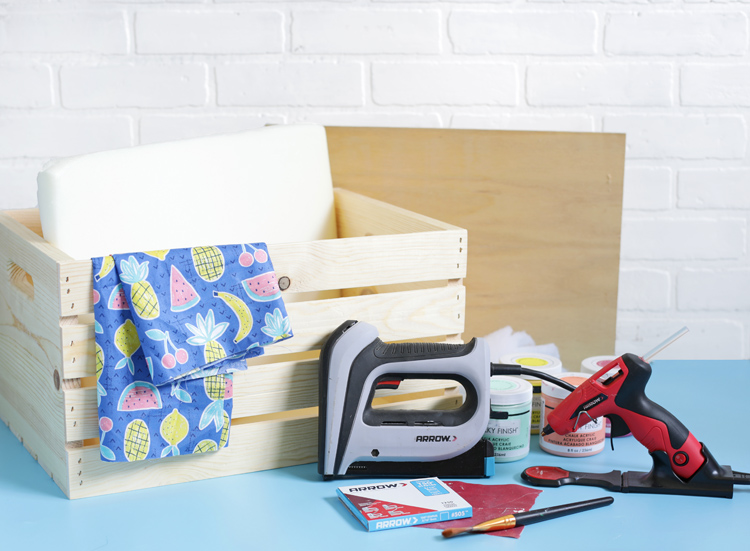
Materials Needed
- Wooden Crate
- Plywood
- 1×1 Wood Strips + Nails (optional)
- Upholstery Foam
- Batting
- Fabric
- Arrow GT12M MiniPlus Glue Gun
- Arrow T50ACD Compact Electric Staple Gun
- Arrow Glue Sticks
- Arrow Staples
- Sandpaper
- Paint
- Paintbrush
You can find pre-made wooden crates at almost any craft store. It would be fairly easy to make one from scratch, but I bought mine on sale for under $8, so it seems worth it to just buy one.
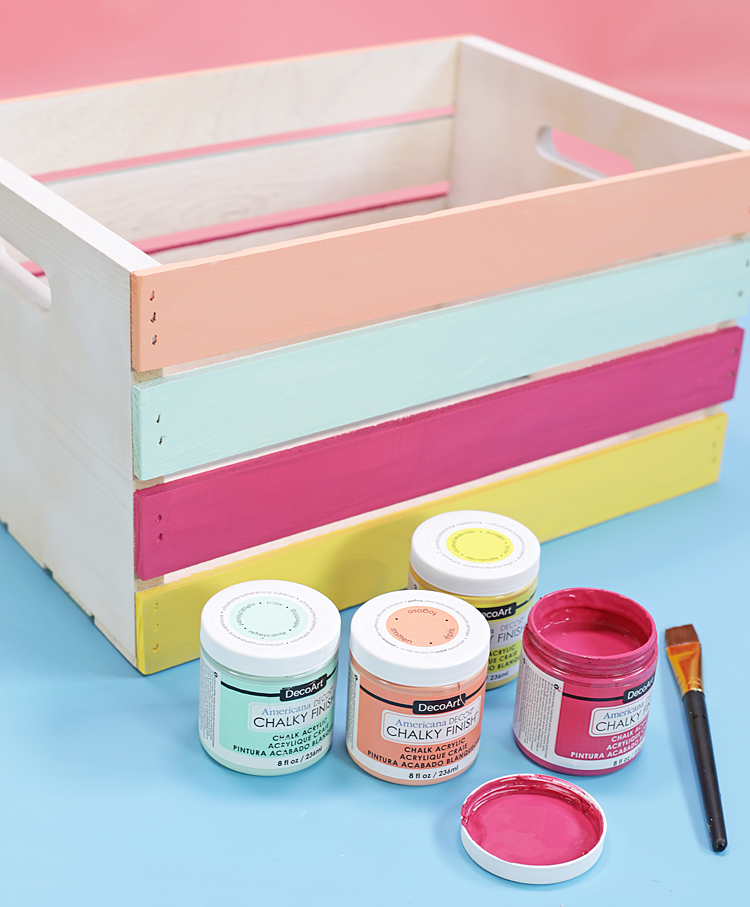
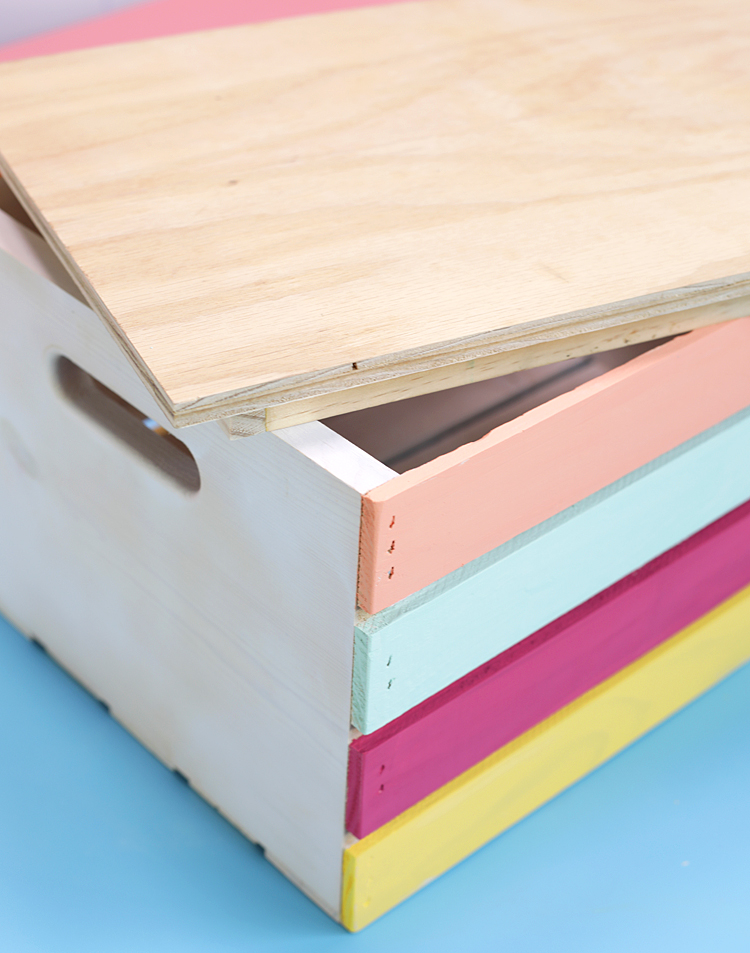
Depending on the condition of your crate, you may need to sand the rough spots. Once the wood is smooth, you can paint or stain your crate any way you’d like. I used a few different colors of chalk paint to coordinate with the fabric I chose for the upholstered top.
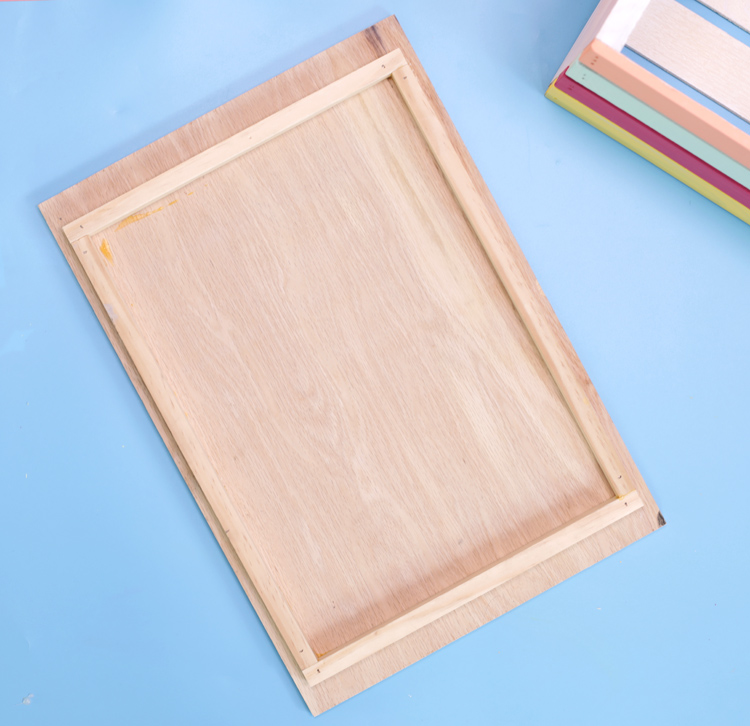
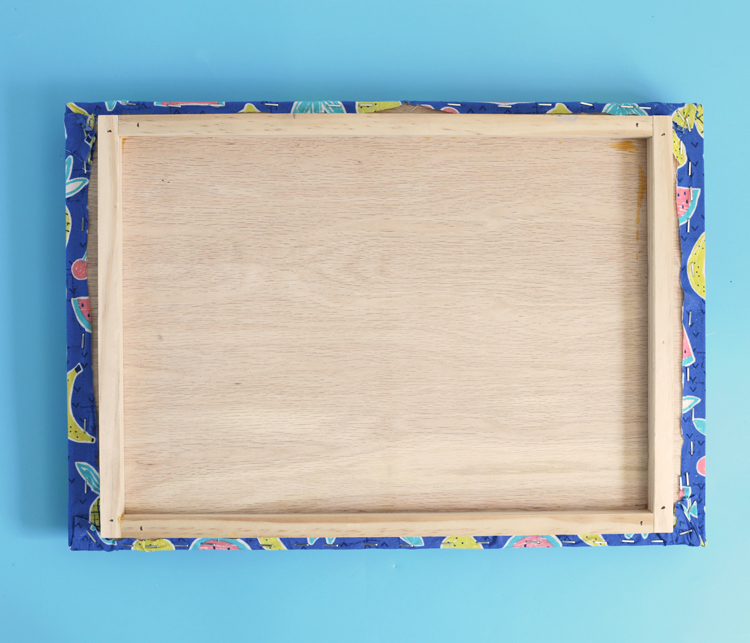
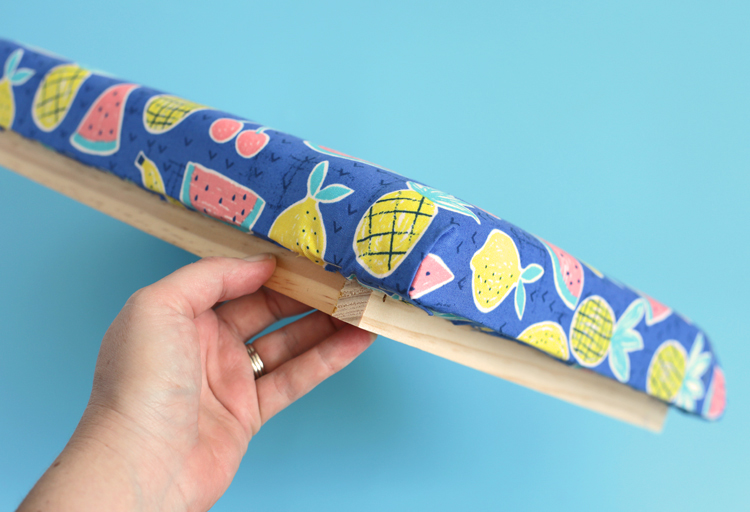
The next step is to cut a piece of plywood to use as the base for the lid. Measure around the top of the crate and cut the wood so it fits flush with the crate. I nailed on some optional 1×1 pieces of wood to the underside of the lid to keep it from sliding off the top when little ones sit on it. This step really is optional though if it seems to complicated.
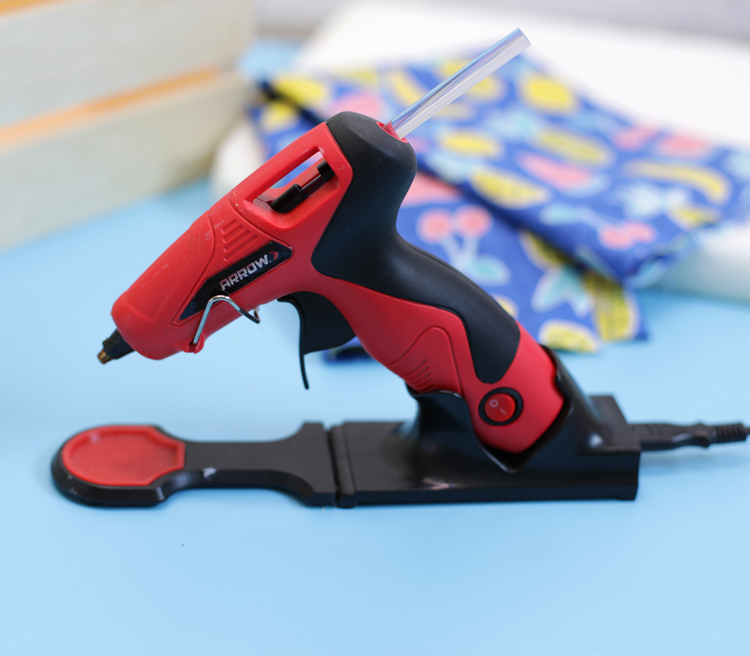
For the next step, you’ll need a glue gun. I’m using my trusty Arrow GT12M Glue Gun. It’s the best glue gun I’ve ever owned. It doesn’t drip glue everywhere, it can be used with or without the stand and it doubles as a cordless glue gun for up to five minutes at a time before it needs to be plugged back into the stand. Seriously, get yourself this glue gun. It is a game changer!
Use hot glue to secure a piece of upholstery foam to the plywood seat.
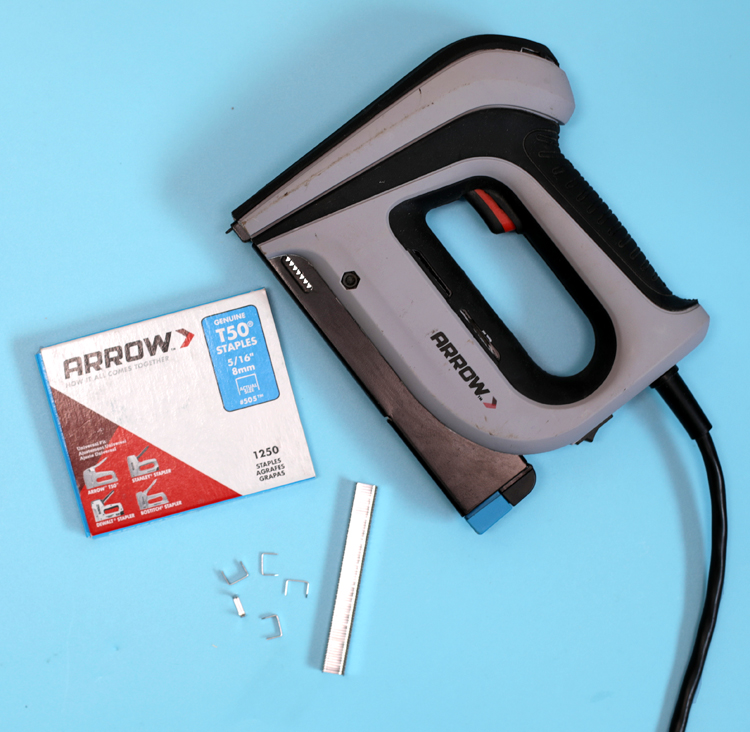
The next tool we’ll use is a staple gun. You can use the classic Arrow T-50 Staple Gun. and it would work well for this project. However, I switched to a the Arrow T50ACD Electric Staple Gun and I’ve never looked back. It makes stapling so much quicker and easier. It’s a simple tool to use. Just open the chamber on the bottom, load it with staples and clip it back into place.
To upholster the seat, lay a piece of fabric right side down on your work surface, then top it with a piece of batting. Place the foam side of the seat on top of that.
Use the staple gun to secure the fabric down all around the underside of the lid. Be sure to pull the fabric tight and smooth it out as you go. Don’t worry– If you mess up, you can always pull out the staples and try again.
Once all of the edges are stapled down, it’s time to tackle the corners. Smooth one side of the fabric down, tuck it around the edge, then fold up the other side of the fabric to give yourself a smooth pleat right on the corner.
The last step is to trim off all of the extra fabric. Put your newly upholstered seat on your wooden crate and you are done!
Upholstered Wood Crate Storage Seat VIDEO TUTORIAL
This post was sponsored by Arrow Fastener. All opinions are my own.

Let’s Get Social
I’m sharing tons of fun ideas on my social channels and I’d love for you to join me there.