Crochet a beautiful baby blanket with this easy and free pattern!
Crocheting a baby blanket is similar having a baby… it takes about nine months to make, but one look at the results and you fall in love and think it was totally worth it.
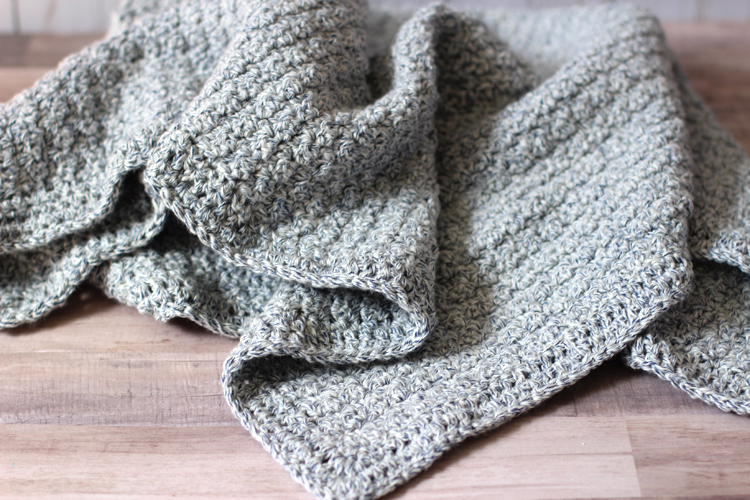
My brother and sister-in-law had their first baby about a month ago and as soon as I found out they were having a boy, I went to the store to pick out yarn. Today I’m sharing the pattern for this simple but beautiful baby blanket. I wish you could touch this yarn in person. It is SO soft and squishy. And the dual color strands adds so much visual interest. I love how it turned out. It’s understated and full of delicious texture.
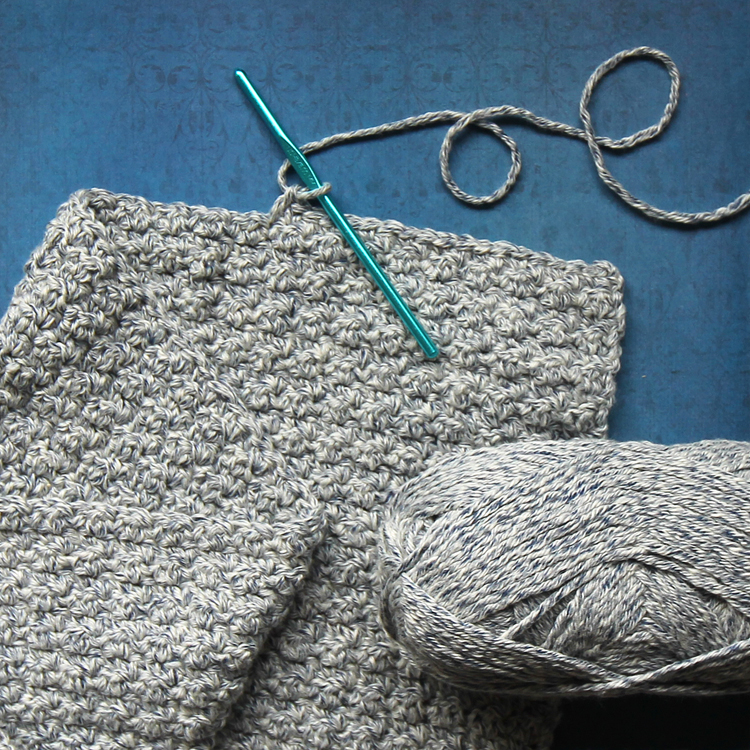
The yarn I used is Yarn Bee Denim in Color from Hobby Lobby. It comes in lots of different colors. You can use any medium weight yarn you’d like for this project.

I chose the denim navy blue color (bottom left corner in the picture).
The main body of the blanket is made using the Griddle Stitch, which is a simple combination of alternating single and double crochet stitches. I used a smaller hook to ensure that the finished fabric was tight enough that baby’s fingers and toes wouldn’t get stuck in it.
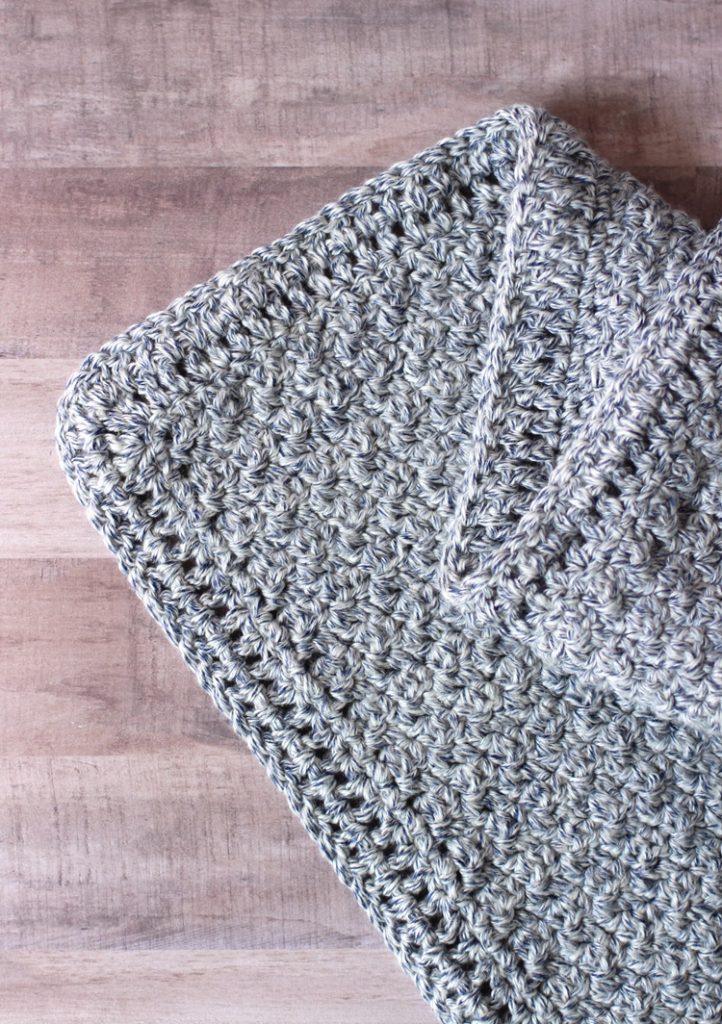
The border is created using double crochet stitches.
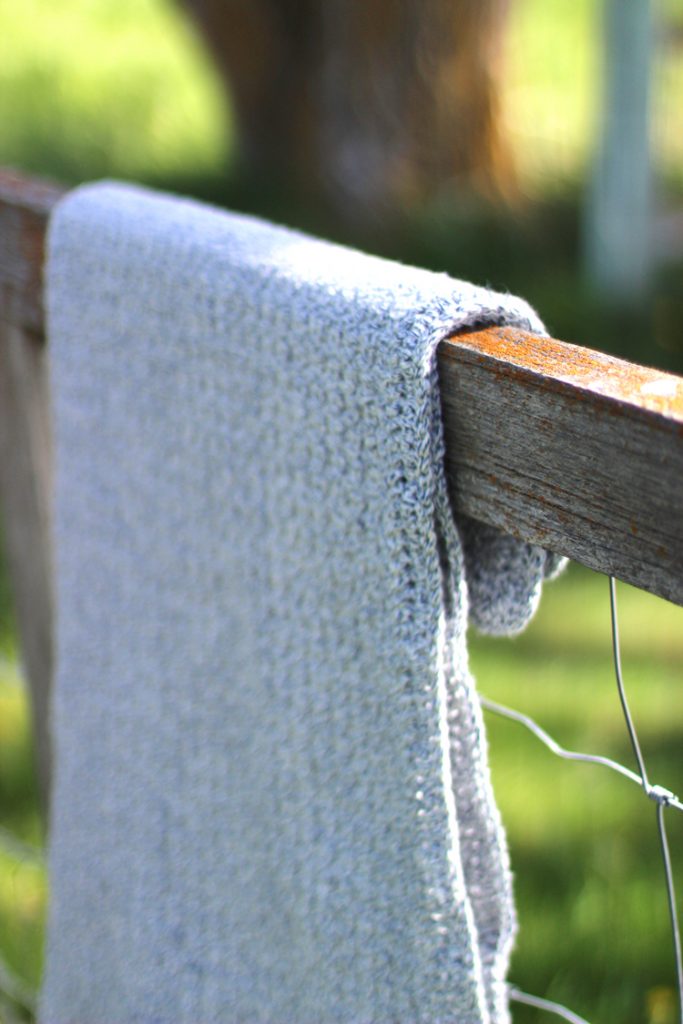
This is a perfect blanket pattern for beginning crocheters because the pattern is easy to remember. That means you can binge watch Netflix while you crochet… which is my favorite way to work!
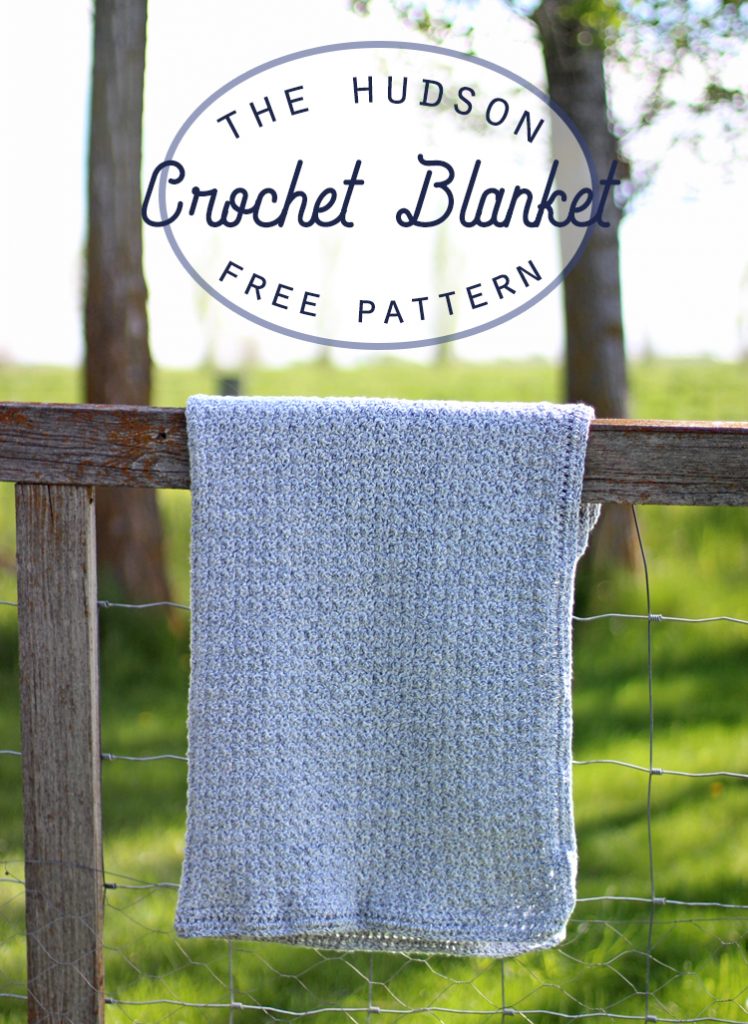
The Hudson Free Crochet Baby Blanket Pattern
Materials Needed
- Yarn Bee Denim in Color, 6-7 skeins
- Size H crochet hook
Instructions
Chain 150 or customize the size any way you want. The starting chain just needs to be in multiples of 2 + add 2.
Row 1: Skip 3ch (count as 1dc), *1sc into next ch, 1dc into next ch; rep from * ending 1sc into last ch, turn.
Row 2: 3ch (count as 1dc, skip 1 st, *1sc into next dc, 1dc into next sc; rep from * ending 1sc into top of tch, turn
Repeat row 2 until you have reached your desired blanket length. My blanket was just a bit more of a rectangle than a square.When you are satisfied with the size of the blanket, single crochet around the entire outside edge. The sides will turn out best if you put two single crochet stitches per row.
Then stitch around the entire outside edge of the blanket with double crochet stitches (one in each sc stitch), adding 3 DC in each corner to make them turn nicely. Repeat a second time.
Slip stitch the last stitch off, and cut the yarn, leaving about a six inch tail. Weave in loose ends and you’re done!

Then all you have left to do is stand back and admire your handiwork!
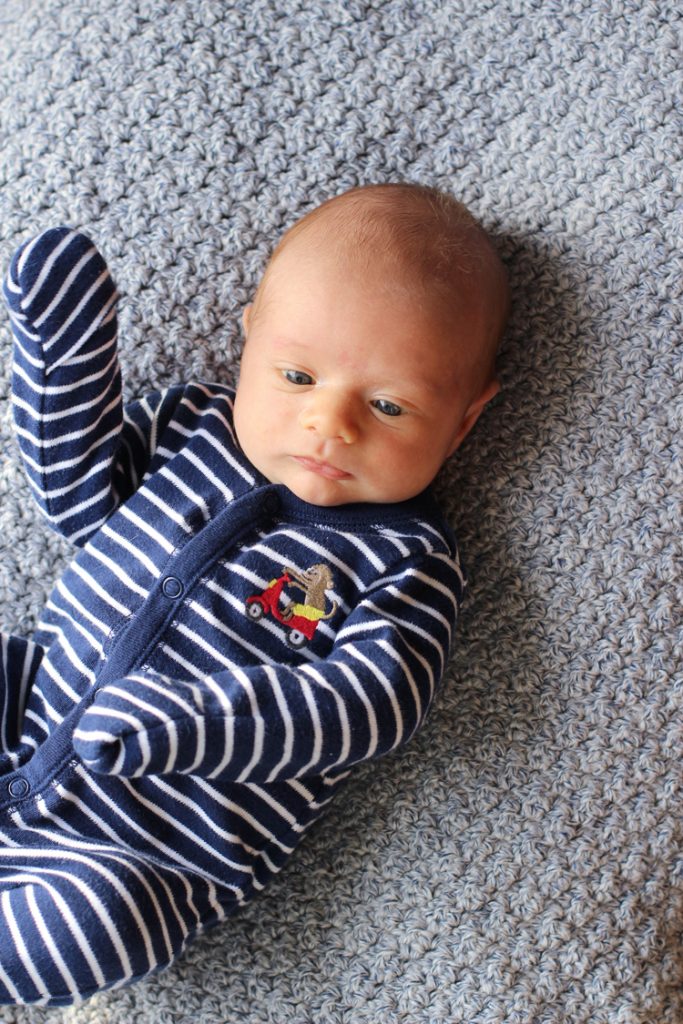
My blanket recipient seemed pretty happy with how it turned out.

Comments & Reviews
Hi Love the blanket and would like a clarification on the border.
What do you mean by “The sides will turn out best if you put two single crochet stitches per row.”?
Do you mean crochet 2 rows of sc, then next stitch around with dc for 2 rows??
Thanks
When you crochet along the top, it’s easy to put one SC stitch into each stitch. It’s when you go down the sides of the blanket that it’s tricky to get the spacing right since you’re going into the side of the stitches instead of the same direction. I found that two vertical stitches into each horizontal row gave the most even spacing.
Hopefully that clarifies it a bit for you!
What are the dimensions of the blanket?
I’m so sorry. I don’t actually remember the finished size, but I can tell you it was a very standard baby blanket size.
Would this pattern be suitable for a lapgham?
Yes!
Hi …was wondering what the finished size of the blanket is? thx!
Sorry Ann, I made this project so many years ago and gave it away so I don’t know the measurements.
Would you please tell me if you created a video tutorial for this blanket? I find I learn better and understand the pattern if I can see how it is to be crocheted.
I have not created a video for this project yet.