Add a handmade touch to your Thanksgiving table this year with these two cute stamped Thanksgiving craft ideas.
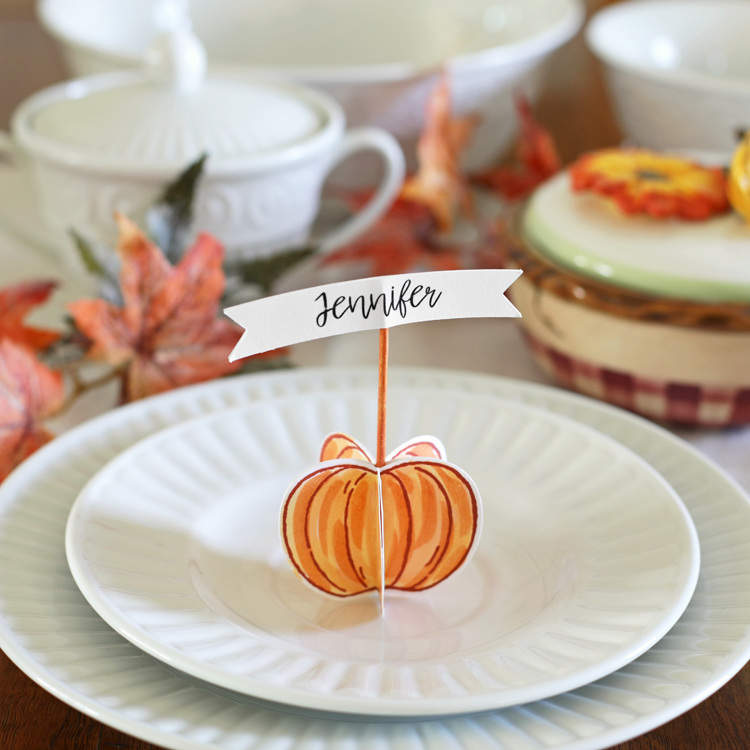
I love to add pretty handmade touches to the Thanksgiving table. It’s kind of the biggest meal of the year, after all, so why not make it extra special?! Today I’m going to show you how I created two fun projects for Thanksgiving… I made cute name cards and food labels using stamps.
This post is sponsored by Stampin’ Up. All project ideas, photos and opinions are my own.
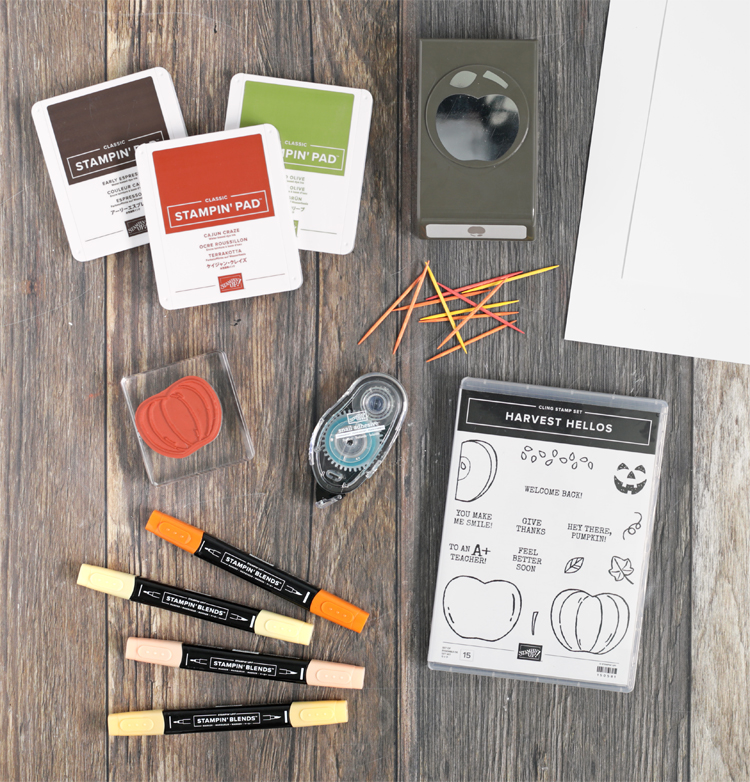
These are the supplies you’ll need to make this project:
Materials
- Hello Harvest Stamp Set
- Ink Pads (in Cajun Craze, Old Olive and Early Espresso)
- Apple Builder Punch
- Whisper White Cardstock
- Snail Adhesive
- Stampin Blends Markers
- Clear Stamping Block
- Wooden Toothpicks or Small Wooden Dowels
I’ve created a video tutorial to show you exactly how these cute projects come together, but I’ll list out the steps as well so you can follow along however is easiest for you.
Project One – Place Cards
Step 1: Stamp the pumpkin image onto cardstock. You’ll need five pumpkins for each place card.
Step 2: Use the Stampin’ Blends markers to color in the images. This was my first time using these markers and they’re so cool! When you color with them, the ink blends together to give you a soft, watercolor look, but it’s as easy as coloring.
Step 3: Cut the piece of paper with all of the pumpkins into strips and use the punch to punch out all of the pumpkin shapes. You have to cut it into strips first since the punch can’t reach into the middle of a full sheet of paper.
Pro Tip: When I made the project, I cut out the stamped pumpkin images first, then colored them. But I realized too late that it would have been easier to color the images before punching them out. So I definitely wanted to share that little tip with you!
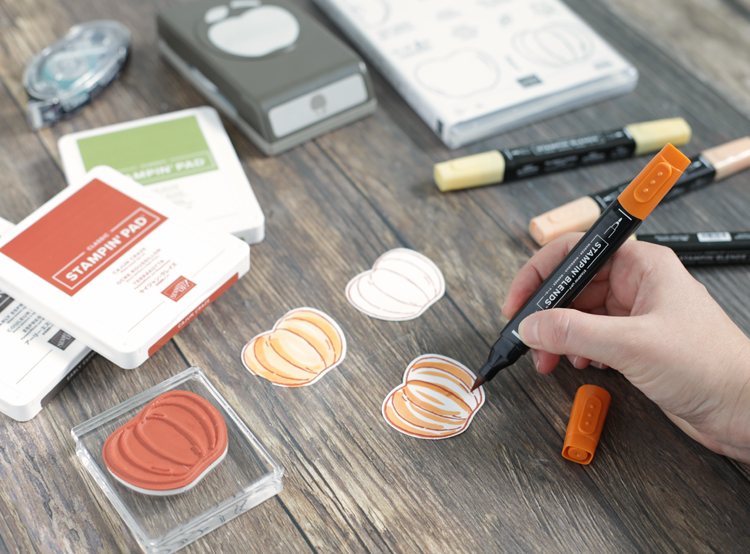
Step 4: Fold each pumpkin in half. Glue the halves together to form a 3D shape.
Step 5: Push a toothpick into the top center of the 3D pumpkin. You may want to secure it with a dab of glue. Then glue a name card to the top of the toothpick.
Stamped Thanksgiving Place Card Video
Project Two – Food Label Cards
The second craft is making these cute little food label cards. I always appreciate knowing what each food item is when things are served buffet style. I mean, I wouldn’t want to accidentally get a slice of blueberry pie when I really wanted cherry. Wink wink.
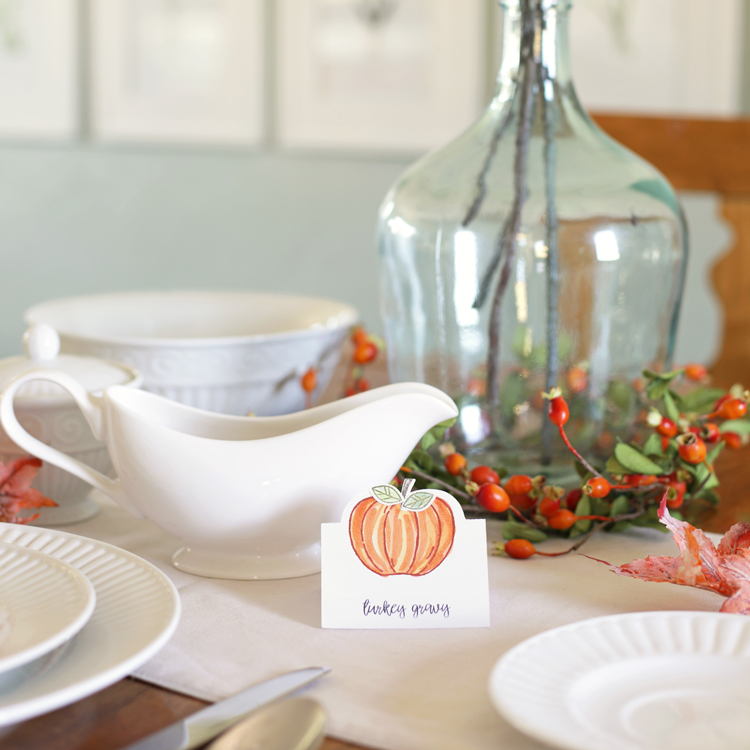
The pumpkin images are made the same way as the name cards, but you stamp the image directly onto the cut out labels. This time I added the stems and leaves for a little something extra.
I’ve created a free SVG cut file for the food labels that fits the pumpkin stamp perfectly. The file is at the bottom of the post. Download it, open it in Silhouette Studio or Cricut Design Space and cut out a bunch of cards. Then you can stamp the pumpkins onto the cut cards. You could also use them as name cards so that your food labels and name cards match exactly. It’s up to you!
Also, just a note that the same Harvest Hellos stamp set can make a Jack-O-Lantern and apples which would both fit the SVG file perfectly too. That means both projects could be adapted for a teacher appreciation luncheon or a Halloween party too. Hurray for versatility!
Stamped Thanksgiving Place Card Video
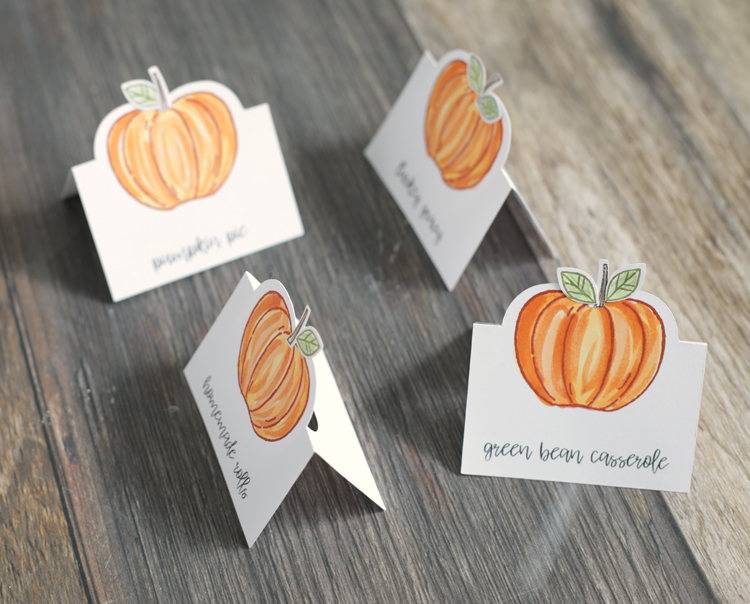
Download the Thanksgiving tented food labels SVG cut file here.
This post is sponsored by Stampin’ Up! All opinions are my own. If you want to learn more about these products, contact a Stampin’ Up! demonstrator. You can easily find one near you by visiting www.stampinup.com and clicking on the “Find a Demonstrator” button.

Let’s Get Social
I’m sharing tons of fun ideas on my social channels and I’d love for you to join me there.