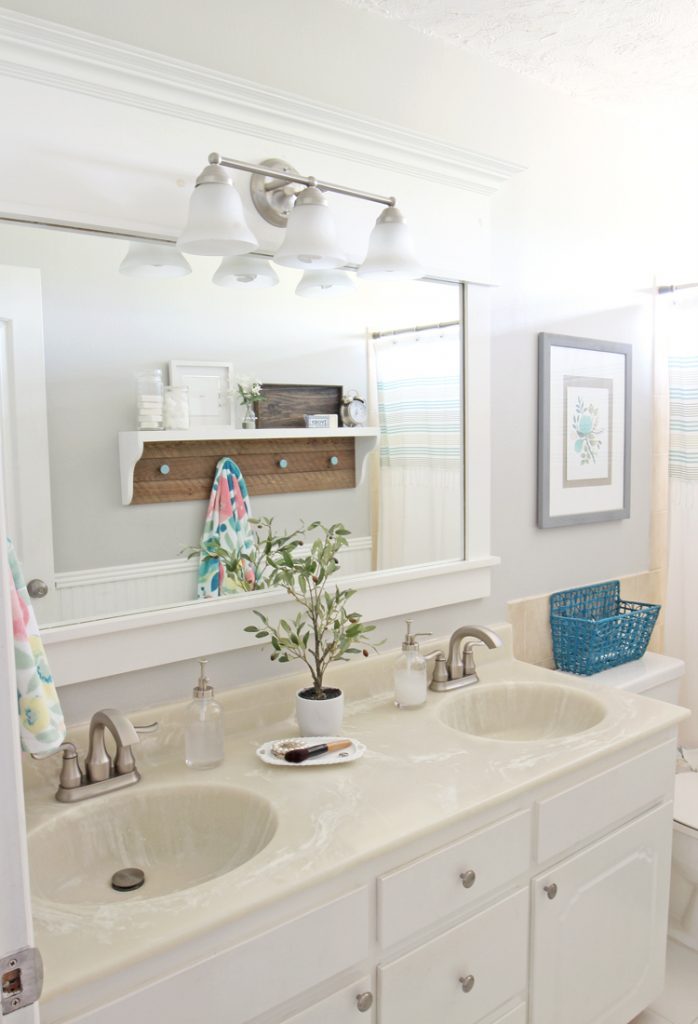
Sometimes it doesn’t take a full remodel to give a bathroom a whole new look. Our upstairs bathroom is the perfect example. We were able to update the whole look and feel of the room without doing any heavy construction.
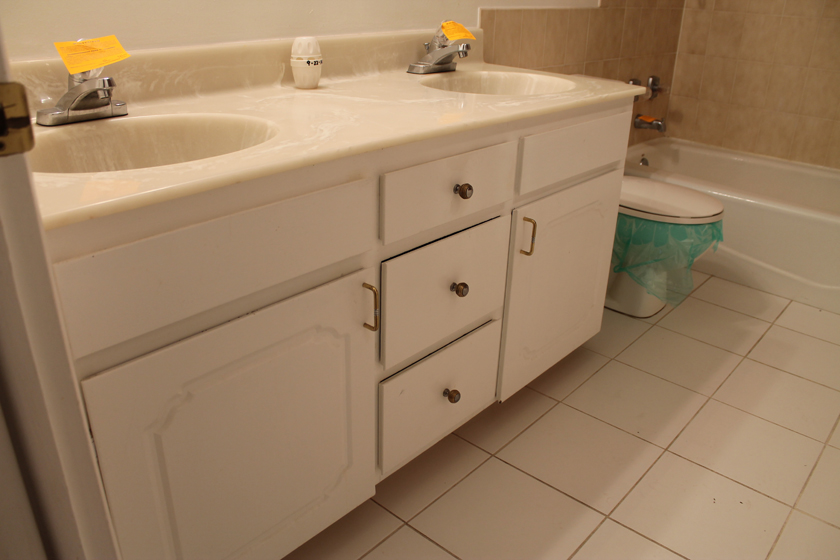
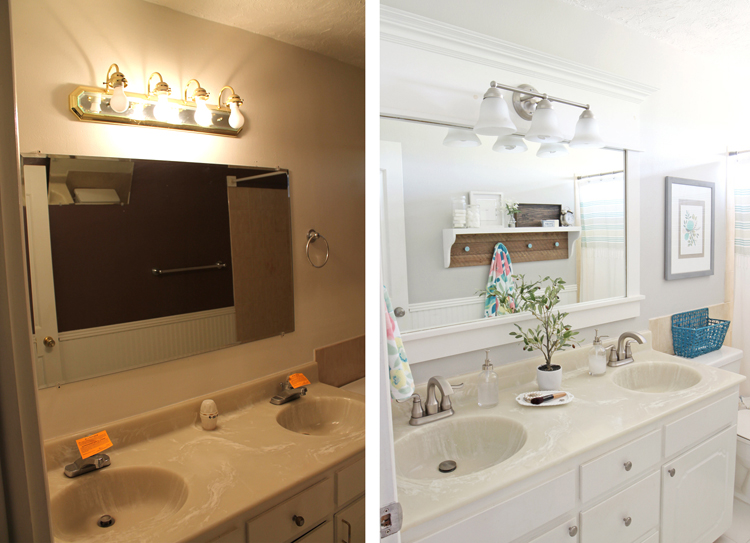
This is what it looked like before:

The room was dark and dated.

We started by painting the whole bathroom light gray. Then we framed the mirror with wood, changed out the cabinet hardware and added fresh accessories.
Next, we replaced the old, cheap faucets with gorgeous new ones from Moen’s Hamden collection.
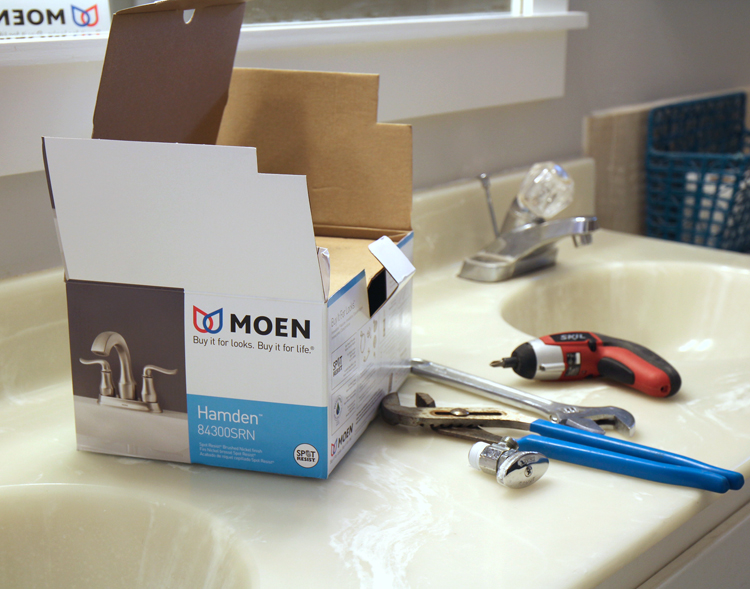
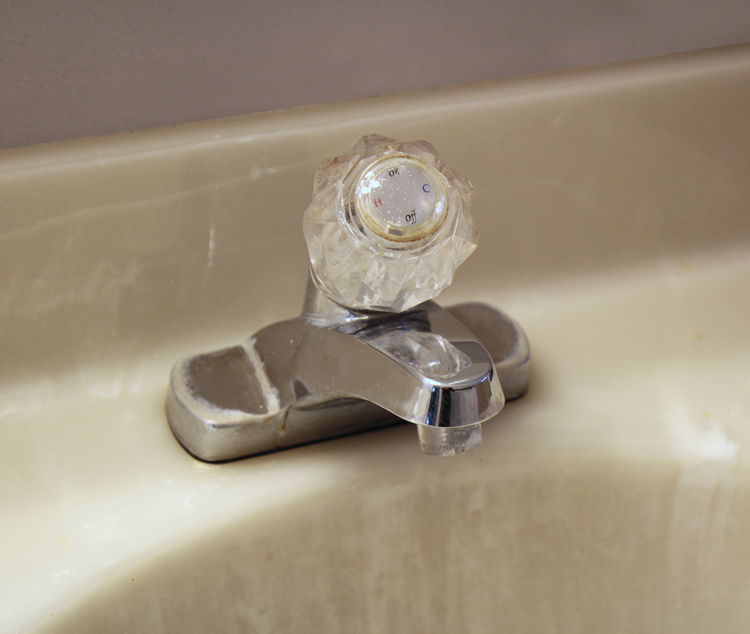
The old faucets were corroded, cheap, small and had no style at all. Unless you count “bad hotel” as a style… ha!
Aren’t the new faucets GORGEOUS?! I love the pretty curves of the handles. They are made with a spot-resist brushed finish that will help them stay looking great, even when the kids splash around.
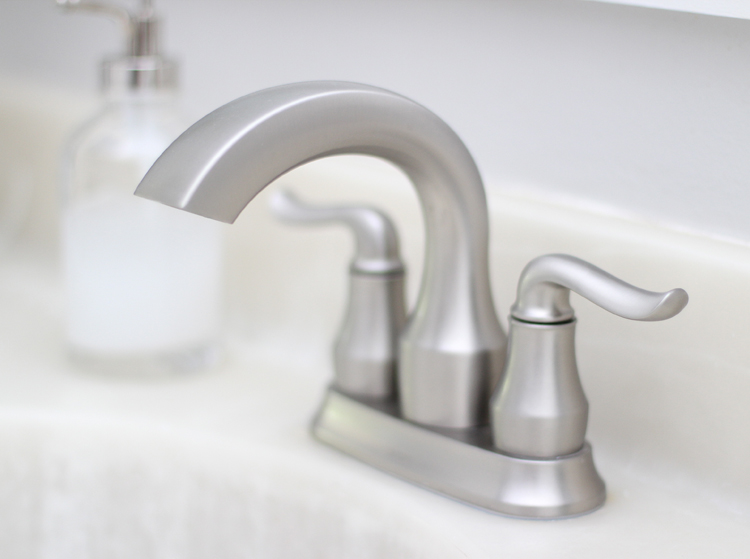
The added height of the spout makes washing my face so much more pleasant. The water is so much easier to reach!

We installed the matching Hamden towel ring and toilet paper holder too.
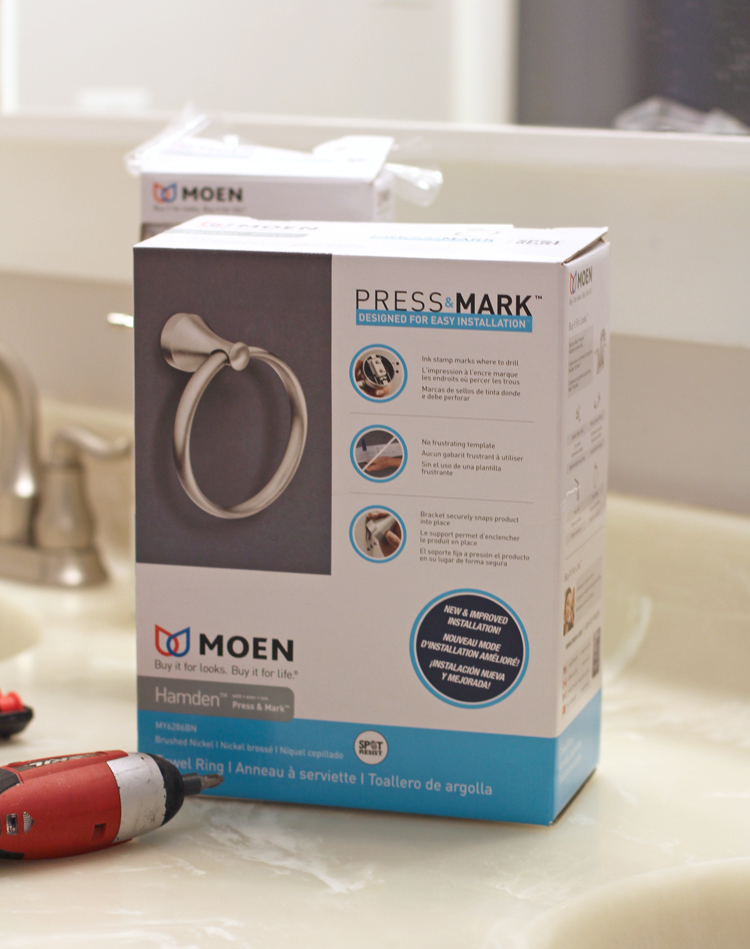
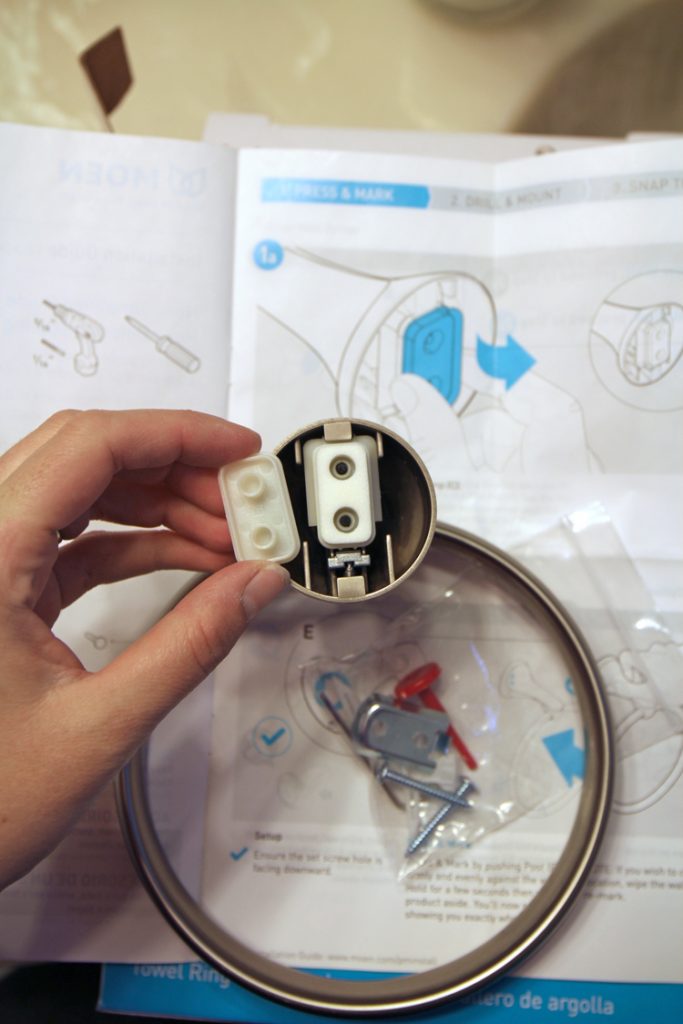
The accessories featured the Press & Mark system, which took all of the guess work out of hanging the fixtures. They have a built-in stamp that you press against the wall and it marks where the holes need to be drilled. Isn’t that the most amazing idea? I was able to hang the hardware in a snap thanks to that handy feature.
The new towel bar looks so sleek and really compliments the faucets. I am very pleased!
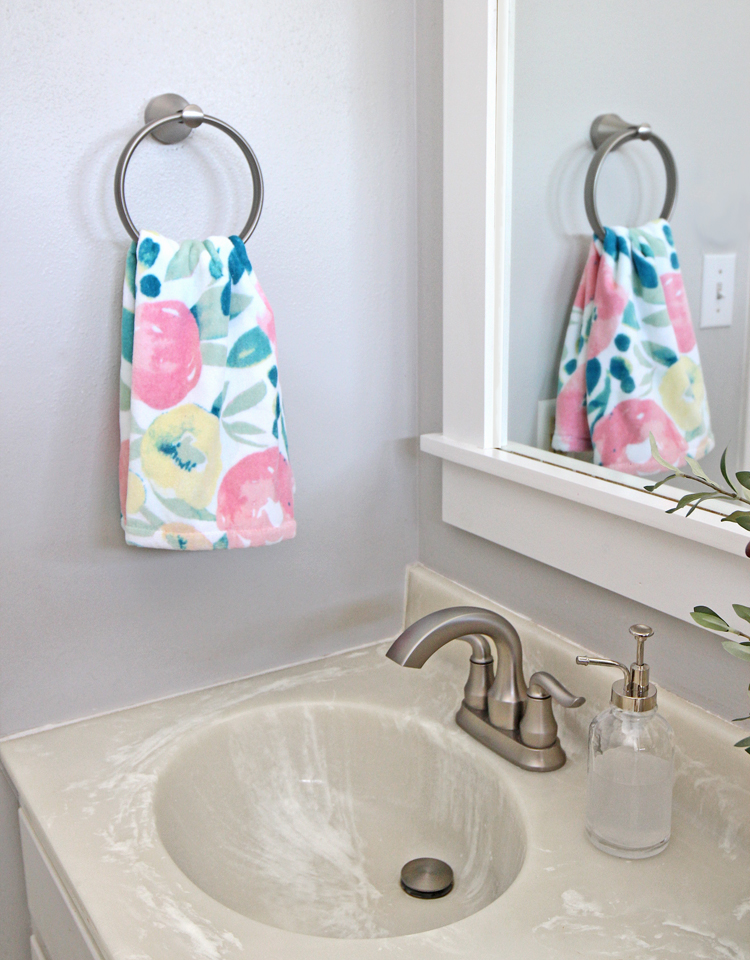
If we had an unlimited budget and unlimited time, we would love to get a new vanity, new floor tile and a new tub surround, but because of these smaller changes, we’ll be happy with this bathroom for years to come.
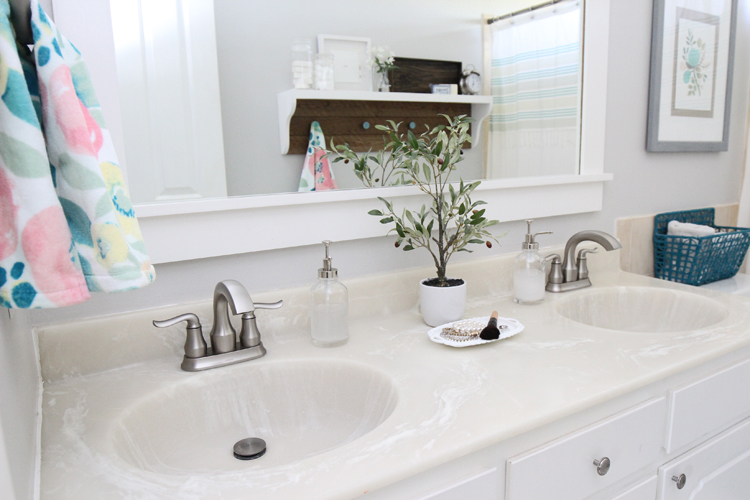
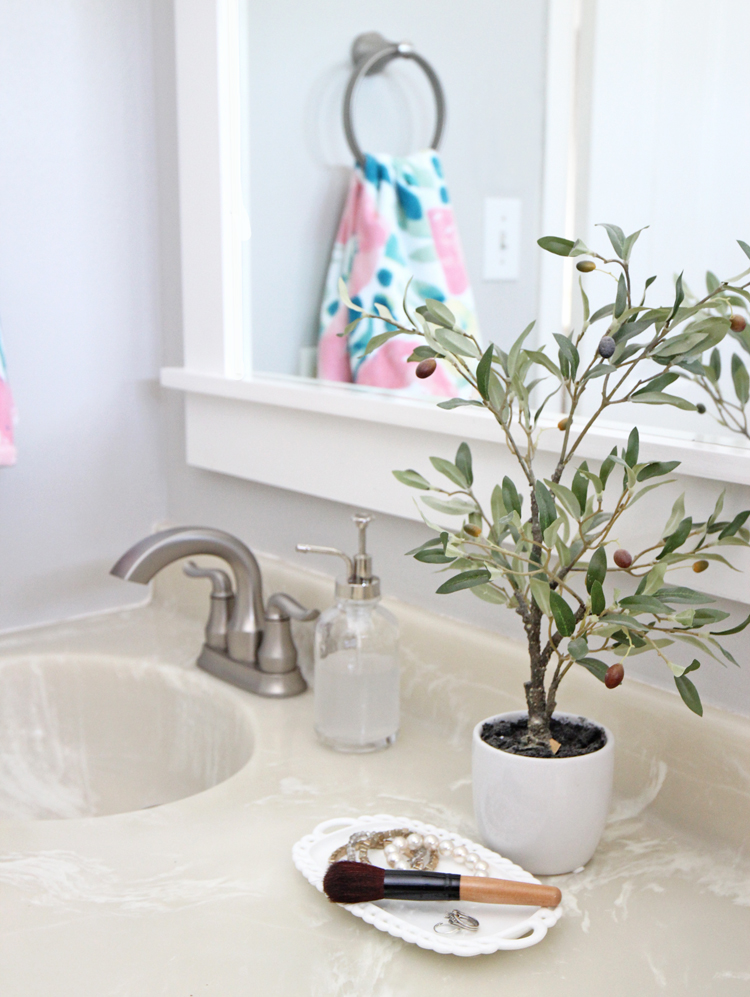
Last but not least, here’s the side-by-side comparison. Isn’t it amazing that such small changes can completely transform a room?

Comments & Reviews
It looks like you also installed a window over the tub….where else could all that light be coming from? No light fixtures are on.
There IS a window above our tub, but it's always been there. The first pictures were taken on a really stormy day so almost no light was coming in the window. I meant to take more pictures before we made all of the changes, but somehow I never did and these are the only "before" pictures I have.
Thanks for the explanation. It's an amazing makeover. You did a great job.
No prob. Thanks for stopping by!
What a sweet transformation! I just love your ideas and inspiration!
Thank you so much, Julie. You are too kind!
what color gray did you paint the walls? There are so many to choose from!
I actually used a can of "oopsie" paint. BUT the color is almost identical to Sherwin-Williams Repose Gray.
I just love the plant you put on the counter. What kind is it?
It's a faux olive tree.
I love what you did, thank you for sharing. Can I ask about that beautiful hand towel, I've been looking for something just like that. Where is it from?
I found it at Ross.
How did you go about framing your mirror?
My husband built a custom frame. We removed the mirror from the wall (luckily it was not glued) and the frame is constructed like a giant picture frame with little tabs that hold the mirror into place. Here’s a post that shows the frame before it was painted to give you a better idea of how it was built. Sorry I don’t have a more thorough tutorial! https://www.thecraftpatchblog.com/bright-and-beautiful-budget-bathroom/