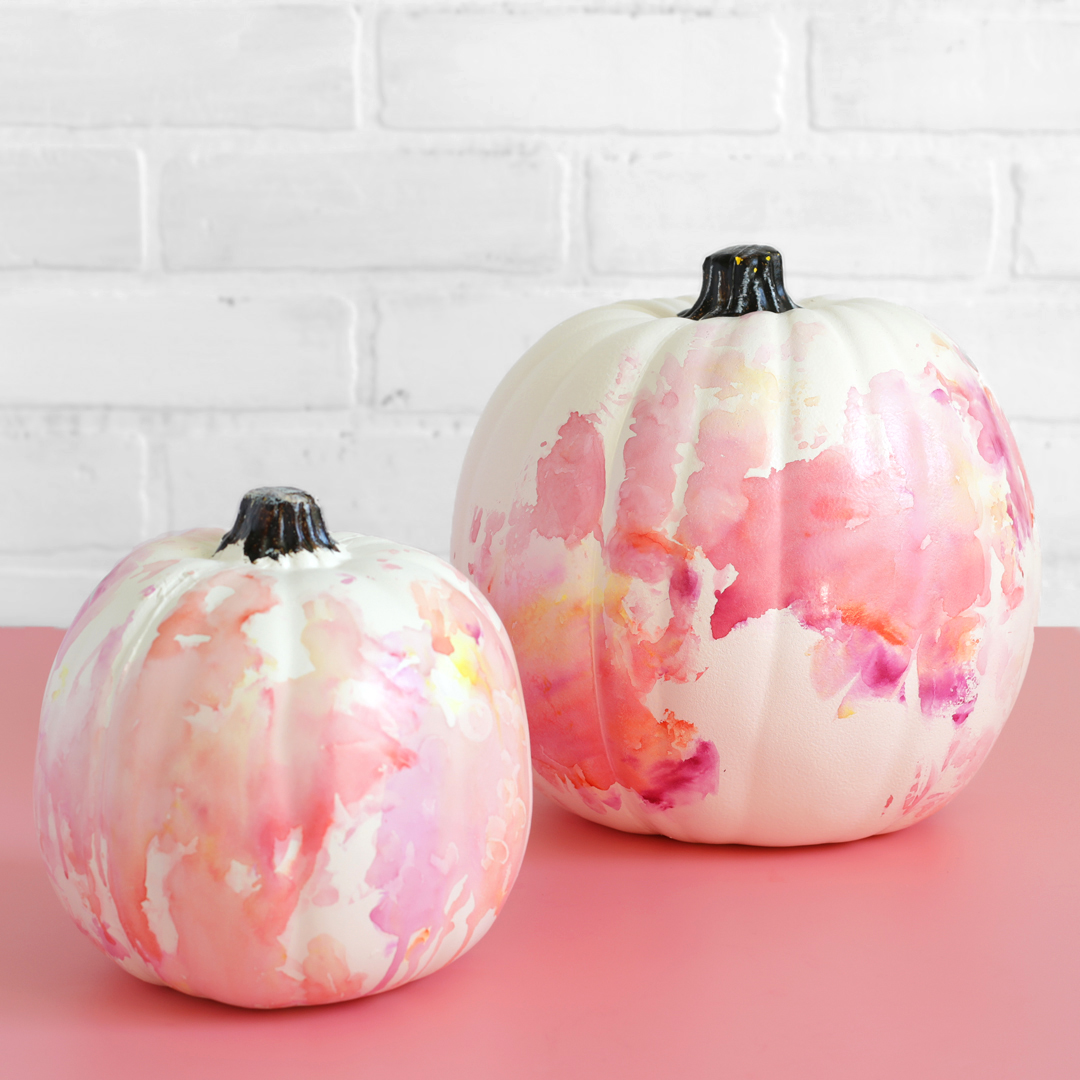
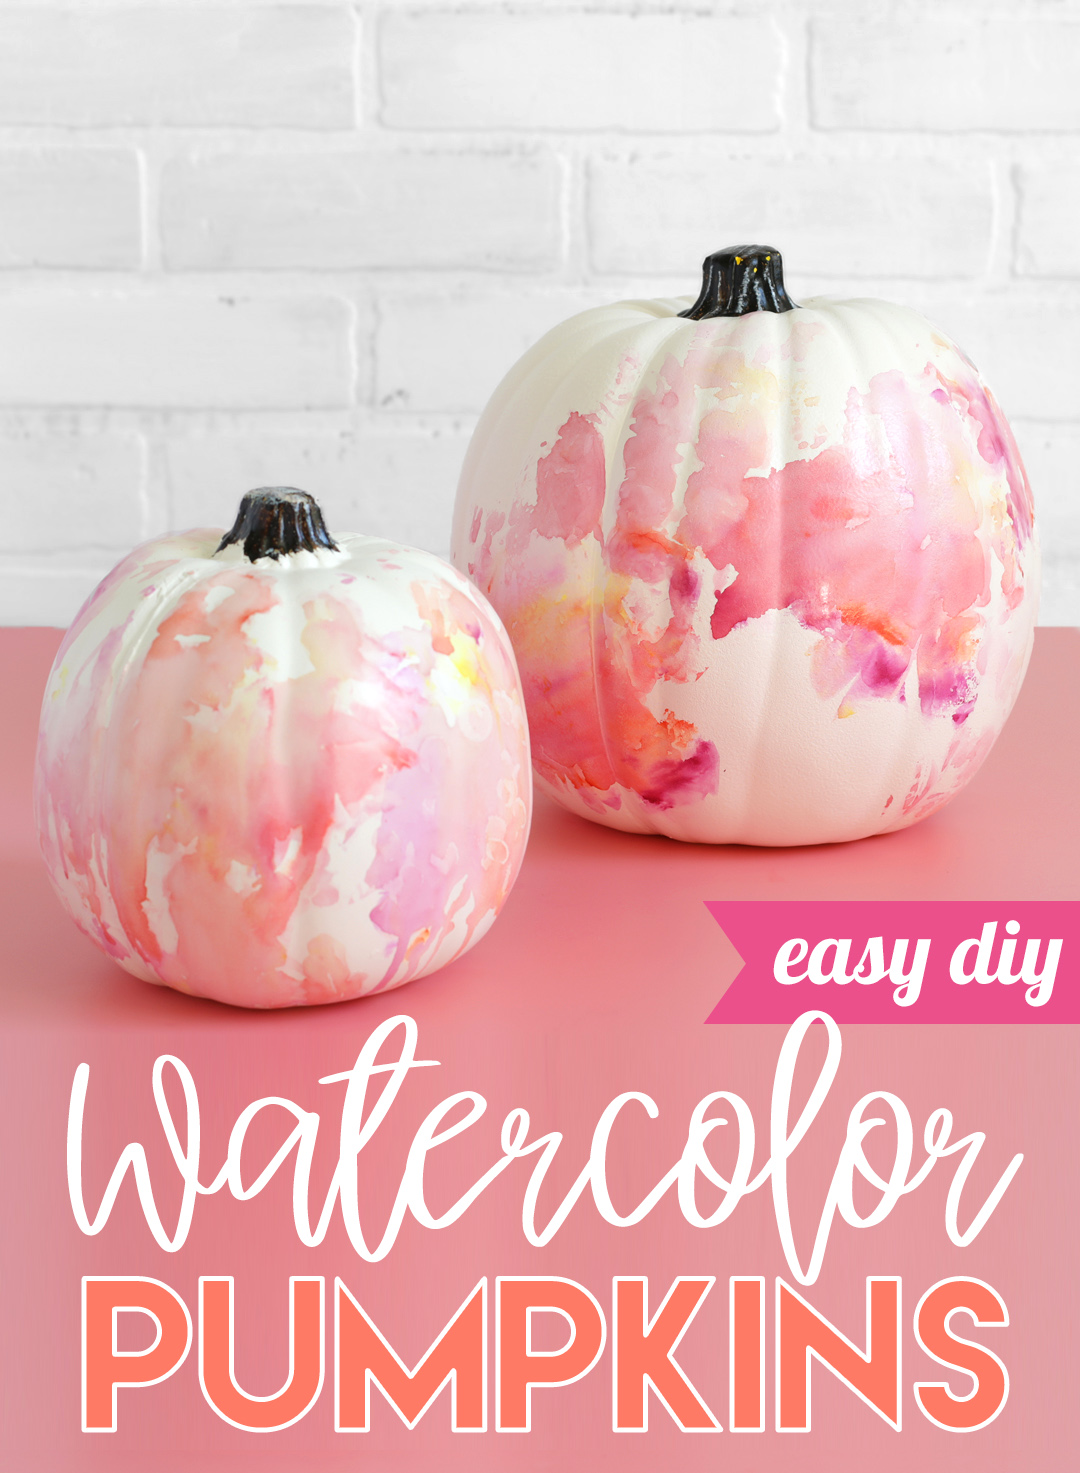
Paint pumpkins with a faux watercolor technique using Sharpie markers.

I have a really fun pumpkin painting technique to share with you today. If you have been around here for a while, you will know that I might be slightly obsessed with pumpkin painting ideas. I just love a good painted pumpkin!
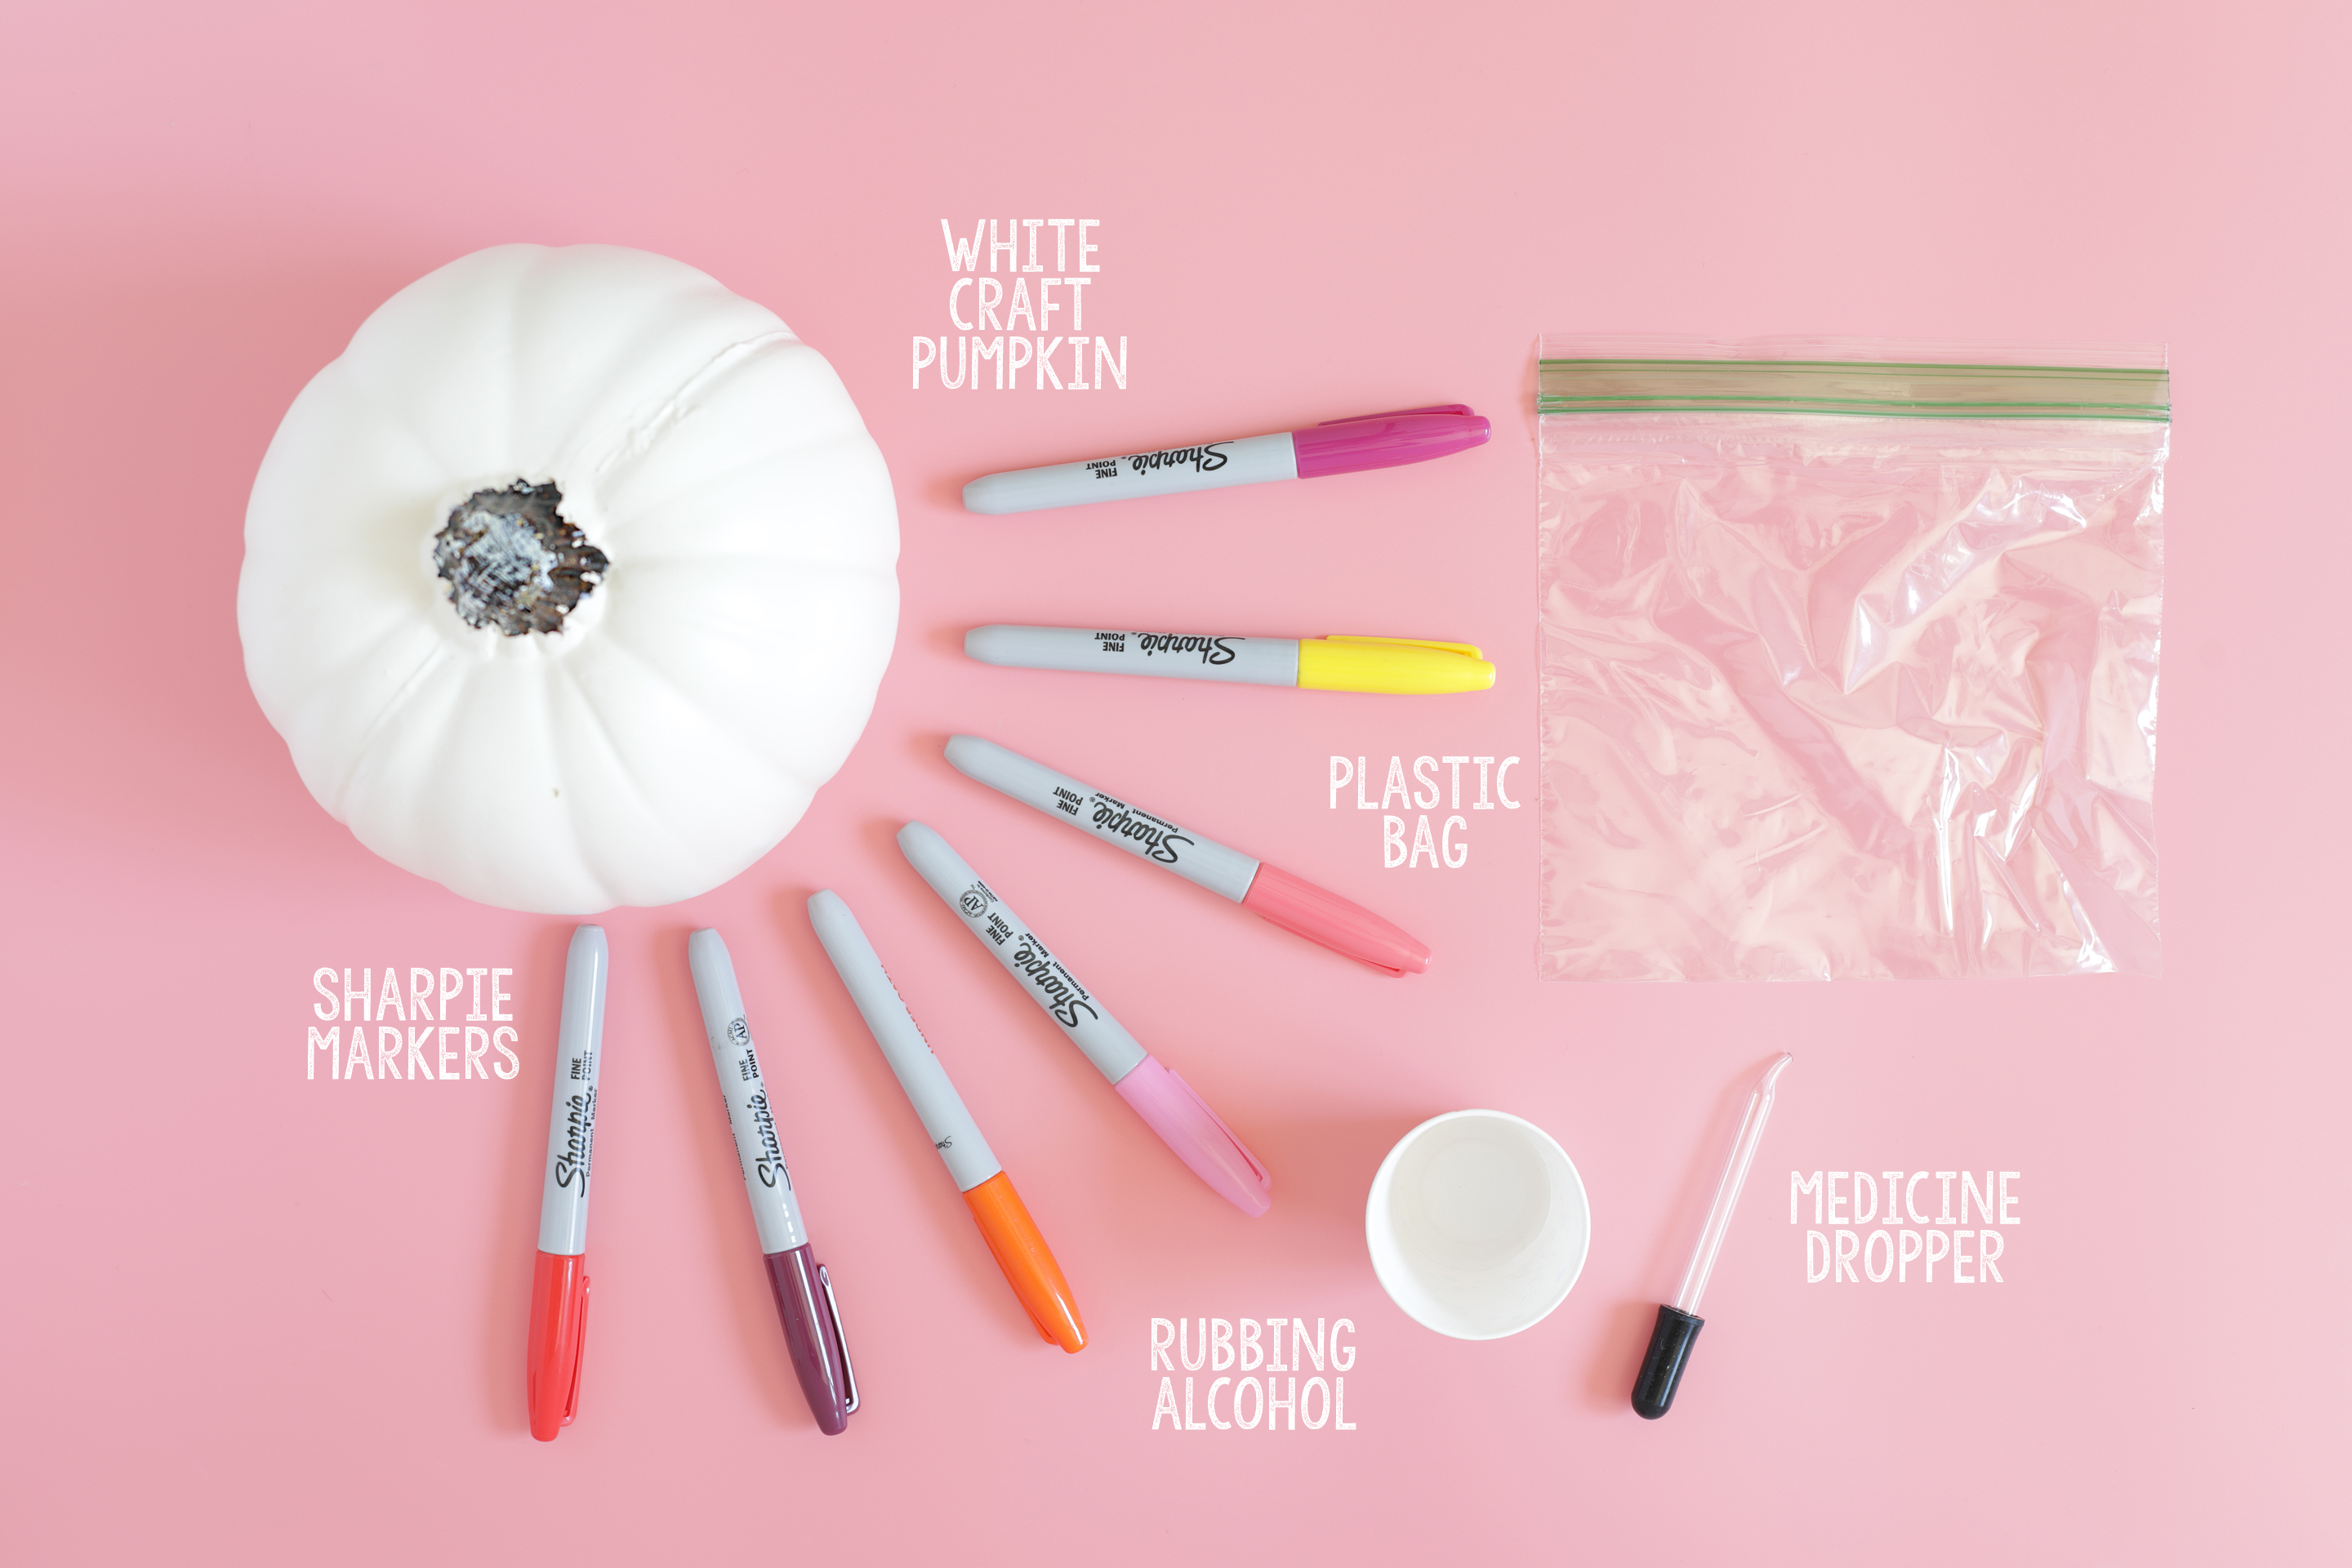
Today’s pumpkin painting technique is really easy… anyone can get great results, even if you have no idea how to watercolor. To make these watercolor pumpkins, here are the materials you will need:

Materials Needed
- Plain White Craft Pumpkin
- Sharpie Markers
- Isopropyl Rubbing Alcohol
- Plastic Bag
- Medicine Dropper
I will write out the instructions, but be sure to watch the short video at the end of this post to see how it works. It is so fun to watch!
Step 1: Use the Sharpies to color splotches onto a plastic bag. The design doesn’t really matter, but you may want to think about how neighboring colors will look when blended together.
Step 2: Fill a medicine dropper with rubbing alcohol and carefully squirt drops onto the plastic bag. You’ll see that it makes the Sharpie ink start to run.
Step 3: Roll your pumpkin on top of the bag to transfer the wet ink to the pumpkin. You can also carefully lift the bag and press it around on the pumpkin once the initial really wet part has been transferred.
Step 4: Let the ink dry (it only takes a few minutes) and enjoy your cool watercolored pumpkin!
VIDEO TUTORIAL
Like this idea? Pin it for later!

I used a variation of this technique to tie dye a pair of canvas sneakers and they turned out so darling. I wear them all the time!

Comments & Reviews
Can you do it on a real pumpkin?
I think it would work as long as you painted the pumpkin first.