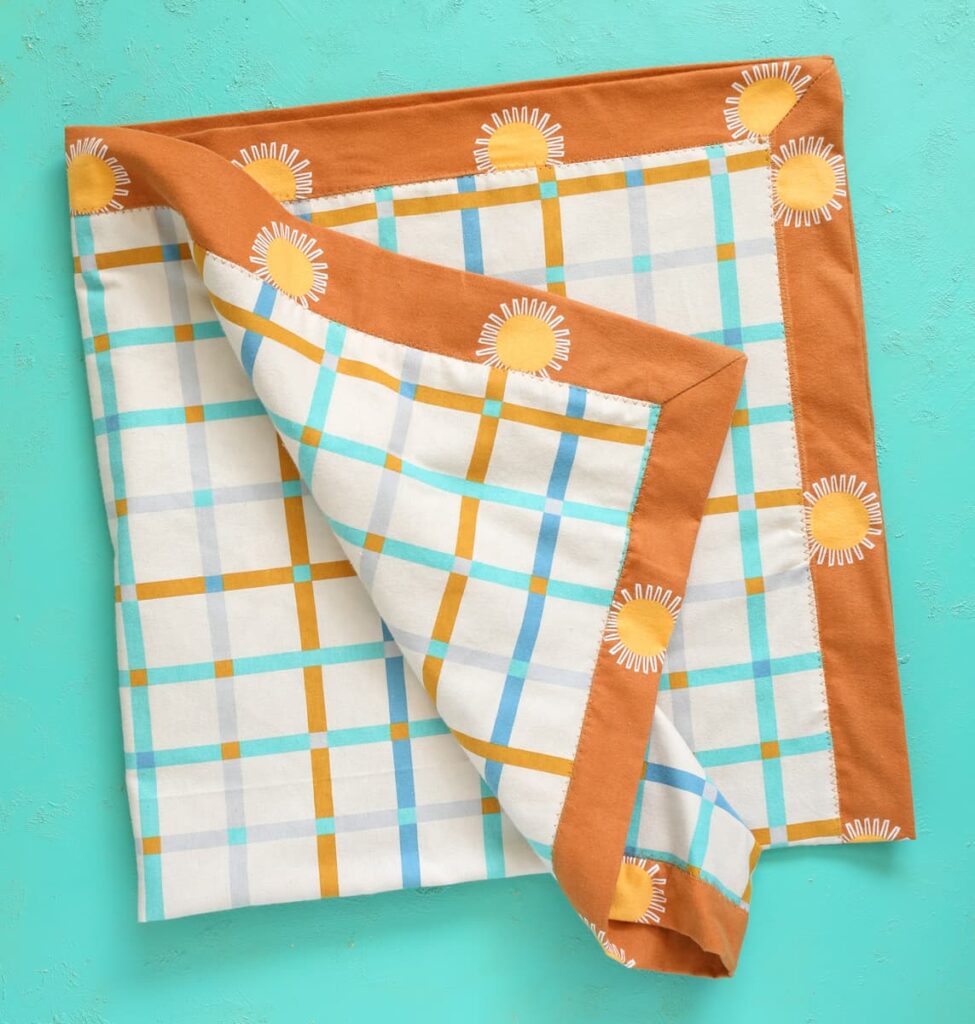
Learn how to sew a flannel baby blanket with a pretty mitered border.
I am so excited about this flannel baby blanket tutorial I’m sharing with you today. I love how the back fabric (orange) borders the front fabric (plaid). I have been making the plain two-sided flannel blankets forever, but this version is just a bit fancier, but not all that much harder once you know how to do it. Let me walk you through every step.
Materials Needed
- 1 1/3 yard flannel fabric for border and backing (orange fabric in photos)
- 1 yard flannel fabric for center (plaid fabric in photos)
- Sewing Machine
- Quilting Ruler, Rotary Cutter and Quilting Mat OR Fabric Scissors
- Coordinating Thread
JOANN has the largest selection of flannel fabric. Hobby Lobby has some really cute options too, just a much smaller section of flannel to choose from. You’ll want to choose two fabrics that coordinate. If using a stripe or plaid, I suggest using that fabric for the smaller center section so it’s easier to keep the design lined up.
Instructions
Step 1- Cut two perfect squares of flannel: one 43×43 inch and one 36×36 inch. If your fabric is not quite wide enough for a 43 inch square, just go with a 42 inch square.
Note: The easiest way to get perfectly square pieces of fabric is to use a quilting ruler, cutting mat and rotary cutter. If you don’t have these, you can still make this blanket! Just use something like a piece of cardstock to help you get very square corners and cut with fabric scissors.
Step 2- Mark the center of each side of the largest square on the front side of the fabric and mark the center of each side of the smallest square on the back side of the fabric.
Step 3- Place the two pieces of fabric right sides together, then line up the center marks and pin them in place. This means that the large square will hang off the edges of the small square. You are lining them up in the middle of each edge, not the corners.
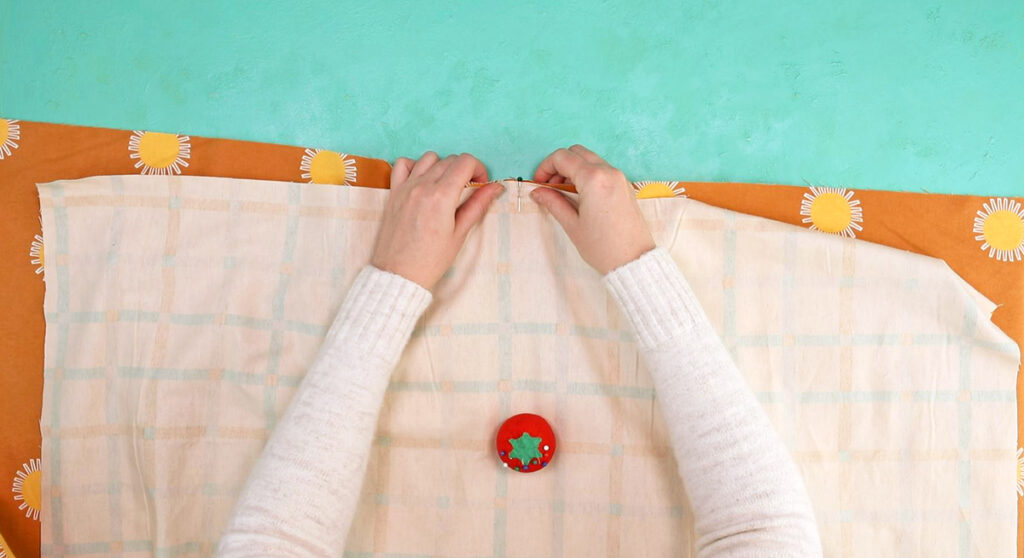
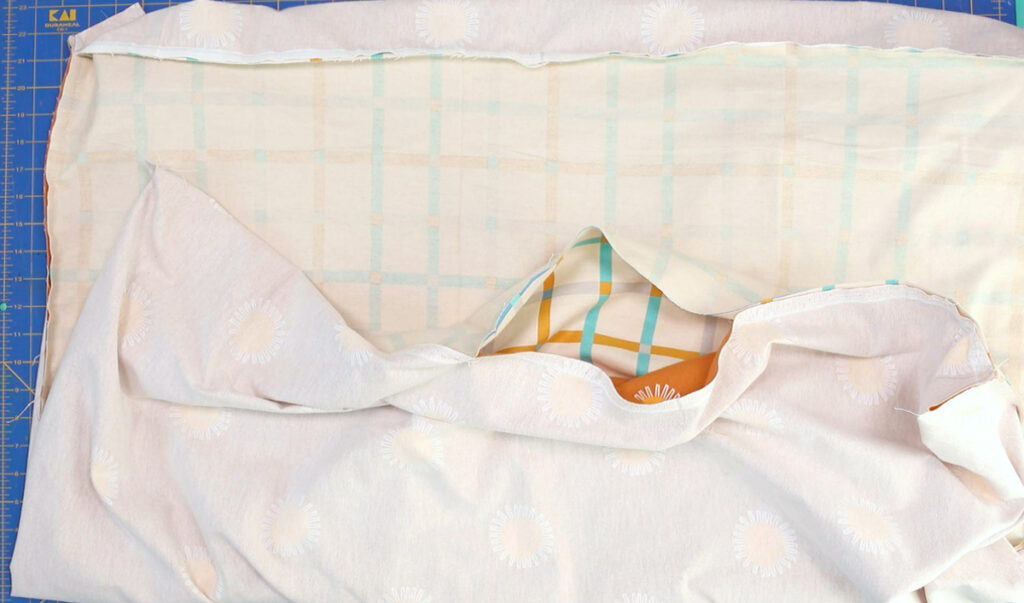
Step 4- Line up the outside edges of the fabric and sew them together as far as the smaller fabric overlaps. Make sure you’re keeping the fabric aligned based on the center pins. Skip over the bunchy corner and sew the next side. Repeat for the third side. On the fourth side, sew the two ends and leave a hole in the center area for turning. You don’t want the turning hole to be near the corner or it will mess up the miters.
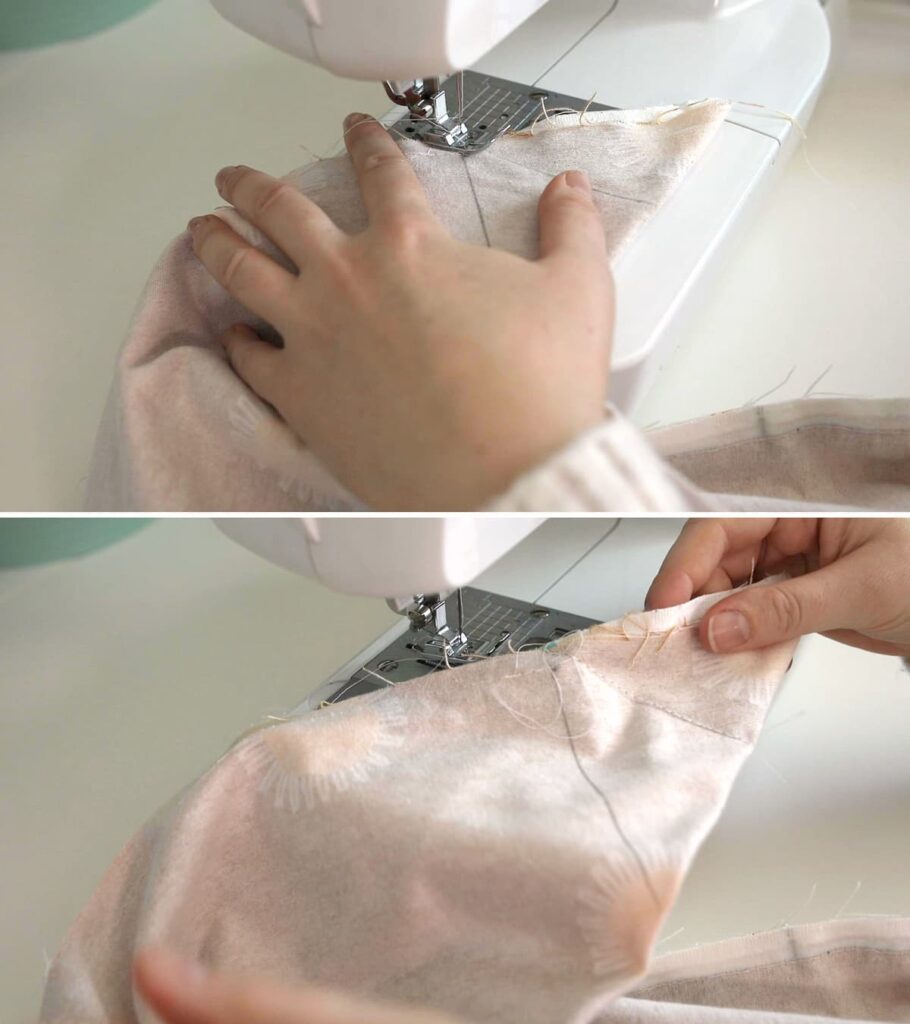
Step 5- Now it’s time to work on the corners. Fold one sewn edge over to an adjacent sewn edge to form a triangle with the blanket corners in the corner of the triangle. Line up the flat edge with the lines on your cutting mat. Draw a 90 degree line from the stitch stopping point. Fold the corner down and make a crease. Draw a line in the crease. This is the line you will sew. It’s a 45 degree angle from the stitch stopping point. Watching the video will really help this make sense.
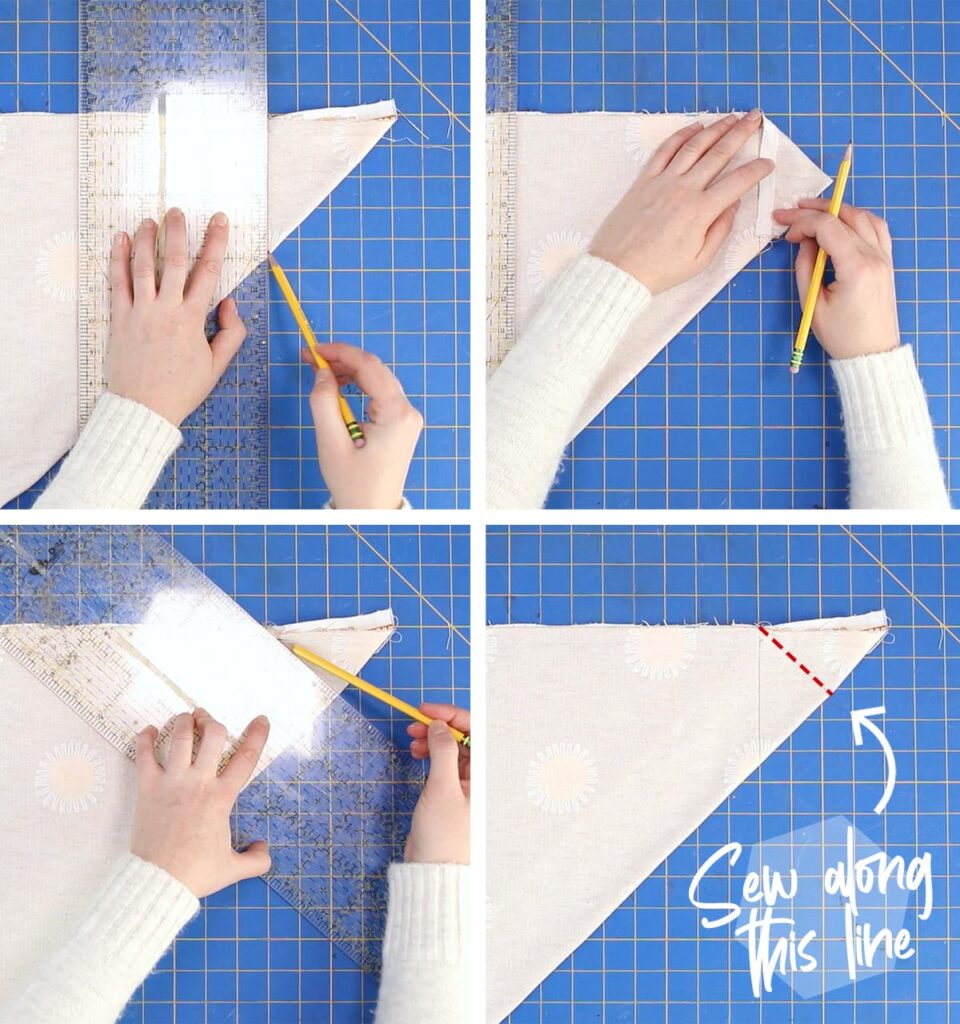
Alternately, if your quilting ruler has a 45 degree line, just line it up and draw the 45 degree line so that it goes through the stitch ending point. You can see how I did this in the video below.
Step 6- Stitch along the lines you marked. Repeat on all four corners.
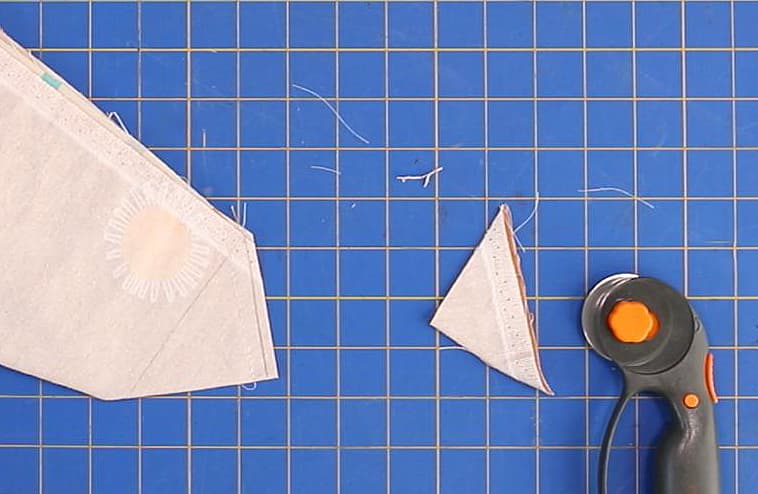
Step 7- Clip the excess fabric off each corner, leaving a standard 5/8 inch seam allowance.
Step 8- Turn blanket right side out through the turning hole you made earlier. Press your fingers into each corner to make sure they’re turned out all the way.
Step 9- Even if you are anti-ironing, you HAVE to iron this baby down before sewing if you want it to look nice. Iron until the entire blanket lays flat and the mitered corners are smooth and nice. Pay special attention to the hole used for turning and make sure to iron down those edges so they are ready to be sewn down.
Step 10- Sew around the entire blanket with a zig zag stitch, centering it right over the seam between the two fabrics. This keeps the blanket in place and also closes the hole you used to turn the blanket.
And that’s it. Your blanket is done!
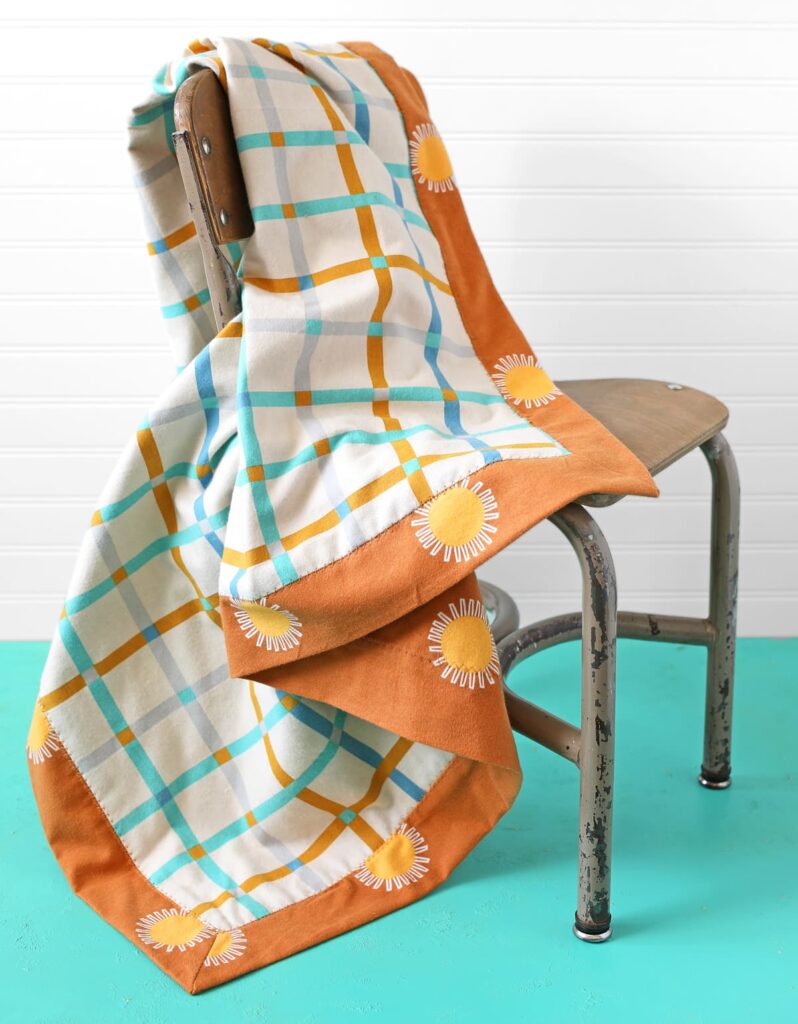
See how pretty those corners are?! Yay for self-bound blankets!
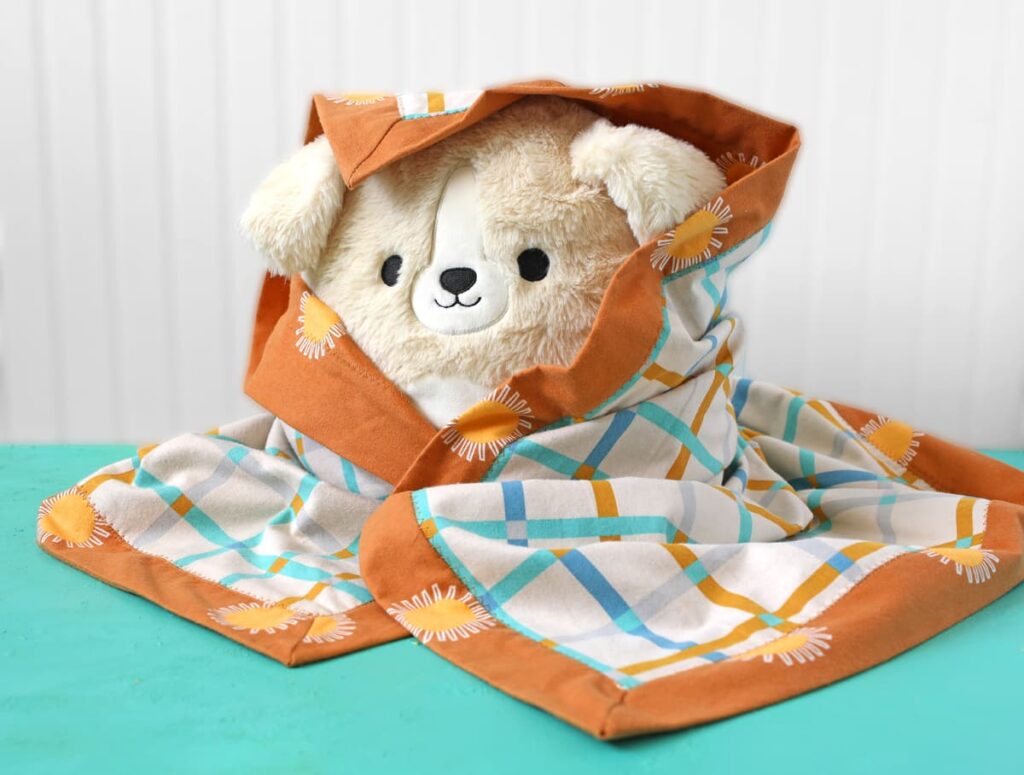
These are one of my go-to gifts for baby showers. I loved using these blankets for my own babies. They’re just the perfect size and weight to throw in the stroller or car seat or to lay on the ground for baby to play on. And nowadays there are SO many cute flannel fabrics to choose from. JOANN had two aisles full of flannel. I was impressed!
If you’re still feeling unsure about any steps of this project, I suggest watching this video tutorial. Sometimes seeing it just makes so much more sense than reading about it.
Self-Bound Flannel Baby Blanket Video Tutorial
Hopefully the video answers any lingering questions for you. Once you learn how to do the corners, it really is a project that can come together quickly. I bet it took me less than an hour to make from start to finish.
The total cost for this project depends on the price of your fabric, but the flannel at JOANN often goes on sale for $6/yd, so it probably costs around $14 if you already have thread.

Comments & Reviews
Thats very good!
I will let make this for my comming baby soon
I had the same problem trying to finish this blanket using the other tutorial. Thanks for posting the last few steps!
WOW! Your blog is so fun to read!! I don't know you personally, but I think you rock. *pin*
What's funny is your metered corner instruction in just the same as the original! You added an extra fold down step to make yourself feel more secure about the 90 degree angle placement..but other then that its the same! Believe me I've been sewing for over 35 yrs and with my analytical mind its been hard… I've learned when an instruction is confusing just go for it as explained even if it sounds wrong! Many times even professional sewing patterns seem more like a magic trick then a simple sewing step..and in the end all will turn out fine! Looks great! Thanks for this tutorial my first grandbaby will be born this June..finally…and my daughter wants me to make all kinds of things!!
Thank you so much…that part confusses me and you made it perfectly clear. I just finished a blanket..thank you so much for being smart!!!
Hi, thanks for this tutorial. I have made these before, and they are fun. Do you know if it will work with a rectangle? Thanks!
I think it would work with rectangles as long as you cut the front and back the right sizes… for example, 42×50 and 36×44. Good luck with your project, Mama Pea!
Are the inside edges that you zig zag raw , unfinished edgyes until you zig zag them? I don’t see how the would keep from fraying as flannel frays easily
No, the inside edges are not raw.
Great blanket. Thank you
I’ll be making some, I just received a great grandaughter. I’m so excited
Congratulations on your new great granddaughter. I hope you are filled with love as you sew for her.