Make this simple but cute airplane Christmas ornament out of popsicle sticks, a wooden clothespin and a photo of your child.
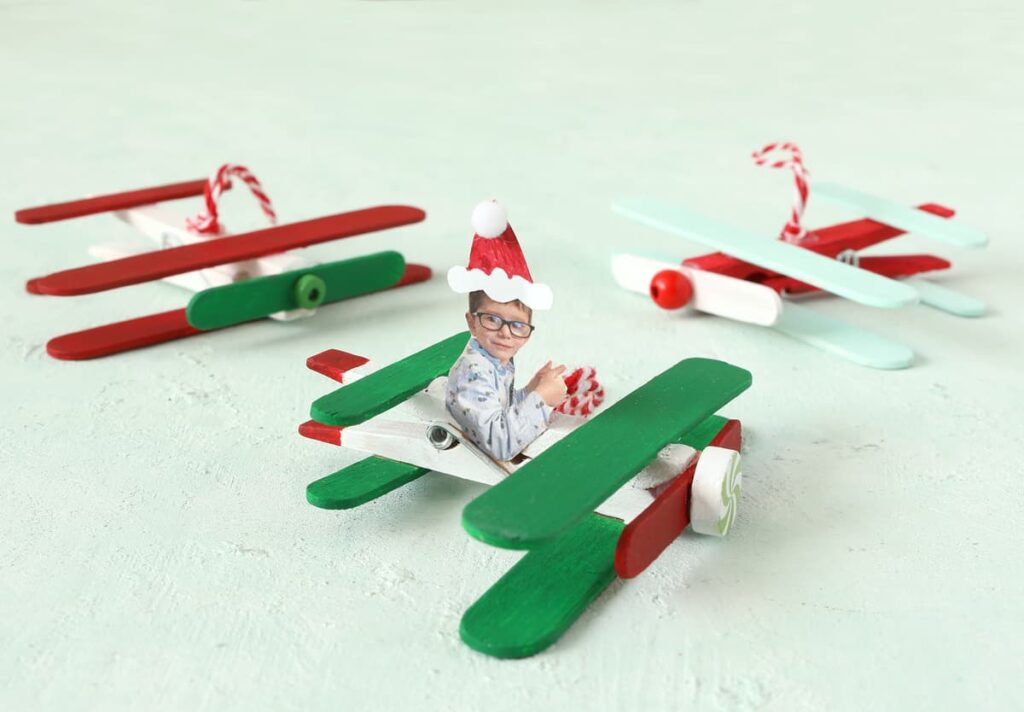
I have an absolutely adorable kids Christmas craft to share with you today. I’m going to show you how to make these cute and funny popsicle stick airplanes. You can add a tiny picture of your child to make it look like they’re driving the plane. LOL. I think they are so cute and funny and I know I will treasure pulling out this ornament every year and seeing my cute little toddler’s face.
Affiliate links may be used in this post.
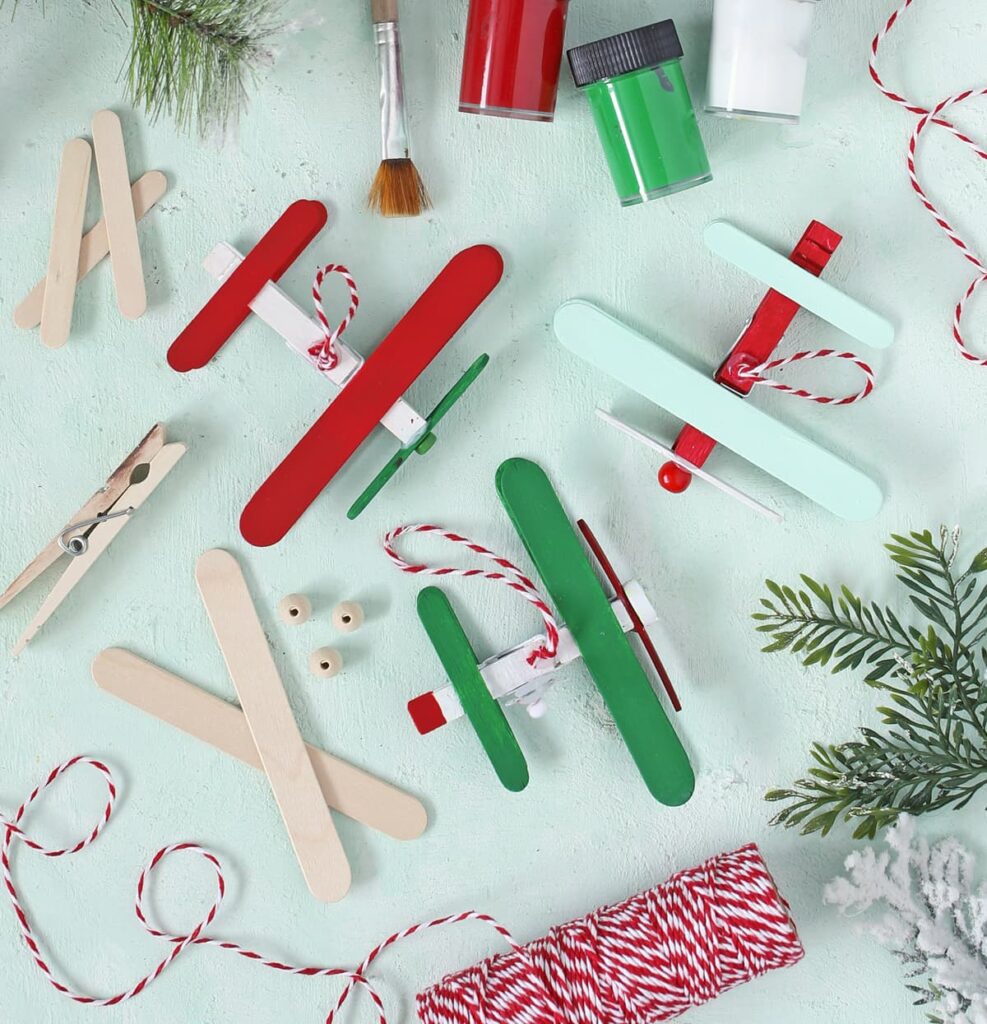
Materials Needed
- Wide Popsicle Sticks (4.5″ length x .5″ width)
- Small Popsicle Sticks (2.5″ length)
- Wooden Clothespins (3.25″ length)
- Wood Bead or Button or Bobble
- Craft Glue Pen (for kids) or Hot Glue (for parents)
- Craft Paint
- Baker’s Twine
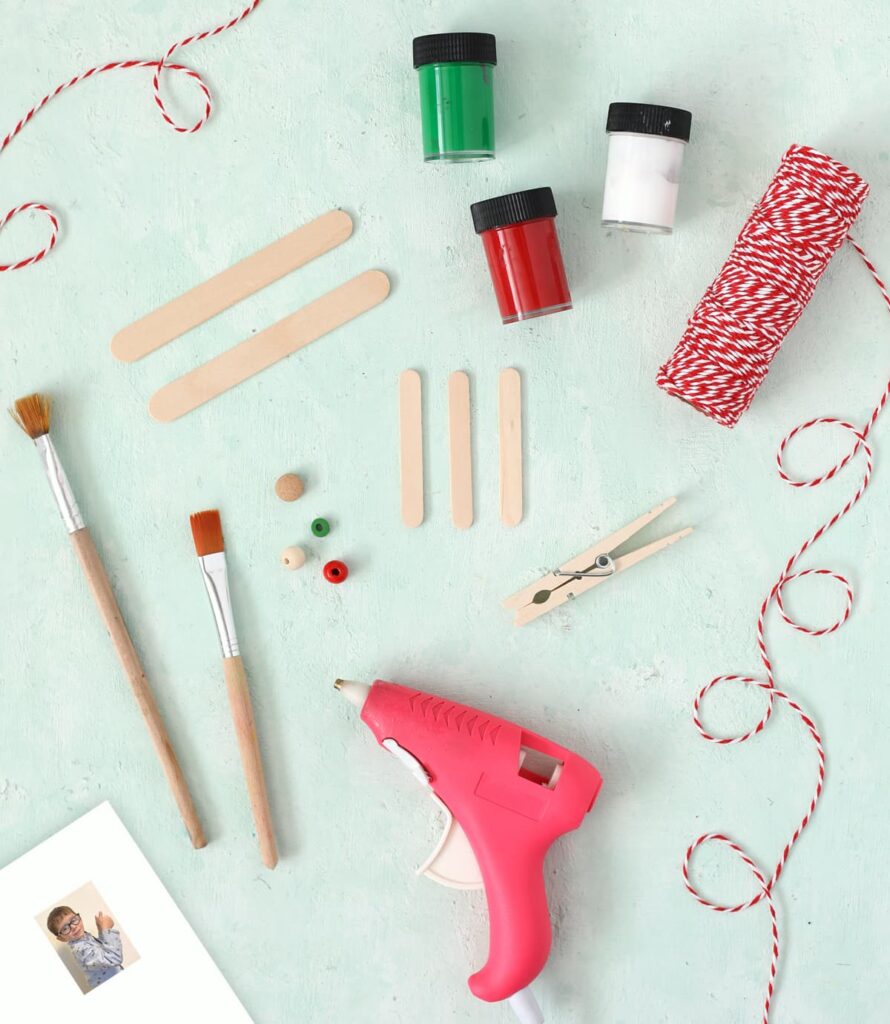
For each airplane, you will need 2 large craft sticks, 3 small craft sticks, one clothespin and one wood bead. One note about the craft sticks I used… Michaels happened to carry sticks that were just a bit wider than normal but still the same length. I’ve never seen them before, but they were perfect for this craft. The normal, most common size would work too, you’d just have a skinnier front wing. The jumbo craft sticks that you see most often are too big for this craft, in my opinion.
Instructions
Step 1: Paint the craft sticks and let them dry completely. If you don’t want the mess of paint, here are three options you can try instead:
- Buy pre-colored craft sticks and pre-colored clothespins.
- Use washable marker to color right on the wood.
- Cover the wood with washi tape like I did with these popsicle stick sled ornaments.
Don’t let the fear of a paint mess stop you from making this craft!
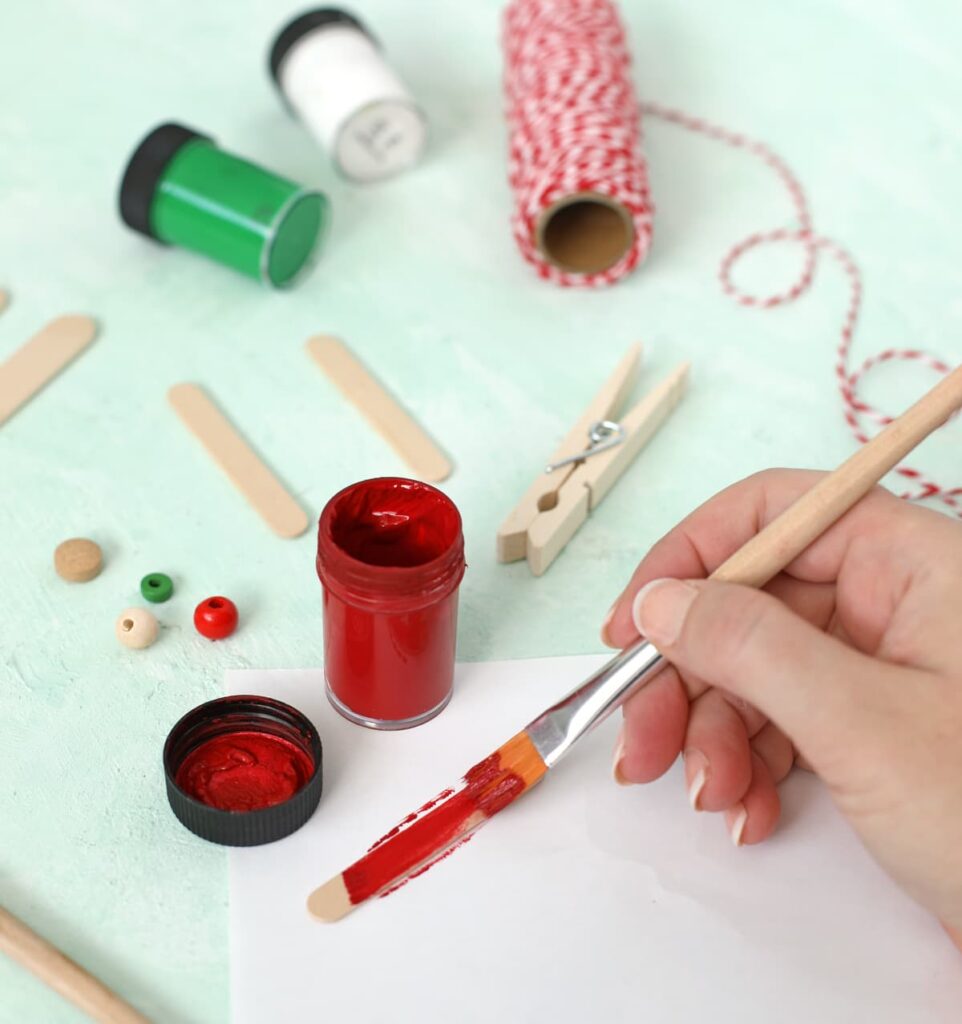
Step 2: Assemble the airplane as show in these pictures:
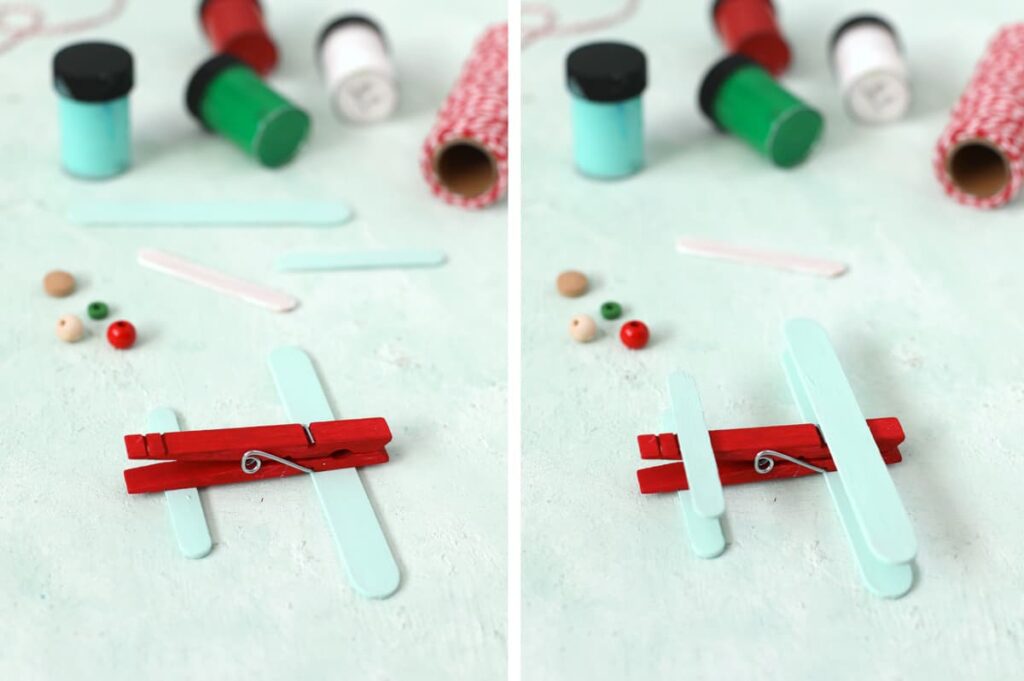
Attach the craft stick wings to the bottom side of the clothespin, then another set of wings on the top side of the clothespin. The craft glue pens work great for kids to help them apply the glue precisely. They are easy for small hands to control. But honestly, I’d just do this part for my kids and use hot glue so we don’t have to wait for school glue to dry. It’s up to you!
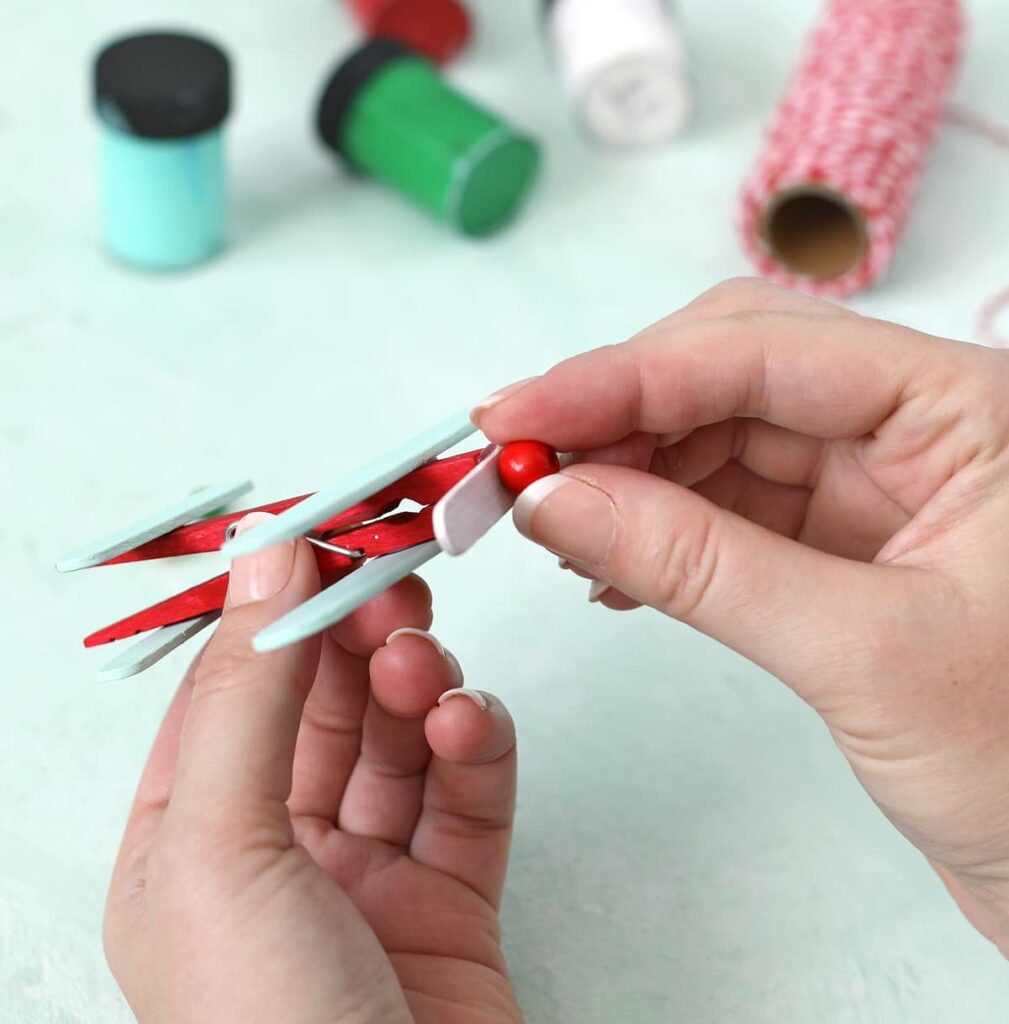
Step 3: Add the last small craft stick to the front of the clothespin (it’s the propeller) and glue the wood bead into place right in the center. This part really does need to be done with hot glue or else it falls off too easily.
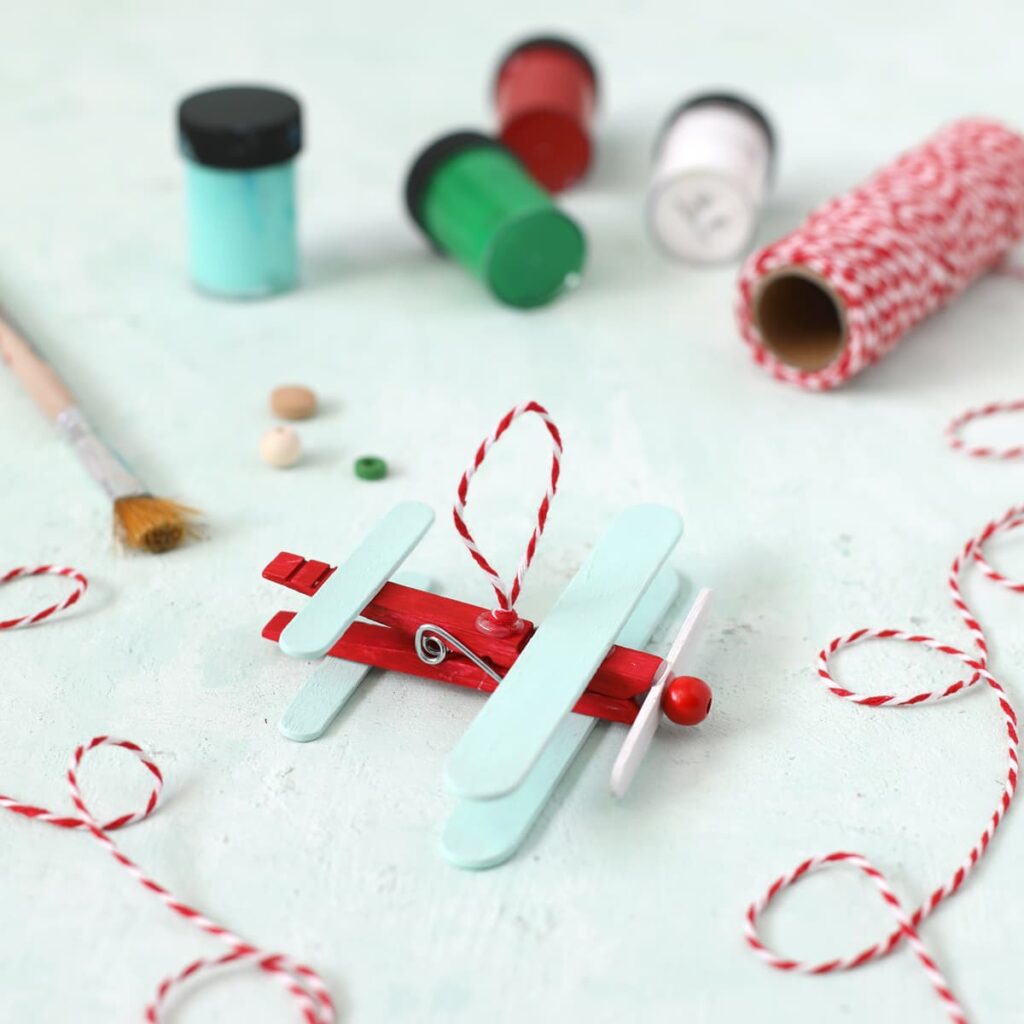
Step 4: Hot glue a loop of baker’s twine to the clothespin right behind the front wing. The loop will be used to hang the ornament from the Christmas tree.
Step 5: Now comes my favorite part! Take a picture of your child against a blank wall. You’ll want to have them stand sideways, then turn their head to look at you and give you a smile and a thumbs up. Print out the picture onto heavyweight cardstock or photo paper and cut it out. You’ll want the photo to be about 1 inch. Glue the photo in between the wings. I drew a little Santa hat onto scrap paper and glued that on his head just for fun.
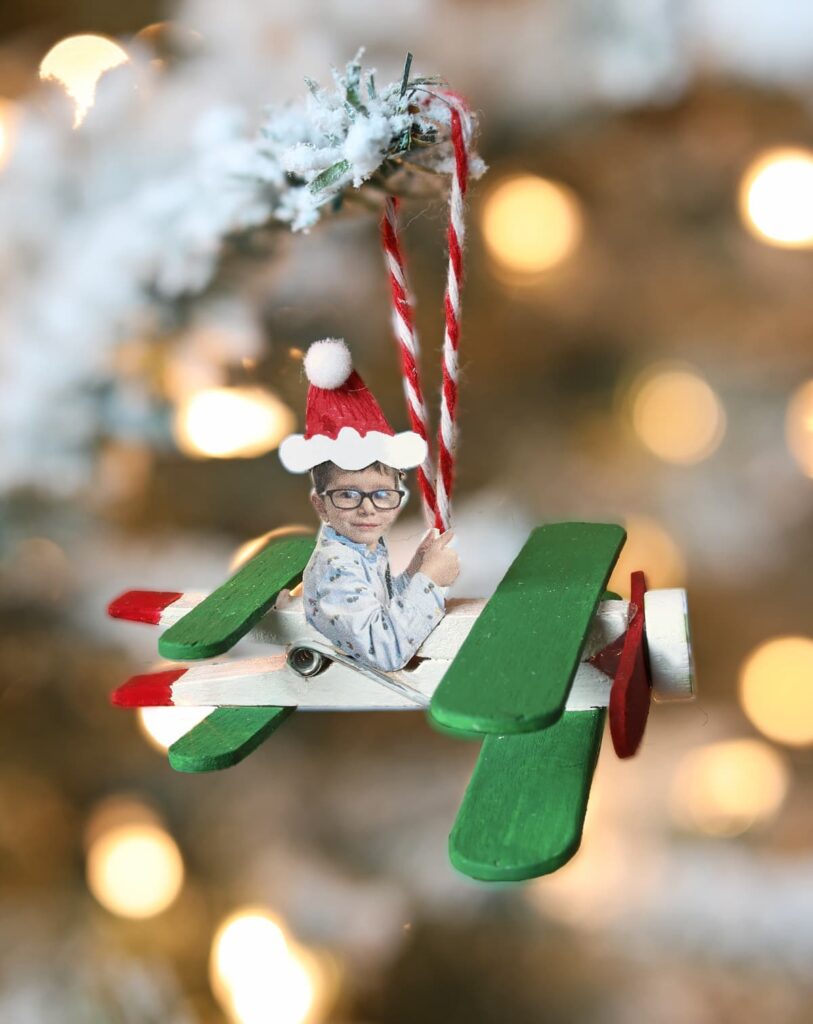
And that’s it! You’re done! Now you have a cute, whimsical, sentimental ornament you will treasure for years to come. I know I am going to chuckle every single year when I pull this ornament out of the box and see my silly toddler’s happy face. I don’t know why, but this just makes me giggle. I think it’s so cute!

Let’s Get Social
I’m sharing tons of fun ideas on my social channels and I’d love for you to join me there.