Hi friends! I am typing this out on my brand new computer! Woot! It has a 24 inch screen that is absolutely massive after years of having a laptop. Photoshop runs lightning fast. I can listen to Pandora and upload pictures at the same time. Ah, life is good!
The only thing that stinks is that we lost everything from the old computer. (No fear—we have an external hard drive for photos. Whew!) But all my fonts and Photoshop actions, my blog logos and banners, all the little things are gone. I’ve got a lot of work to do to get everything set back up the way I like.
But today I’m sharing what I did to kill time while I waited for the new computer to come. Remember I shared a few paper flowers I made for the nursery? Uh, I kind of went crazy. I warned you that they were fun to make…
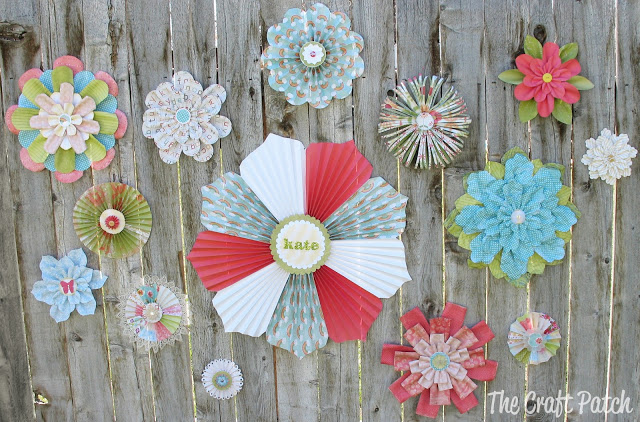
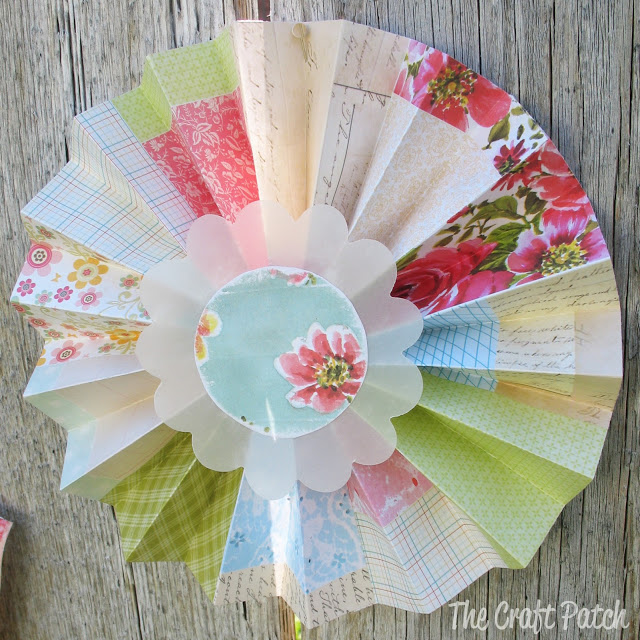
I used two basic flower types—the paper flower tutorial and the accordion fold flower tutorial. It’s pretty amazing all the variations I was able to come up with using just two basic ideas. Here are some close ups and hints on how I made each flower…
Basic paper flower. I cut many different sizes of rectangles to use as petals, then used decorative scissors to round the end of each petal.
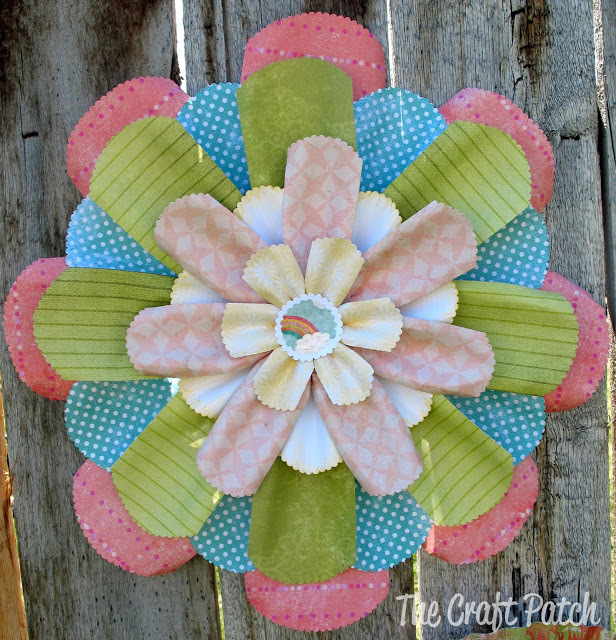
Basic paper flower. Cut rectangles then rounded the edges. Isn’t the alphabet paper perfect for a nursery?

The two flowers on the right are accordion flowers and the one on the left is one of the first basic paper flowers I made. I think the shape of the petals is so soft and feminine.
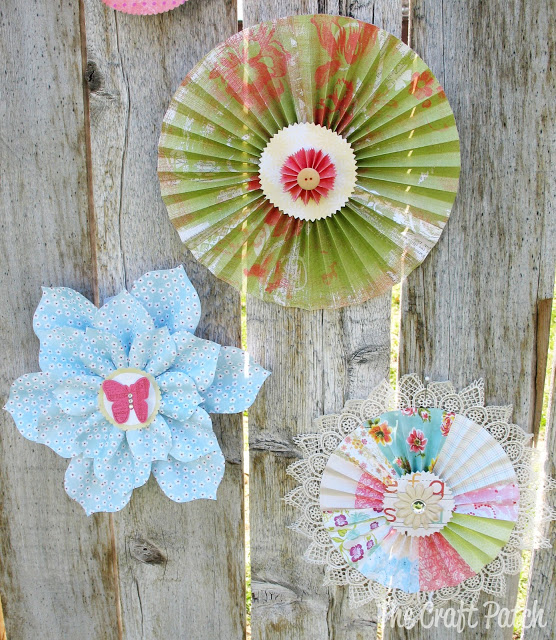
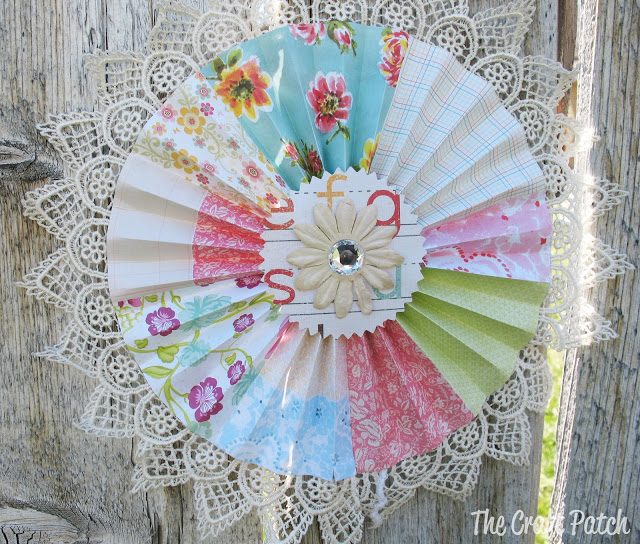
I hot glued a scrap of vintage lace around the outside edge of this accordion flower. Awww…I’m in love. It adds so much!
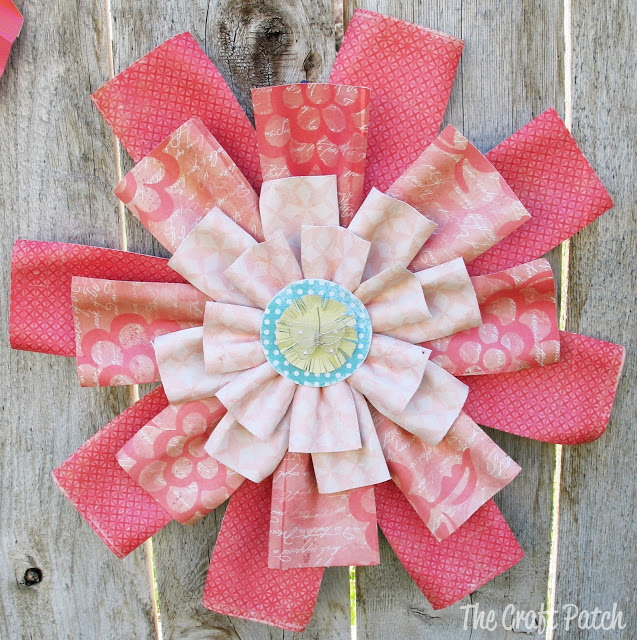
The pink paper was not quite the right shade of pink, but the closest I could find. I thought it would be okay, but it ended up really bugging me. In a last ditch effort to save the giant flower, I got out my pastel chalks, colored the paper with a little more yellow, and rubbed it in with a cotton ball until it was more of the warm pink/coral I was looking for. It actually worked like a charm! Yee haw!
And just a side note…we think we’ve settled on the name Kate for the baby, but if I change my mind before she comes, I could easily rip those glitter letters right off of there. Just leaving an out for the crazy pregnant brain…you know how it goes.
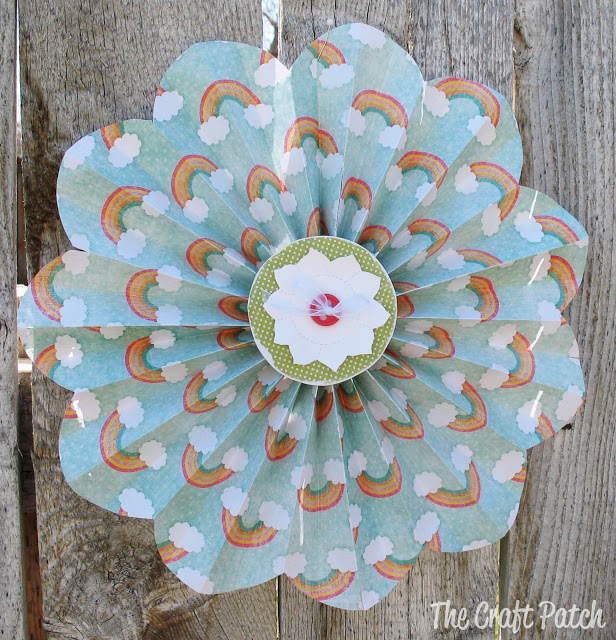
Another accordion fold flower with scalloped edges. Cut the edges before you fold it. It’s much easier that way. I love how the scallop softens up the whole look. And by the way, most of the paper was purchased at Michael’s on sale 8 for $1. The rest came from my embarrassingly large stash that does not get used often enough to justify its size.
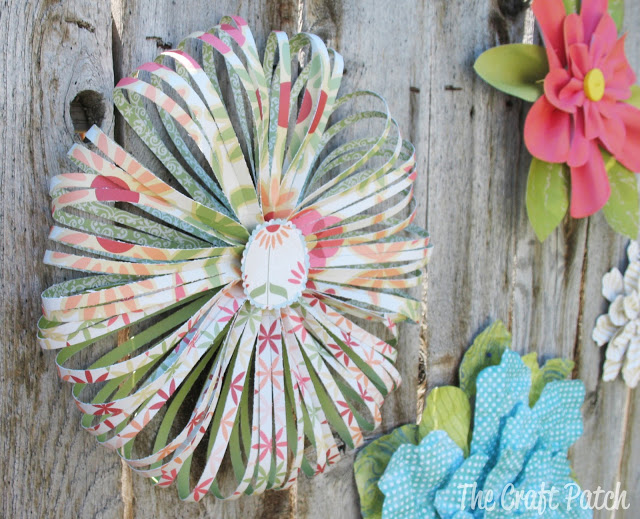
Okay, now. I’m pretty excited about this particular flower. I thunk it up and it actually worked! It’s two sheets of paper cut with slits up to the last 1 1/2 inches on each end. I accordion folded the solid edges and this really 3D flower is the result. Cool beans!
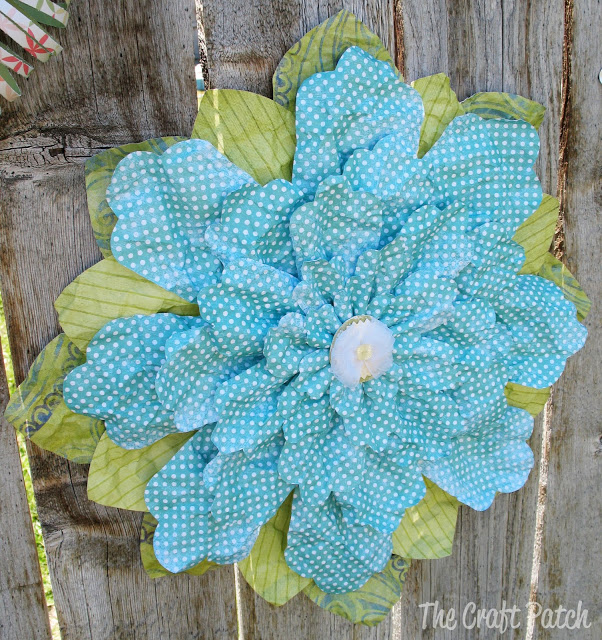
I crinkled the paper on this flower and it totally changed the feel…it’s very soft and antique-looking. It almost looks like fabric.
Although this flower has the same outside edge on the petals as the last flower, it has a totally different vibe—more nautical and clean looking. It’s one of my favorites.
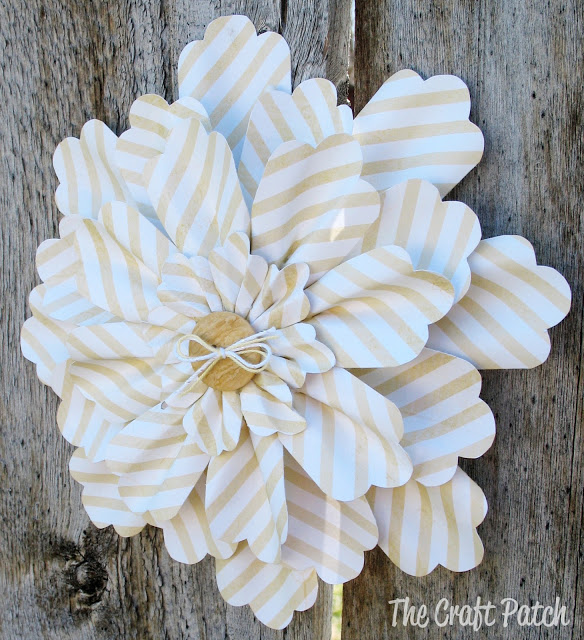
I love how vellum adds a soft touch to this flower.
This basic flower was probably the easiest to make. The petals are all rectangles I cut on my paper cutter! Super fast! I used a pencil to curve the edges and give it life. It’s more modern and the ombre effect is pretty fun too.
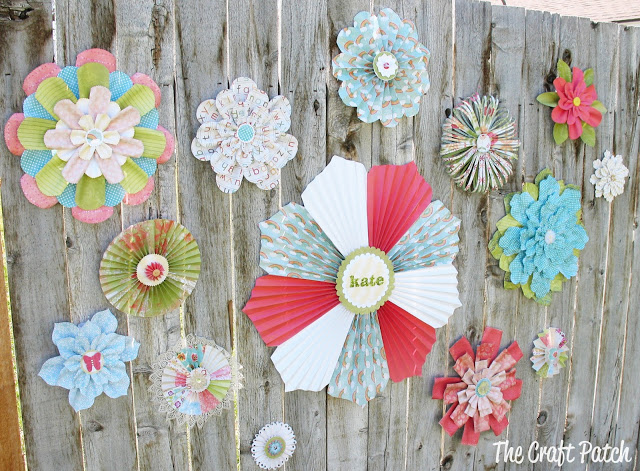
I plan to hang these all across the wall above the crib in the nursery. I think it’s going to be such a cheerful room! I need to kick the big kids out so I can start getting everything ready in there. Hurray for little girls!

Comments & Reviews
We've got a little girl coming in 3 weeks (if she holds out that long!) I was thinking of making some of those big poofy tissue paper flowers for her wall. Yay for cheap wall art!
i love these – such great ideas there and modern twists of golden oldie craft techniques.
Lovely!
Amanda Rose
http://sewmuchtosay.blogspot.com
These pics are so cute Jenn, but not even close to how absolutely adorable they were when I saw them in person!You have inspired ME (the absolutely least talented crafter ever born) to give it a try! I'll let you know how they work out!
Jeanne, you can do it!
That big big one, the one that says kate- how did you shape the petals? Once they were folded? Or did you cut them first and then accordion fold? I'd love to know… I actually cane across your blog because I was looking to make paper flowers, and I loved what you had here so much that I subscribed! I made a few and got so many compliments on them…
I cut them AFTER I had folded the paper. I couldn't figure out another way to do it. I'm glad you like my blog! Welcome and happy reading!
very pretty but I wish you could have printed some petal templates. I'm not as handy as most.
Hey Carole, I'm sorry I didn't include one. That would have been a good idea! If you Google Image Search "petal template" you'll get a lot of great choices that you could print out.