For a while now, I have been looking for a small but comfortable chair to tuck under my computer desk downstairs. I stopped in at my favorite thrift store last week and saw this ugly duckling:
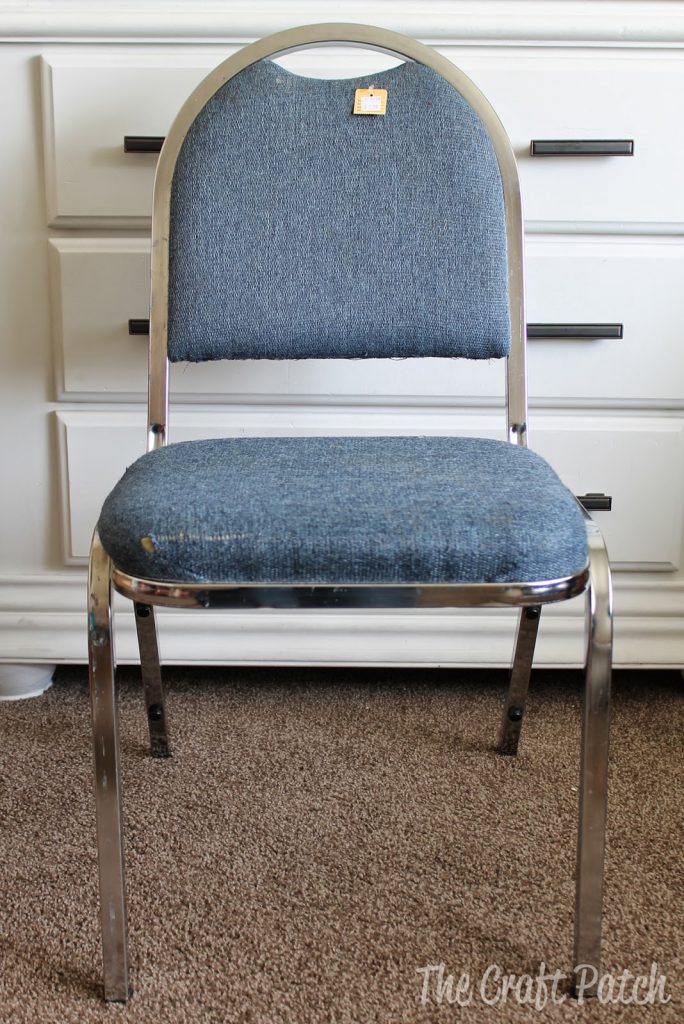
The fabric was super dirty and ripped, there was paint splats on the metal legs, and it was overall kind of sad looking. BUT…
it was only $1.99.
And it was sturdy and pretty comfortable. I figured for two bucks I was willing to take it home and see what I could do with it. The closest I have ever come to reupholstering something was when I made a new cover for my carseat (HERE). But like I said, I was willing to give it a go on this thrift store chair.
It looked relatively simple. I started by unscrewing the back and the seat and taking out a bazillion staples.
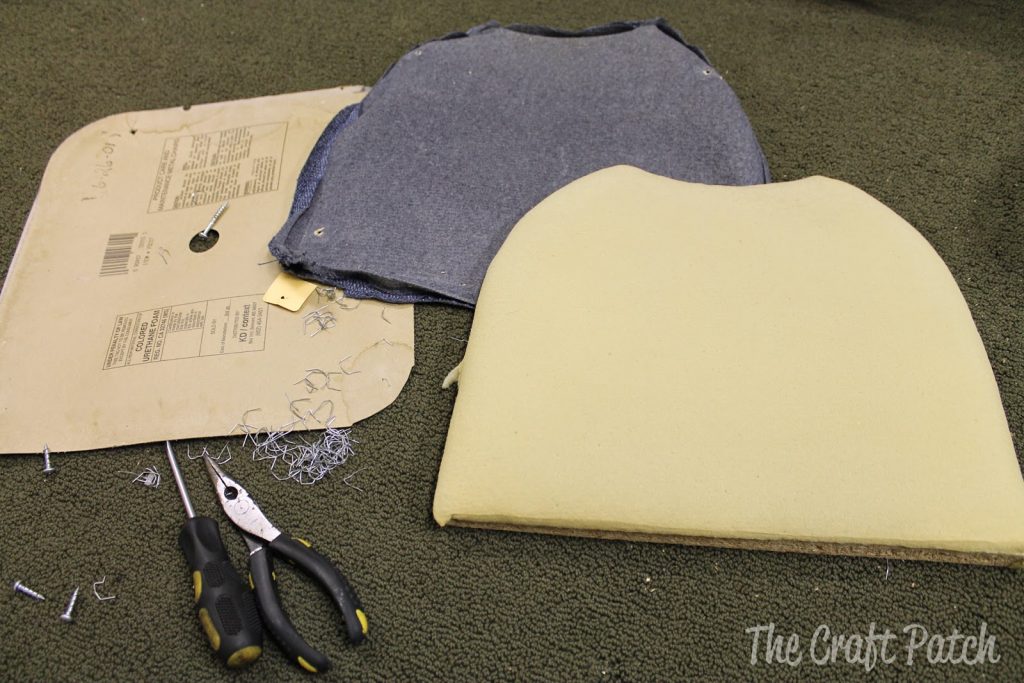
Then I used the old fabric as pattern pieces for the new fabric

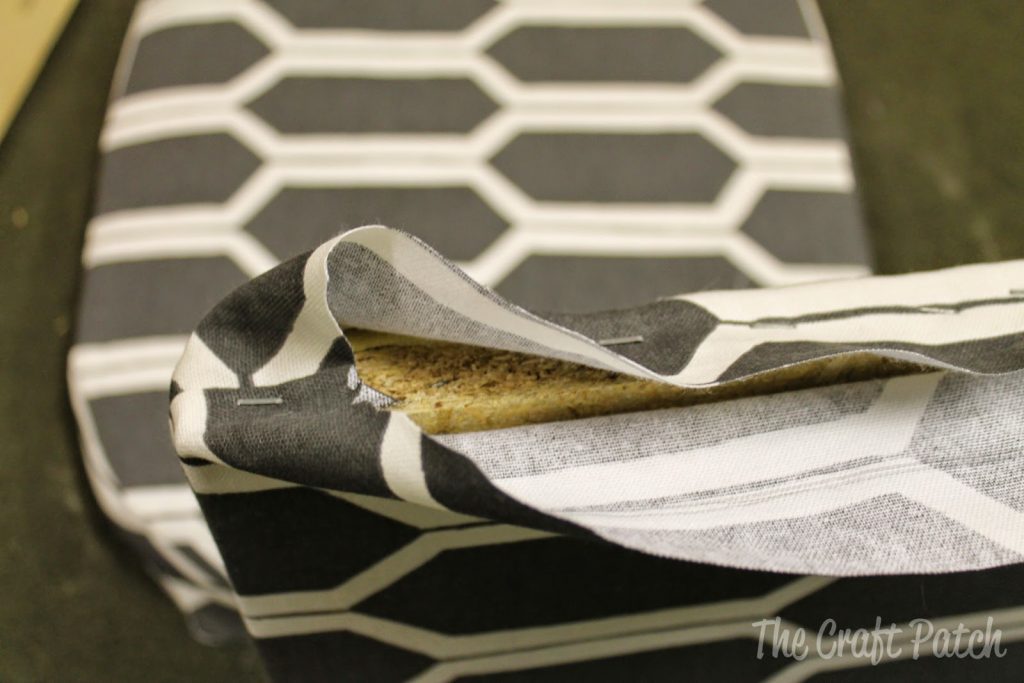
I sewed them up, stapled them back on, putting it back together the way I took it apart.
And check it out:
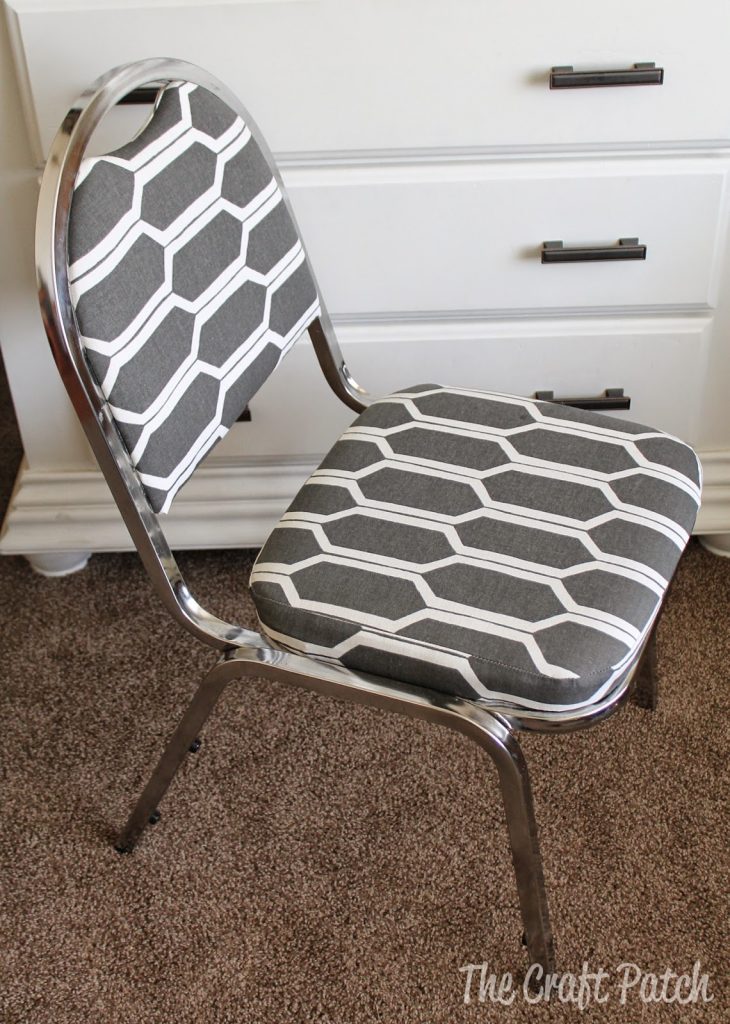
It has a totally new life! I was really torn between several great fabric choices, but after I got this West Elm Honeycomb fabric home, I knew it was the perfect choice. I love the fresh, sleek vibe the chair has now.
I did not mean for the fabric to go in two different directions. It was accidental. This is where we get to the “what I learned” part…
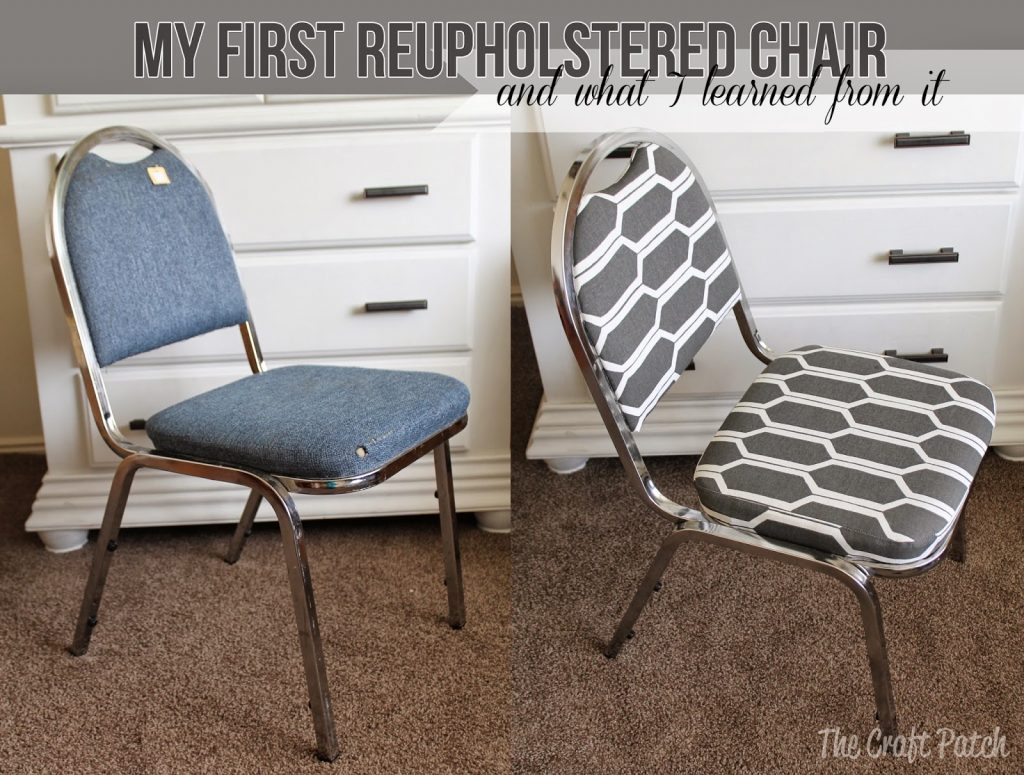
1. You think you will remember how things go back together, but you won’t. This particular seat cushion has one side where the fabric tapers and for some reason, I assumed it was the front of the chair. I had already cut out and sewed the cushion together before I realized that I had assumed wrong. And I didn’t have any extra fabric to try again. That’s why the pattern goes in two different directions. Lesson learned: label everything before you take it apart! If I had stuck a piece of masking tape on there that said THIS IS THE FRONT OF THE CHAIR, I wouldn’t have made that mistake.
2. Stripes, geometrics, or any fabric with a distinct pattern is hard to work with. My fabric is a little crooked. I cut it out correctly, but all that tugging to get things smooth and flat while I was stapling made the pattern end up not quite straight. At first it bugged me. Then I realized that I would have to undo a gazillion staples to fix it and suddenly it didn’t bug me so much. Ha!
3. Have a friend, husband, or kid help you while stapling. I didn’t, and it would have been so much easier if someone else was holding the fabric tight so I could use two hands on the staple gun. I think this would have also prevented some of the pulling that made my fabric pattern look crooked.
4. Wash the metal frame before putting the fabric parts back on. You would think this was a no-brainer, but I didn’t do it. Then it was ten times harder to get into the nooks and crannies to remove the dirt and paint splatters.
5. Reupholstering is totally doable! You only need a few tools: your sewing machine, a staple gun, needle nosed pliers and a screwdriver. It’s like doing a reverse puzzle. You take all the pieces apart, then try to put them back together again. I can’t believe the difference new fabric made for my simple metal chair. It makes me want to try something a little harder… like a wing back chair or something.
I bought 2/3 yard of fabric, but I probably could have gotten away with only 1/2 yard. The chair ($2) plus the fabric ($7) means I got a “new” chair for $9.
I think I might do our padded folding chairs next!

Comments & Reviews
So neat…you made the chair look brandnew!
It's amazing what fabric can do, isn't it?!
Wow, you did a FANTASTIC job! I didn't even notice the pattern going the wrong way until you mentioned it. Awesome job!
My "woopsie" turned out to be fine with me… I kind of like the fabric going two directions. It makes it feel quirky and unique.
I like that the fabric goes 2 different ways. It's unique. Nice job!
I have 4 similar chairs and I wondered how you could took apart the back of the chair. It appears to be in 2 parts- a front and back, but there are no visible screws that hold it together and in place.