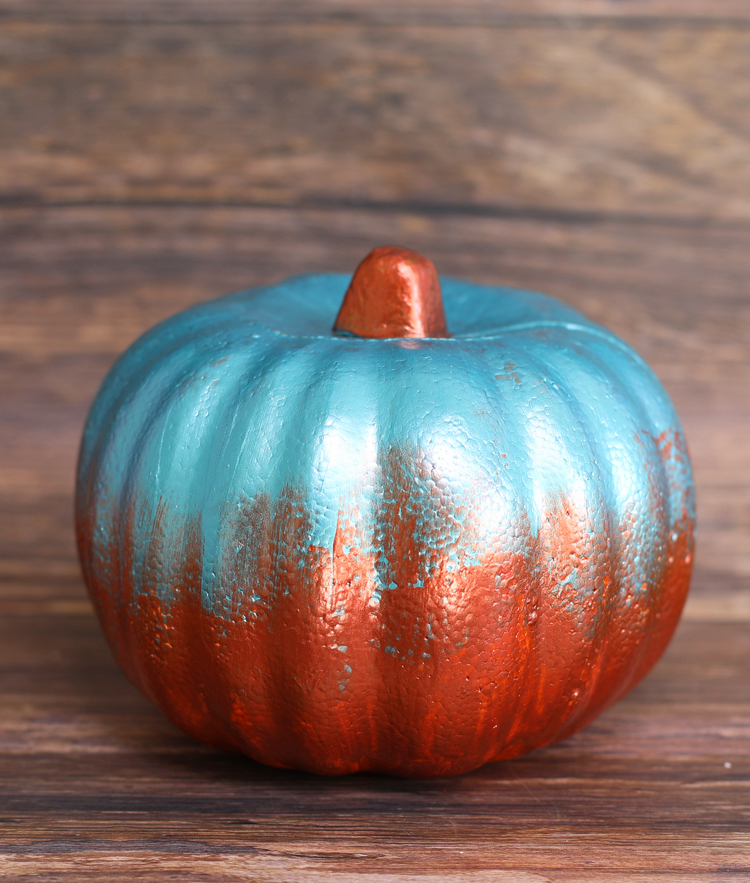
Learn how to paint this gorgeous metallic two-toned pumpkin.

Painted pumpkins are so much fun and there are so many different ways you can paint them. Don’t miss this post with over 30 amazing painted pumpkin ideas.
This pumpkin painting technique is quick and easy but ends up looking super glam and sophisticated. The copper and metallic blue colors work to use for Halloween all the way through Thanksgiving. Watch the video tutorial to see just how simple it is!
Metallic Painted Pumpkin Video Tutorial
Materials Needed
some affiliate links used
- Pumpkin
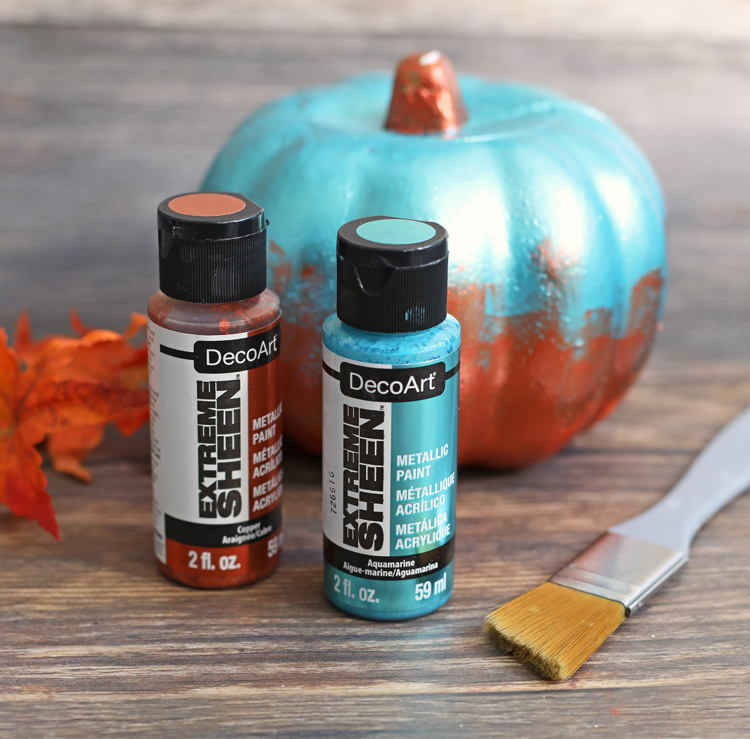
- Metallic Craft Paint in Two Colors
- Paint Brush
This painting technique works on real or fake pumpkins. I used inexpensive foam pumpkins from Dollar Tree in this demonstration. The only extra step you’ll need to take if using a real pumpkin is giving it a good cleaning to ensure a clean surface for painting.
If your paint doesn’t want to adhere to the pumpkin surface (real or fake), try spraying it with a spray primer first.
The paint I used is called DecoArt Extreme Sheen and the two colors are Copper and Aquamarine. I’ve linked to it on Amazon, but it’s usually cheaper at your local craft store.

Instructions
- Paint the top half of the pumpkin with one metallic color. It may take two or more coats to get even coverage. Let the paint dry completely before moving to step two.
- Paint the bottom half of the pumpkin with the second metallic color. “Feather” the paint up along the line where the two colors meet to blend them together and create a soft edge.
And that’s all it takes to create a gorgeous, shiny metallic pumpkin.
Pin it so you don’t forget it!


Let’s Get Social
I’m sharing tons of fun ideas on my social channels and I’d love for you to join me there.