Make an adorable lemonade drink tray using adhesive vinyl.
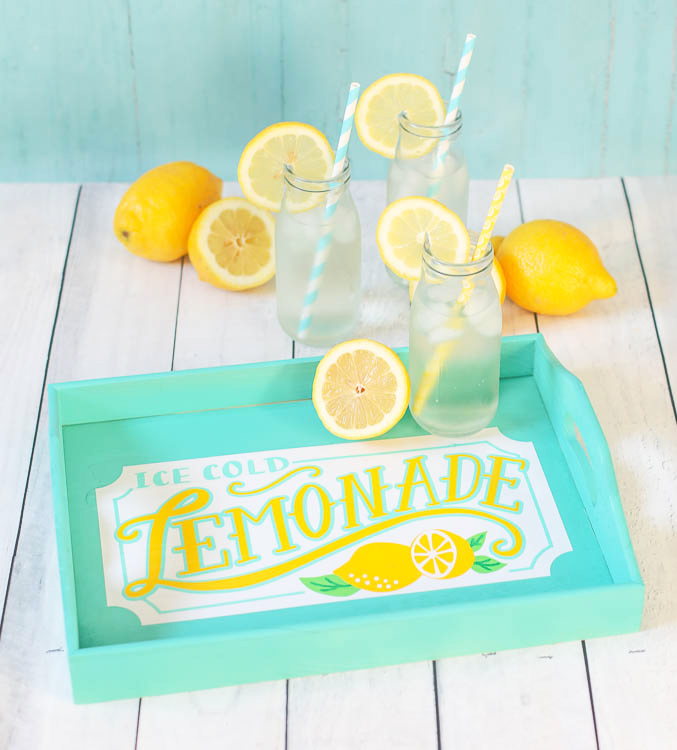
Summertime means lots and lots of ice cold lemonade at our house. I was bringing a tray of drinks out to my family on the back porch and decided that I needed a cute tray to serve it on. So I did what I always do… made one! I picked up some tried-and-true adhesive vinyl from Oracal and got my craft on.
This post is sponsored by Silhouette.
Oracal and Silhouette have teamed up on a new product line and you can now buy the Oracal vinyl you know and love in the Silhouette section at your local Joann store!
Let me show you how I created this cute lemonade drink tray.
Materials Needed
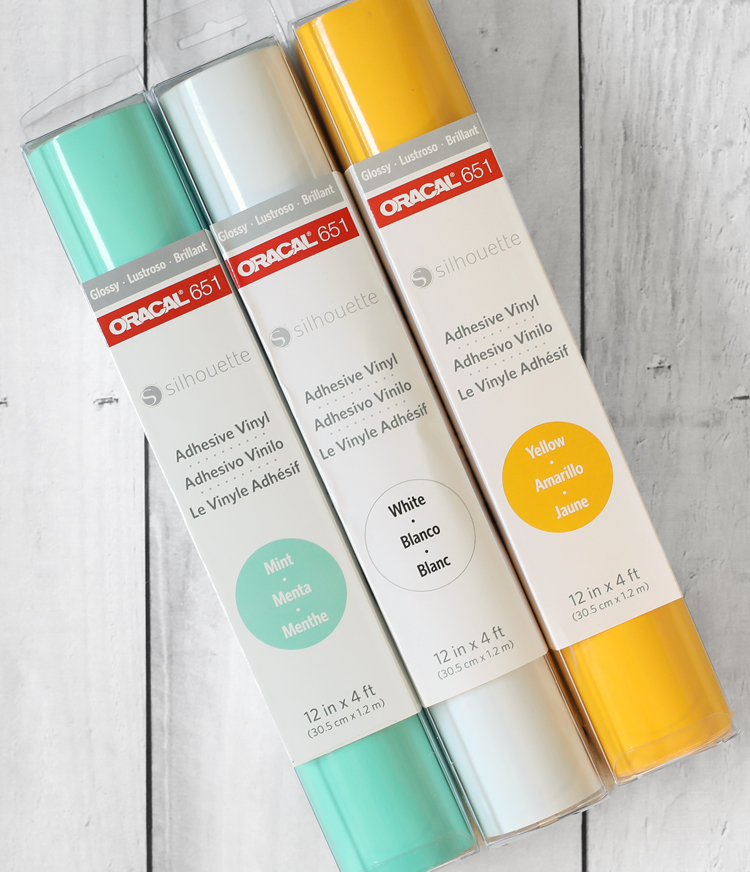
- Oracal 651 Adhesive Vinyl (now available at Joann Stores)
- Lemonade Sign Cut File
- Unfinished Wooden Tray
- Craft Paint
Step 1
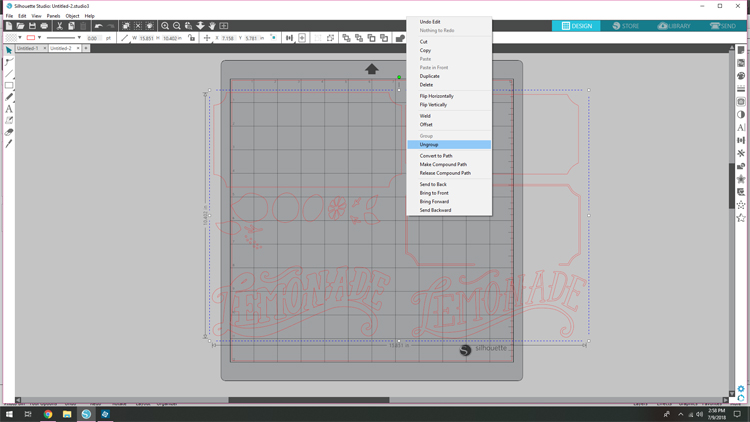
Purchase the cut file from the Silhouette Design Store. It should automatically load into your library in Silhouette Studio. Find the file and open it. Right click over the images and select “ungroup” so that you can move each individual shape separately.
Step 2
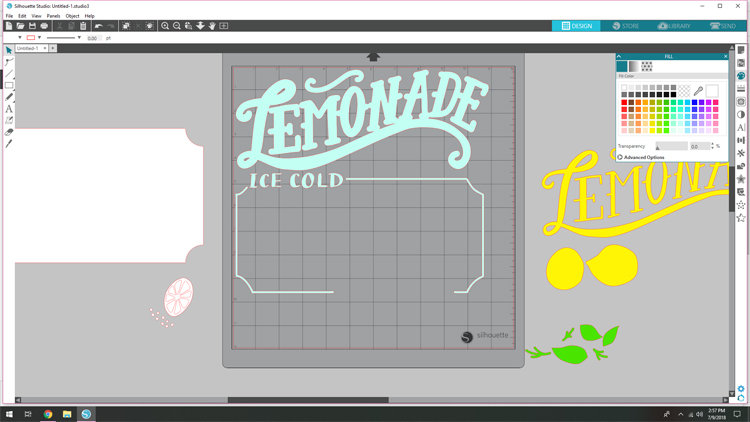
This step is optional, but I’ve found it helpful to color the layers in Studio when I’m trying to decide which parts of the design should be which color. Just click on the paint pallette icon in the tool bar, then select the part of the design you want to color and click on the color from the window on the right hand side of the screen.
It really helps me visualize how the project will look. It also helps me make sure I put all of the same colors together when I go to cut.
Step 3
Arrange the designs that need to be cut out of the same color onto the cutting mat. Move the other designs off of the cutting mat into the gray background area. The machine won’t “see” these pieces.
Stick vinyl color side up onto a cutting mat and load it into the machine. Adjust the cut settings for glossy vinyl, then send the files to cut.
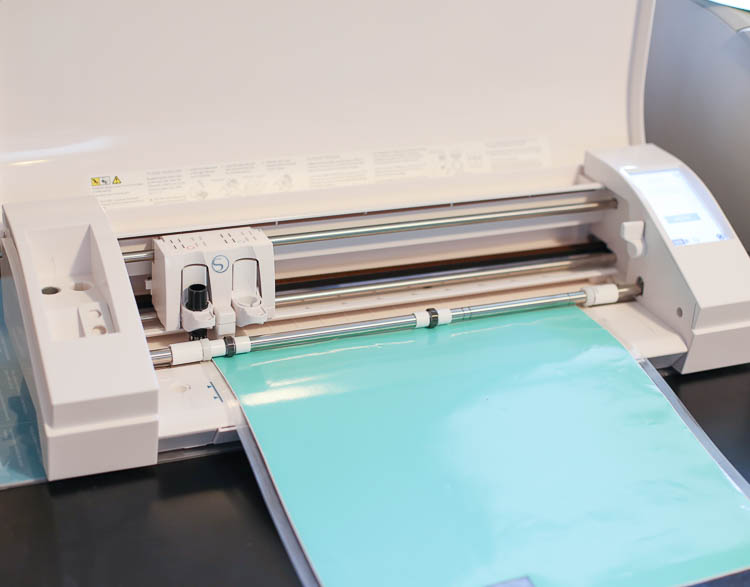
Step 4
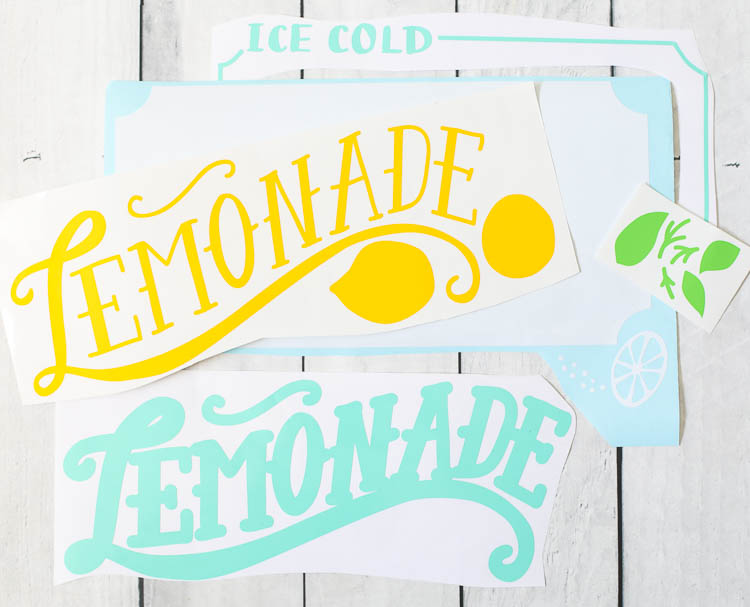
Weed excess vinyl so that only the designs you want to use are left on the backing paper.
Step 5
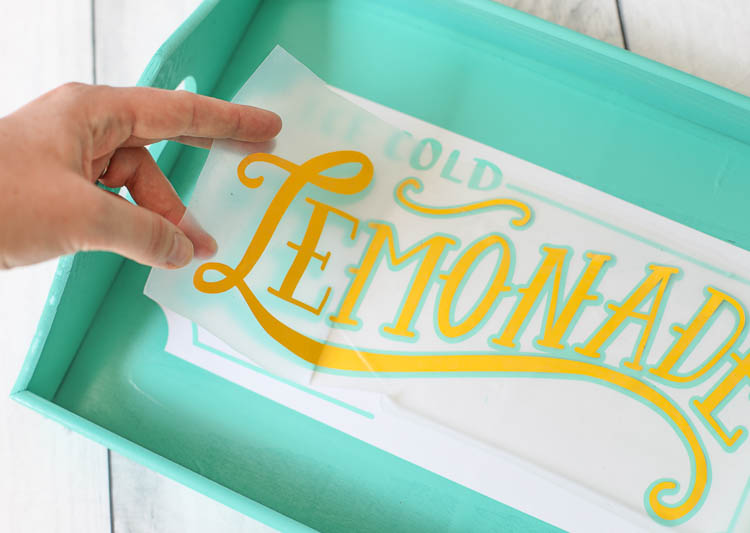
Cut each separate design piece apart. Stick transfer tape to the front of each design piece, smooth it on, then peel away the packing paper.
Carefully line up each design piece and stick them down to the tray. For this particular design, I started with the white background, then the blue line, then the blue outline, then the yellow text.
Pro Tip: Sometimes I can’t remember exactly how a design goes together, especially when it has a lot of pieces. I pull up a picture of the design from the Silhouette Design Store to refer to. It makes it so much easier!
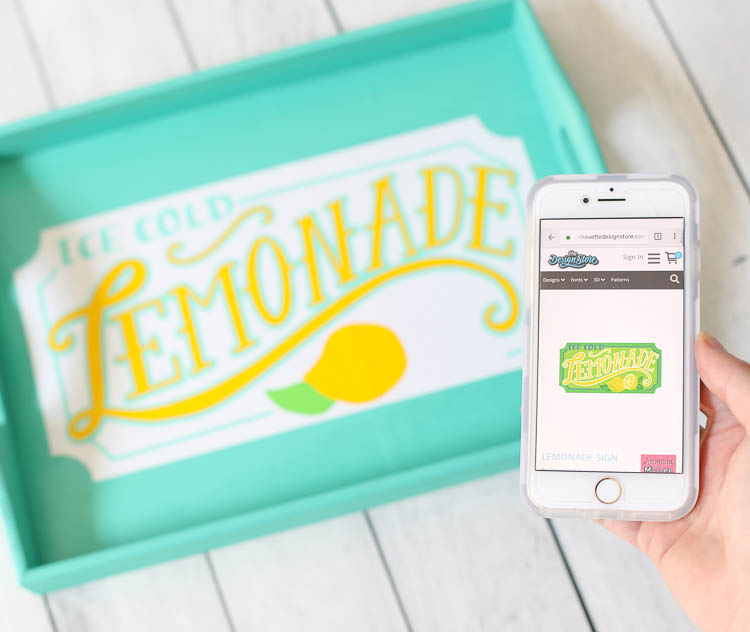
And that’s all it takes to make a cute, custom, summery lemonade drink tray!
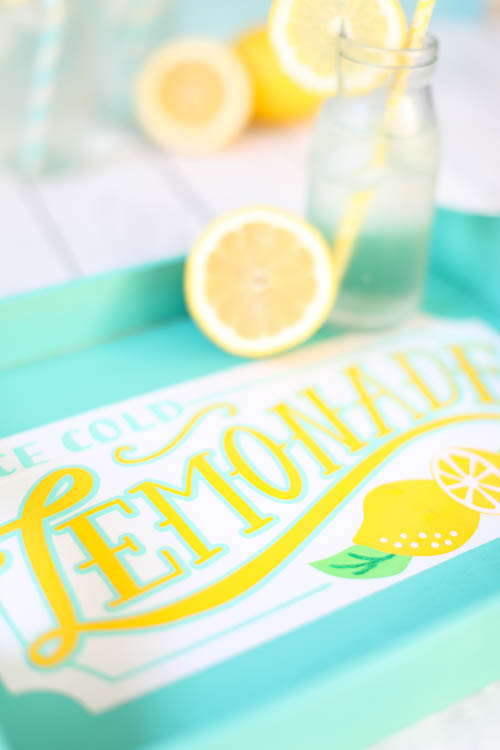
I love the cheerful colors and vintage poster look of the words. It’s just the thing to add a bit of extra fun to our summer evenings sipping lemonade on the porch.

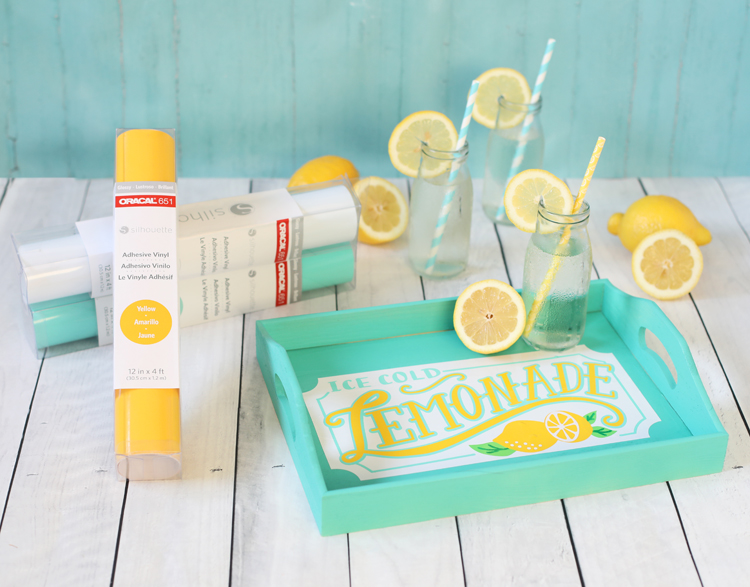
I’m so glad that one of my favorite products is now available at Joann… you know, in case I have a crafting emergency and need vinyl ASAP.

Let’s Get Social
I’m sharing tons of fun ideas on my social channels and I’d love for you to join me there.