Personalize handmade jewelry with custom, reusable screen stencils you can make at home with the IKONART Stencil kit.
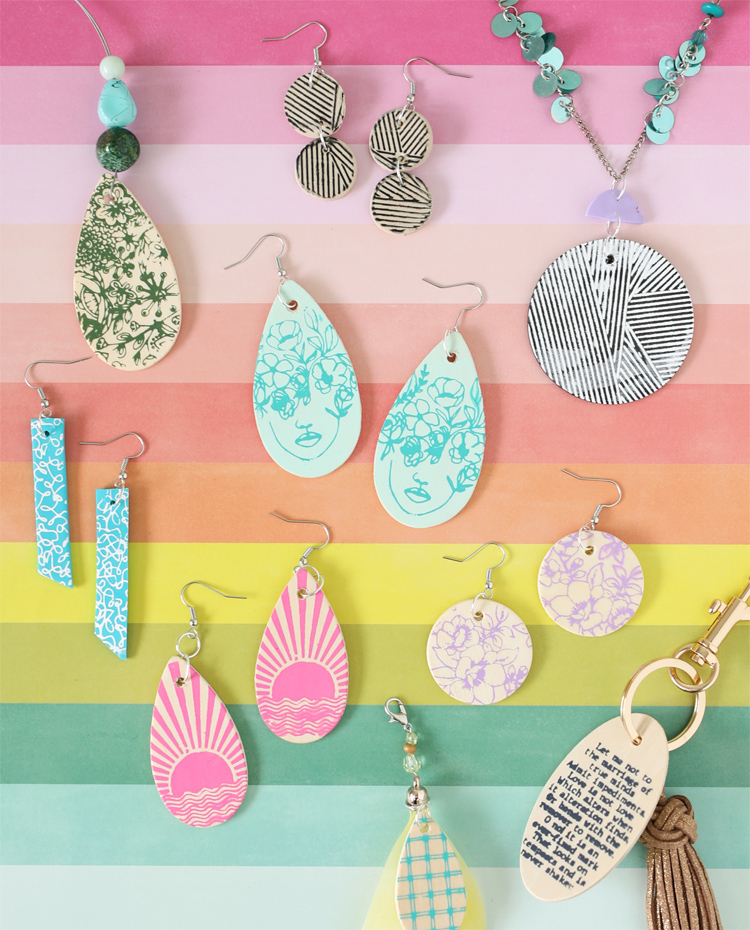
Today I’m sharing a really fun way to use IKONART screen stencils. I’m going to use them to decorate jewelry!
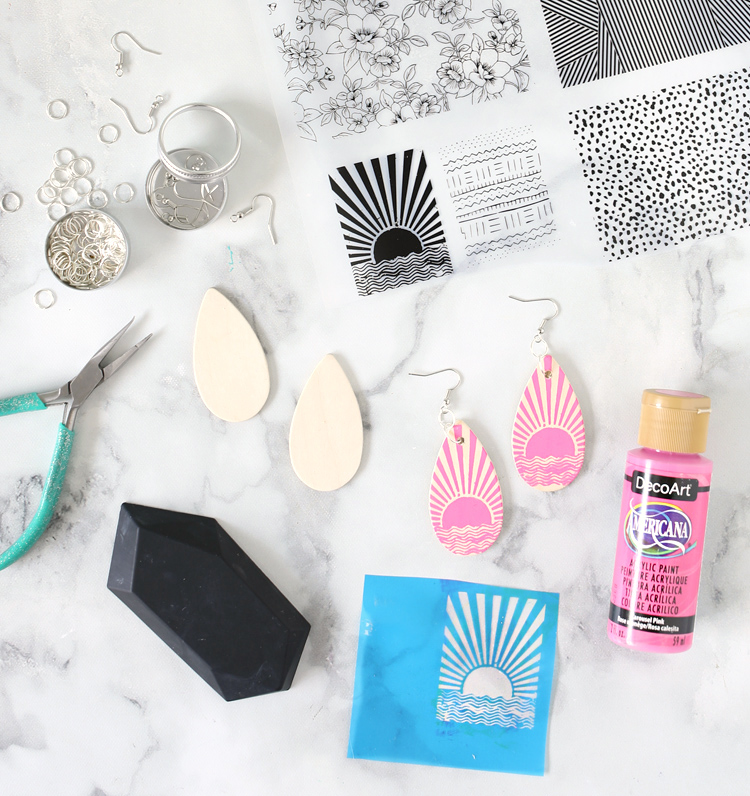
The coolest thing about IKONART Stencils is the incredible detail you can achieve in your designs, so I put them to the test and created teeny tiny patterns to transfer onto jewelry.
This post is sponsored by IKONART Stencils. All opinions are mine. Affiliate links may be used.
What Makes IKONART Stencils Special?
IKONART Stencils use special light-sensitive materials that change when exposed to a UV light. The part of the design you print in black ink washes out to reveal a fine mesh for screen printing, while the surrounding part of the stencil becomes a sturdy plastic.
The benefits of IKONART Stencils:
- Completely customizable (If you can print it, you can turn it into a stencil!!)
- Reusable
- No weeding
- No transfer tape
- No “bridges” needed
- Can print “islands”
- Works on fabric, metal, wood, glass and many other surfaces
- Can be used with any type of water-based paint
- Repositionable
- Detailed designs
Unlike traditional stencils that have a hole for the paint to go through, screen stencils have a very fine mesh in the design area which holds the whole thing together and allows for greater detail in the design. And let me tell you, I really put this to the test for this craft project. The designs I printed were so small! Almost all of them worked, and I think with a bit more fidgeting, I could get all of them to work.
What’s Included in the IKONART Stencil Kit?
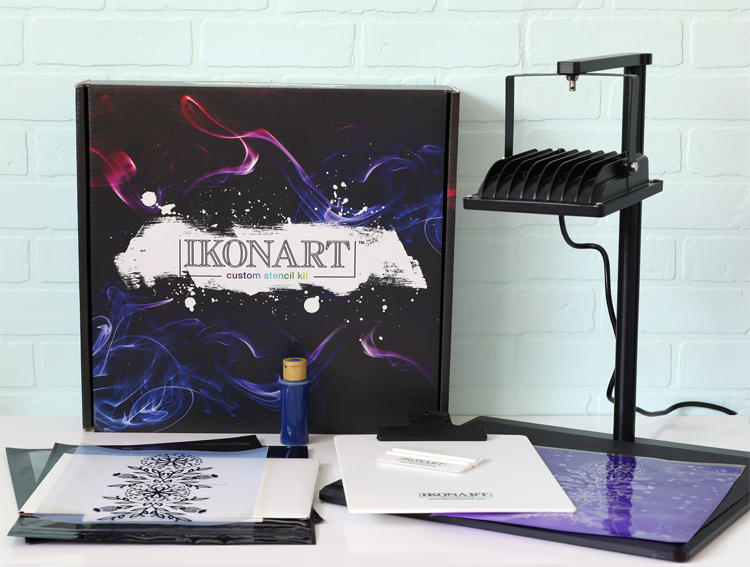
- Exposure Stand
- UV LED Light
- IKONART Stencil Film (10″ x 12″ 5-Sheet Pack)
- Inkjet Printer Film (8.5″ x 11″ 5-Sheet Pack)
- Laser Printer Film (8.5″ x 11″ 5-Sheet Pack)
- IKONART Clipboard
- IKONART Plastic Squeegee
- Exposure Stand Setup Guide
- User Guide
I was also able to score us a discount code. Woohoo!
Head to ikonartstencil.com and type in THECRAFTPATCH at checkout to receive 15% off your entire order.
DIY Custom Stenciled Jewelry VIDEO
Let’s walk through a project together so you can see the whole process from start to finish.
Instructions
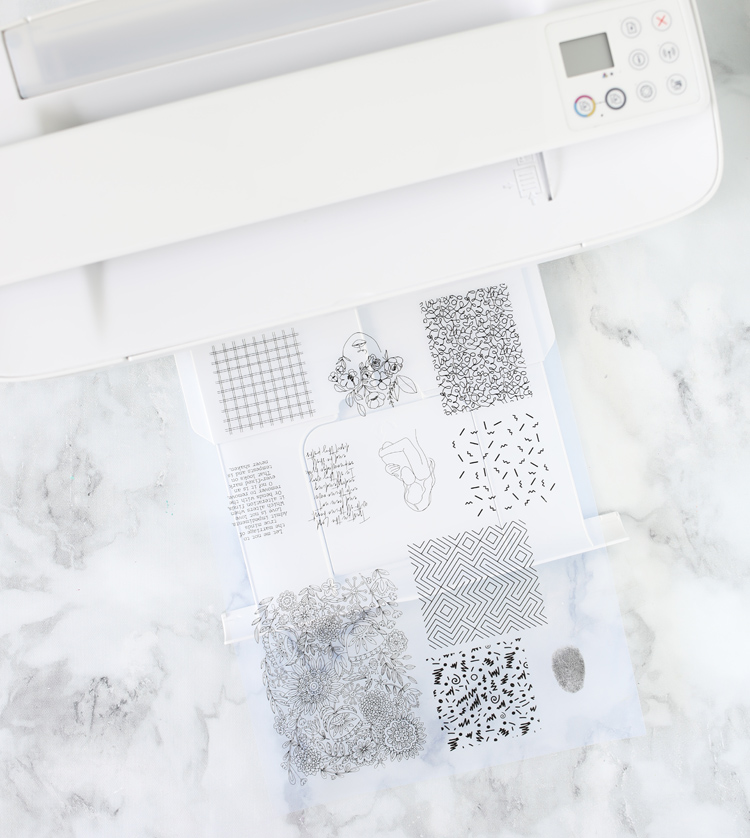
Step 1: Print your design onto the PRINTER FILM that’s included in the kit. Films designed for both laser and inkjet printers are both included in the kit and once you use those, you can order whichever type works with your printer.
Step 2: Set up the UV light on a sturdy table, then add the black cardstock to the base area. Place the STENCIL FILM shiny side down onto the cardstock. Place your artwork on top of that, making sure you can read it if it’s a one-way design.Top everything with the clear exposure sheet included in the film pack. Turn on the UV light and leave it on for 35 seconds for inkjet printed designs and 30 seconds for laser printed designs.
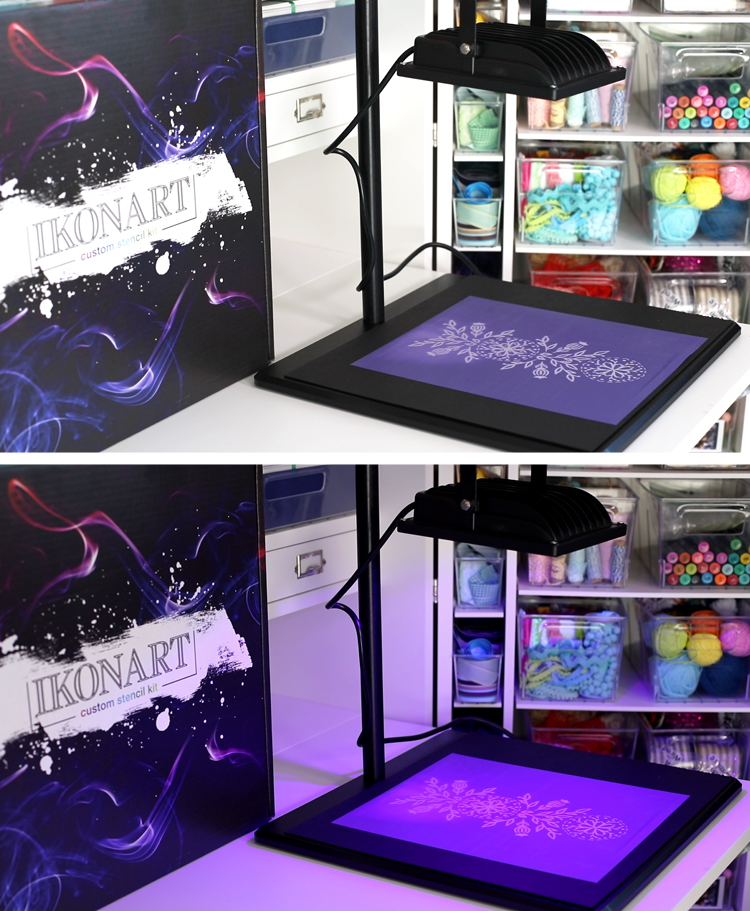
Step 3: After exposure, you won’t be able to see your printed design right away. Attach the stencil film to the included clipboard and wash the stencil with a spray nozzle in warm or hot water. Keep washing until the design magically appears and is completely clear and crisp.
Step 4: Gently blot the stencil with a paper towel, then hang it to dry for about 45 minutes. When the IKONART stencil film is completely dry, place it back under the light for 60 seconds to cure. This increases the durability of the stencil.
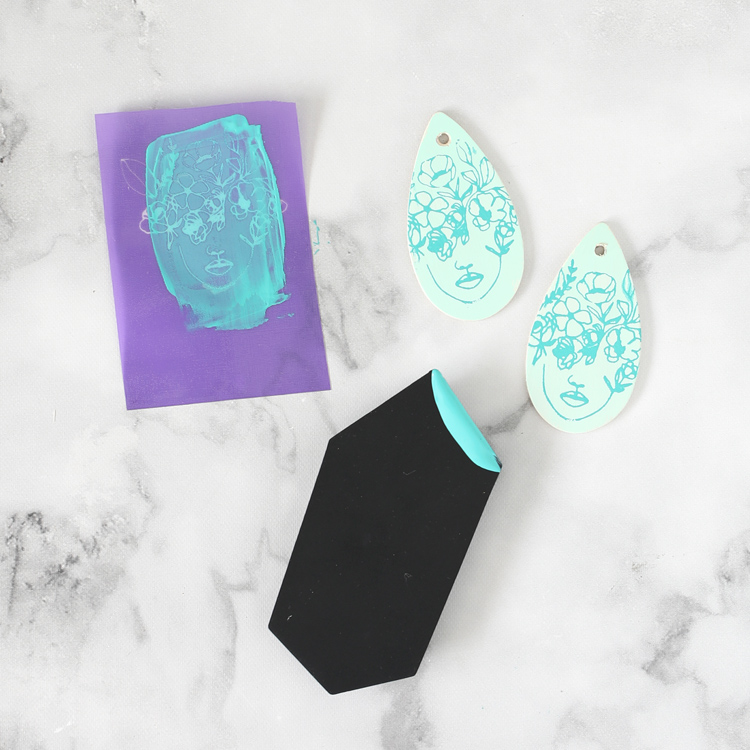
Step 5: Now comes the fun part. Let’s start stenciling!! Because I made several small stencils together on the same larger sheet, I cut them apart. Remove the clear, shiny carrier sheet from the back of the stencil and save it for later. Place the stencil onto your project sticky side down. Dab a thin line of paint (I just used regular acrylic craft paint) along one edge of the design, then use the squeegee to scrape the paint across the design. Make sure all of it gets covered in paint.
Tips and Tricks
- When working with small pieces like these earrings, I found it helpful to tape the earrings down to the table to make it easier to peel the stencil off after.
- Be careful washing out the stencil before exposing it. If you are too vigorous with the water spray, it may remove more of the material than you intend. I found this especially true with designs that were more detailed and fine-lined.
- The stencils can be used on wood, metal, clay, leather, fabric and glass, so think of the possibilities for jewelry!
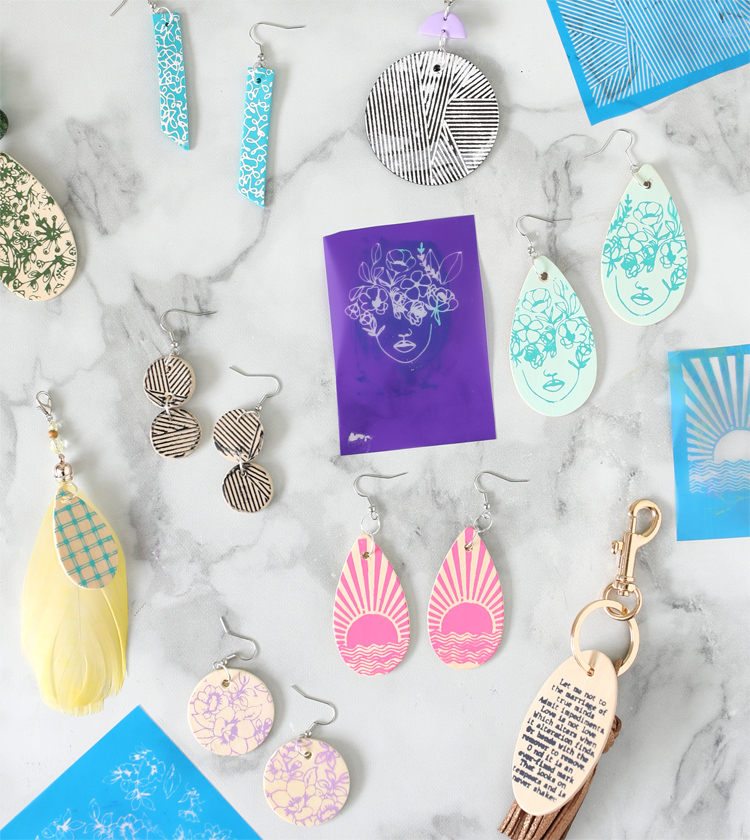
I really love how these turned out and it’s just not something that is even remotely possible with a traditional stencil or even with vinyl cut with my Silhouette machine. Can you imagine the nightmare of trying to weed designs with this much tiny detail?! ACK! There are so many more possibilities with this idea of stenciling jewelry. It would be so cool to make layered stencils with different colors. I can’t wait to try all the things!
Head to ikonartstencil.com for more project inspiration. And don’t forget the code THECRAFTPATCH at checkout to get 15% off your order.
Like this project? Pin it so you can find it later!

Let’s Get Social
I’m sharing tons of fun ideas on my social channels and I’d love for you to join me there.