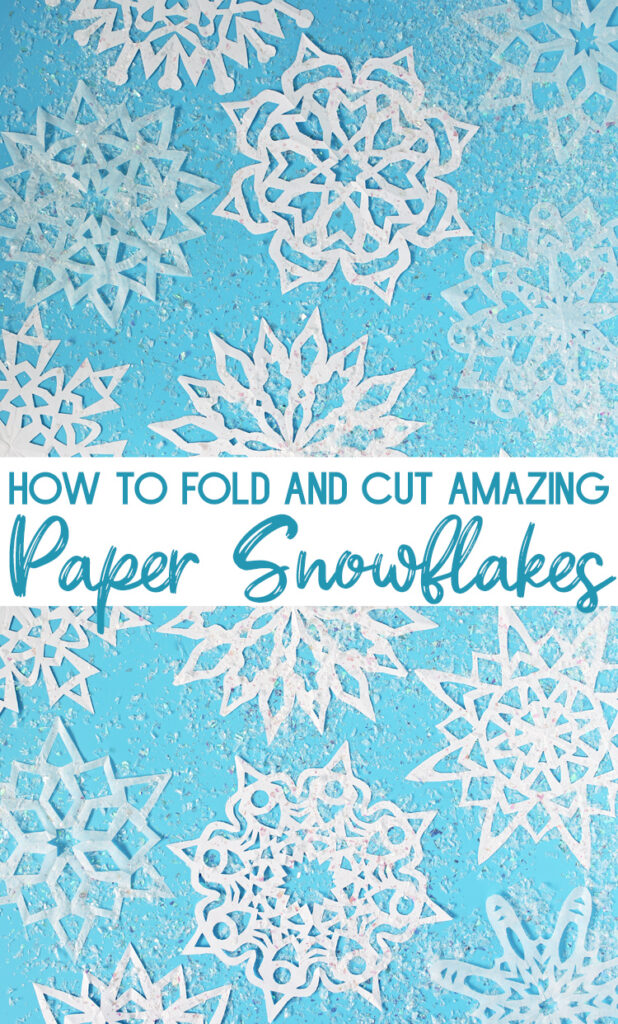
How to make paper snowflakes. Learn how to fold and cut paper into beautiful snowflakes.
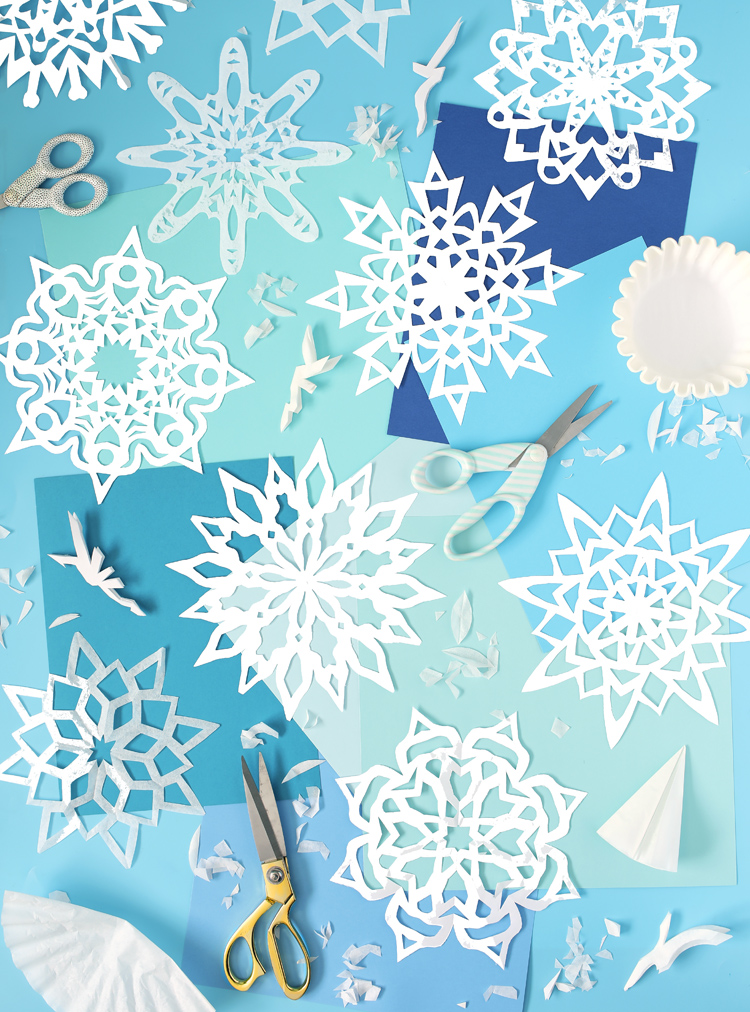
Making paper snowflakes is one of my favorite simple craft activities and my kids love it too. I live for the big reveal when you unfold the paper to see how each one turns out. It’s a cheap and easy Christmas and winter craft suitable for anyone that can use scissors (I’d guess age 4+). You don’t need fancy printable templates, special origami paper or expensive materials. All you need is a sheet of paper and a pair of scissors!
What Type of Paper Should I Use for Paper Snowflakes?
I like to use the cheapest, thinnest white printer paper because it folds nicely and is easy to cut through. Coffee filters also work really well for making paper snowflakes because the paper is thin and a giant pack of them is only around $1. The only downside of coffee filters is that the paper is delicate and can tear easily if you’re not careful. I will show you below how to make paper snowflakes out of both types.
But really you can use any type of paper as long as you can fold it into a perfect square. Wrapping paper, wax paper, vellum, glitter paper and even adhesive vinyl or sticker paper (with the back still on) would work, so get creative and experiment!
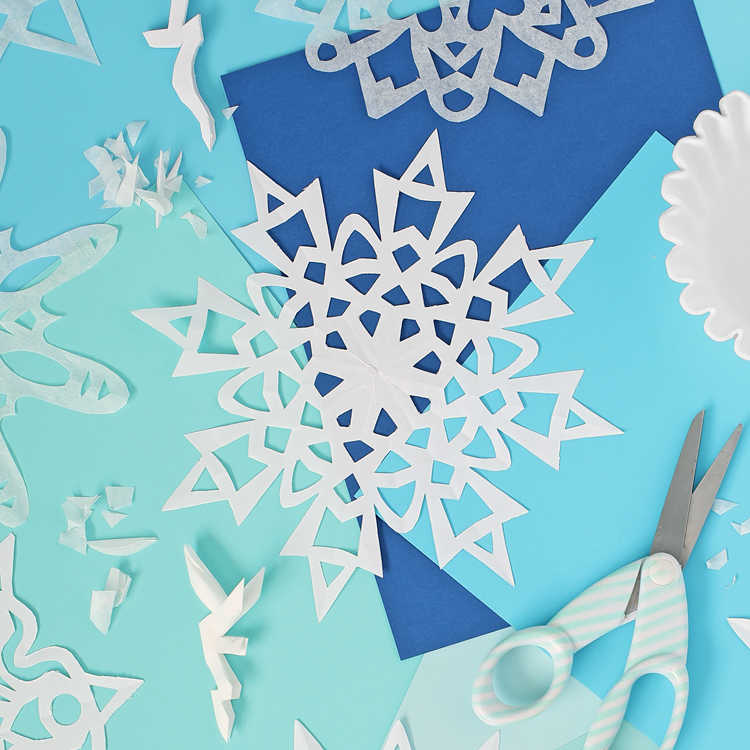
How Do I Fold Paper Snowflakes?
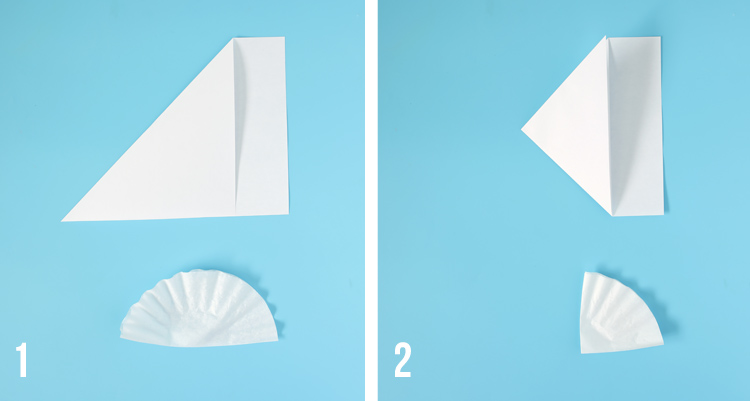
Step 1: Fold a piece of standard sized 8.5×11″ paper so that you have an Isosceles triangle with two equal sides. Cut off the excess paper along one edge if desired. You will be left with a square piece of paper. I usually skip this step to save time and just cut the extra paper off when I make the first design cuts, but it might be easier for kids to just go ahead and cut that extra part off.
Step 2: Fold the triangle in half again.
Step 3: Fold the triangle in half again, then open it back up. This will give you a center crease to use as a guide for the next step.
Step 4: Fold one side over to line up with the center crease you just made. Make sure the point of your triangle stays crisp and lines up with the folds.
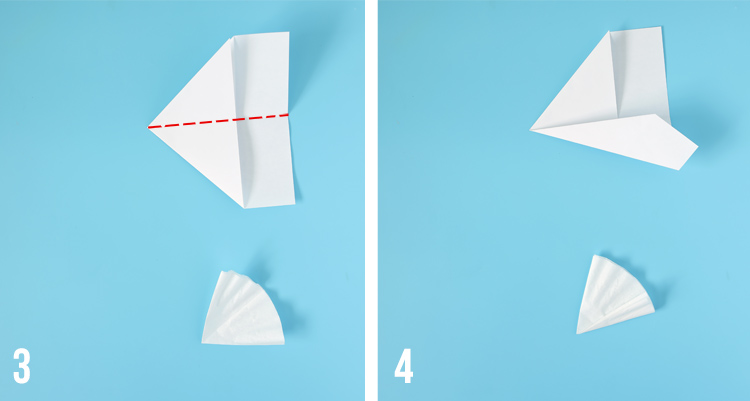
Step 5: Fold the other side over to the center crease. Now you should have two edges that touch each other and line up with the pointed end.
Step 6: Fold both sides together, making sure everything lines up evenly. Press firmly for sharp fold lines. You can even use a bone folder if you’d like.
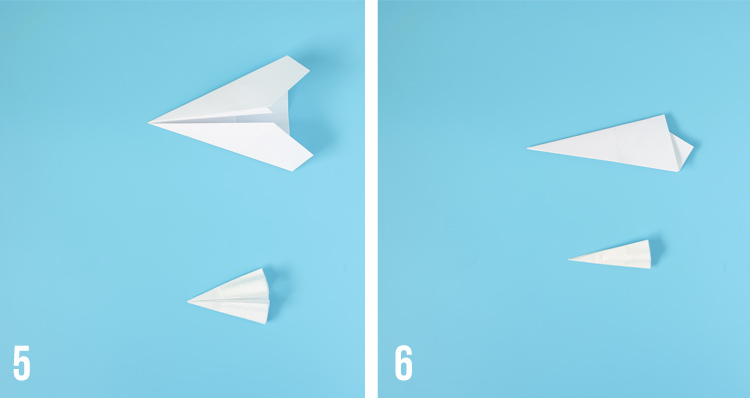
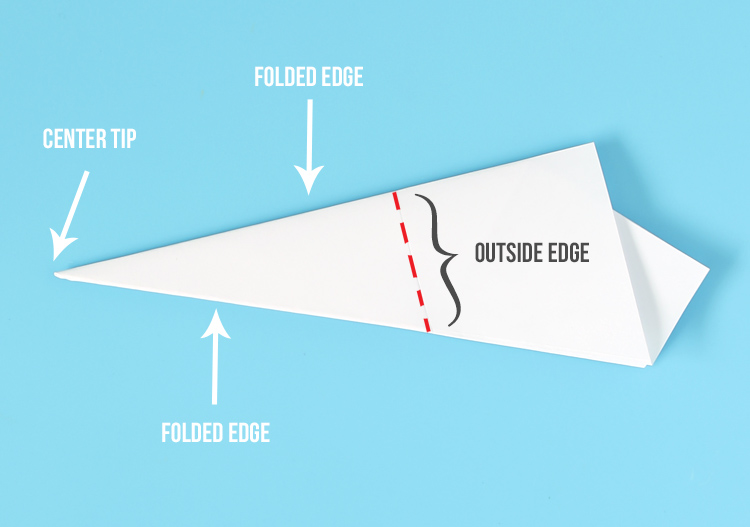
NOTE: If you didn’t trim the extra paper off in step 1, you’ll need to feel through the layers of folded paper for the innermost edge. Start your design below this edge or it will disrupt your design. This only applies to the printer paper since the edges of a coffee filter all line up.
How Do I Cut Paper Snowflakes?
Once your paper snowflake is folded, it’s time to start cutting. This is the fun part and you can do anything you want! The widest part of the triangle will be the outside edge of your snowflake and the tip of the triangle will be the center of your snowflake. I usually start by cutting the outside shape, then work my way in.
The only “rule” is that you only want to cut all the way through the triangle on the outside edge and the very tip of the triangle. If you cut all the way from one side to the other in the center of your folded triangle, you’ll just end up with a big hole.
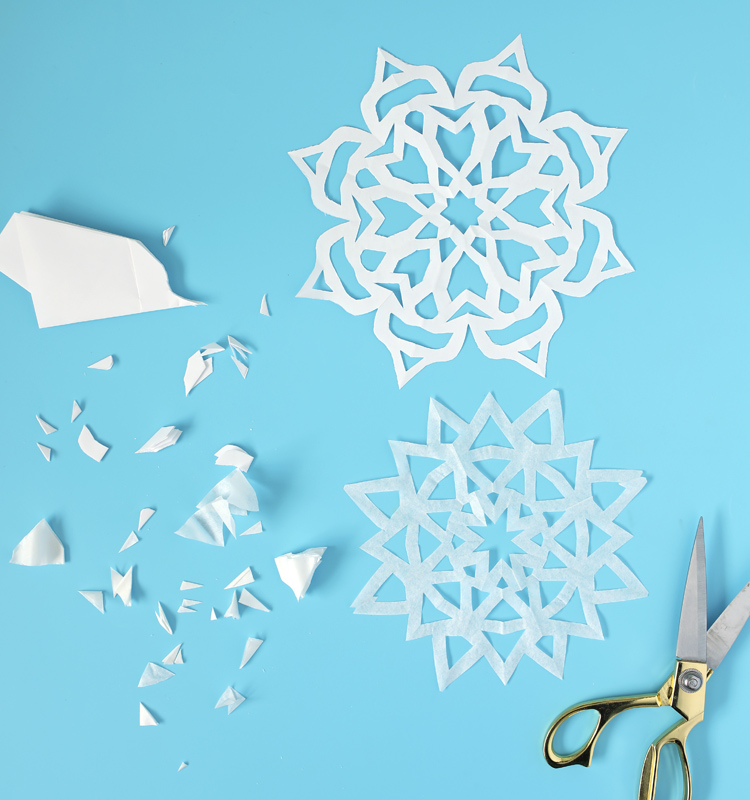
Here are two snowflakes I cut…

… and here’s what they look like unfolded.
It’s just so much fun! I seriously love making paper snowflakes.
Tips for Cutting The Best Paper Snowflakes
- More is more. If you want a detailed design, make sure to cut out a majority of the paper. You want lots of holes and only a little bit of paper left.
- Cut a deep design on the outside edge. If you only put a few little notches in the outside edge, your snowflake will be basically a circle shape. Deep cuts will give you more interesting shapes.
- Every cut you make will be mirrored when unfolded. You know the classic way you fold paper in half, then cut out half a heart and you open the paper and it makes a perfectly symmetrical heart? Every cut along the folded edges of the triangle is like that.
- EXPERIMENT! That’s what makes this whole process fun. Just keep trying things and seeing how they turn out. The materials are cheap, so there’s no fear of messing up. Just go for it!
- After you’ve unfolded your snowflake, you can place it in a heavy book to flatten out or use an iron or heat press to smooth out the fold lines. I realize this is extra, but what can I say? I am who I am.
How Do I Cut Six-Sided Snowflakes?
If you want to keep it simple, just skip on ahead. But for those of you who want to try allthethings, here’s another fun variation. The method above will make an eight-sided snowflake, but you can also make six-sided snowflakes. Here is a photo of the two side-by-side for comparison. I tried really hard to cut the design the same way so you could see the difference.
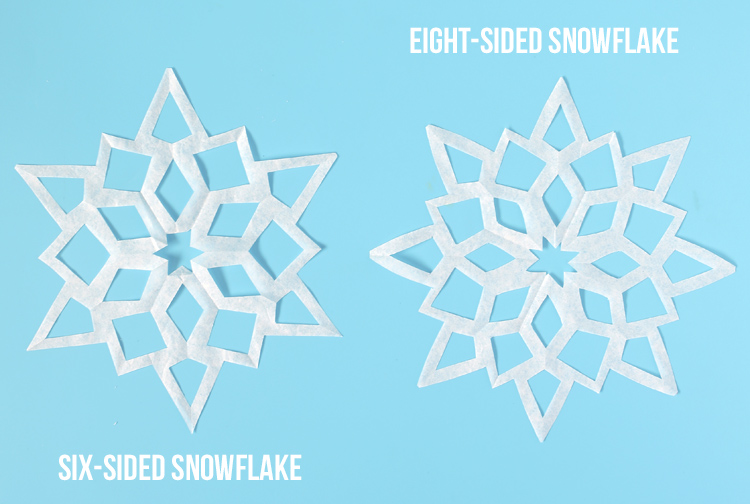
Both types are beautiful, so I say why not make both and add even more variety to your paper snowflakes?! The folding technique is really similar.
How to Make Six-Sided Snowflakes
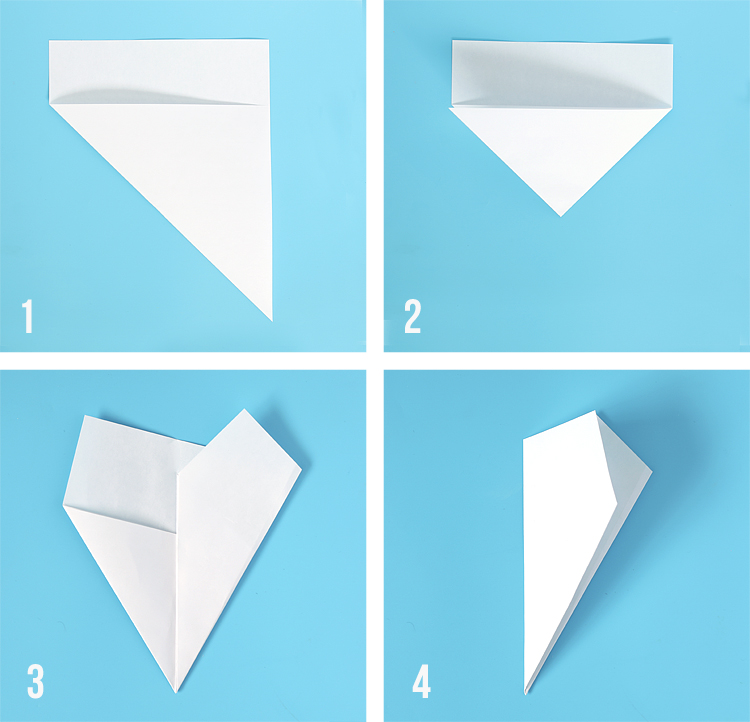
Step 1: Fold one corner of a piece of paper up to form two triangles that make a square. Cut off the excess paper now or just leave it and cut it off later.
Step 2: Fold the triangle in half.
Step 3: Fold one side of the triangle over so that you have two equal parts.
Step 4: Fold the other side over on top of it.
Paper Snowflakes Video Tutorial
How Can I Display My Paper Snowflakes?
Once you have a big stack of pretty snowflakes, there are endless ways you can display them. Here are a few examples I found from fellow online creative friends.
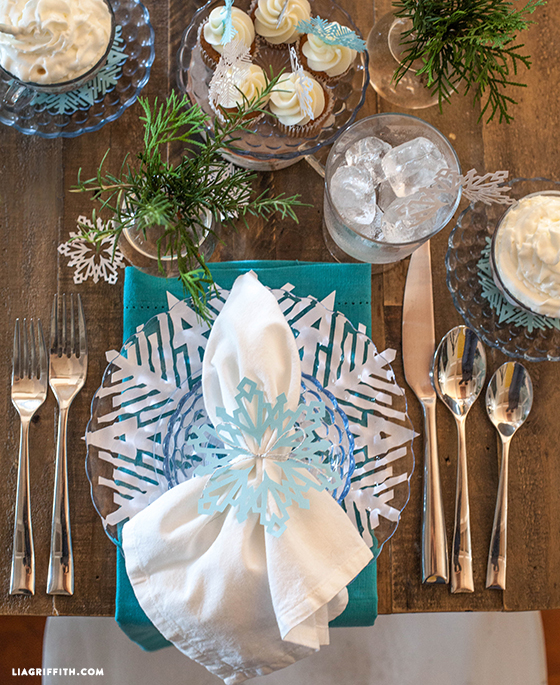
Layer a paper snowflake underneath a clear plate for a beautiful winter table setting.
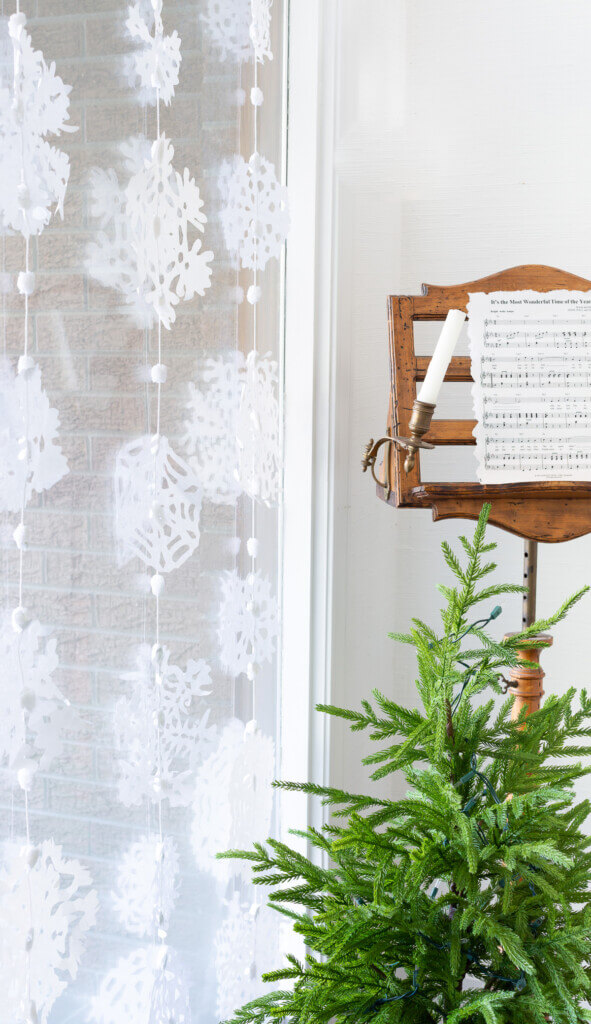
String snowflakes together with white pom poms to form a snowy and beautiful window decoration. You could also turn this sideways and make a garland instead.
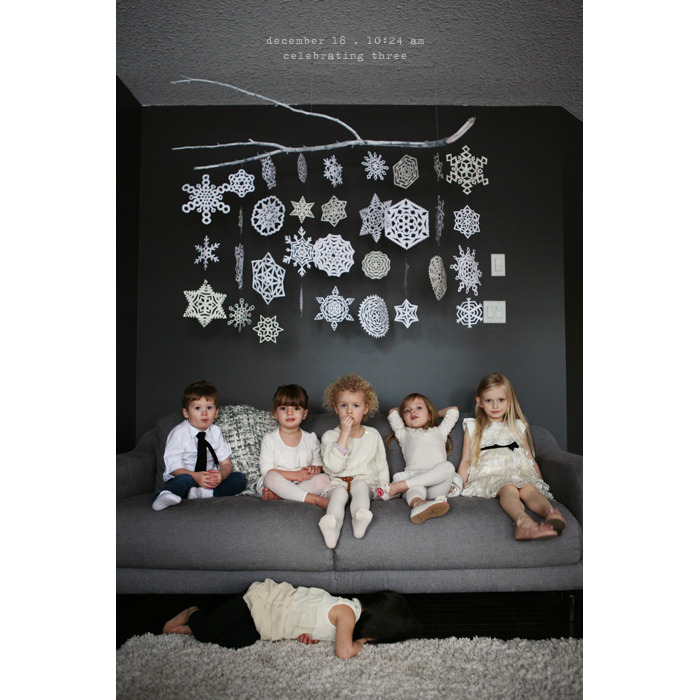
Tape snowflakes to fishing line or white thread and tie them to a branch for an artsy boho winter vibe.
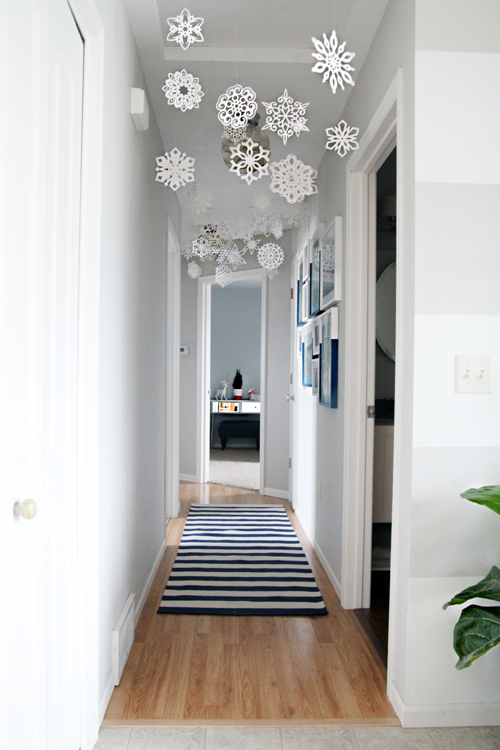
Attach snowflakes to white thread or fishing line and hang them down the hallway using clear tape on the ceiling.
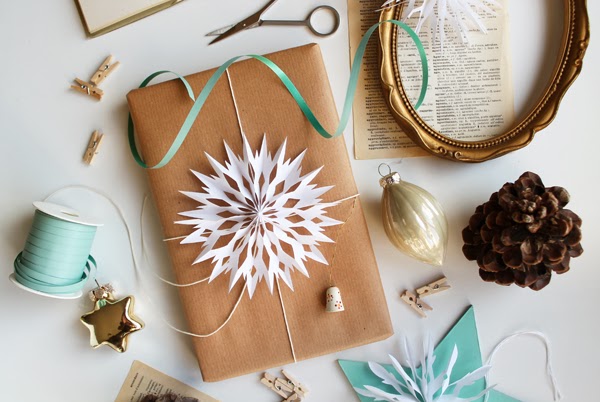
Add a favorite paper snowflake to the top of a gift for a special handmade touch.
Probably the easiest way of all to display paper snowflakes is to just tape them all over the windows. The best part of this is that they look amazing inside and outside.
So there you have it… everything you need to know to make the prettiest paper snowflakes. Did you find this paper snowflakes tutorial helpful? I sure hope so because I love paper snowflake making.
Another really fun winter paper craft idea is these giant paper bag stars. I even made mine so they light up at night and they are stunning.
Like this idea? Pin it to save it for later!


Let’s Get Social
I’m sharing tons of fun ideas on my social channels and I’d love for you to join me there.