Make a pretty wooden farmhouse-style sign with twinkling lights and a free downloadable design.
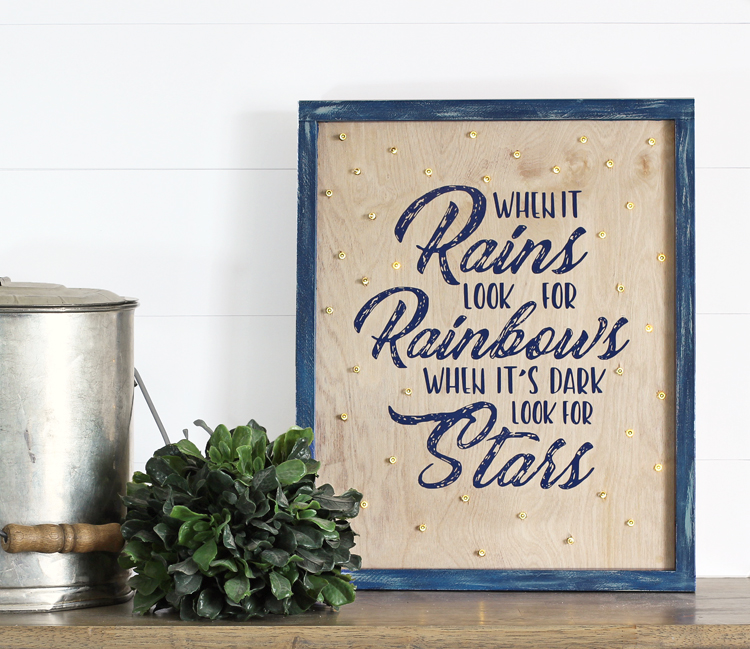
It’s no secret that I have an obsession with wooden signs. I love making them to decorate my home and to give as gifts because there are so many ways to personalize them. Today I’m going to show you how easy it is to make a farmhouse sign with lights.
To make your own sign, you will need:
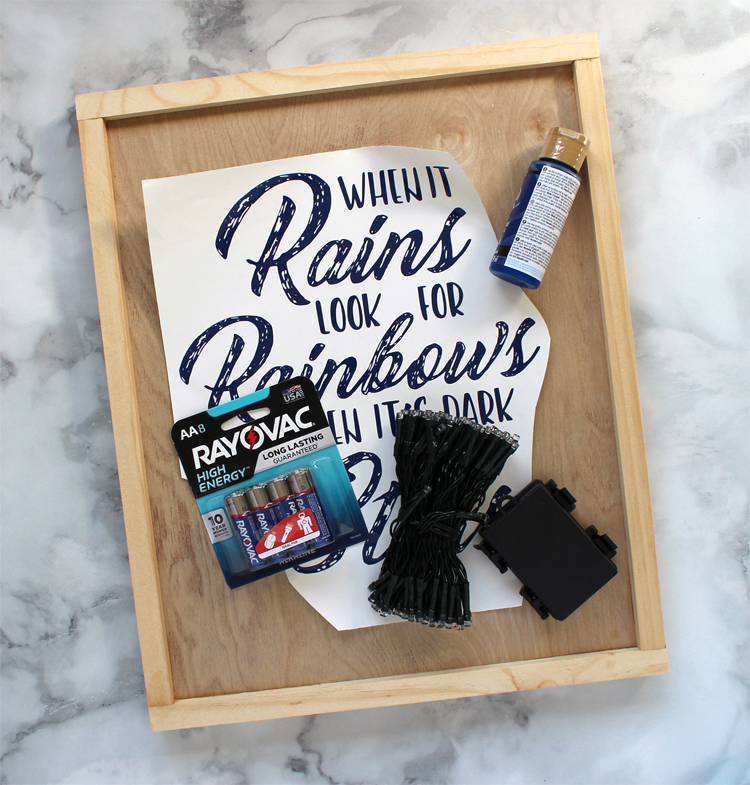
Materials Needed
- Vinyl Quote (DOWNLOAD THE FREE PNG DESIGN HERE)
- Wood Sign (buy it or DIY it)
- Craft Paint
- Battery Operated LED Lights
- Batteries
My husband made my sign for me, but you could easily buy one. They carry several different styles in the craft aisle at any craft store.
I bought the battery operated lights in the Christmas section at Walmart, but after making this sign, I realized I should have bought a shorter strand… 100 lights was way too many for one sign! Next time I go to Walmart, I plan to buy another set of lights and do a little swappety-swap. Also, a safety note: this project requires LED lights to reduce the risk of overheating which could cause a fire. Only use cool LED lights please!
Instructions
Step 1: Paint or stain the background of your sign if desired. The wood on my sign was particularly pretty, so I left it raw.
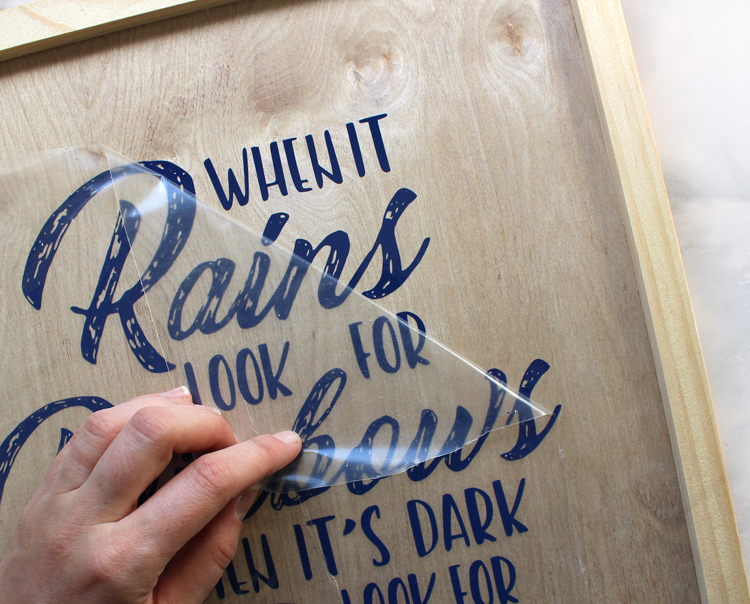
Step 2: Download the free PNG design using the link in the materials list. Open the design in your craft cutter’s design software and trace it. Cut the design out of permanent adhesive vinyl. Weed. Use transfer tape to apply the vinyl saying to the sign.
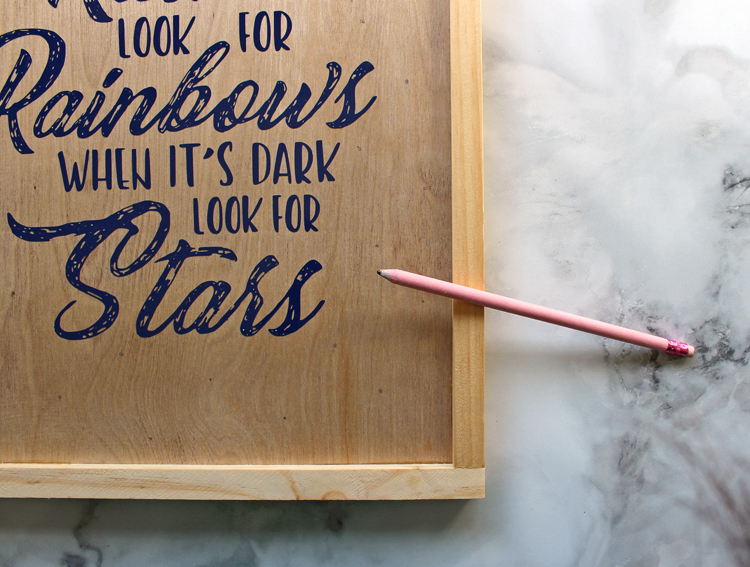
Step 3: Use a pencil to mark where you want the lights to be. I tried to space my evenly but randomly all around the words— and that is harder than it sounds. So use a pencil.
Step 4: Paint or stain the outer frame of your sign. I gave mine a coat of navy blue, then whitewashed over it to give it some character.
Step 5: Find a drill bit that is the same size as the lights you’ll be using. I tested my bit on a piece of scrap wood to make sure the lights would fit through but still be snug enough to stay in place.
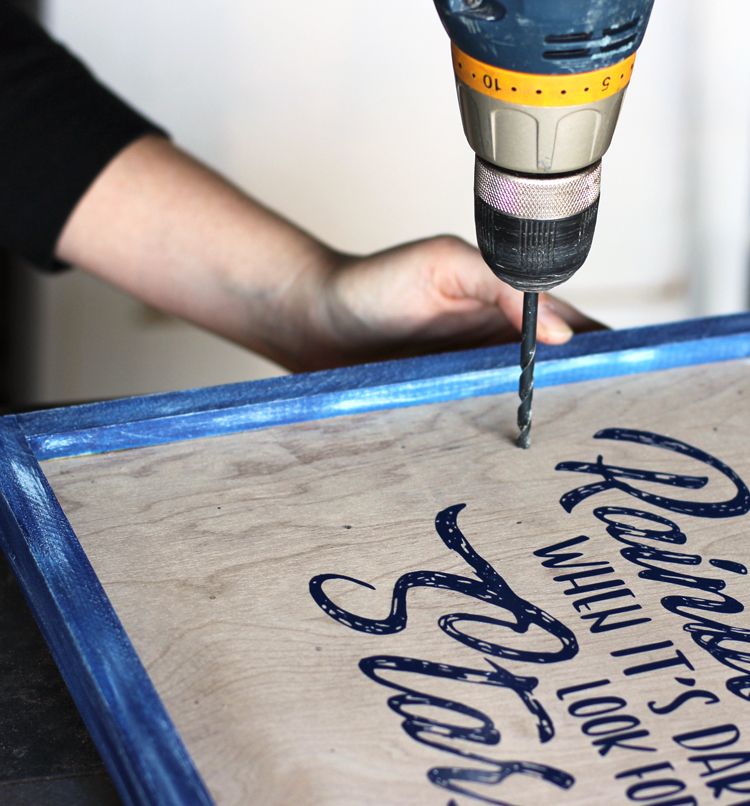
Carefully drill holes where your pencil marks are. Go slow and try not to splinter the wood.
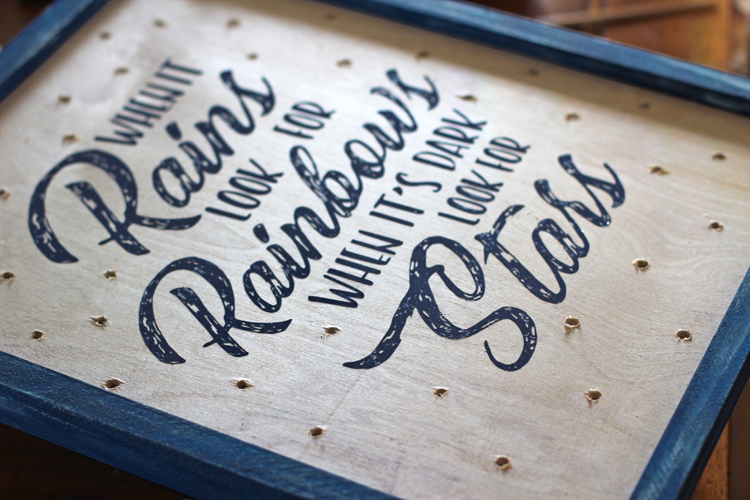
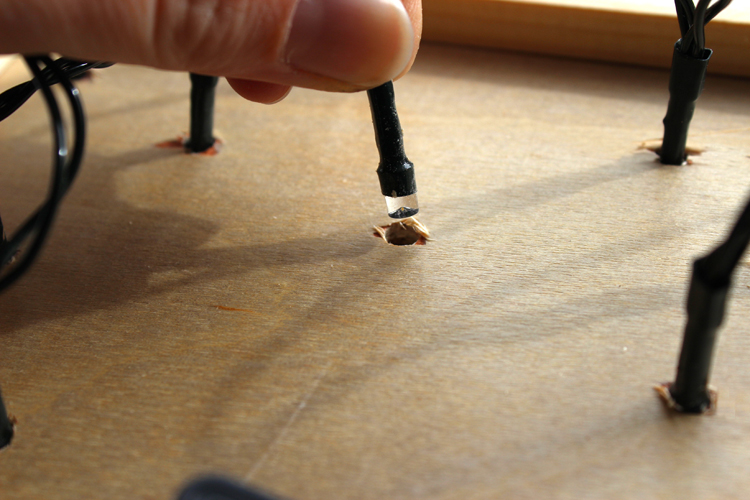
Step 6: Starting from the back side of the sign, poke the lights through each hole.
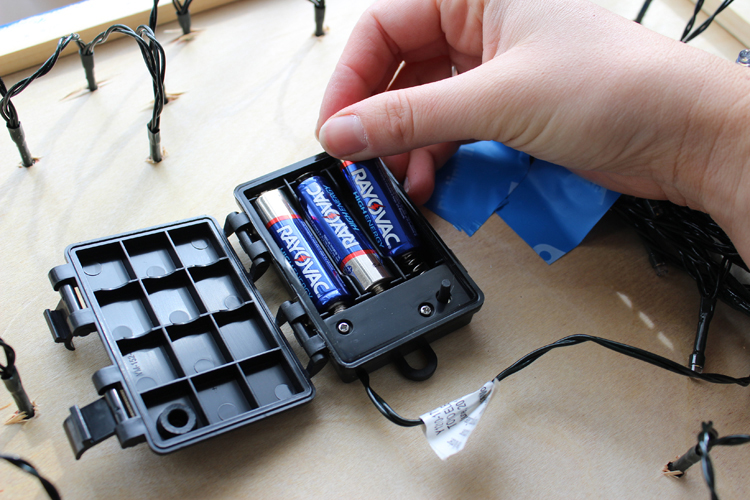
Step 7: Insert the batteries into the case and secure everything to the back of the sign with strong tape. That way you can remove and replace the lights if they ever go out.
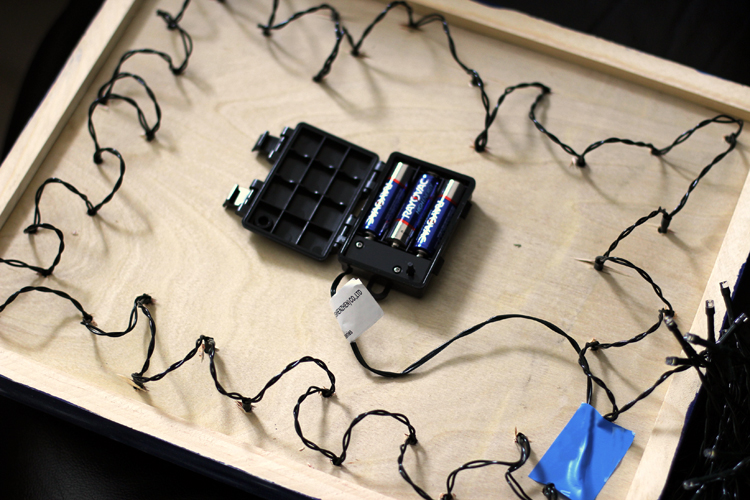
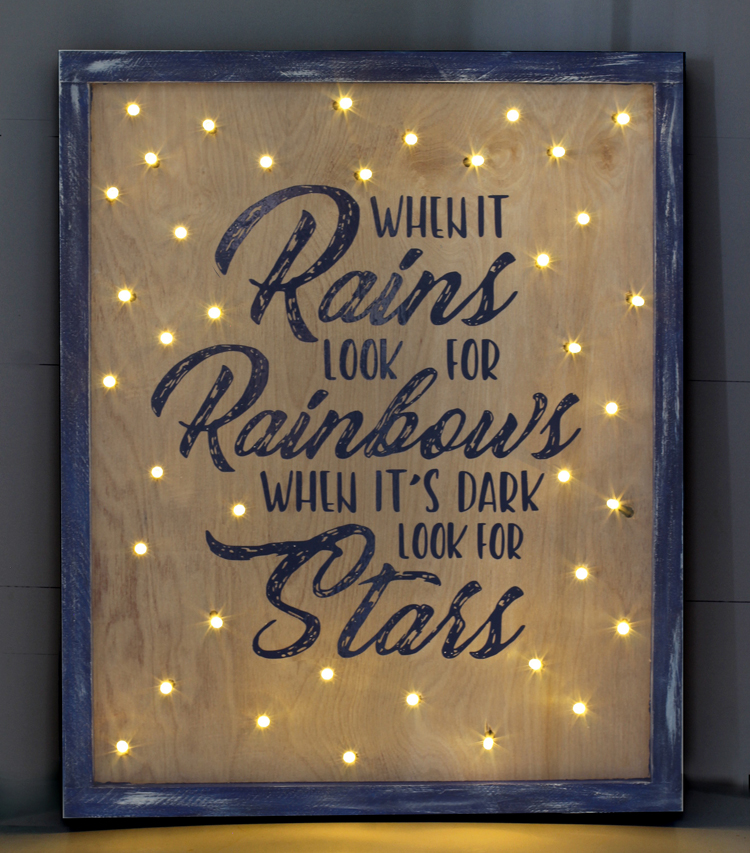
Then all that’s left is to turn on the switch and enjoy the magical glow of your brand new lighted sign!

Comments & Reviews
It is so stinkin' cute! Thank you so much for sharing! I feel a little ignorant but I didn't understand step 2 at all. I've never heard of the vinyl lettering. What is that all about and how would I do it? Thank you so much! 🙂
No worries! Sometimes I forget that not everyone lives and breathes crafts. Haha.
Vinyl lettering is cut using a Cricut or Silhouette machine and it's basically a big sticker that you can put onto any craft surface.
If you don't own a craft cutting machine, you can still make this project using this image transfer technique and hand-painting the words: https://www.thecraftpatchblog.com/2016/09/pallet-wood-farm-fresh-pumpkins-diy.html
Hope that helps!