I’m so excited for the progress I’ve made with the bathroom makeover. Here’s a picture of the bathroom when we first toured the home:
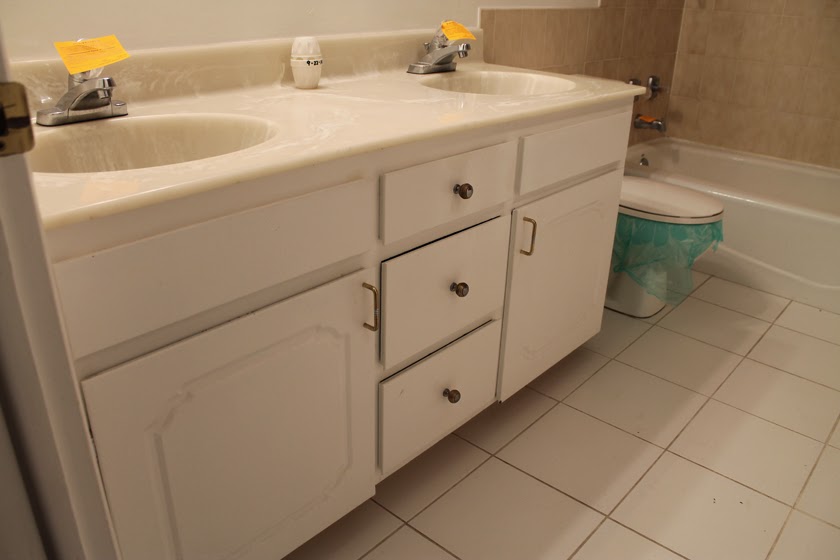
It’s not a horrible bathroom by any means, but it definitely needed a face lift. The thing that drove me the craziest about this bathroom though, was the dirty grout.
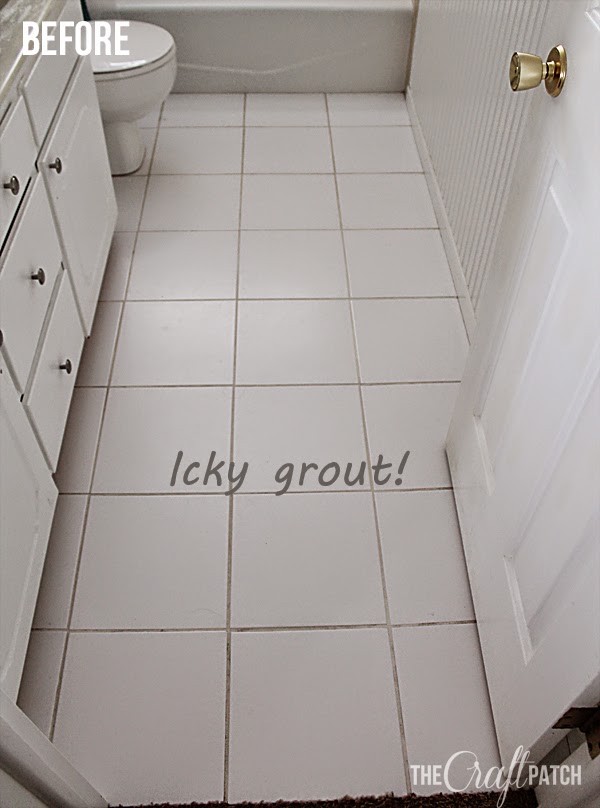
Eww! I used my special grout cleaning concoction, and it helped a lot, but this old grout was just too stained and nasty to ever really look good. It made me cringe every time I walked into that bathroom.
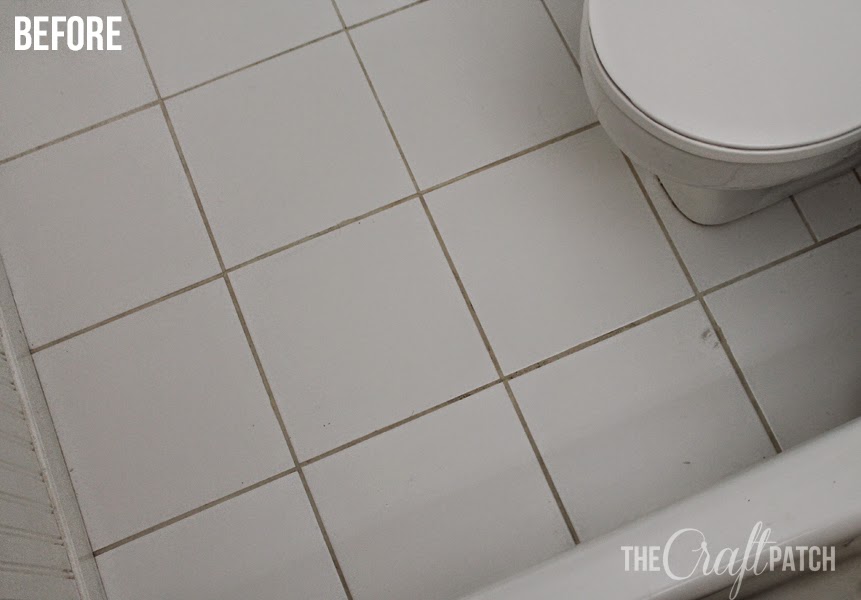
Brownish yellow grout against crisp white tiles just doesn’t scream “clean.” Nevermind what it does scream. Blech!
So after a lot of research (reading blogs… my favorite kind of research!), I decided to try a product called Mapei Grout Refresh. I bought mine at Lowes in the tile aisle, but Home Depot also carries a similar product with a different name. The bottle cost $12.
I followed the instructions on the bottle. First you apply the paint/stain/whatever it is to all the grout and scrub it in with a toothbrush.
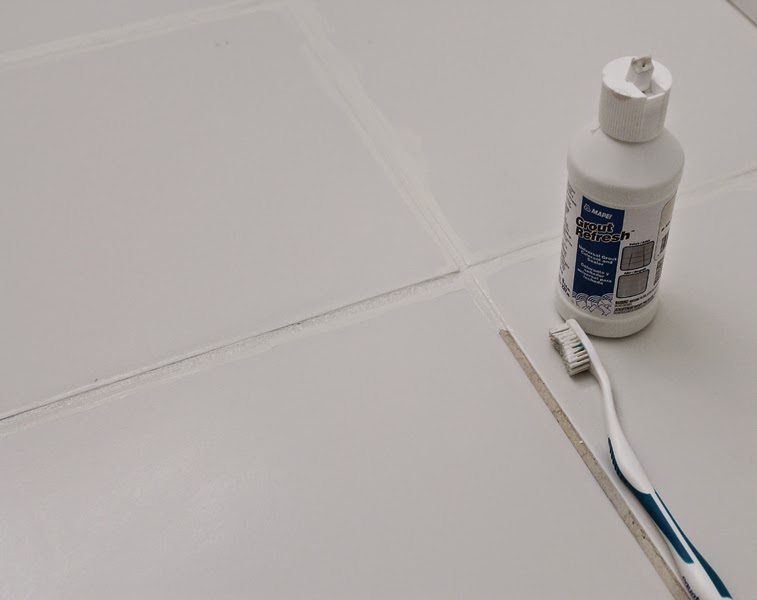
After 30-60 minutes, you mist the floor with a spray bottle and wait 5 minutes. Then you scrub any of the excess paint off of the tile.
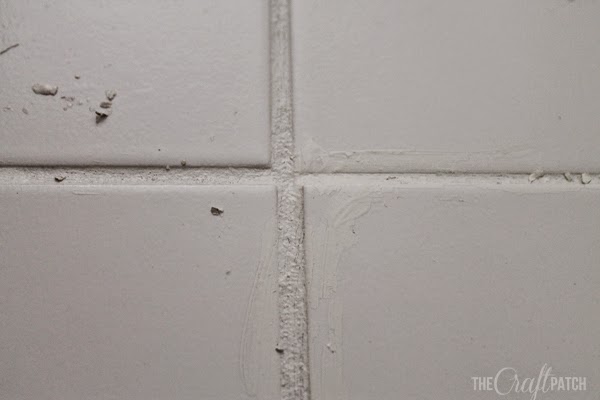
I quickly learned that you only want to scrub the tile part, not the grout itself. I accidentally scrubbed off some of the colorant.

Oops! I have just a few teeny spots I’ll have to touch up, but it’s no big deal, really.
After I finished cleaning up all the extra paint, I stood back in disbelief.
LOOK AT THAT GROUT!!! It’s so, so …. white!
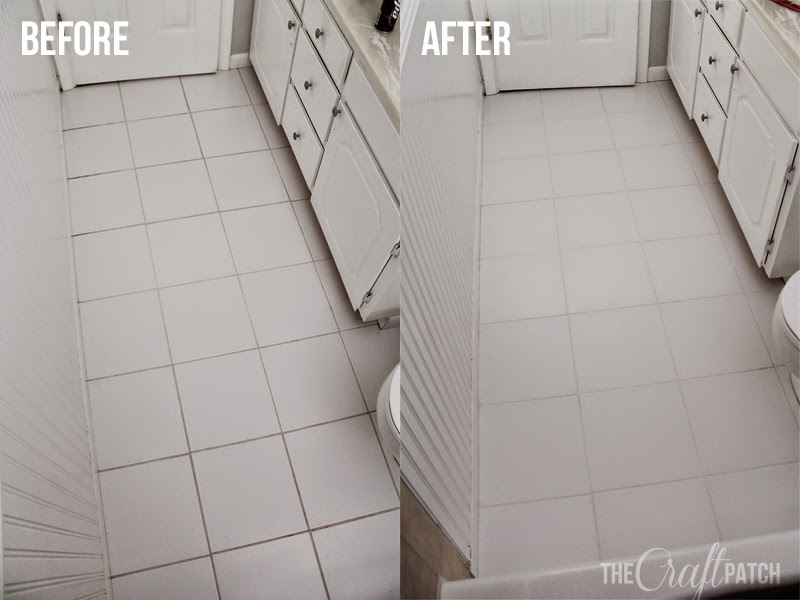
I can’t tell you how thrilled I am with the results. The bathroom actually looks clean now! It makes such a huge difference to me! I am just giddy!
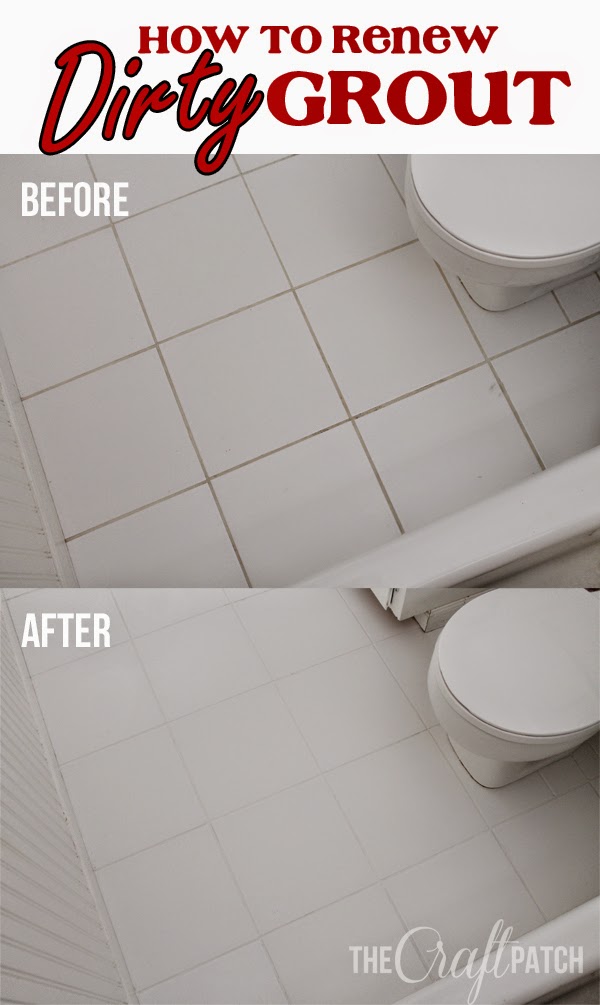
From other reviews, it sounds like this stuff holds up pretty well. I hardly used any of the grout refresh, so if I ever need to touch it up, I’ve got plenty left. This product is also supposed to be a sealant, so it should actually help prevent stains. Fingers crossed about that part. I debated about doing a darker grout (this stuff comes in lots of colors!), but I just didn’t think I’d like the overall look. So I stubbornly chose white, even though it may be a pain to keep clean. We shall see.
It took me about half an hour to apply the paint and about another half hour to scrub the excess off. For an hour and $12, I think this is a win, win, win project!
I’ve got more bathroom updates in the works. In fact, hubby is out in the garage right now cutting wood for me. Love that guy! I am very pleased with the way this bathroom is coming together and can’t wait to share it with you!

Comments & Reviews
Wow, it looks fantastic!
Thanks! I'm so excited about it!
I have been working hard at the grout in my new place (it had been a rental for probably 10 years, so not much care given to the floors!). I actually found magic erasers to be MAGICAL. It was a lot of work, but I learned my grout is actually sandy coloured…not dark brown as I assumed :). Grout paint was my next option but I am still trying to clean first!
I cleaned with several different products before I went with the paint. The grout was chocolate brown at first, and after cleaning, I got it to a yellowish tan. But it still just looked icky, so grout paint to the rescue!
just baking soda and water works just as well!
I actually tried that and while it did help, the grout was still nasty looking.
So excited for you! I have a similar bath, except with 6" squares = twice as much grout. Lucky me. I can't wait to get time to do this. I bought the product last week, and it's mocking me, just sitting on the counter. Can't wait to get at it! You've given me inspiration.
Good luck, Darla. It is worth every second spent. You will be amazed how much cleaner the bathroom will feel!