Turn dollar bills into butterflies with this step-by-step origami tutorial.
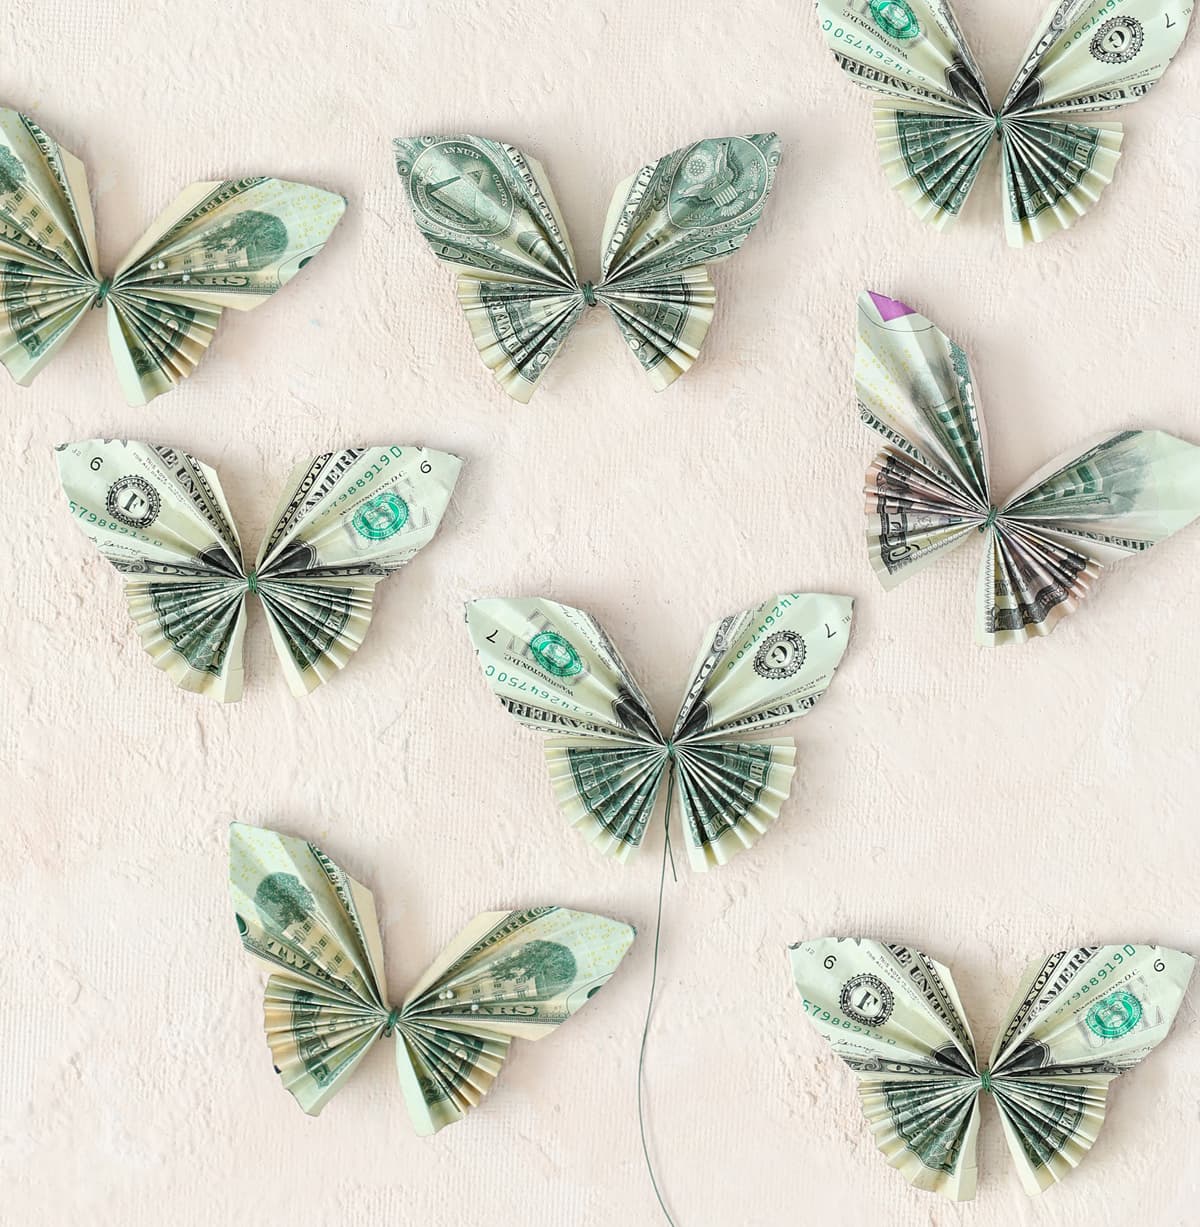
Today I’m going to show you how to turn money into pretty origami butterflies.
Of all the money folding tutorials I’ve tried, this one is the easiest and cutest. This is a very beginner-friendly origami tutorial with very basic folding techniques that anyone can do.
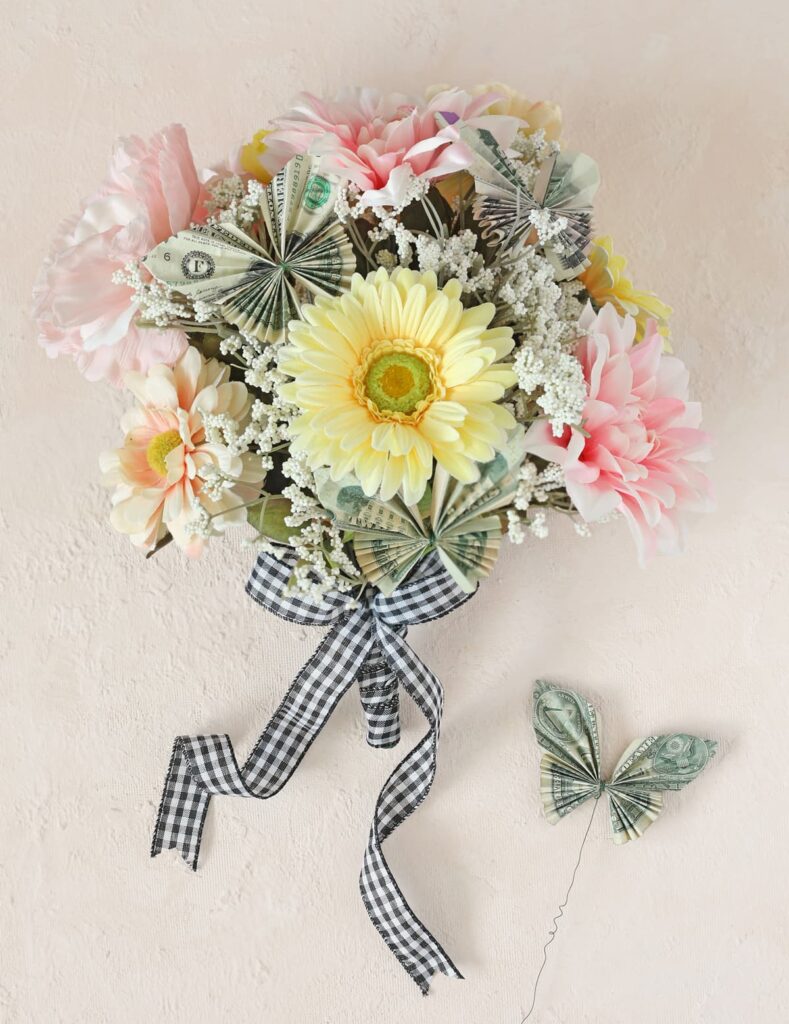
It’s so fun to give these money butterflies as gifts. I’m adding my money butterflies to a bouquet to give as a graduation gift. I’ll share some other ideas of what you could do with them at the end of this post. But first, let me show you how to fold them.
Some people learn best with a video while others prefer written word and photos, so I have included a step-by-step photo tutorial as well as a video. Hopefully that’s helpful to you!
Materials Needed
- Dollar Bills
- Florist Wire, String or Thread
You will need two bills per butterfly that you want to make. You can use any denomination of money depending on how much cash you want to give and how many butterflies you want to make.
I started by ironing my bills with my regular clothing iron to make them smooth and crisp. This step is optional, but it does make the butterflies look nicer in the end.
Instructions
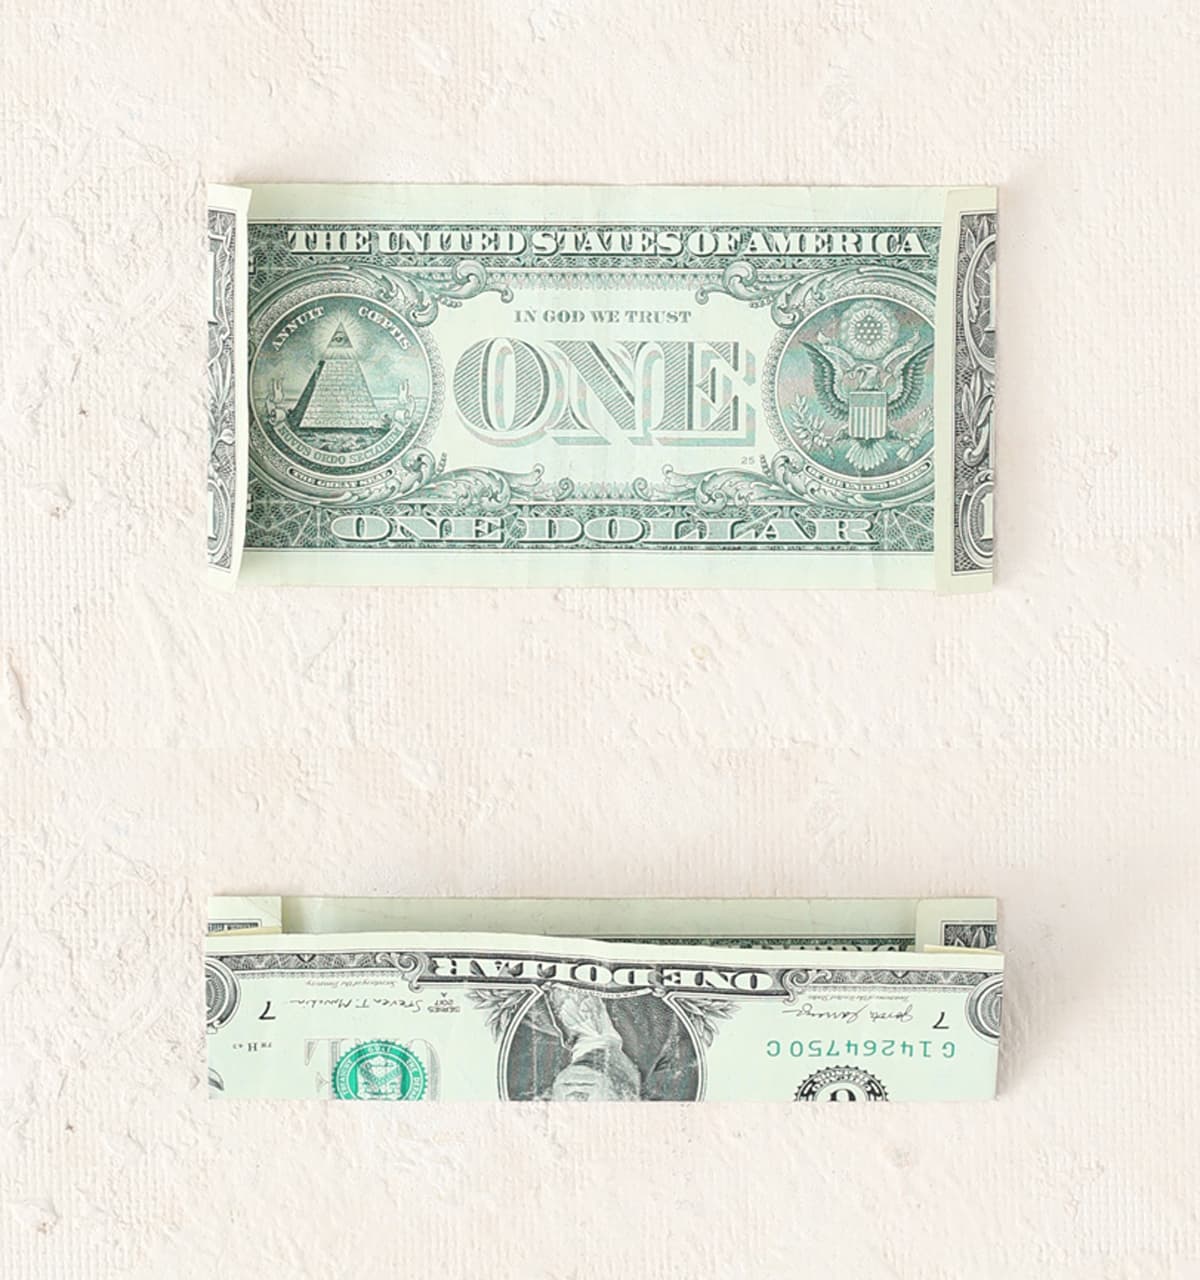
Step 1: Fold each short end of Bill Number One inward about 1/4 inch. On the $1 bill, I folded right through the center of the printed one.
Step 2: Bring the bottom of the bill to the top of the bill and fold it in half. This will give you a center guide for the next step, so unfold it once there’s a good center crease.
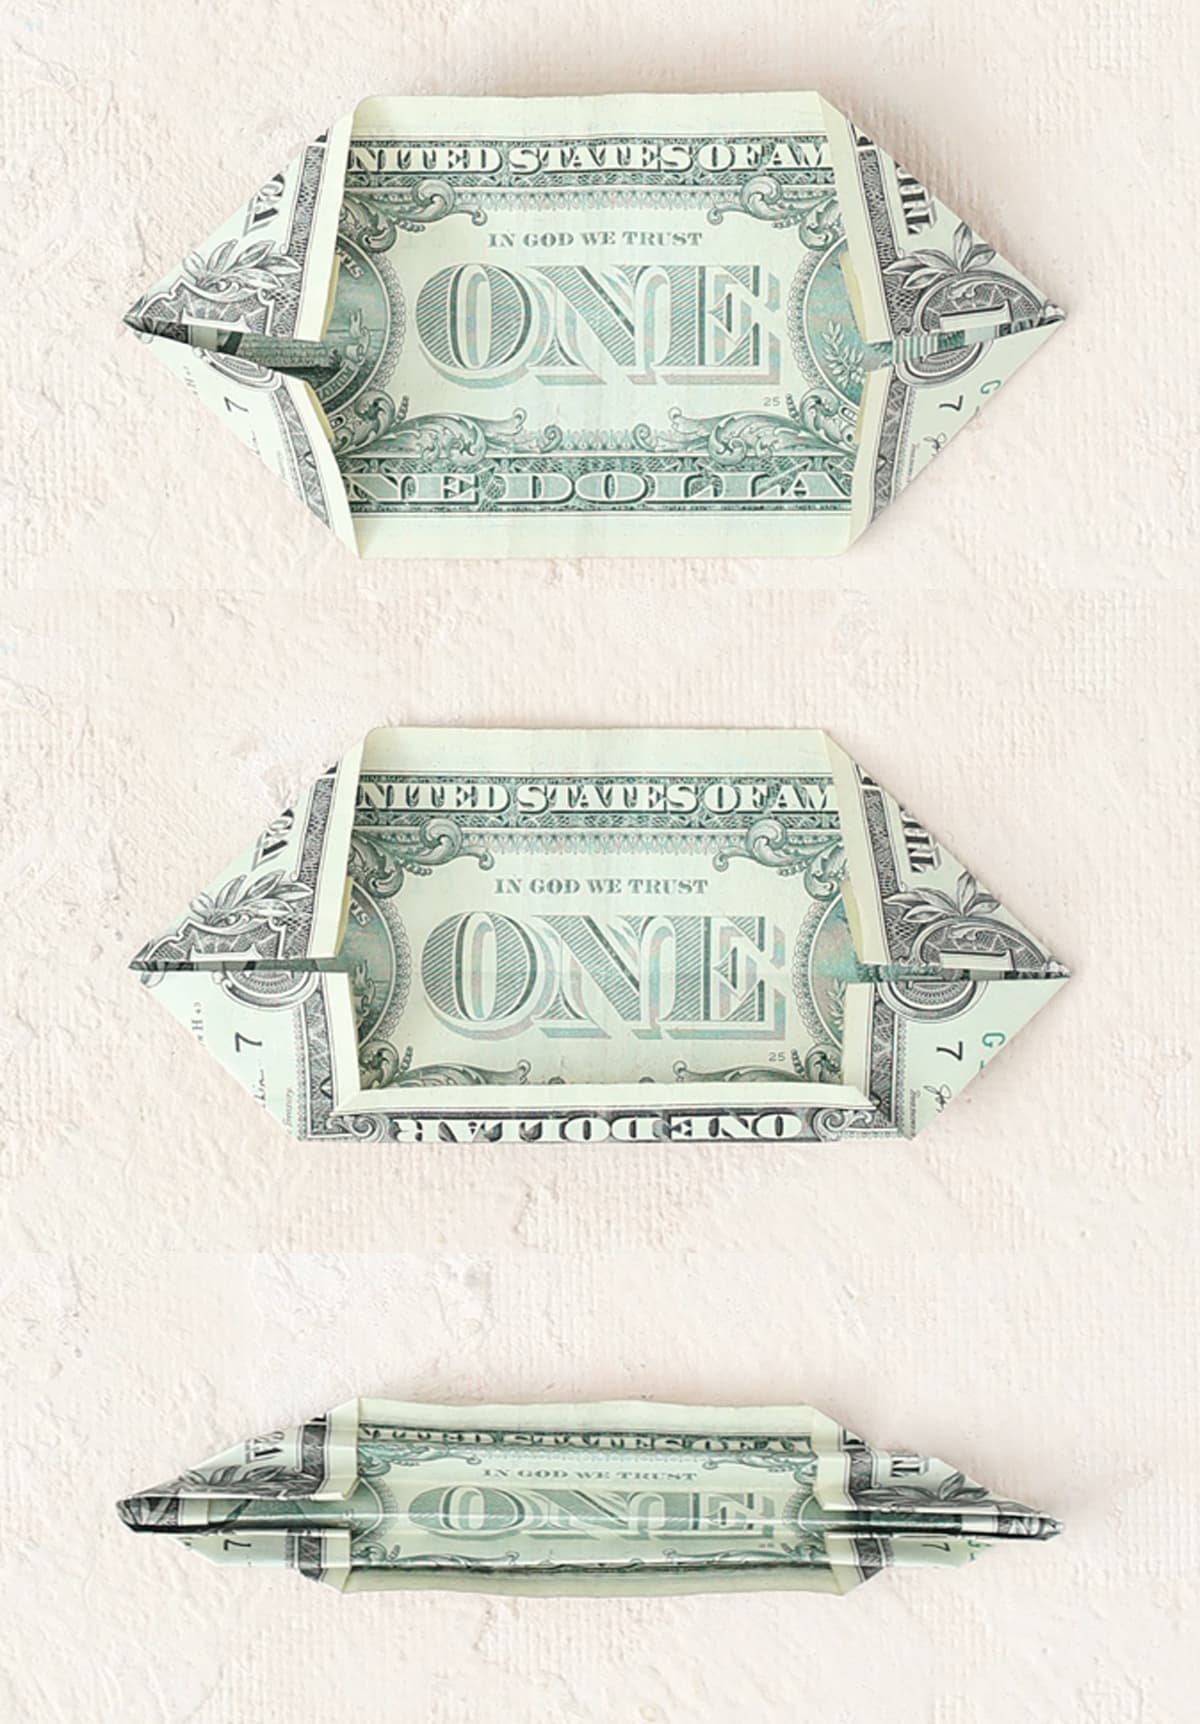
Step 3: Fold the two short edges into points, using the center guide to help you make the triangles even.
Step 4: Fold the bottom edge of the bill up about the width of the white border on the bill design. Accordion fold the bill the rest of the way up.
Step 5: Now we’re going to fold Bill Number Two. This is super easy. Just accordion fold the whole thing, starting on the short end. I used the white border in the bill as a guide for how wide to fold and it worked out perfectly.
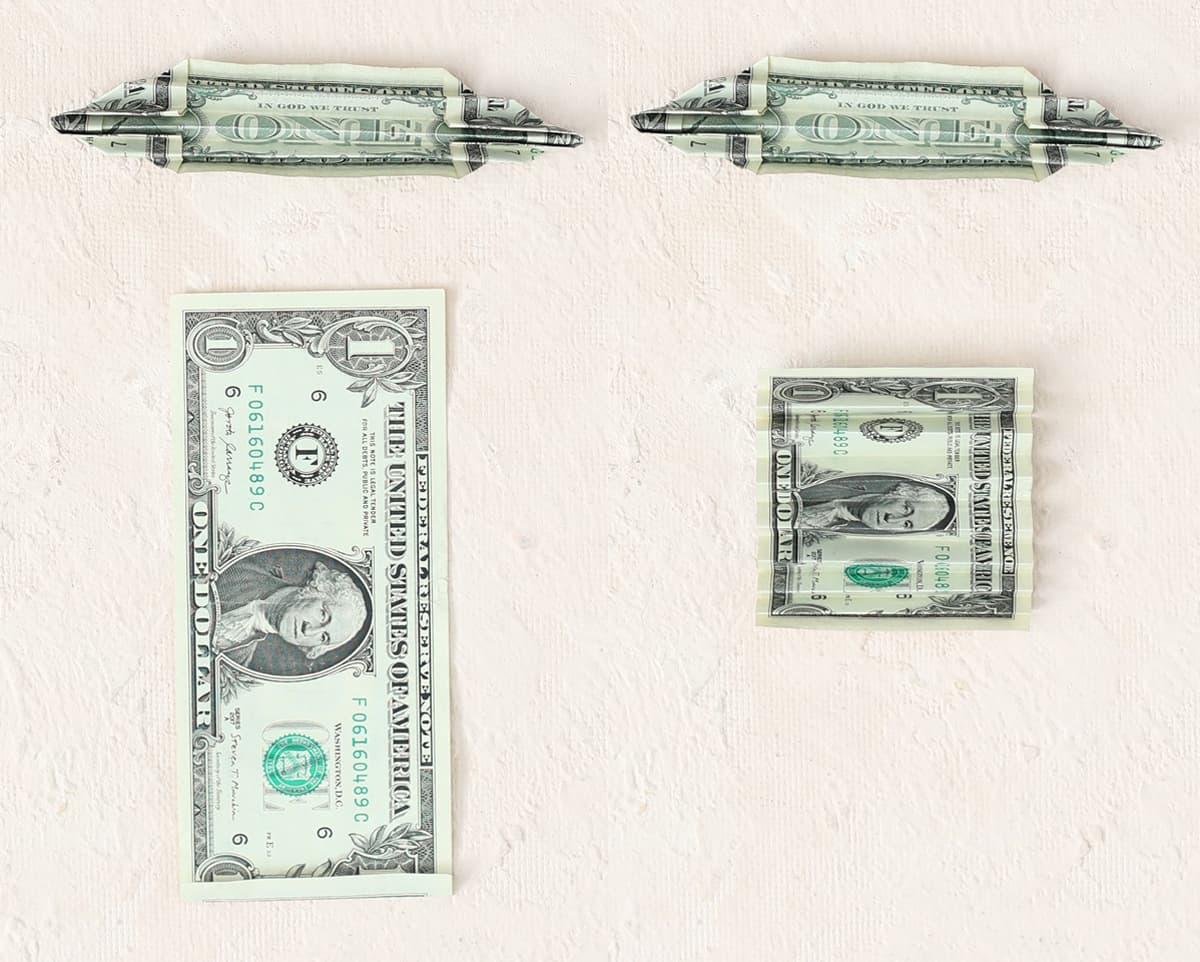
Step 6: Now we’re going to attach the two folded bills together. I used florist wire because I’m going to add these butterflies to a bouquet of flowers and wanted the rigidity. You can use string or thread instead if you’re making something like a money lei. Start by folding each bill in half to make a center line. Then align the two centers and wrap them tightly with your binding of choice. I left a long tail of florist wire on mine so that I could use it to attach the butterflies to my bouquet.
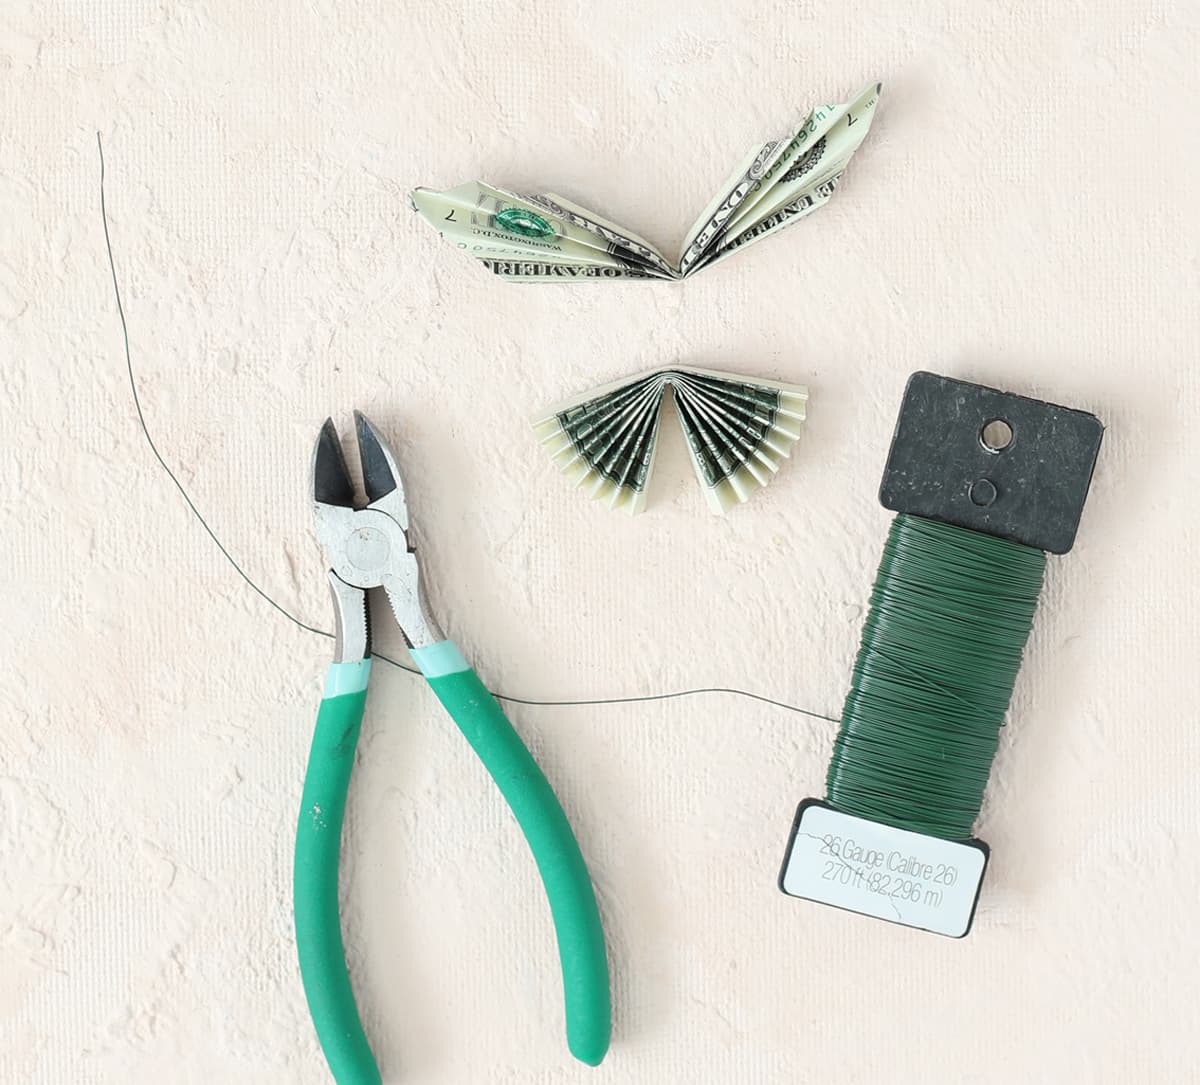
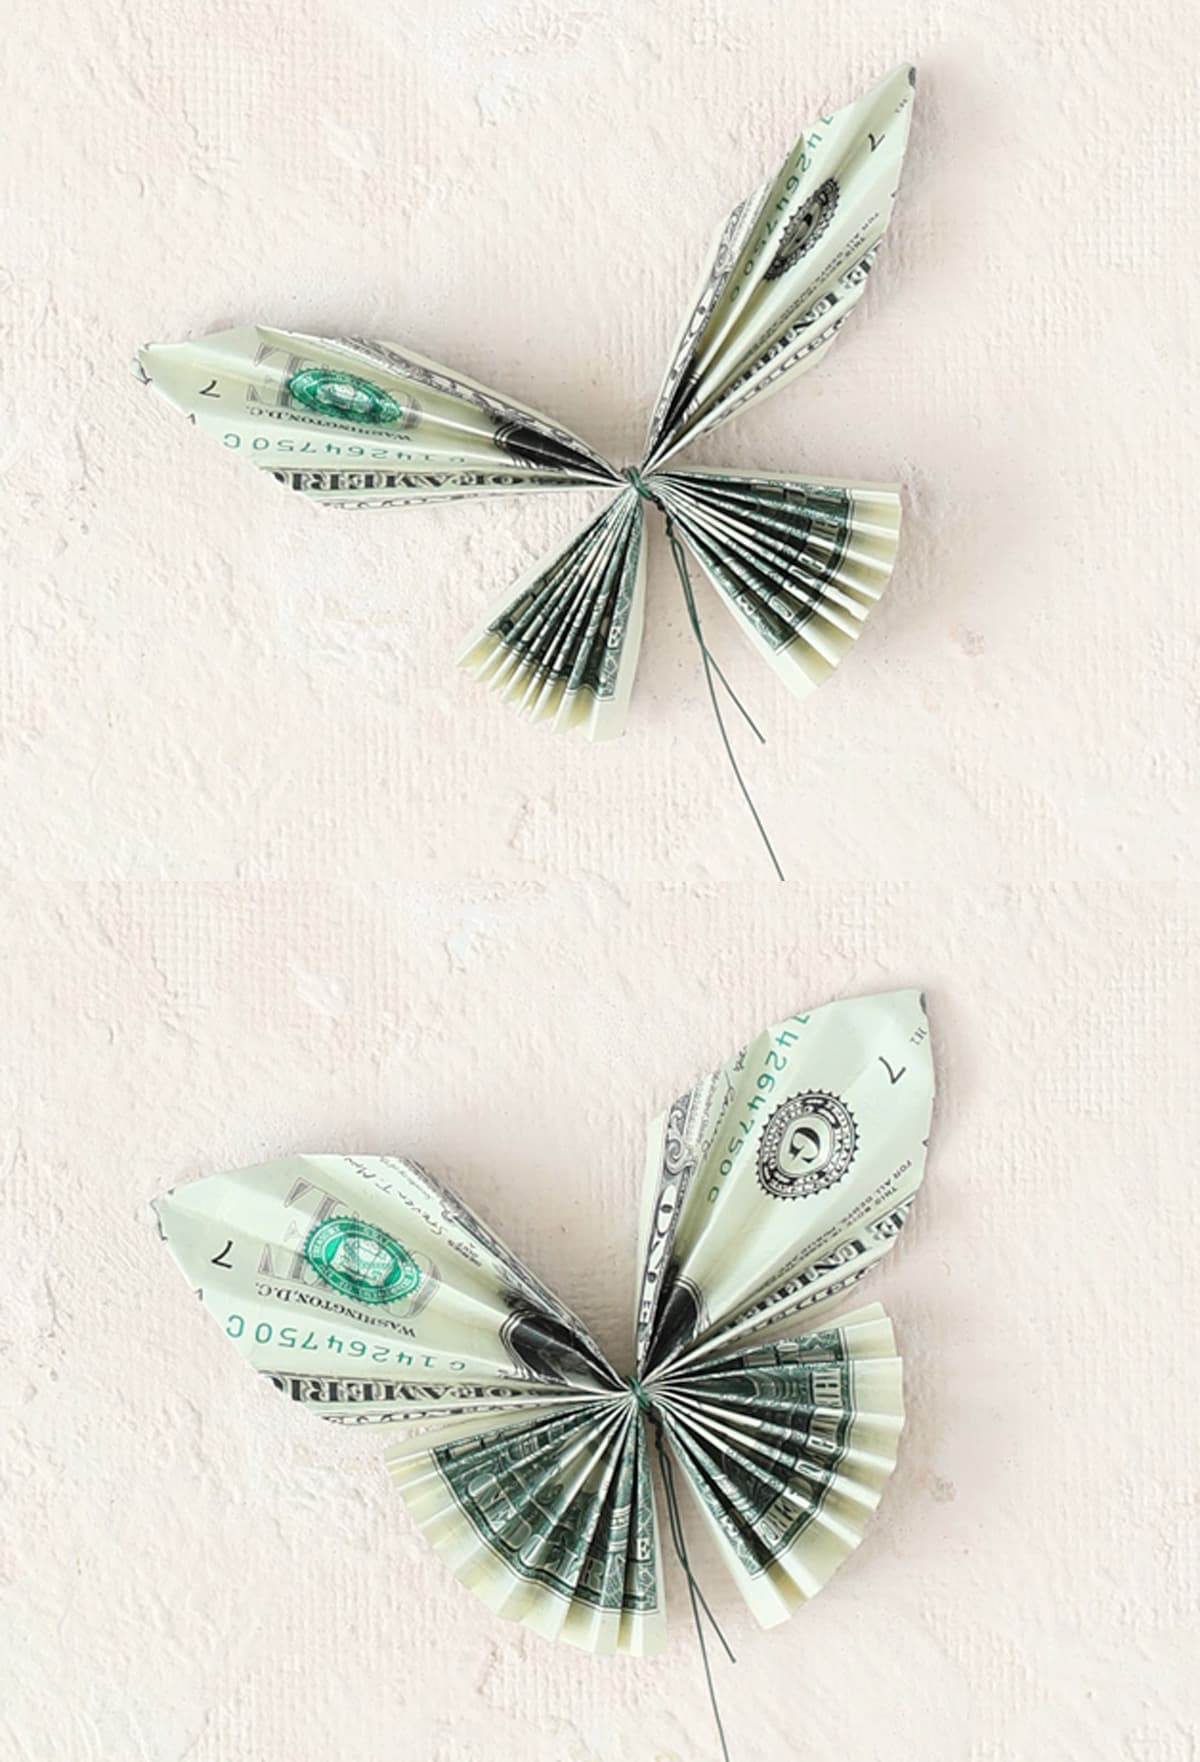
Step 7: The last step is to gently fluff the butterfly wings. Just press the tips of the wings and fluff out the fan folds and then your gorgeous money butterfly is complete! Isn’t she pretty?
How to Fold Money Butterflies Video Tutorial
Now here’s the fun part. I added my butterflies to a bouquet of faux flowers!
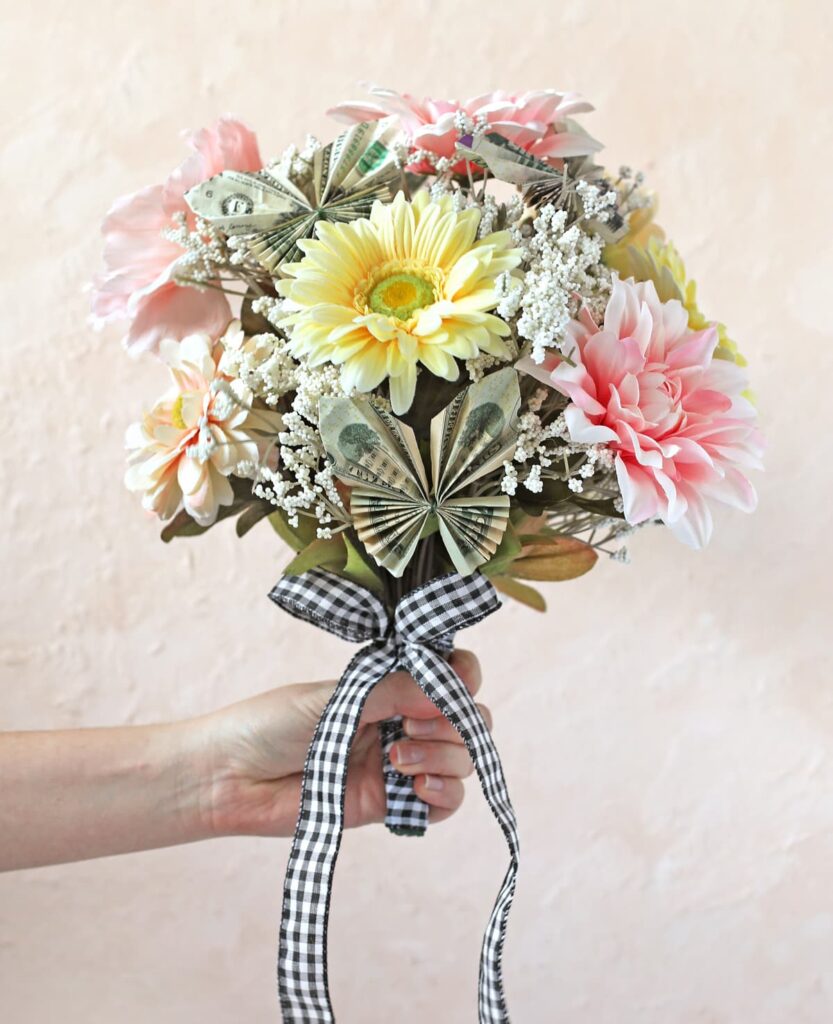
You could also add these butterflies to a bouquet of fresh flowers or a live houseplant. How cute would that be to give as a gift?! So much more fun than just putting money in a card, don’t you think!?
So now you know how to make money butterflies. What will you use them for?
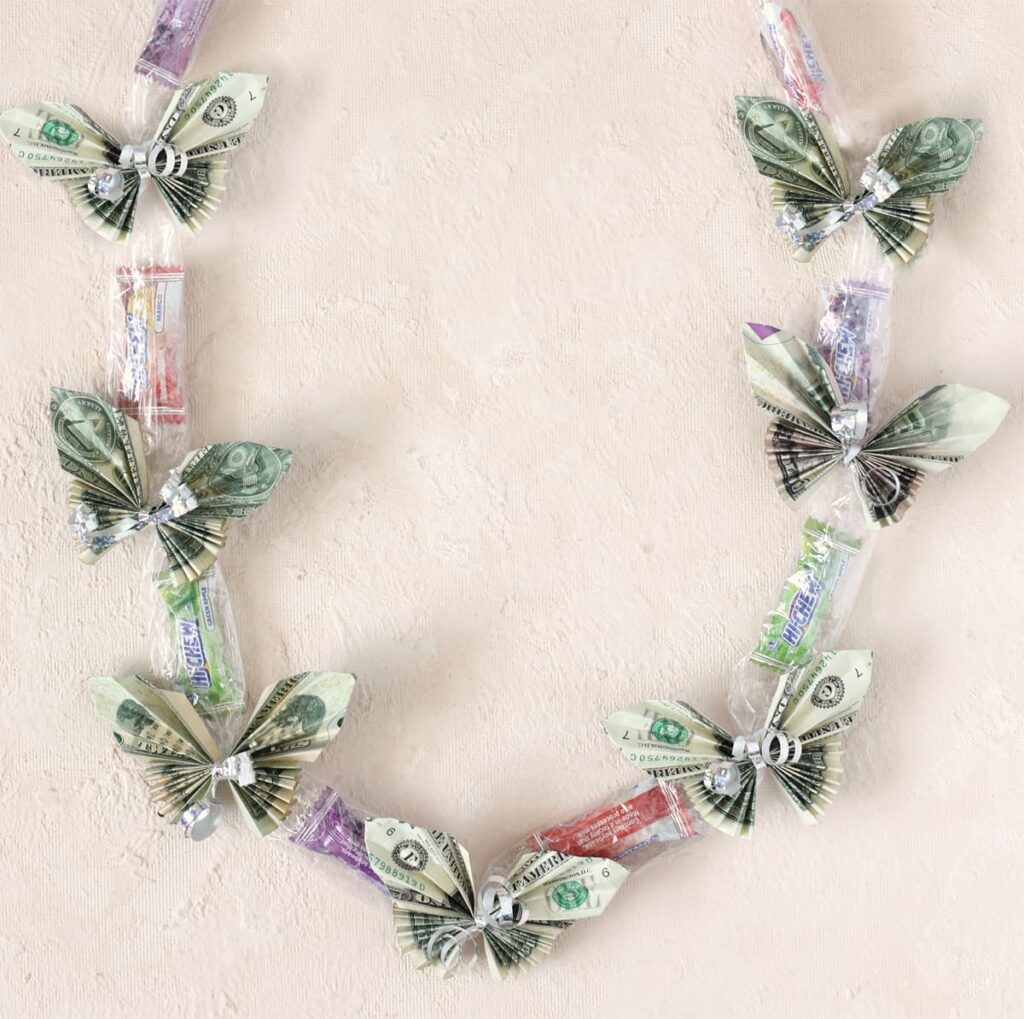
I’ve got a great tutorial to follow if you want to make a candy and money lei. The butterflies are stinkin’ cute on a lei!
Happy crafting!

Let’s Get Social
I’m sharing tons of fun ideas on my social channels and I’d love for you to join me there.