Learn how easy it is to cut felt using the new Silhouette Cameo 4 Rotary Blade and how to turn any animal cut file into a cute felt stuffed animal.
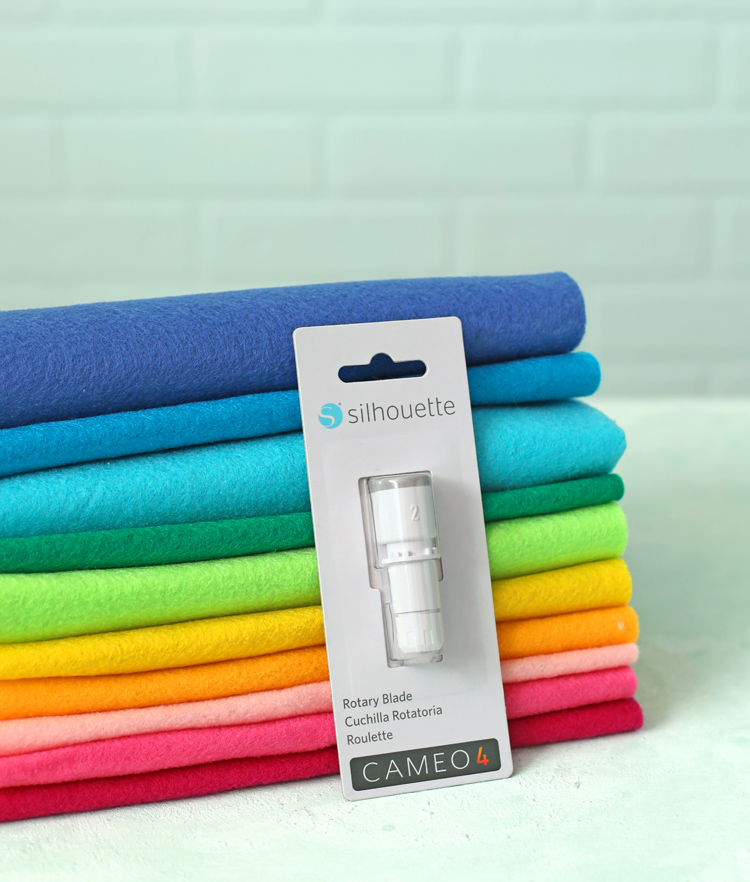
You guys, I haven’t been this excited about a new crafty tool in a long time. Today I cut felt for the first time using my Silhouette Cameo 4 and it was AH-MAZING! My mind is spinning with project possibilities and I can’t wait to make. all. the. things.
But I’ll admit it: I’ve had the rotary blade for a few weeks and I was scared to use it!
Now that I took the plunge, I am here to tell you that it was way easier to use than I thought it would be, not frustrating or stressful at all and the machine cut perfectly! And I am going hold your hand and walk you through every step so you can get your first cut under your belt and go on to conquer the world rotary blade.
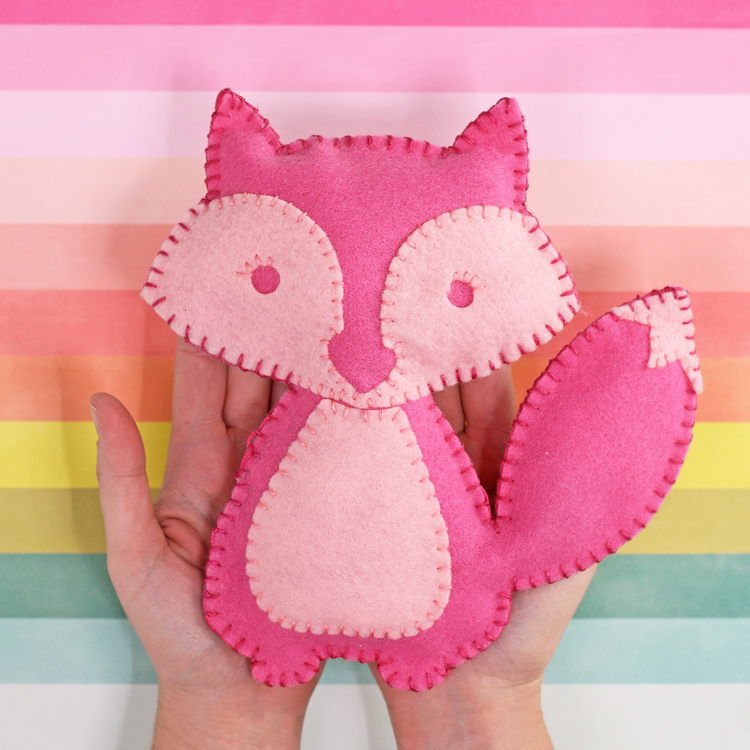
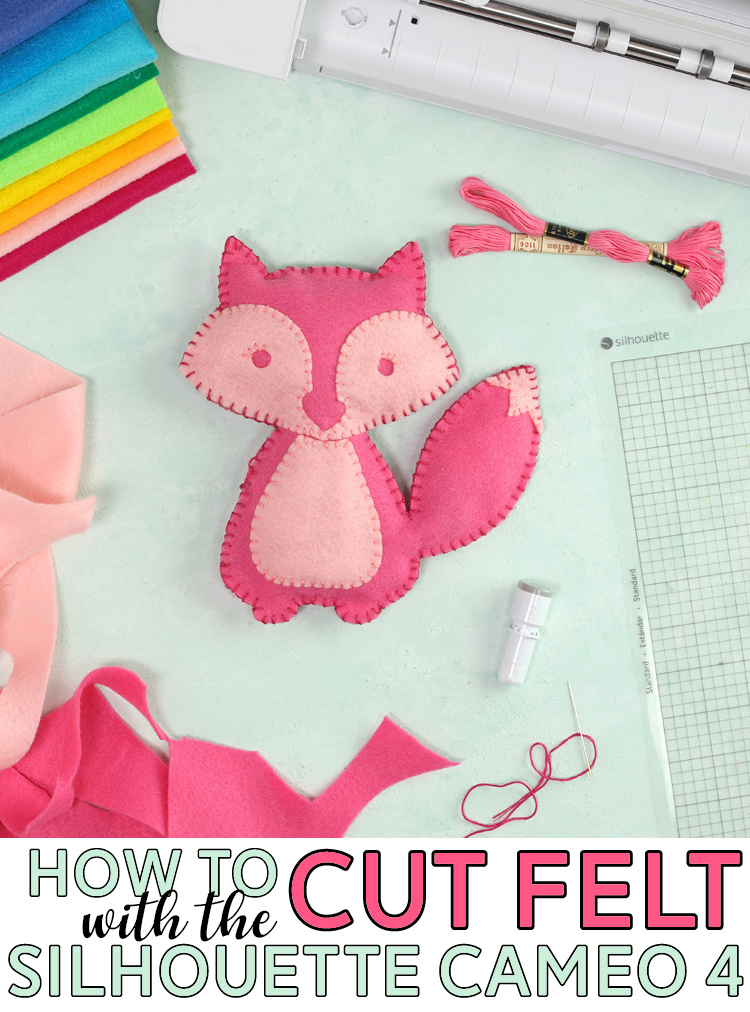
And let’s make a cute project out of the felt we learn to cut, shall we? Look at this darling little felt fox I made!
Silhouette Cameo 4 Rotary Blade Instructions
I purchased my rotary blade at Michaels because I had a gift card, but they are available on Silhouette’s site and on Amazon as well.
Step 1 The first thing you’ll need to do is remove the rotary blade from the packaging and then make sure the head is screwed all the way down, like this:
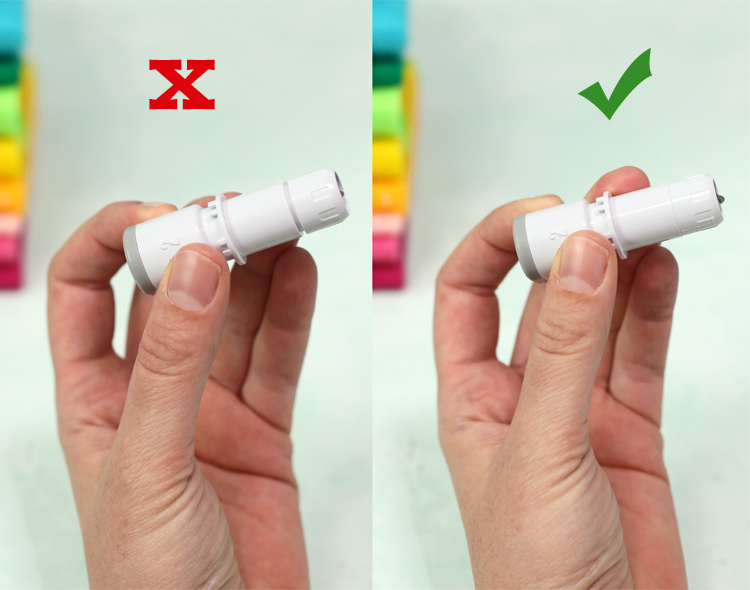
See how there’s a crack in the first picture and then the head is flush with the rest of the blade in the second picture? The blade can’t cut if the head isn’t screwed down tight. Ask me how I learned this. LOL.
Step 2 Load the rotary blade into the second tool chamber of the Cameo 4 machine.
Step 3 Prepare your design in Silhouette Studio by following these steps:
- Open the cut file of your choosing. I purchased this fox from the Design Store but there are hundreds of different animal cut files that would work. Just search for the animal you want… most cut files are only about $1 too, so yay!
- Ungroup the different pieces and remove any parts you don’t want cut (I did not use the orange piece or the little legs).
- Resize the pieces and place them in the desired location on the cutting mat. Remember you will only cut one color at a time and you’ll need two of the main piece– a front and a back– so you can sew them together.
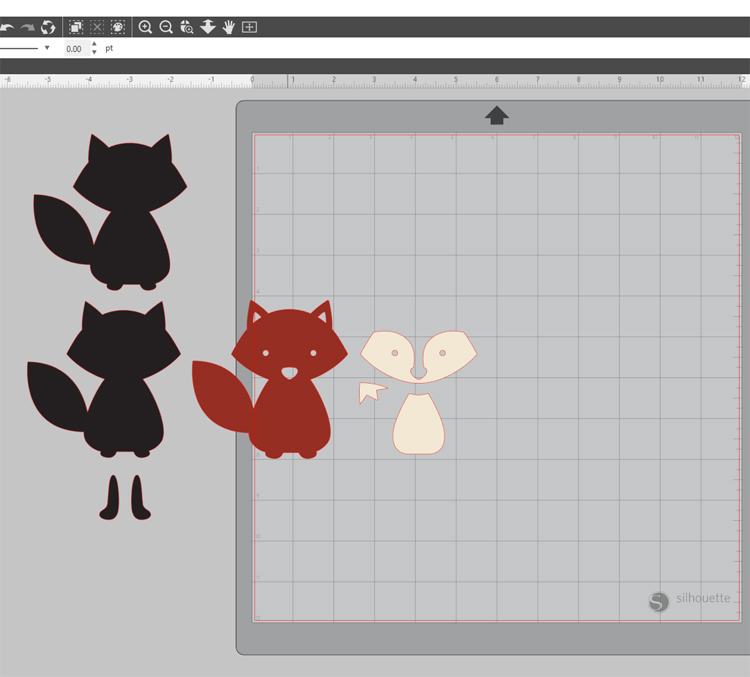
Step 4 When your designs are ready to go, click on the SEND tab in the right hand corner, then click on the LINE tab below that. Uncheck the box on the first tool (since that carriage is empty) and check the box for the second tool (since that’s where you placed the rotary blade), then use the scroll down menus to choose the correct material, action and tool.
Here’s a screenshot of my settings so you can see exactly what to select:
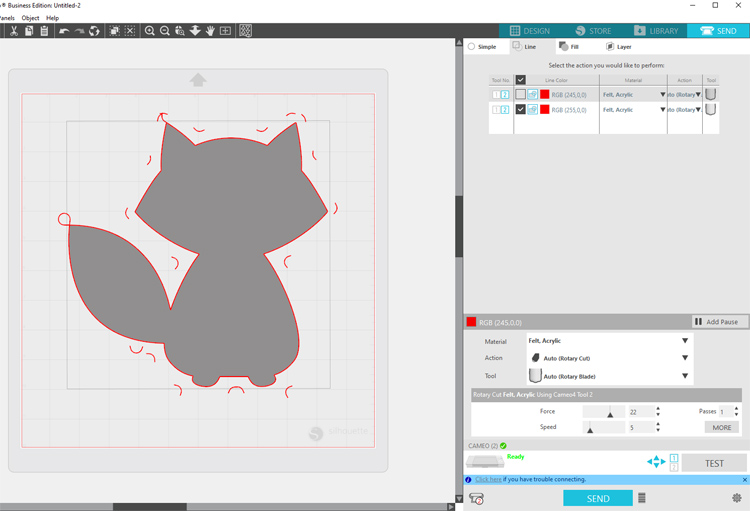
When you select the rotary blade, you’ll notice that your design will suddenly have extra little swirls and lines around it. These extra lines don’t actually cut, they are just the “thinking path” that the blade follows in order to turn corners and cut your project correctly.
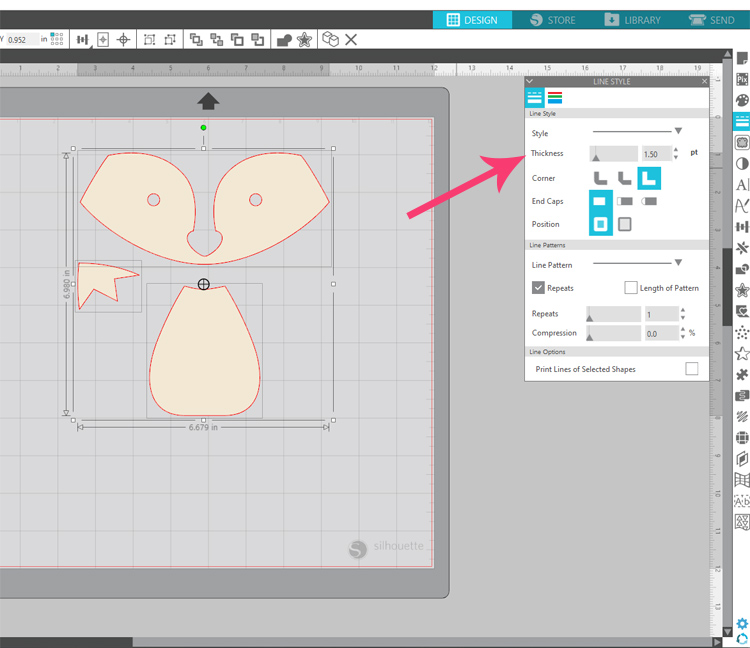
One tricky bit I encountered: for some reason the lines on this particular cut file were very thin and the machine wasn’t seeing them at first. It was an easy fix once I realized what the problem was. I just opened the line settings and increased the thickness of the lines. Then the machine could see them and we were back in business.
Step 5 Center a piece of felt onto the cutting mat and press it firmly in place. If your mat is a little older, you can use masking tape to hold the edges of the felt in place, but I was pleasantly surprised at how well my regular old cutting mat did without it.
Step 6 Load the mat into the machine and press the SEND button to start cutting.
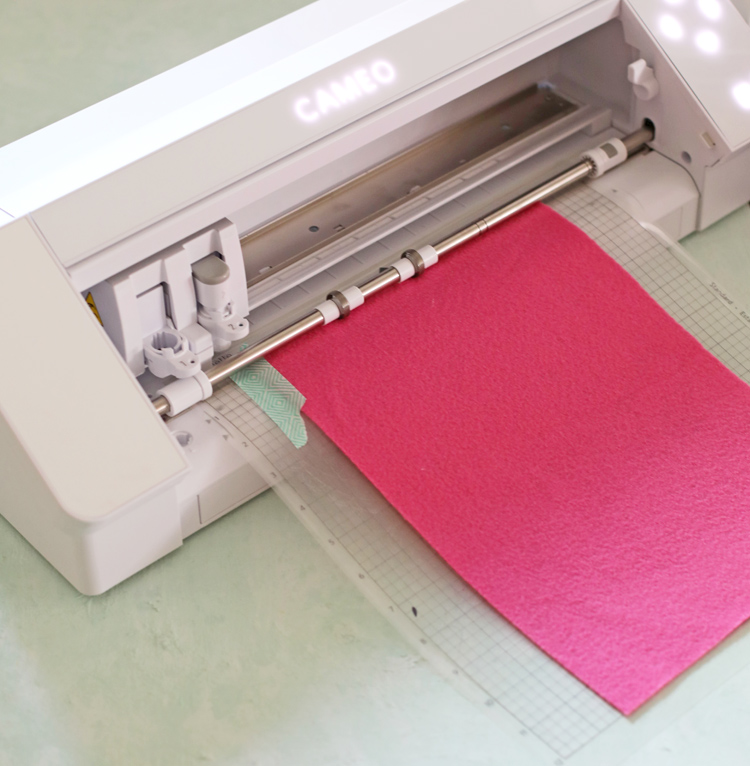
I stood next to my machine and watched it carefully as it cut. There was one moment when an edge started to snag a bit, so I paused my machine and smoothed it back down. But I cut three separate times and that was my only hiccup, so I am just very, very pleased. This went so much more smoothly than I ever would have guessed!
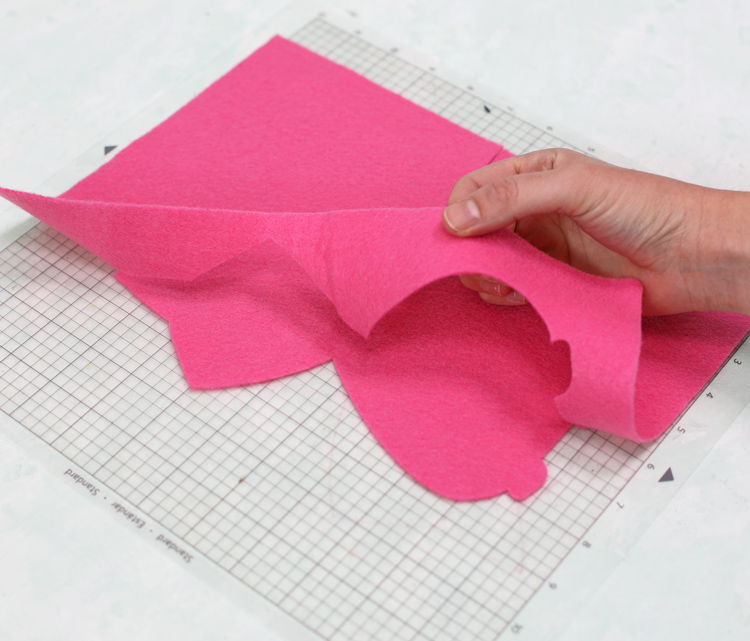
Just look at how perfectly the felt peeled away. **Heart Eyes** Imagine me giddy and squeeling.
Now let’s walk through what to do with your felt pieces once they are cut so beautifully.
How to Make A Felt Stuffed Animal
Step 1 Cut out all your pieces. If you use your Cameo 4, this will take minutes and the shapes will be crisp and perfect and beautiful. If you do it by hand… good luck! LOL.
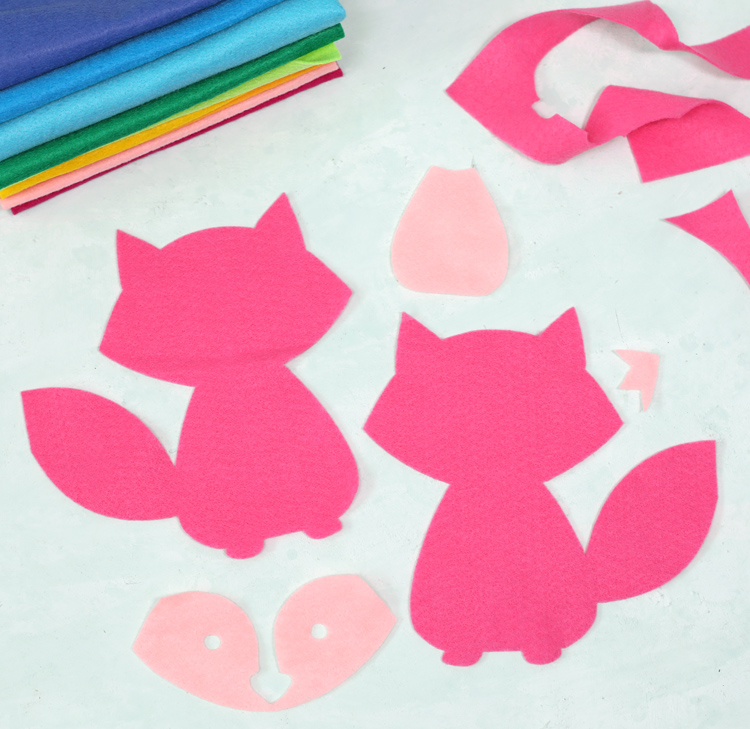
Step 2 Use embroidery floss to sew down any layers you may have. Only stitch the inner edges of the light pink areas since the outer edges will be stitched later.
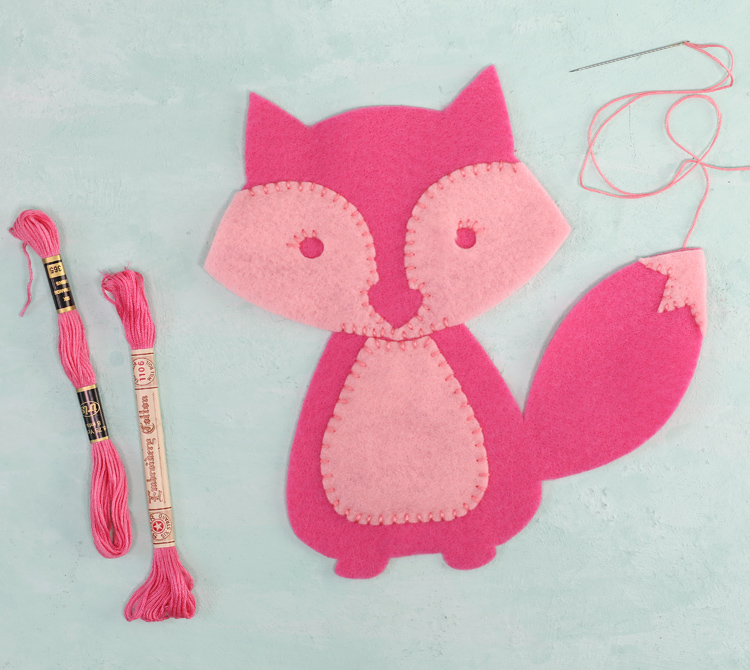
Step 3 Add stuffing in the center between the front and back pieces. I like to do this as I go, especially on any areas like the tail that might be hard to reach later. More stuffing is usually better, so fill ‘er up!
Once you finish stitching all the way around, she’s done! Isn’t my little pink fox just the cutest thing you’ve ever seen? I made her for my seven year old daughter, but even my teenager said, “MOM! That’s reeeeeaaaaallllly cute!”
I’ll take the win.
Years ago I spent about two months making hand-cut felt ornaments for a Christmas advent calendar for my family. I’ve also created several felt quiet books and a felt paper doll. These projects would have been so much faster with help cutting everything out! I’m telling you, the rotary blade is a game changer. Hurray for awesome crafty technology!
Like this project? Pin it so you don’t forget it!
This post is sponsored by Silhouette America. That just means that I received compensation for creating this project, photographing it and sharing the instructions with you. Sponsored content is what keeps this blog running, so thank you Silhouette for your support!

Let’s Get Social
I’m sharing tons of fun ideas on my social channels and I’d love for you to join me there.