Follow this step-by-step tutorial to learn how to can and preserve green beans at home.
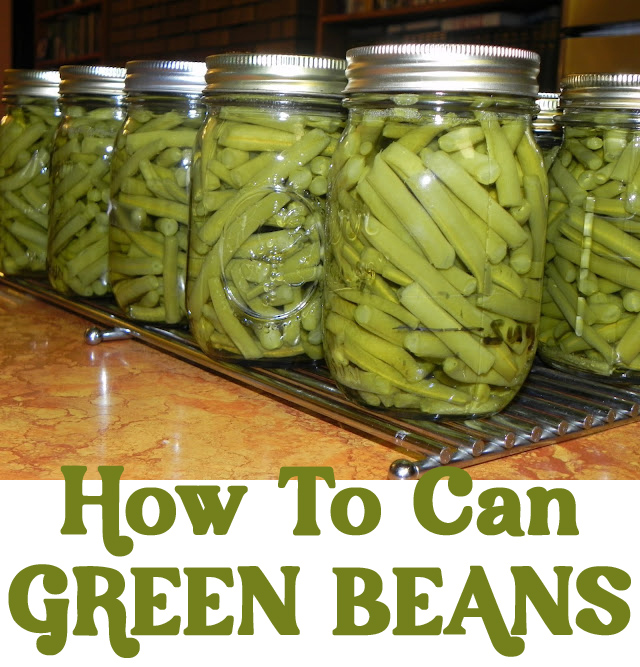
Today I’m going to post about something new… canning! Over Labor Day, we visited my in-laws and I knew it was my chance to get some hands-on experience. My mother-in-law is a domestic diva. She cooks, cans, gardens, cleans, quilts and sews like a pro. She picked the fifth round of beans from her amazing garden and asked if I wanted them. Of course I said yes. So we spent the afternoon snapping beans and canning. And it was much easier than I thought it would be.
Ready to learn how?
Supplies Needed
- Pressurized Canner (see note)
- Glass Pint Canning Jars with Screw-On Rings
- Canning Lids (the flat part that goes inside the rings)
- Canning Salt
- Magnet Lid Wand
- Canning Tongs
- Cooling Rack
- Lots of fresh, delicious green beans
Note: Because green beans are a low acid food, they can’t be processed in a normal pot like most fruit and tomato based foods can. A pressurized canner allows the food to get hotter to kill any bad stuff in there that would make the beans go bad, so it is a non-negotiable when canning green beans.
You can reuse the glass canning jars and screw on rings year after year, but you do need to buy new canning lids after every use.
Instructions
Step 1: Snap the pointy ends off of the beans and break them into about two inch pieces or whatever size you prefer. Wash the beans.
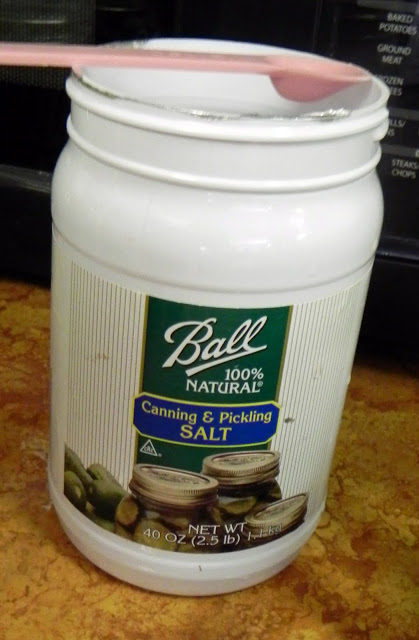
Step 2: Gather jars and wash them. Place 1/2 teaspoon canning salt in the bottom of each pint jar. Regular salt is iodized and makes canned goods turn brown, so it’s worth it to buy canning salt to preserve the beautiful green color. Here is the kind we used:
Step 3: Pack each jar full of beans. Pack them as tightly as possible, leaving a one inch head space. That roughly works out to filling it to the line at the top of the can.
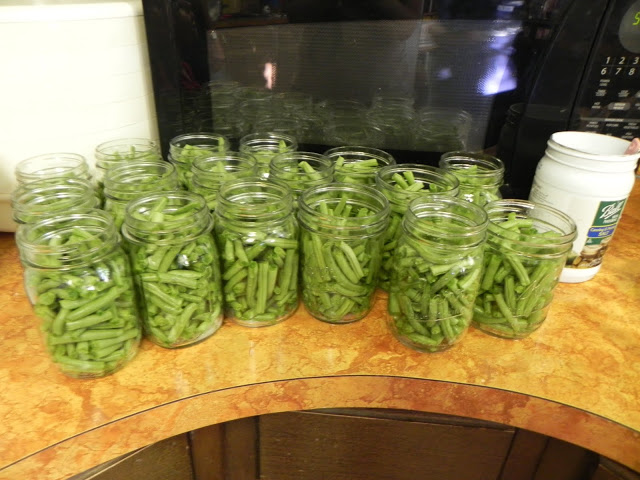
Step 4: Fill each jar with water, again leaving a one inch head space.
Step 5: Start the water in your pressurized canner boiling on high heat. This big pot only had about an inch of water in the bottom. I would read the instructions that came with your pressure canner to find out how much water you should put in there–usually about three quarts.
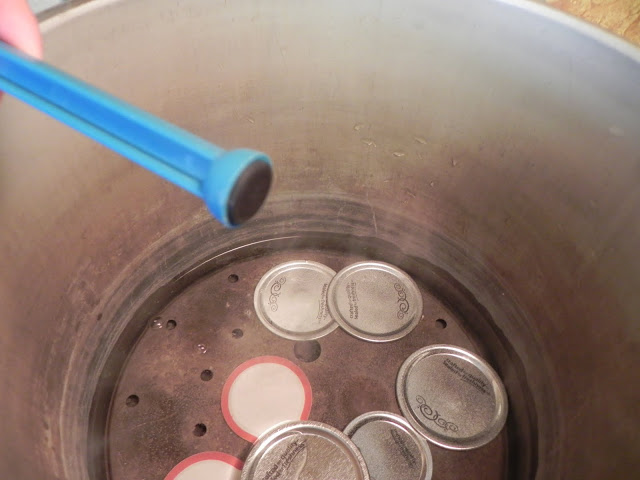
Step 6: Place the canning lids in to warm up a bit. This helps soften the rubber to insure that all cans get a good seal. We used this little blue magnet-on-a-stick to pull the warm lids out of the water. If you don’t have one, I’m sure you can improvise.
Step 7: Put a lid on each jar and screw the ring on as tight as you can. Place the jars carefully into the water. In large canners, you can stack them two high.
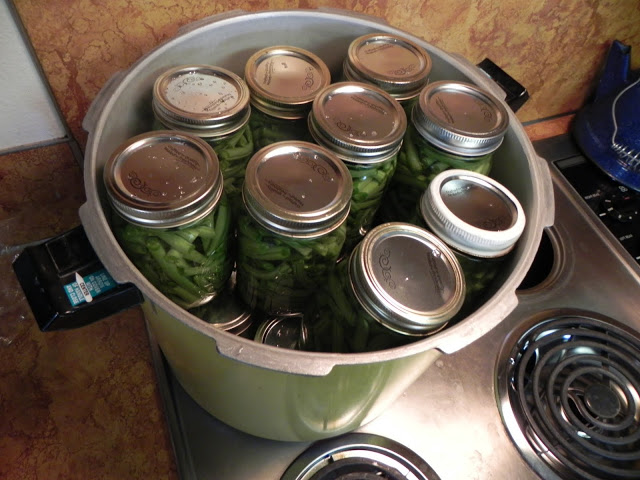
Put the lid on the canner and seal it up. On this particular canner, you leave the little black cap off the steam vent for now.
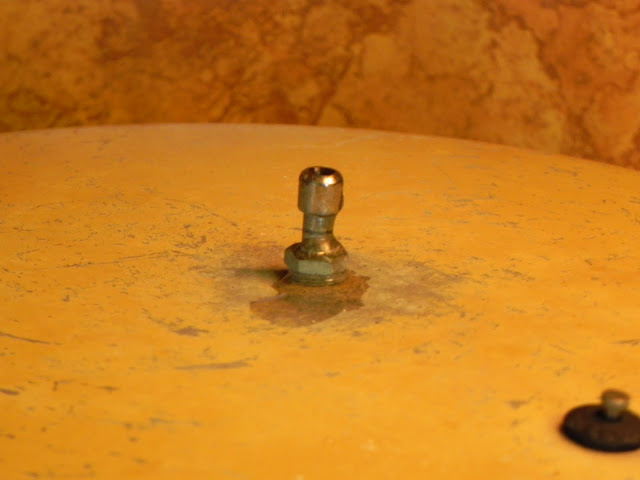
Step 8: Set a timer for 8 minutes from the time you hear steam whistling out of the top of the canner: Place the pressure gauge on and when it starts to wiggle, turn the heat down to medium (4/10) and set the timer again for 20 minutes. Different elevations require different pressure. Because I was canning at 5,000 feet, I needed 15 pounds of pressure. Check with your local extension office to find out what pressure you need.
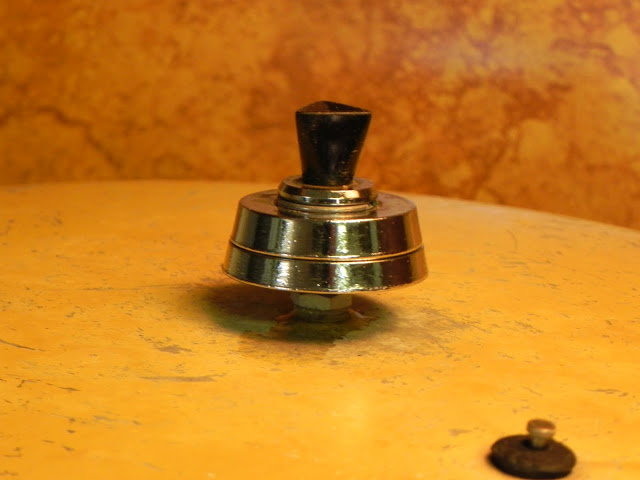
Step 9: After 20 minutes, do NOT open the lid of your canner. If you do, hot water, shards of glass and your precious beans will explode into your face. Instead, remove the pot from the burner and wait a few hours until the pressure release valve goes completely down and does not pop back up when pressed lightly with your finger. Then it is safe to remove the lid on your canner.
Step 10: Using canning tongs, carefully remove each jar and place it on a cooling rack. Be sure to keep them all upright and not to jostle them too much. While the jars cool, they make a popping noise each time a lid seals. You can tell if a lid is sealed because the center bulges down/in a little bit. If after a few hours, a few cans have not sealed, place a new lid on and do the cooking process over again.
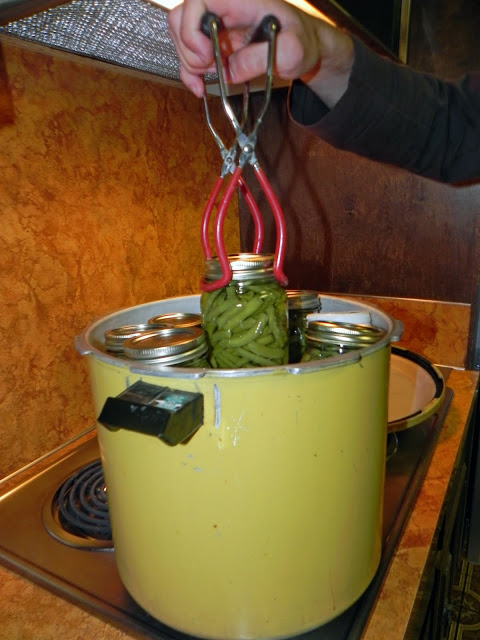
Here’s the finished product:
With three adults and one two year old helping, it took about an hour to snap all the beans. It took about 40 minutes to prepare all the cans. Then it was just cook and cool time. The freshness of the product and the satisfaction of knowing I canned the food myself (with a lot of help) are definitely reason enough to do this again next year.
And just a side note, don’t you love the orange countertops? You should see the bedroom that has matching shag carpet! Hee hee…
If you have questions, I’ll do my best to answer them. Well, in all honesty, I’ll call my mother-in-law and ask her and then tell you what she said.
Happy canning!

Comments & Reviews
YUM!
Thank you so much! I'm just learning how to can, and by explaining every step really helps! I got a similar pressure cooker from my mom and it took me a while to figure out how that wiggly thing worked! I canned hatch chills but didn't use the salt…. I'm wondering if that may be why they are not as "green" after i finished the processing?
Good for you, Katrina! Canning is such a lost art. I think the salt is probably the reason for your final coloring. But I'm sure they still taste amazing!
I’m not sure if I added the salt to the batch of beans currently cooking in canner! Will they be ok to use?
Yes, they’ll still be safe to eat. They just will need to be salted before eating so they taste good. They may also not stay as vibrant of a green color, but that’s okay too.