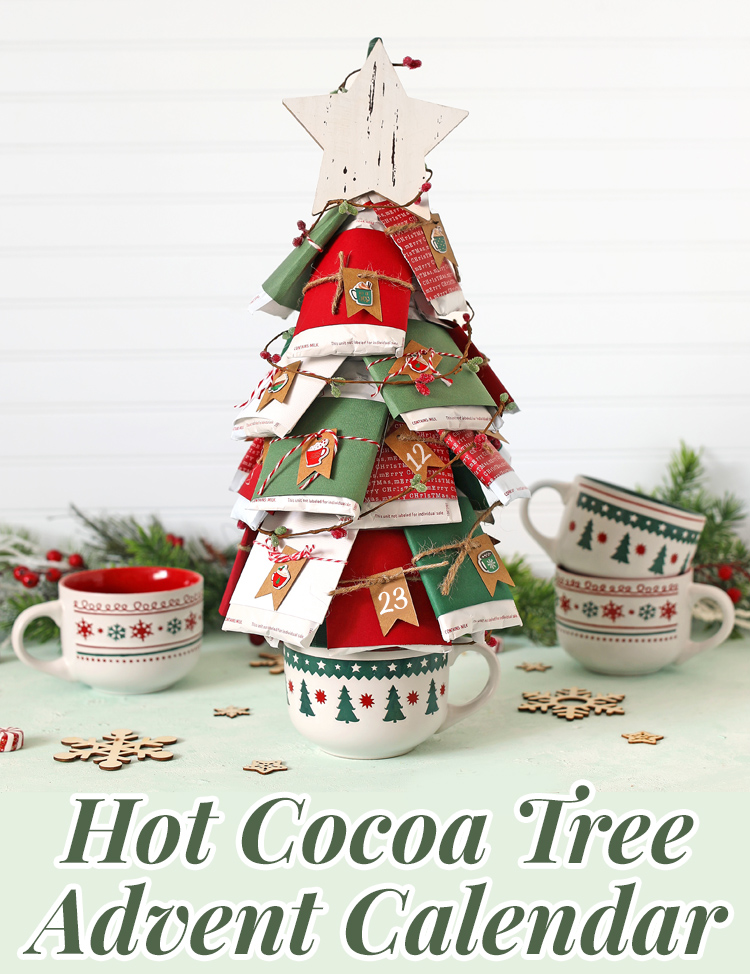
Learn how to make a hot cocoa tree advent calendar. It’s a fun and unique way to count down to Christmas.
This is a sponsored post written by me on behalf of Hobby Lobby. All opinions are 100% mine.
I love advent calendars. The anticipation of Christmas is my favorite part and any kind of Christmas countdown just adds to the hype. They’re just so fun!
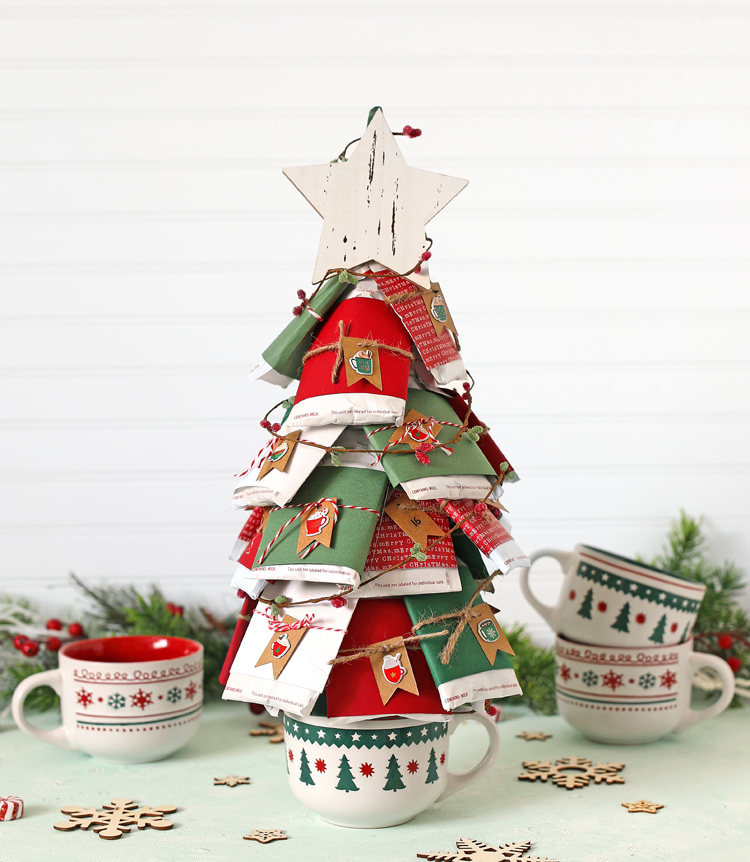
Today I’m going to show you how to make a hot cocoa tree countdown calendar! This darling tree shape has 24 packets of hot cocoa. Pull one off to enjoy each day until Christmas.
And the best part is that you can gift it with the mug on the bottom, but it can easily be removed so that the gift receiver can use the mug every day with their cocoa! Hobby Lobby had so many darling Christmas mugs I had a hard time choosing.
I made my tree with hot cocoa packets, but you could also use tea or coffee or even candies or cookies or crackers that come in the right shape of package. Definitely room for customization here.
To make a hot cocoa tree advent calendar, you will need the following supplies:
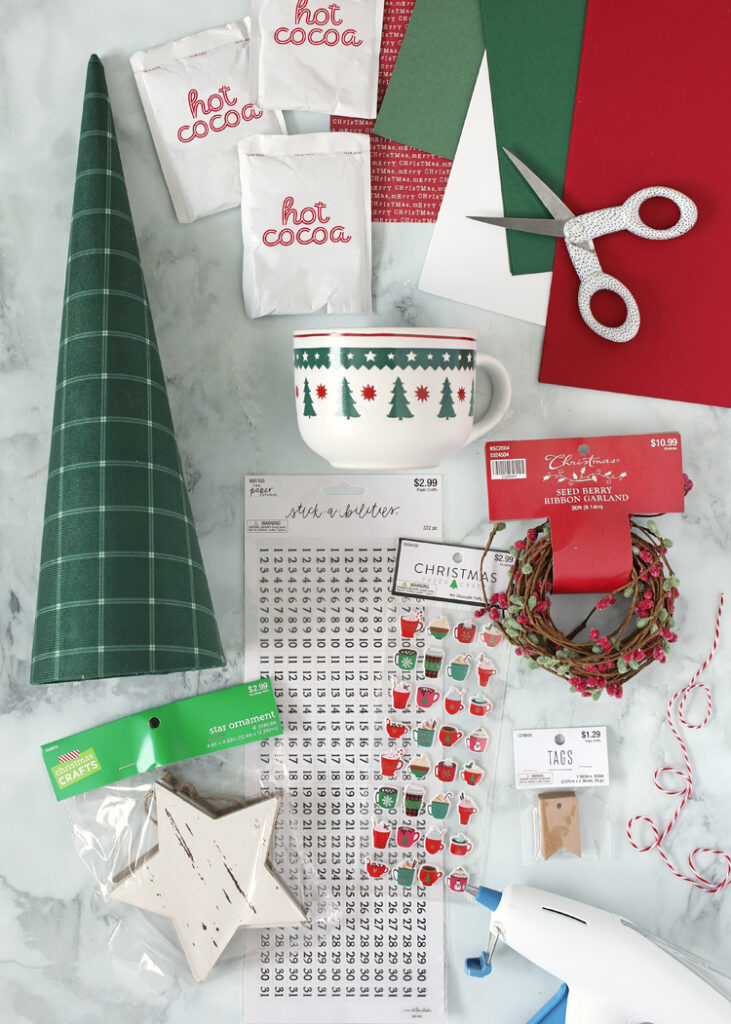
Materials Needed
- Christmas Mug
- Cone Tree – Size Small
- Wood Star Ornament
- Kraft Paper Tags
- Number Stickers
- Hot Cocoa Puffy Stickers – totally not necessary, but they were so cute I couldn’t resist
- Seed Berry Garland
- Jute Twine or Baker’s Twine
- Hot Glue Gun + Glue Sticks
- 24 Hot Cocoa Packets
Instructions
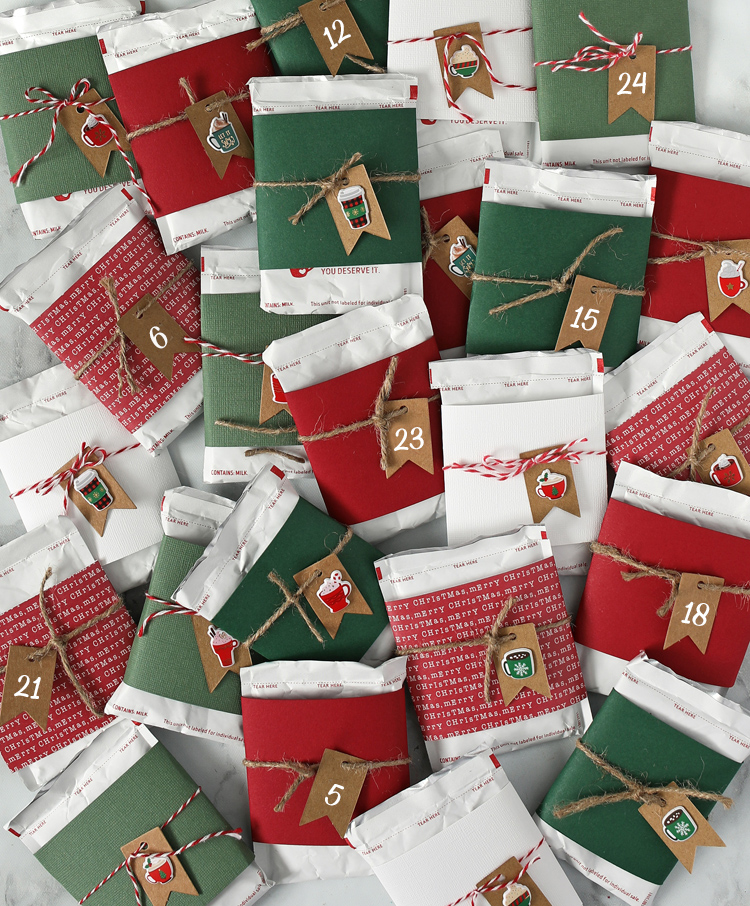
Step 1: Wrap each individual hot cocoa packet with a piece of scrapbook paper or colored cardstock. Then add a cute tag and make sure to label them 1-24 for the 24 days in December leading up to Christmas. The black number stickers I used in the video tutorial ended up being kind of small, so I used a white paint pen and drew the numbers on larger instead. This part is just to make the packets look cute, so you can do as much or as little embellishing as your heart desires. I added the puffy hot cocoa stickers just because I thought they were adorable.
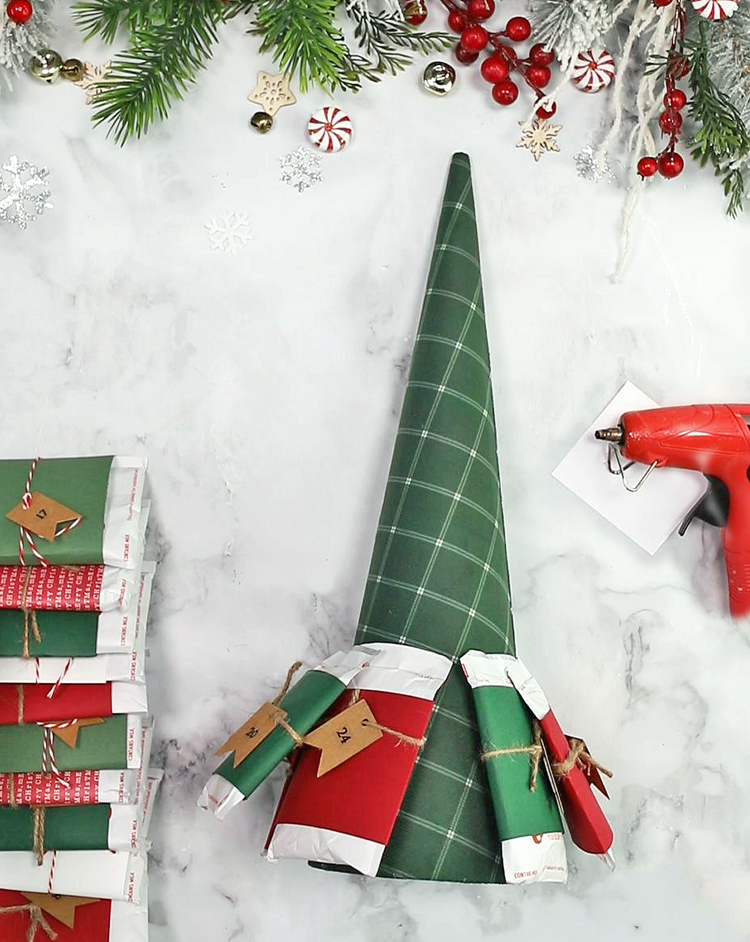
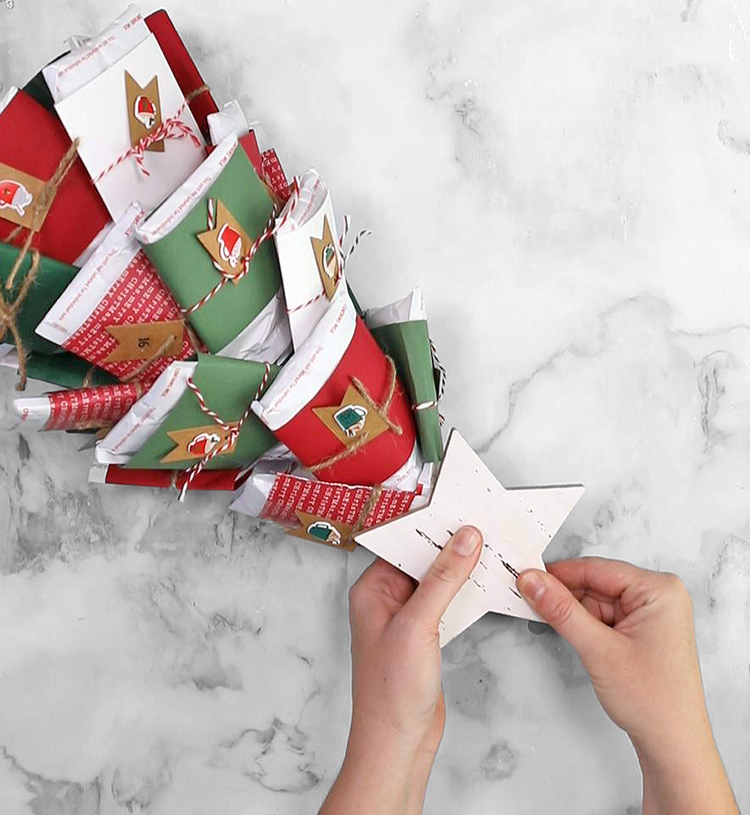
Step 2: Begin gluing the cocoa packets to the cone tree. I put the numbers in order so that they’ll be removed in order each day. I went very lightly on the hot glue so that the packets will pull off easily. I am pretty sure I will be able to reuse this whole thing again next year!
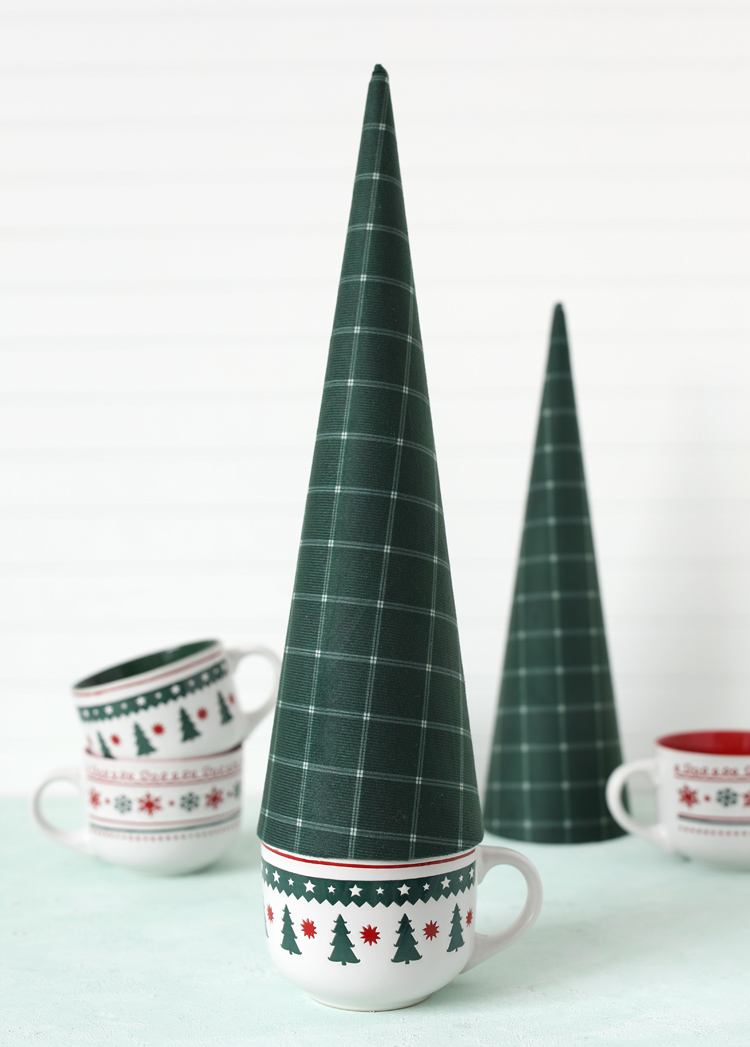
Step 3: Once all of the cocoa packets are attached, tack the cone tree to the mug very lightly with hot glue. The goal is to make sure the project stays together, but is easy to take apart when you want to use the mug. Here’s what it looks like without the packets so you can see that the cone and the mug fit together so nicely.
Step 4: Add a wooden star to the top of the tree using hot glue, then wrap the tree in the berry garland for that festive finishing touch.
Didn’t it turn out so cute?! I just love that it’s unique and cute and something that can be used. It would make a great gift or something fun to make for your boyfriend or kids or a neighbor.
Video Tutorial
Like it? Pin it!

Comments & Reviews
I Love this craft idea. I’m going to make these for my grandson’s.