Learn how to make apple pie filling for home canning. This is the absolute best recipe for canning!
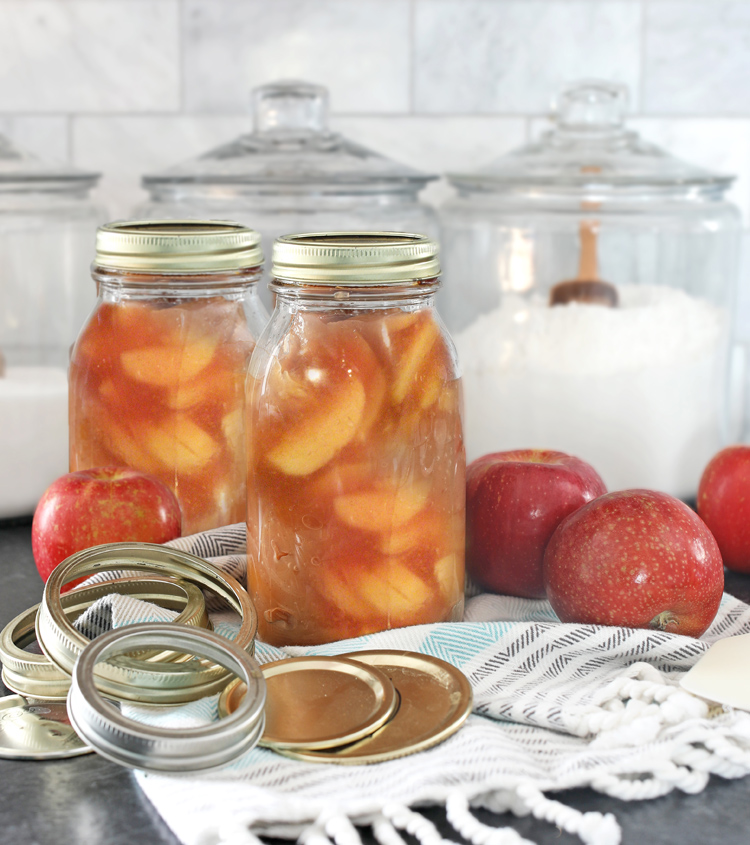
My mother-in-law is the queen of canning. She grows the most amazing garden and has a shed full of home canned deliciousness. I absolutely love visiting her house and wish I could follow her around for a few weeks with a notebook in hand.
This apple pie filling is one of her most coveted recipes. When she gives you a jar of home canned apple pie filling, you feel like you won the lottery! It makes the most flavorful apple pies and apple crisp. Once you’ve had this, the stuff from the store tastes like nothing.
It’s so good that I finally had her teach me how to make it and today I’m sharing everything you need to know to make home canned apple pie filling too!
First off, let’s talk about the ingredients you will need. Here’s a chart based on how many quarts you’d like to bottle.
| INGREDIENT | To Make 1 Quart | To Make 7 Quarts |
| Fresh Sliced Apples | 3 1/2 cups | 6 quarts |
| Granulated Sugar | 3/4 cup + 2 TBSP | 5 1/2 cups |
| Clear Jel A | 1/4 cup | 1 1/2 cups |
| Cinnamon | 1/2 teaspoon | 1 TBSP |
| Cold Water | 1/2 cup | 2 1/2 cups |
| Apple Juice | 3/4 cup | 5 cups |
| Bottled Lemon Juice | 2 TBSP | 3/4 cup |
One quart canned pie filling makes one 8-9 inch pie. The amounts of sugar and spices may be altered slightly based on the sweetness of the fruit you’re using and personal preference. DO NOT alter the amount of lemon juice as it aids in controlling the safety and storage stability of the filling.
You can buy Clear Jel A in the canning section of your local grocery store or online. Here’s a listing for Clear Jel on Amazon.
What Types of Apples are Best for Canning?
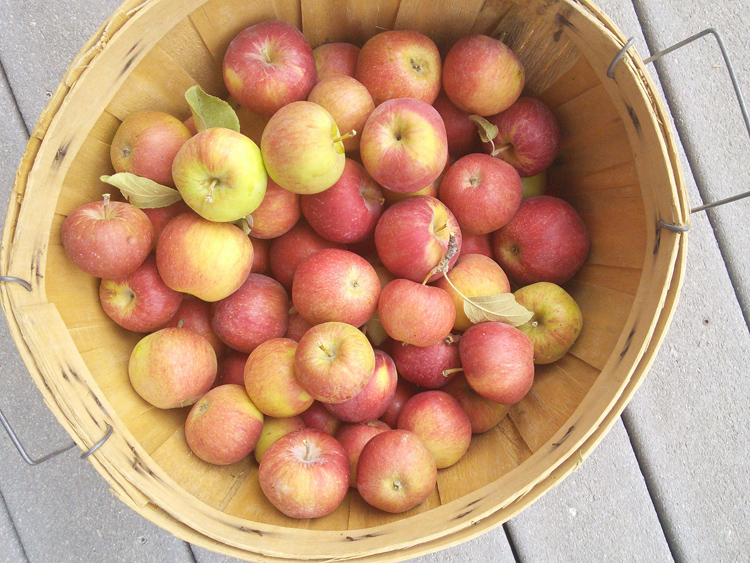
Whatever type of apples you are growing in your yard are the best because they’re what you have! However, in a perfect world, it’s best to mix at least two varieties for a more complex and well-rounded apple flavor. Granny Smith apples are amazing mixed with a sweeter, crisp apple like a Fuji or Braeburn or Honeycrisp.
Other Supplies Needed:
- Large Mixing Bowl
- Quart Jars, Rings and (NEW) Lids (I prefer wide-mouth jars)
- Water Bath Canner with Rack
- Apple Peeler (Optional, but it makes quick work of peeling!)
- Wide Mouth Canning Funnel, Jar Lifter and Magnetic Lid Lifter
Prep Work Before Starting with the Apples: Wash jars. Prepare lids according to manufacturer’s instructions.
Prep the Apples and Make the Filling
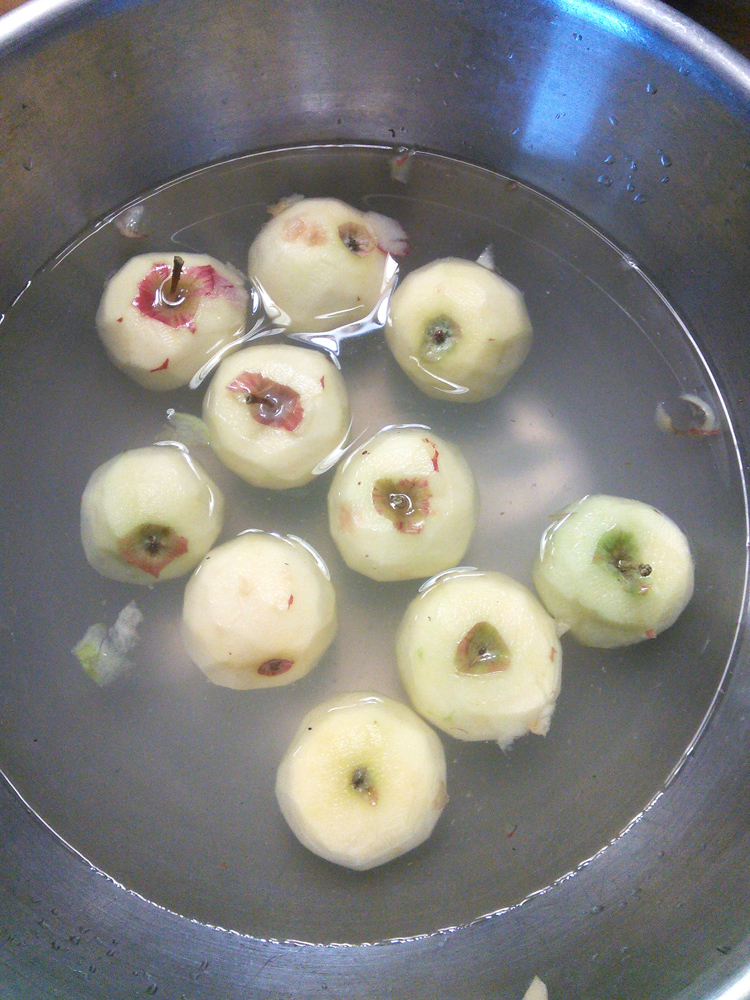
Step 1: Wash, peel and core apples. I use the peeling tool to peel but not cut because I prefer thicker slices. Cut slices 1/2 wide and place in a very large mixing bowl.
Step 2: Combine sugar, Clear Jel, cinnamon, water and apple juice in a large pot. Stir and cook over medium heat until mixture thickens. Add lemon juice and boil sauce 1 minute, stirring constantly.
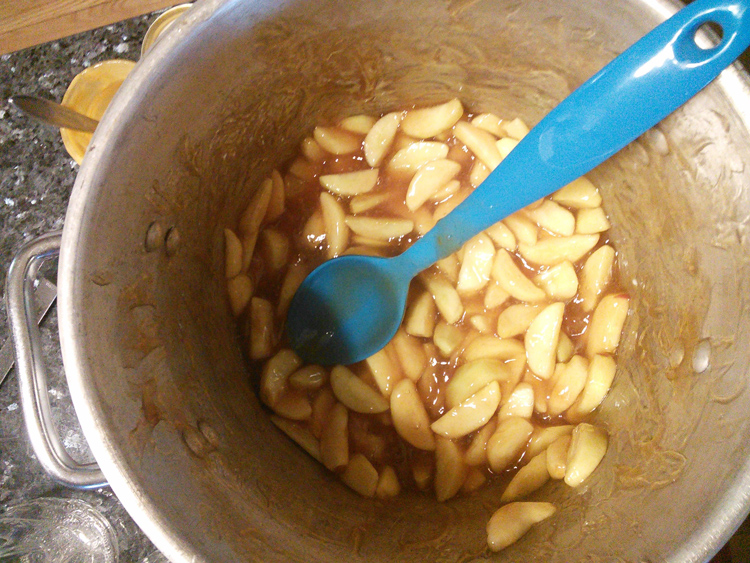
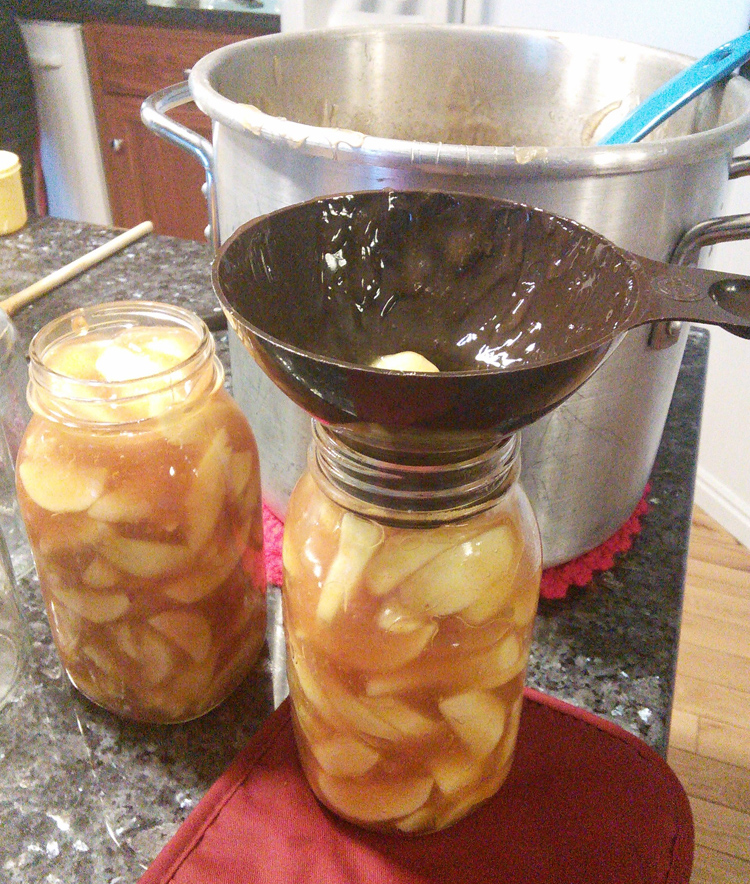
Step 3: Pour sauce over apples and toss together. Fill jars immediately with mixture and process immediately.
Canning Procedure
Fill fruit mixture into jars, leaving 1 inch head space. Wipe sealing surface of the jars clean with a damp cloth. Add lids, tighten screw bands and process.
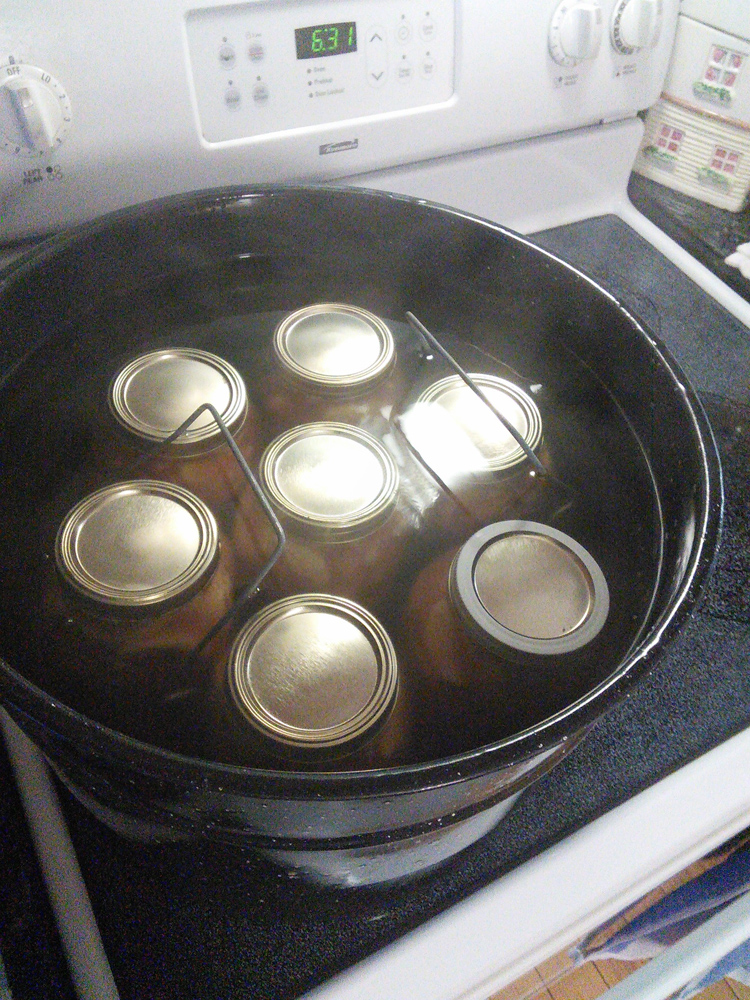
To Process in A Boiling Water Canner: Preheat canner half filled with water to 180 degrees F. Load sealed jars into the canner rack and lower with handles; or load one jar at a time with a jar lifter onto the rack in the canner. Add water if needed to a level of one inch above the jars and cover. When water boils vigorously, lower heat to maintain a gentle boil and process for the recommended time based on altitude in this chart:
| Altitude 0-1000 ft : | 25 minutes |
| Altitude 1001-3000ft : | 30 minutes |
| Altitude 3000-6000ft : | 35 minutes |
After processing is completed, remove jars from canner with a jar lifter and place on a towel or rack. DO NOT RETIGHTEN SCREW BANDS. Air cool jars for 12-24 hours. Remove screw bands and check lid seals. A jar is sealed if the center of its lid is indented and does not move when pressed.
Wash, dry and label jars with contents and date canned. Store in a cool, clean, dark place.
If a jar didn’t seal properly, examine it and replace the lid. Reprocess as before. Wash screw bands and store separately. Fillings are best if used within 1 year and safe as long as the lid remains vacuum sealed.
If you like this post, check out my post on how to can green beans.

Let’s Get Social
I’m sharing tons of fun ideas on my social channels and I’d love for you to join me there.