Learn how to etch glass with this step-by-step tutorial. This is the ultimate guide to everything you need to know about DIY glass etching!
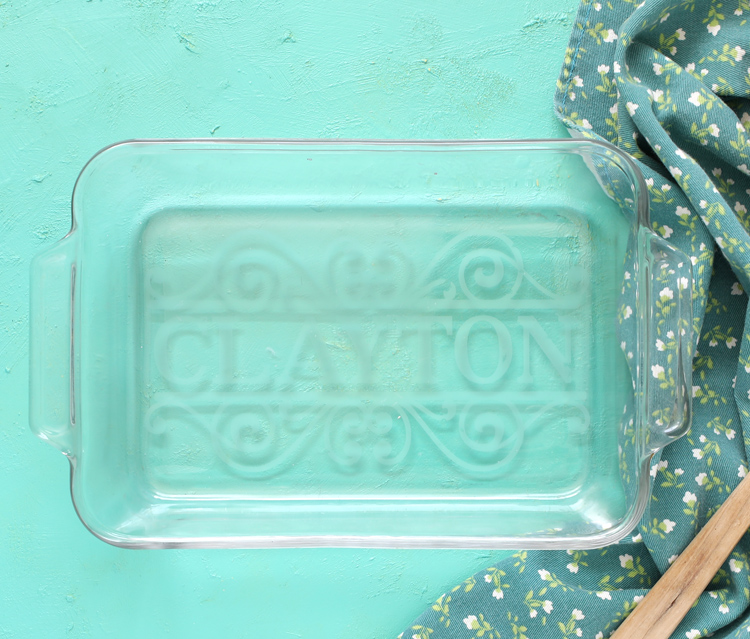
Glass etching is a surprisingly easy craft project that looks so sophisticated when finished. I love to personalize glass items to give as gifts for weddings, birthdays, holidays or thank you gifts. It’s such a fun craft medium with so many cool possibilities.
Let me walk you through every step of exactly how to etch glass easily at home. This guide is for beginners who are nervous to try etching glass for the first time. I promise you can do it!
What is Glass Etching?
Glass etching is a fun technique to add a design to a piece of glass. The chemicals in glass etching cream permanently “etch” the glass with micro-scratches to give it a frosted appearance. Glass etching is a subtle but elegant look that you will love and you can totally do it at home!
Why Glass Etching?
Why should I etch glass instead of just adding a vinyl design? Well, vinyl decals are cute, but glass etching is permanent and dishwasher safe, so it definitely holds up better long term. When you etch designs, they last forever. This is especially helpful for drinking glasses or glass baking dishes that you want to use every day.
This post uses affiliate links. I may earn a small commission at no extra cost to you.
How To Easily Etch Glass
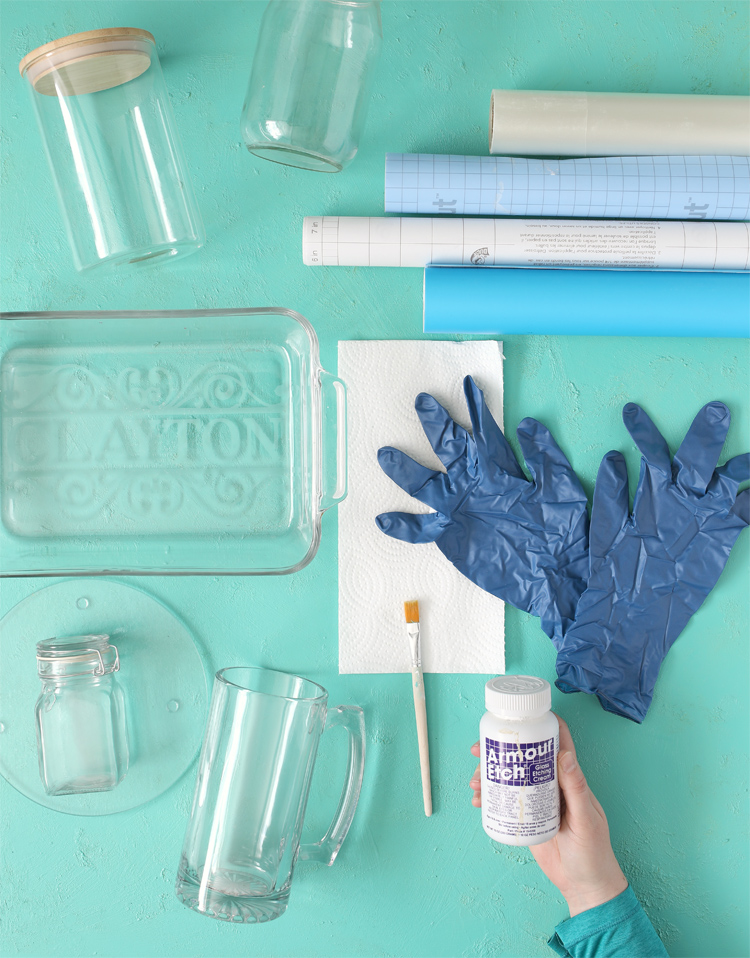
Materials Needed
- Armour Etch Glass Etching Cream
- Paint Brush
- Plastic Gloves
- Water
- Stencil (see stencil section below)
- Paper Towels or Baby Wipes
- Garbage Bag or Newspaper to cover work surface
Instructions
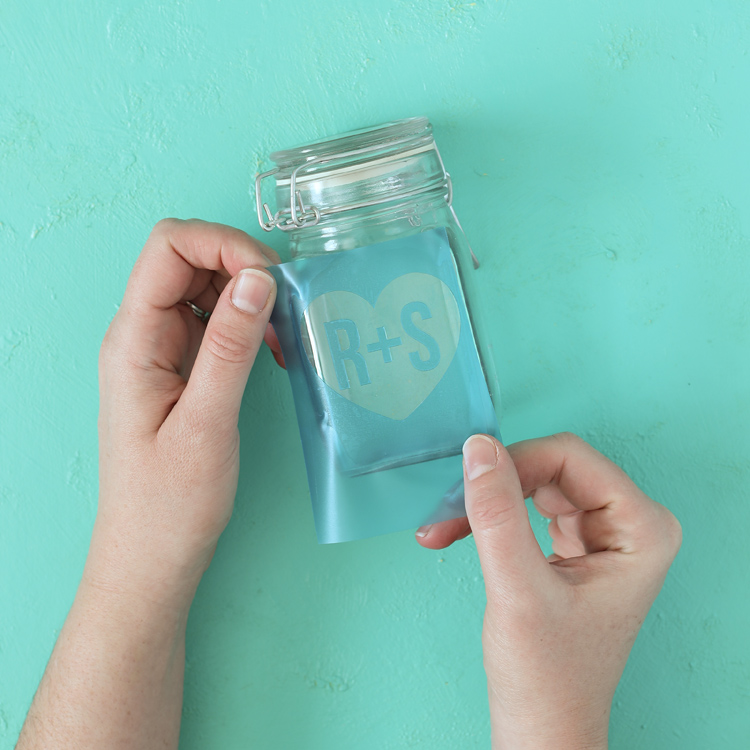
Step 1: Thoroughly wash and dry the glassware you would like to etch so there are no fingerprints, dust or smudges. Place a stencil onto the glass. Make sure that all of the edges are firmly stuck to the glass and there are no air bubbles. You don’t want there to be any way for the glass etching compound to bleed under the edges.
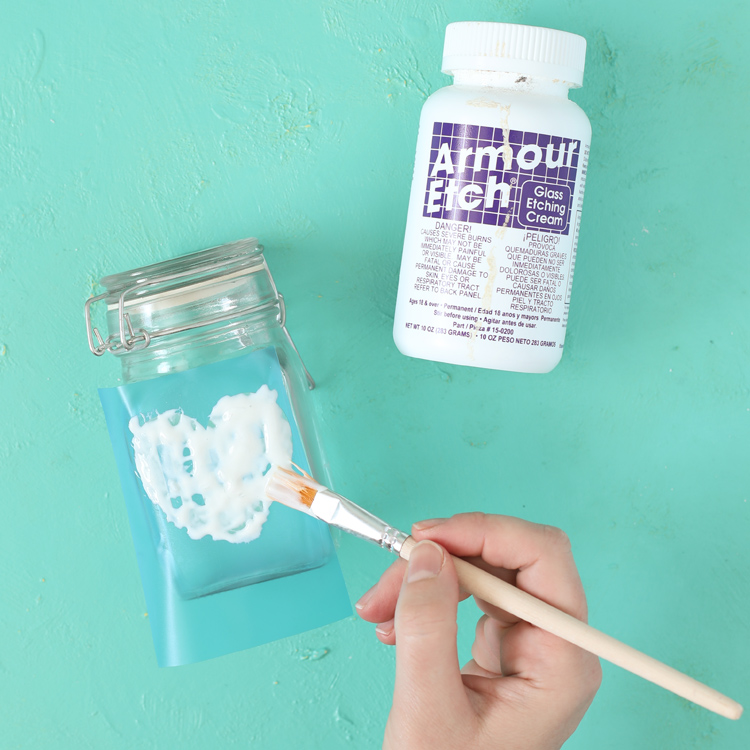
Step 2: Work in a well ventilated area. Stir the etching cream well, then apply a thick layer of etching cream over the stencil using a regular craft paintbrush. I don’t recommend using foam brushes because they tend to leave bubbles. Because the etching cream is an acid, it may ruin your paintbrush, so maybe use an old one?
The design should be completely covered. Be sure to stay within the stencil. If you get any cream on to the glass outside the stencil, wipe it off immediately with a damp cloth.
Step 3: The manufacturer instructions say that you only need to leave the etching cream on for one minute, but I have had better results when I leave it on for 20 minutes.
Maybe that’s because my etching cream is a few years old? The best way to know how long to leave it on is just to experiment! After a minute, wipe away one little corner of the design to see what it looks like under the cream. If it has etched the way you want, then you can proceed to step 4. If not, add more cream over the spot you wiped away and let it sit longer.
After 20 minutes, wipe away the etching cream, then rinse the glass off with water until all of the etching cream is removed.
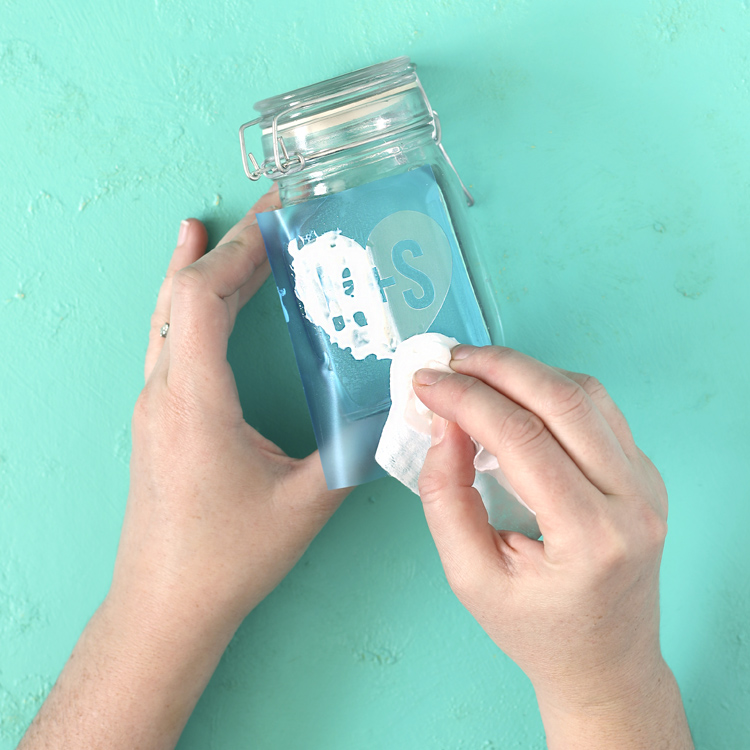
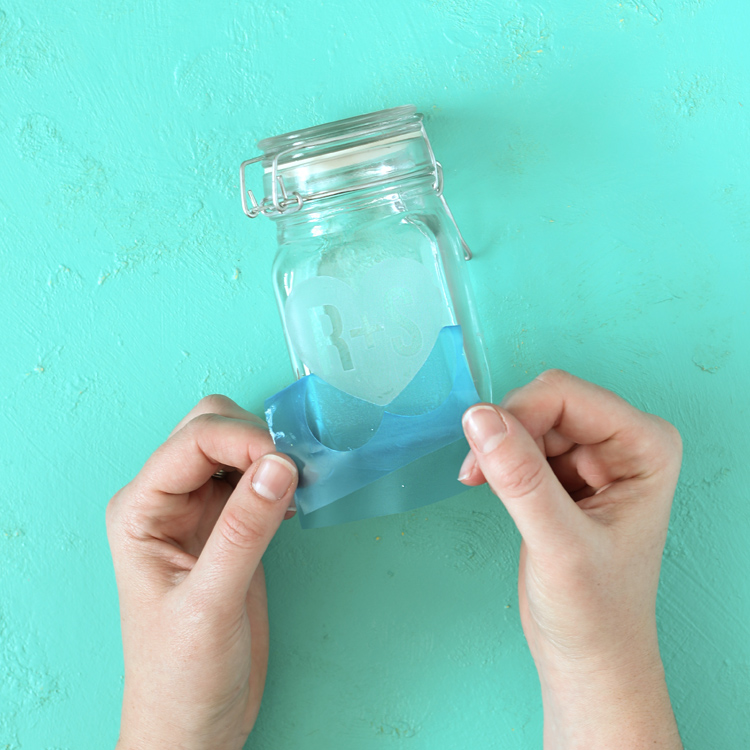
Step 4: Remove the stencil. Admire your pretty etched glass design!
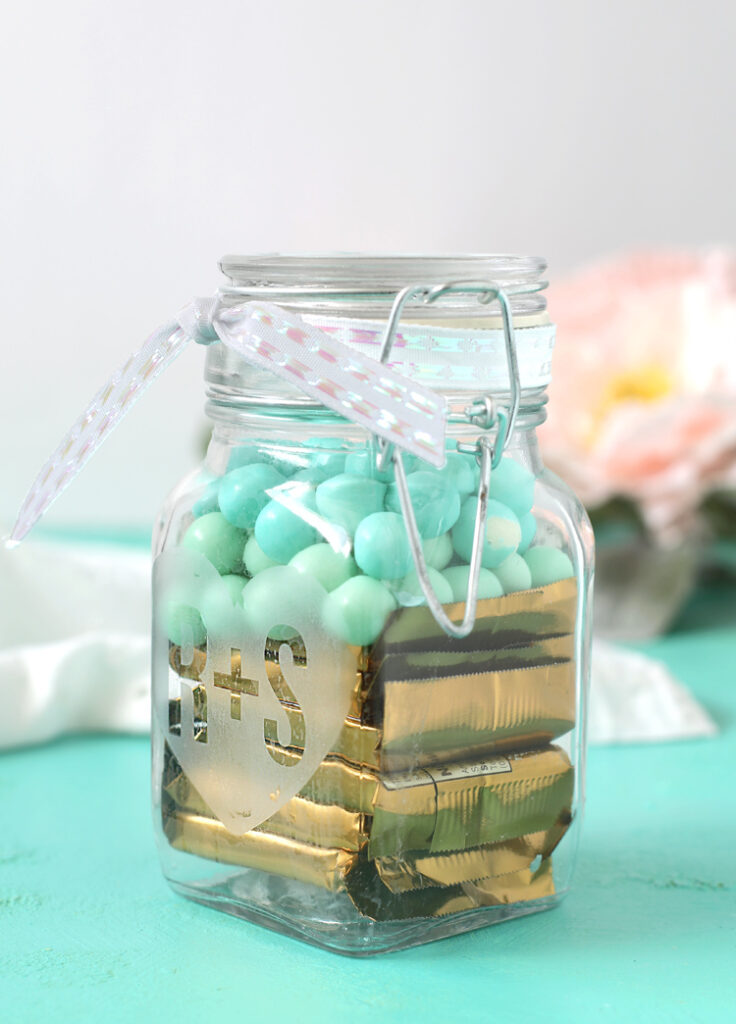
I made a bunch of these glass candy jars for wedding favors. It has the couple’s initials inside the heart. So sweet!
How To Make A Stencil for Etching Glass
There are several options for stencil making that will work well when etching glass. It all depends on the tools you have to work with. Don’t have a Cricut? You can still etch glass! Here are a few different ways to make a stencil:
Store-Bought Stencil – You can buy pre-made stencils at pretty much any craft store. With a quick Google search for “adhesive stencils”, I found some at Michaels and some on Amazon. You do want to look for one that is adhesive backed, not just hard plastic, or the etching cream will bleed under the design and not turn out well.
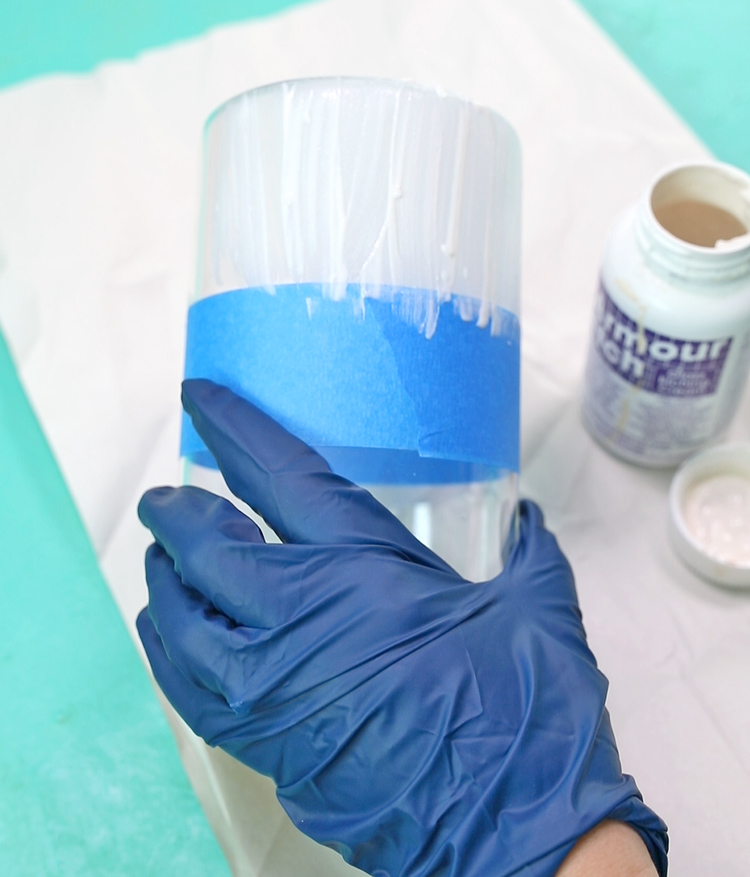
Masking Tape – This is a super affordable option for making straight line designs like color blocking or stripes. Just use masking tape or painter’s tape to mask off the parts you DON’T want to be etched, then apply the etching cream. After 20 minutes, peel off the tape and you’ll have a nice crisp line between the untouched glass and the etched glass. You could also cut masking tape with scissors to make other designs.
Hand Cut – Use a permanent marker to draw or trace a design onto a piece of stencil vinyl, then cut out the design with a sharp craft blade. If you don’t have a cutting machine, this is a great option!
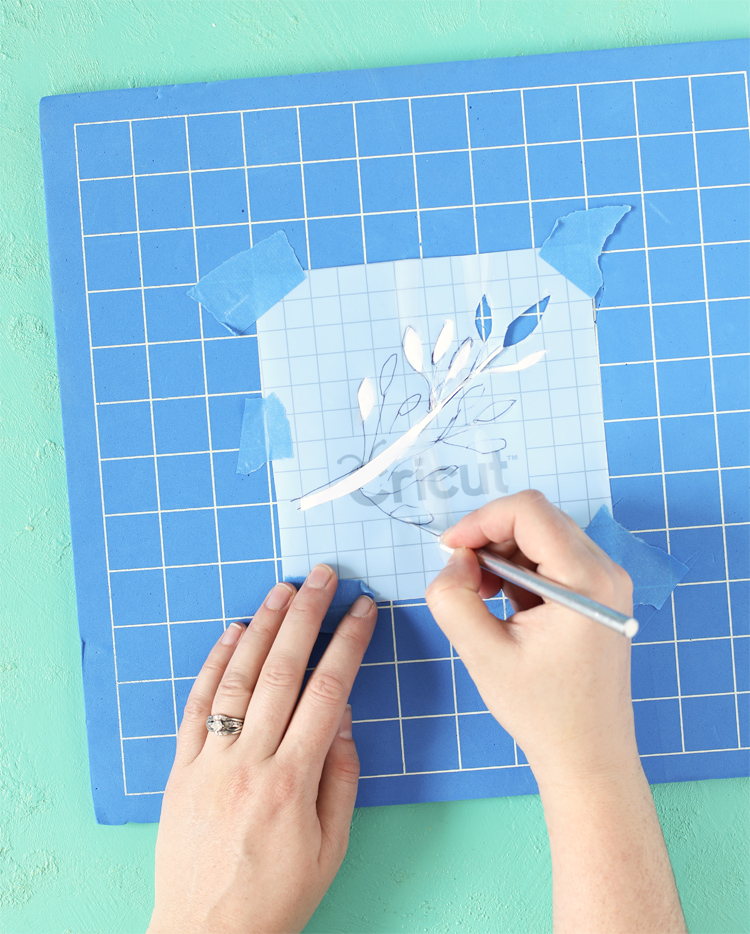
Cutting Machine – If you have a Cricut machine or Silhouette machine, it’s super easy to make a stencil! Create your design on your computer, then cut out the stencil from Cricut or Oramask stencil material. I have used both and they both work well, but I think the Oramask material is slightly better and easier to use.
If you cut an intricate design on a cutting machine, you may need to use transfer tape to keep all of the little pieces of the design in place when you peel the paper backing off the stencil paper. To do this, weed away the parts of the stencil that you will WANT to be etched, then cover the front of the stencil with transfer tape, then peel the paper backing off the stencil. I show this step in the video below, so if you’re not sure how this works, the video explains it clearly.
GLASS ETCHING VIDEO TUTORIAL
Frequently Asked Questions
Where Can I Buy Etching Cream?
Etching cream is available on Amazon and at Hobby Lobby, Michaels, and JOANN. A little goes a long way, so the 3 ounce bottle is probably plenty for most projects.
How Long Do I Leave Etching Cream On Glass?
I leave mine on for 20 minutes. The manufacturer’s website says it only takes one minute, but that never works for me.
Can I Etch Pyrex?
Yes! And no. Some Pyrex dishes, especially older pieces, don’t work. However, I have successfully etched many Pyrex casserole dishes, so I think the odds are probably in your favor. You won’t know until you try.
Can I Use Contact Paper?
Yes! Contact paper is an inexpensive way to make a stencil and as long as you press the edges down tightly, it works well with the etching cream. You can also use regular adhesive craft vinyl as a stencil.
Glass Etching Craft Ideas
Now that you’ve seen how easy it is to successfully etch glass at home, here are some fun project ideas to get your creative juices flowing.
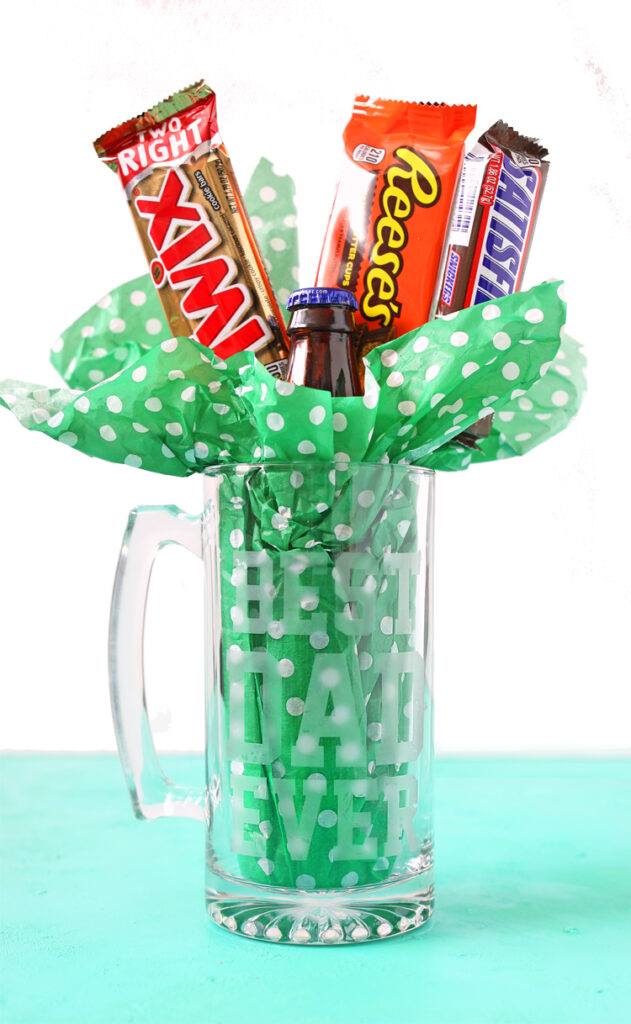
Father’s Day Mug
I etched this big mug from Dollar Tree with the words “Best Dad Ever” then filled it with treats and gave it to my dad for Father’s Day.
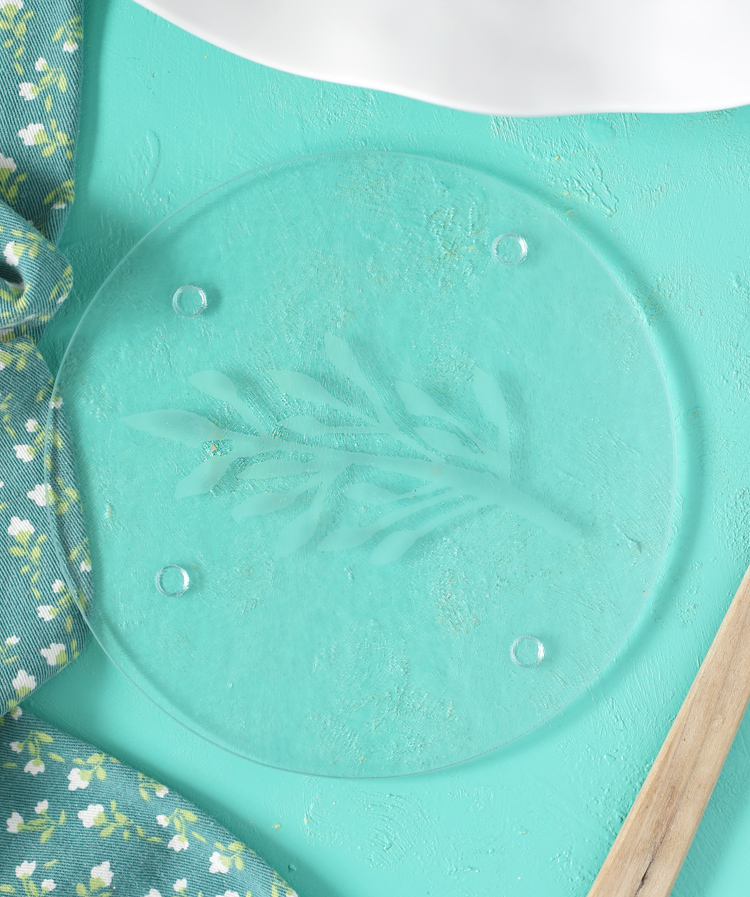
Glass Trivet
This is another Dollar Tree find— a glass trivet that I added a hand-cut leaf design to. I think it turned out really pretty.
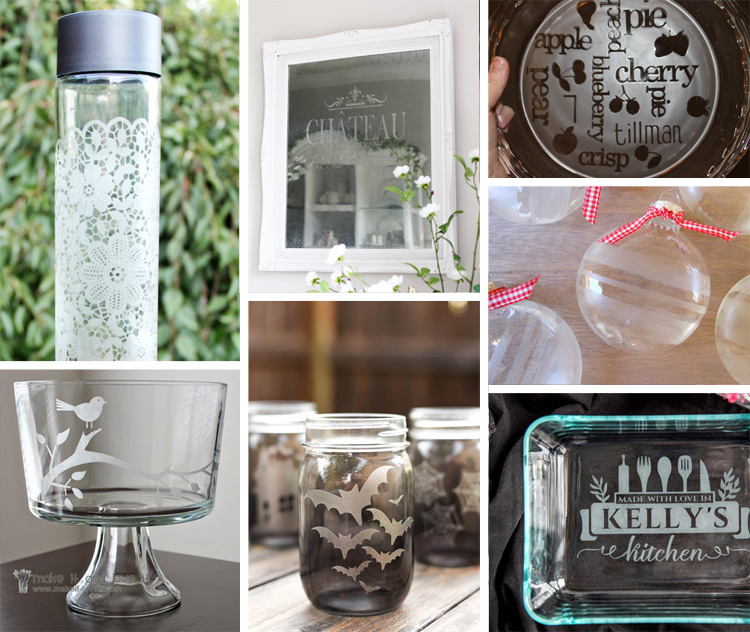
And here are a bunch of glass etching craft ideas from around the web. Click on the links below to go to the individual project tutorials.
So what do you think? After reading this tutorial, would you try etching glass at home? Were you surprised by how easy it is? I hope you’re ready to give it a try. If you have any questions, please leave a comment. I’m happy to help. Happy crafting!
Like this post? Pin it to save it for later!

Let’s Get Social
I’m sharing tons of fun ideas on my social channels and I’d love for you to join me there.