This is a sponsored post written by me on behalf of Duck Brand®. All opinions are 100% mine.
Create large, modern weather-proof cone trees to decorate your outdoor space for Christmas.
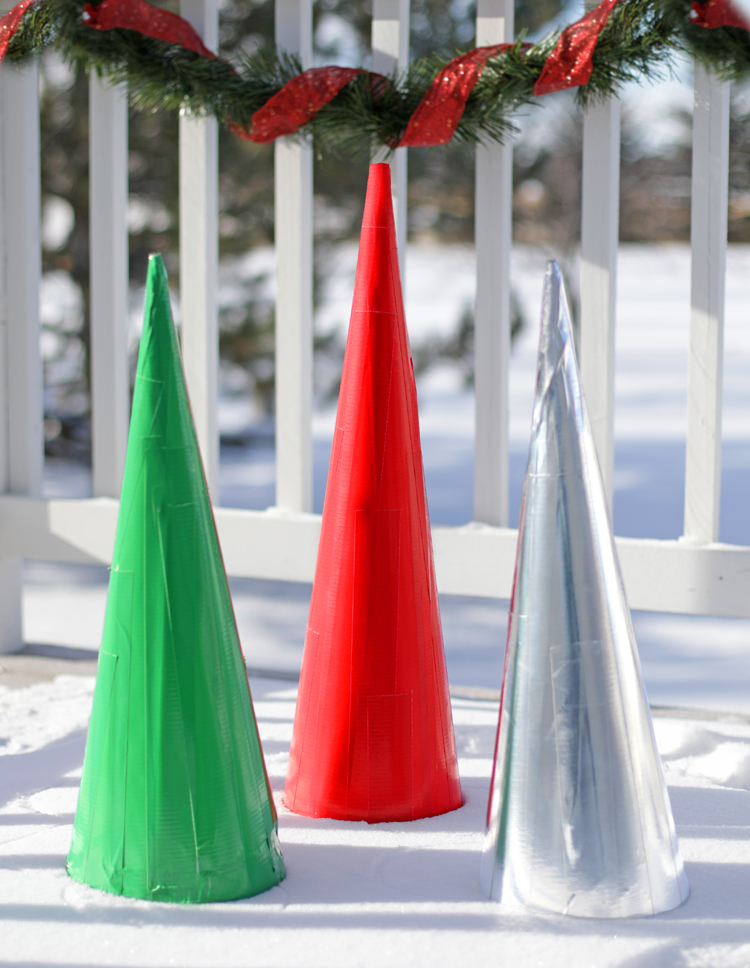
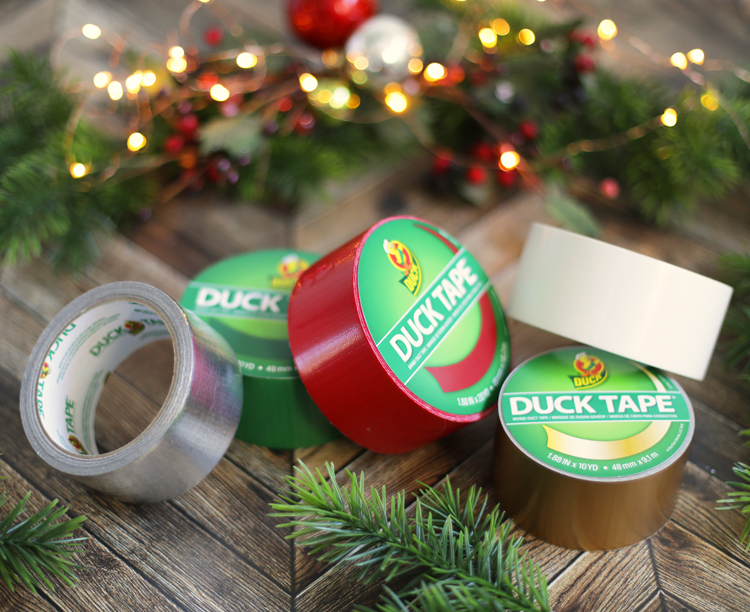
I love decorating outside for Christmas, but it can be tricky to find inexpensive decor ideas that can hold up to winter weather. Today I’m going to show you how to make these cool, modern Christmas trees. The star of the show is the holiday line of Duck® brand duct tape. Because the tape is so durable, the trees can be out on the porch without worrying if it snows on them a bit. To make them, you will need:
- Color Duck Tape®
- Poster Board
- Rubber Bands
- Scissors
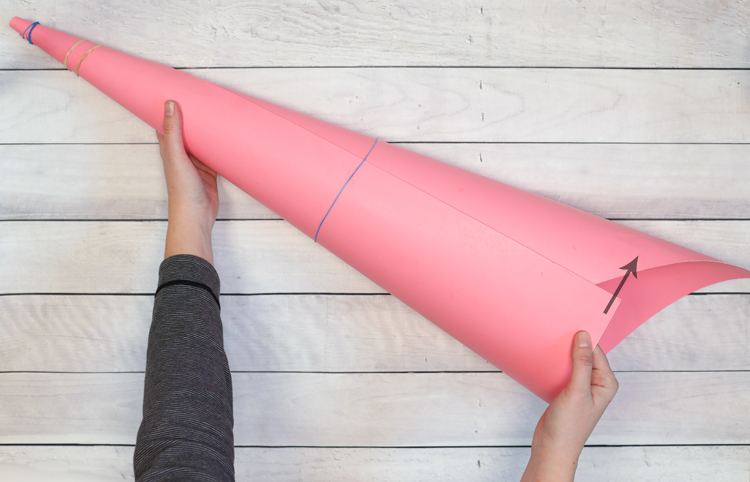
Step 1: Roll the poster board into a cone shape. I secured mine with rubber bands just to help me get it lined up how I wanted. Keep rolling the poster board together until the square edge on the bottom overlaps with the rolled edge, like this:
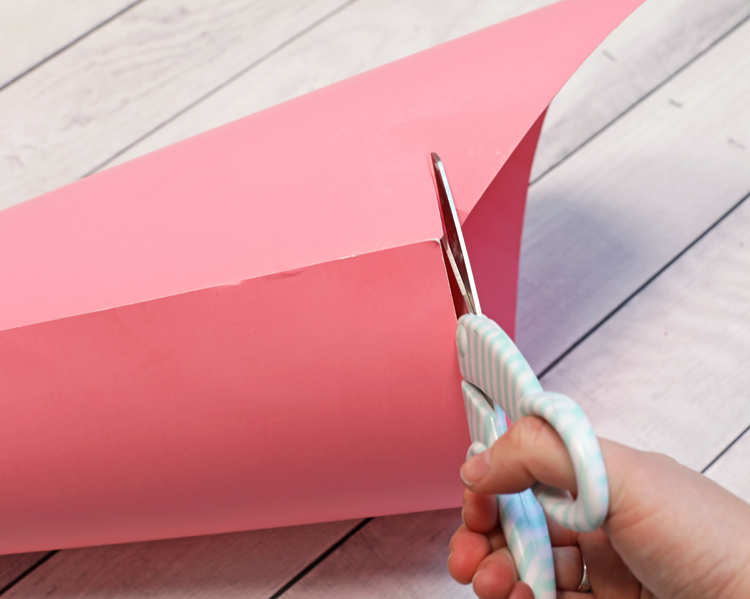
The tallest, red cone is about 30 inches tall. If you’d like even bigger cone trees, you can tape two pieces of poster board together before rolling them into a cone. Step 2: Cut off the extra poster board to even out the bottom edge.
It may take a few tries… just trim some off, test it, then keep trimming until the tree sits straight when you stand it up.
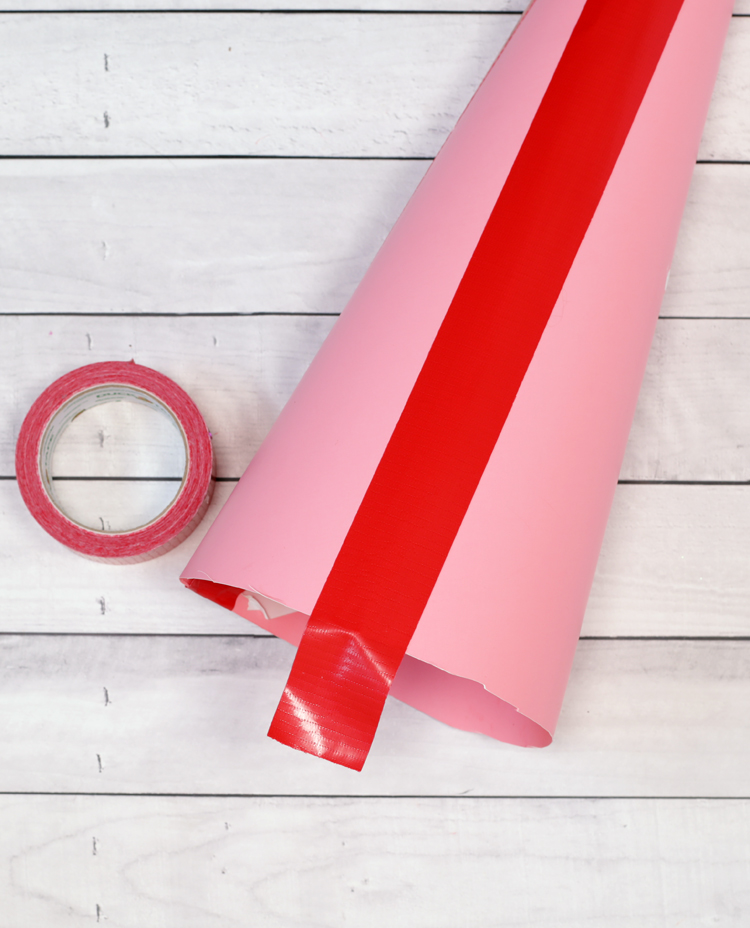
Step 3: Secure the poster board into place with Duck Tape®, then cover the entire cone with long strips of tape. It works better to place the tape vertically from the top of the cone down. I had trouble keeping the tape smooth when I tried wrapping it around the cone horizontally.
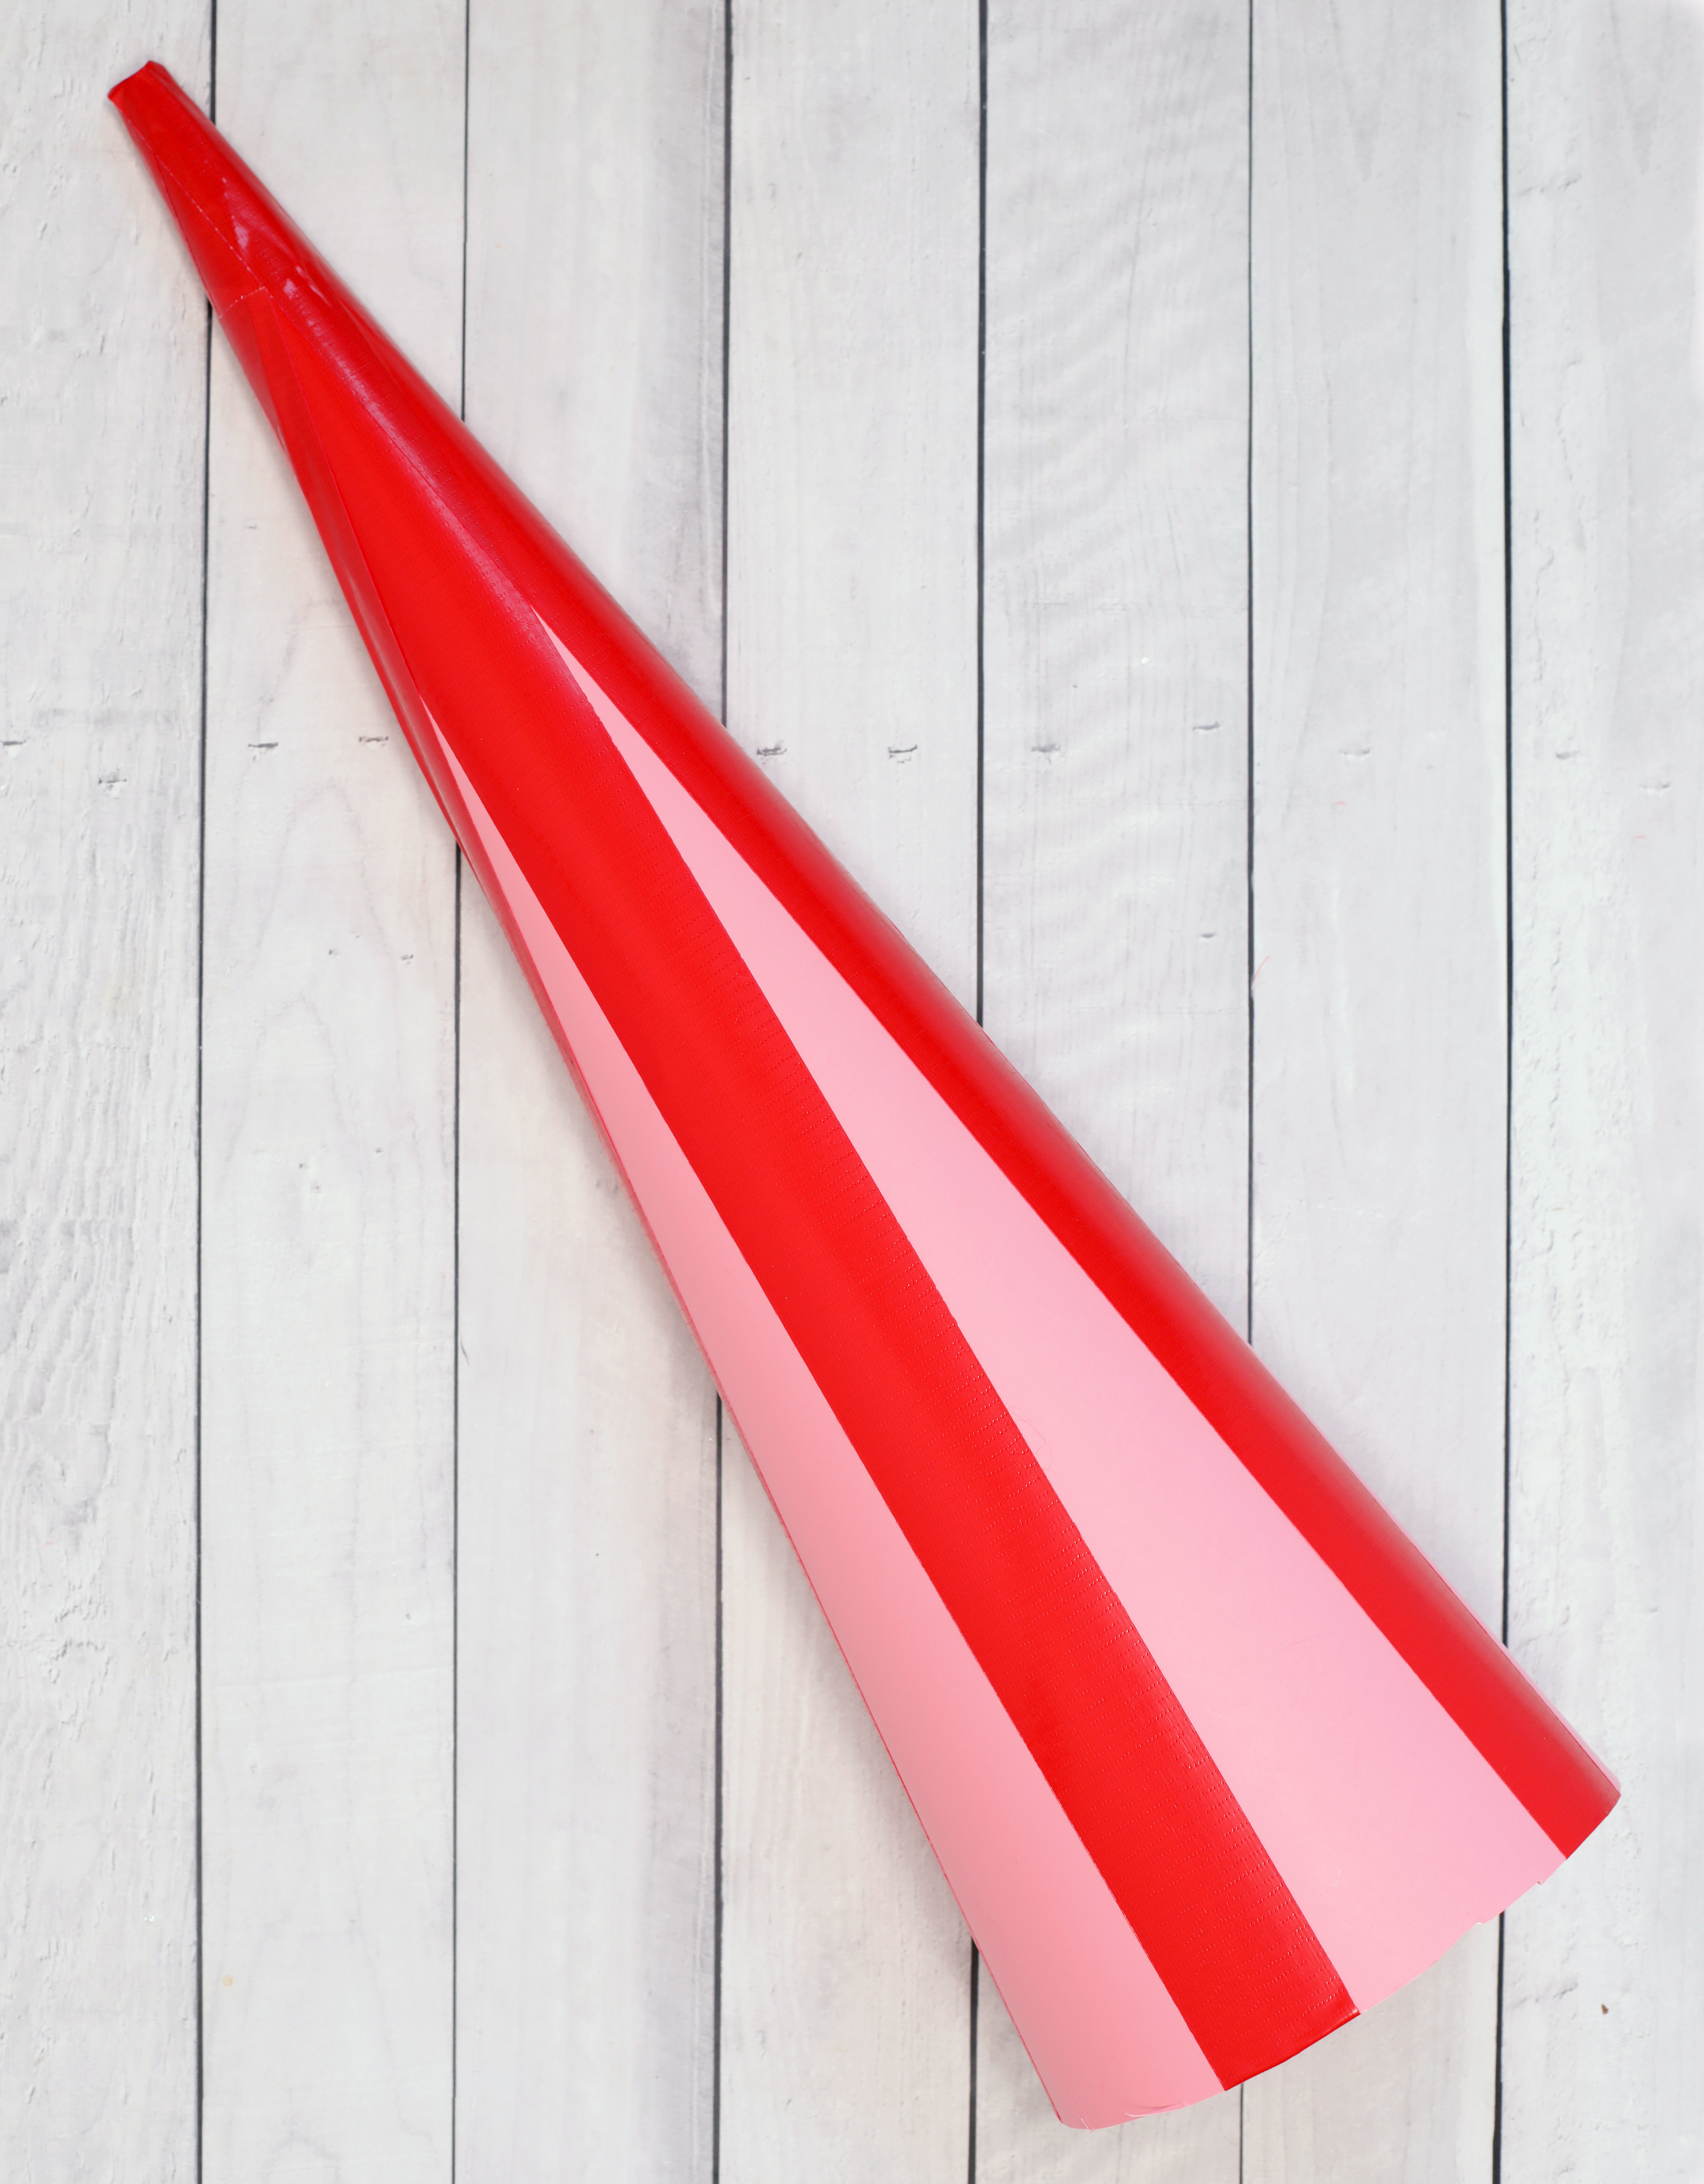
Be sure to leave a few extra inches of tape along the bottom of the cone so you can tuck the tape up inside and have a nice clean, finished edge. Continue adding tape until all of the poster board is covered and only the Duck Tape® shows.
Then your trees are ready to go out on the porch!
Let’s Get Social
I’m sharing tons of fun ideas on my social channels and I’d love for you to join me there.