This is a sponsored post written by me on behalf of Hobby Lobby. All opinions are 100% mine.
Five darling, unique printable Valentine’s Day cards with fun coordinating toys. These are perfect for elementary school kids!
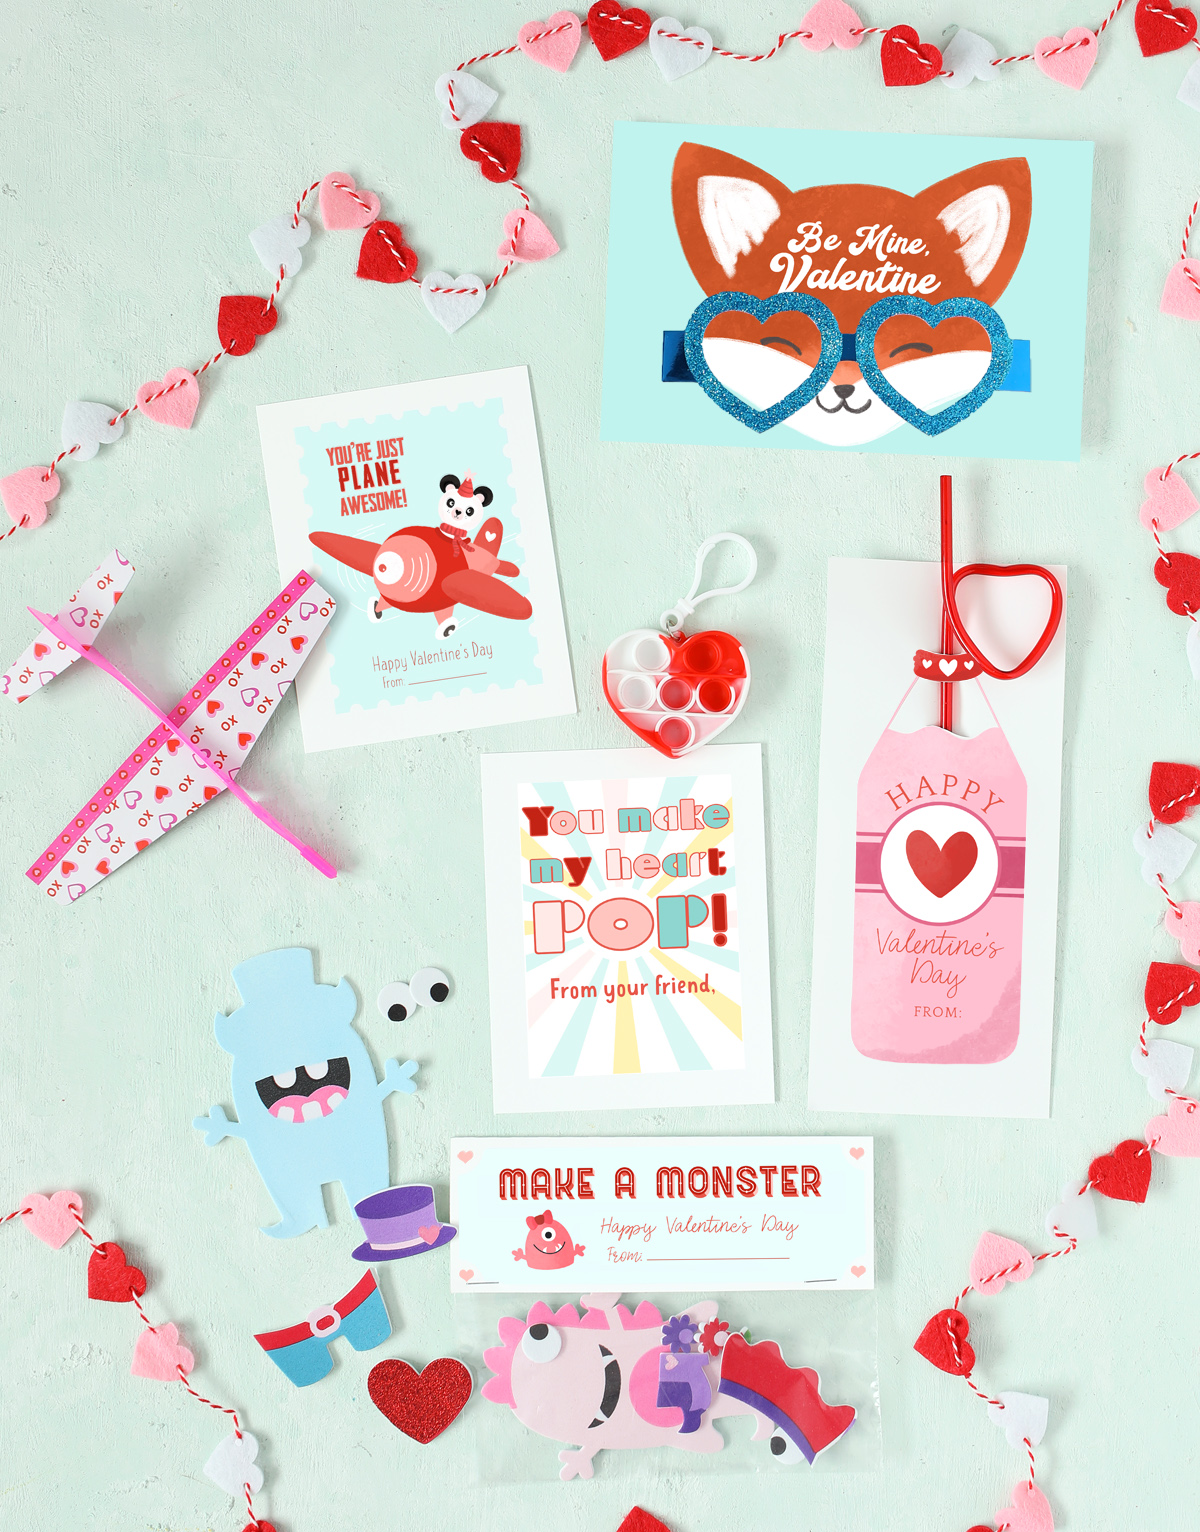
Love is in the air. It’s almost Valentine’s Day! Today I’m sharing five cute and unique Valentine’s Day card ideas that you can print and assemble for your kids’ Valentine’s Day class party. There are five totally different ideas, so there’s really something for everyone. I got all of the Valentine’s Day themed toys from Hobby Lobby. They had a ton of crafty Valentine’s Day supplies for kids and tons of card kits and even some Valentine’s Day box kits too. It’s a great place to look if you’ve got a child in elementary school. And everything was 40% off too. Score!
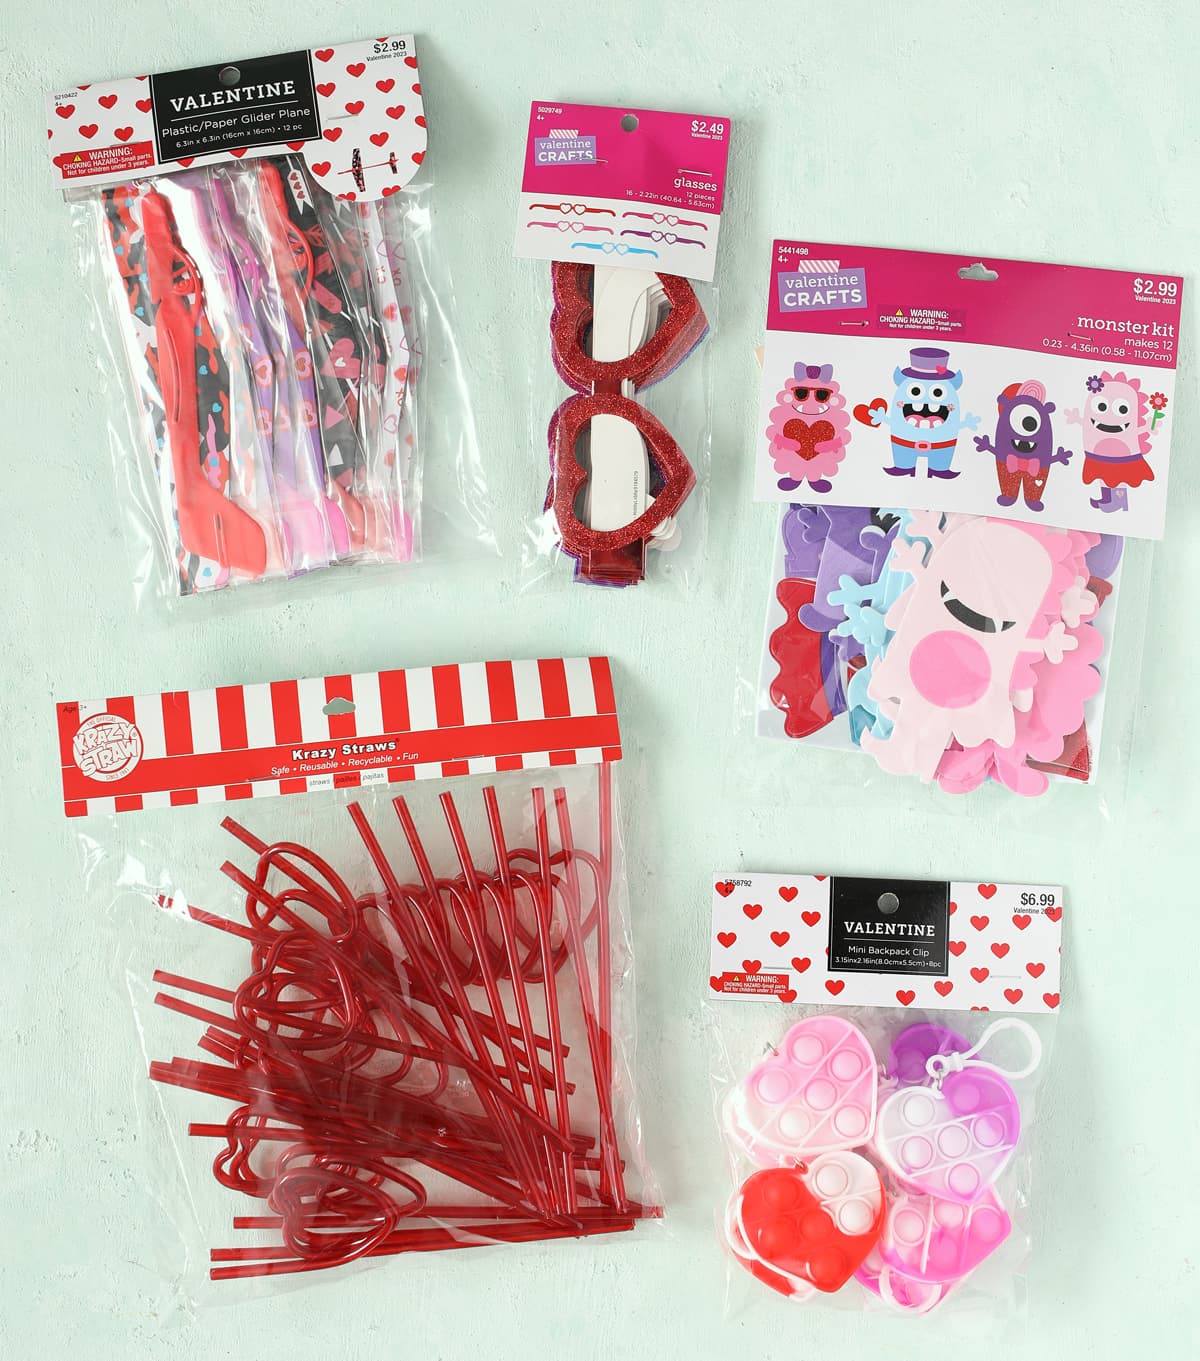
Here are the five items I bought to use for the five different cards:
Materials Needed
- Plastic/Paper Glider Plane
- Glitter Heart Glasses
- Monster Foam Sticker Kit
- Krazy Heart Straws
- Heart Fidget Toy Mini Backpack Clips
And a few other supplies you might need to assemble the cards:
- White 8.5″ x 11″ Cardstock
- Paper Trimmer
- Craft Blade
- Washi Tape
- Stapler
- Snack Sized Zip Plastic Bags
Now let me walk you through each of the cards and how to assemble them.
Airplane Valentines
I’m super proud of these cards. I drew the airplane and the panda bear pilot myself! I got an iPad for Christmas and have been learning how to draw using the Procreate App and it has been awesome. I think the cards are just so, so cute and the airplanes are such a fun little gift to go with.
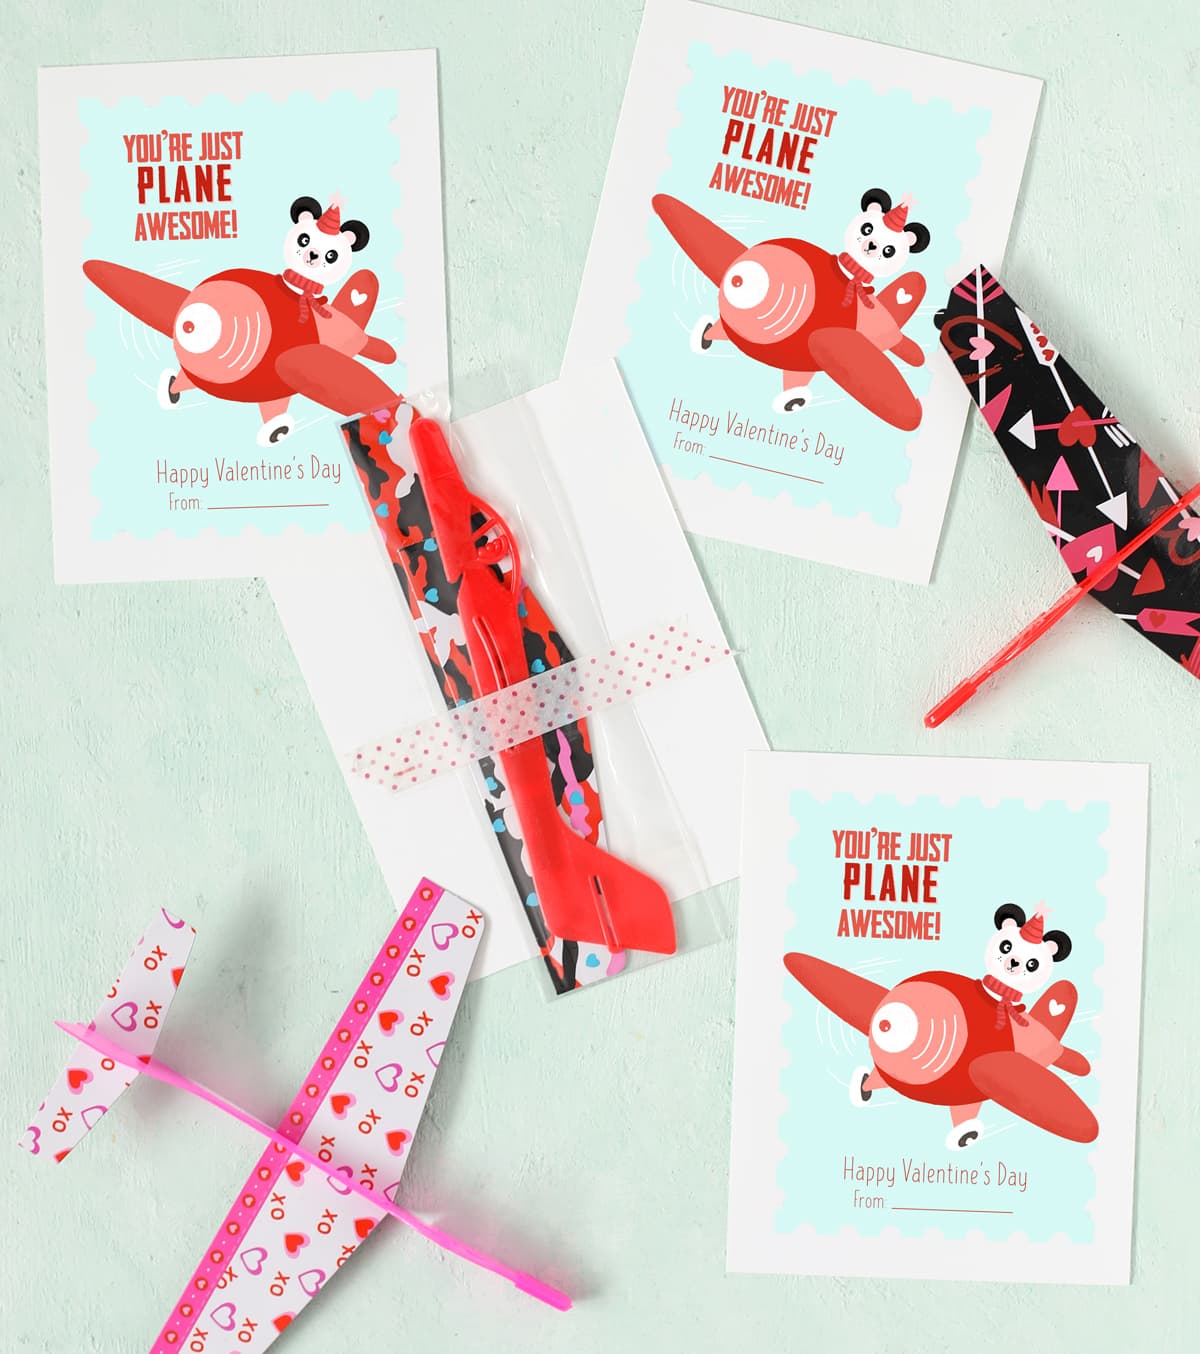
- Print the design onto white 8.5″ x 11″ cardstock.
- Cut the four cards apart using a paper trimmer. I designed the cards to cut evenly into fours, so it should only take three cuts per sheet.
- Tape an airplane toy onto the back. I used regular clear tape, then topped it with cute washi tape, since sometimes washi isn’t strong enough to hold on its own.
Monster Valentines
These foam monster stickers are a fun little craft. Each pack makes 12 monsters, so I just separated out the pieces that are needed to make each monster pictured on the packaging and put those pieces into their own individual snack sized plastic bag.
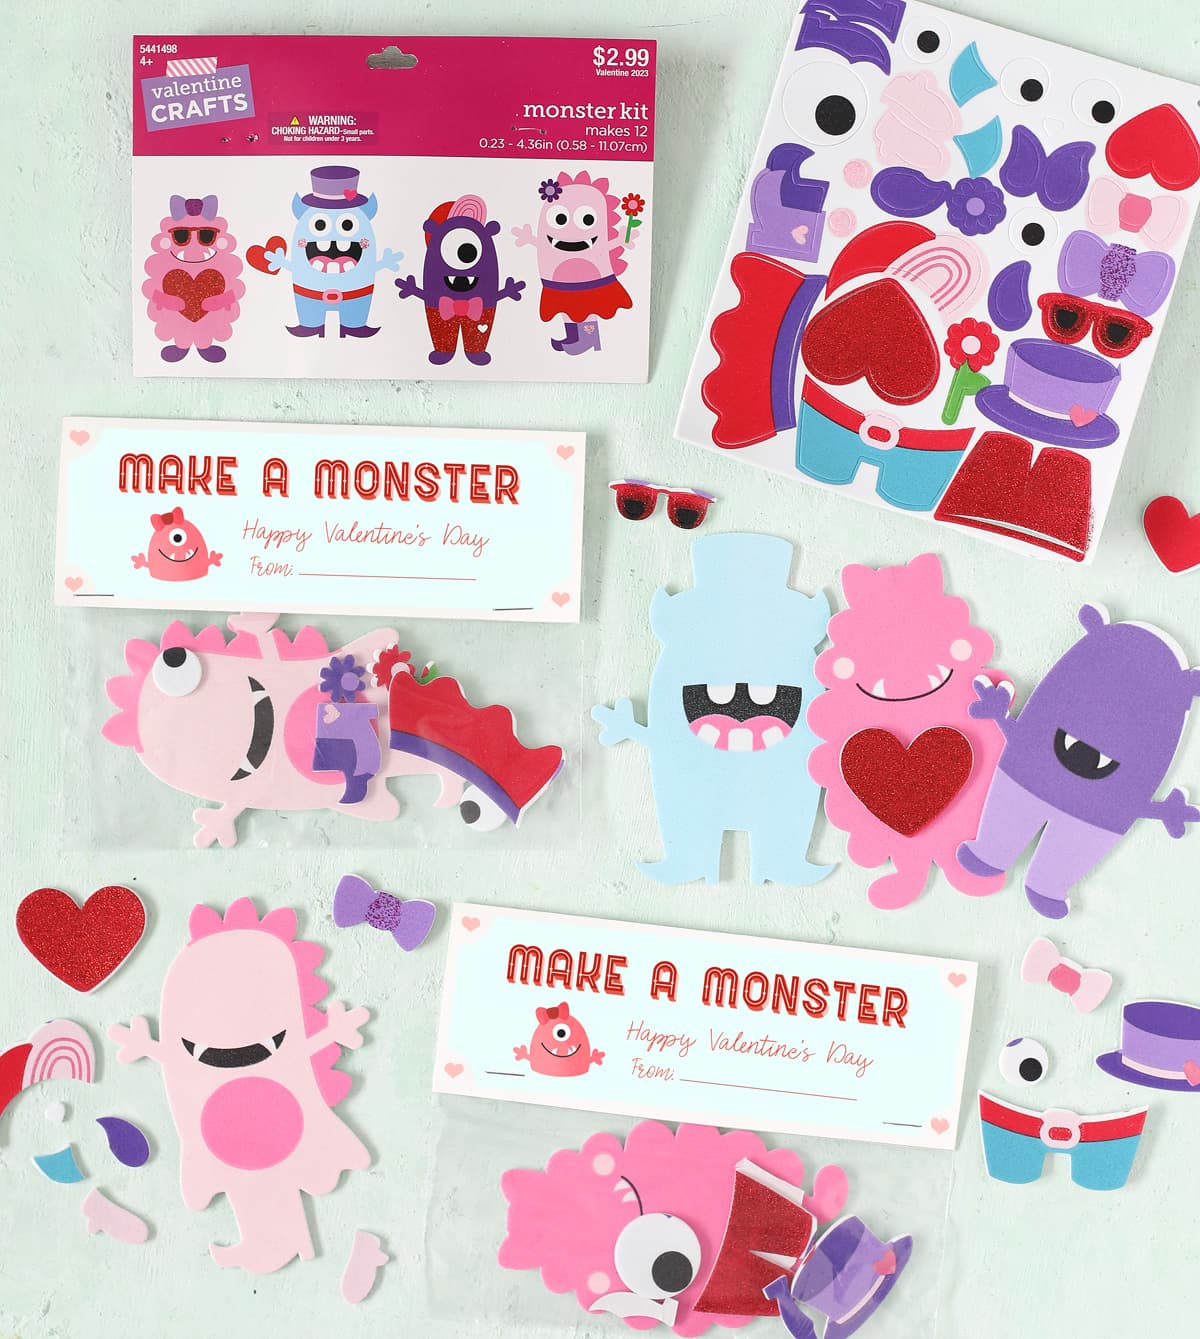
- Print the monster cards onto white 8.5″ x 11″ cardstock.
- Separate out the pieces needed to build each monster. Refer to the picture on the packaging to know which pieces go together.
- Place the monster pieces into a sandwich sized plastic zip bag.
- Cut the monster cards along outside solid lines. Fold along the dotted line.
- Zip up the baggy, then sandwich the folded card across the top and staple in place.
Fox Heart Glasses Valentines
Oh man, I love this one. The fox turned out so cute! It’s another one of my own drawings from my Ipad. And a fox wearing glasses? It’s just too fun! These cards print two on a sheet. They’re a bit bigger than your standard valentine, but it’s so that the glasses fit properly on the foxes face.
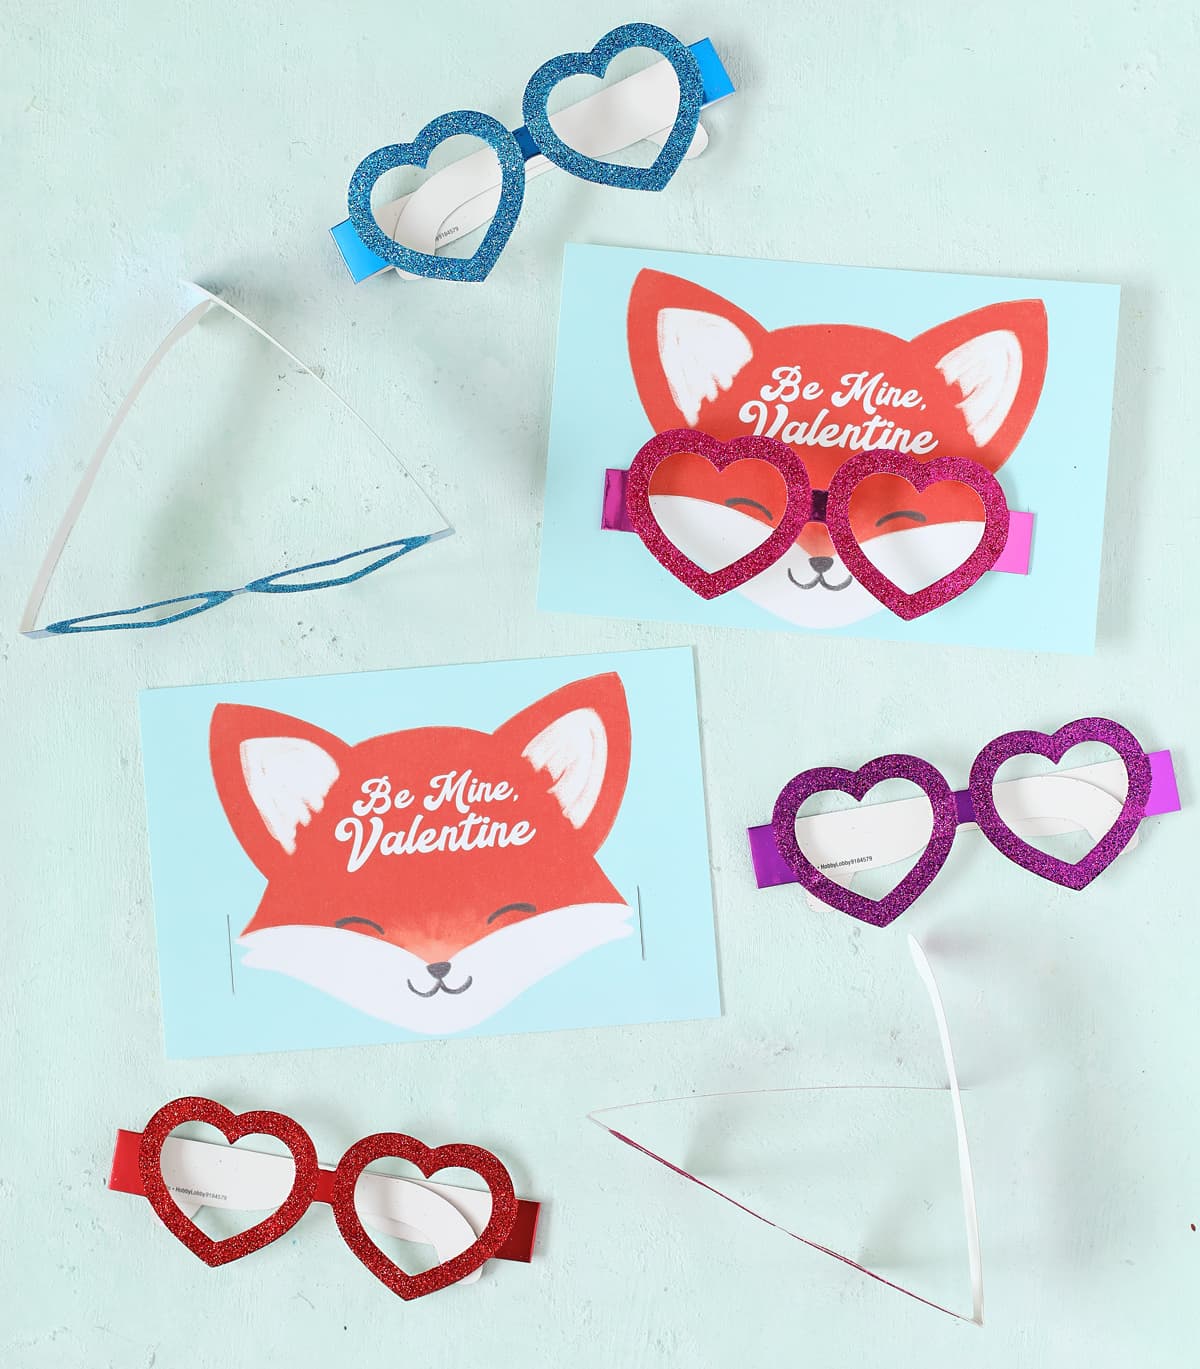
- Print the fox cards onto white 8.5″ x 11″ cardstock. There are two cards per page.
- Use a craft blade to cut two slits on either side of the fox’s face. You can see the location of the slits in the photo above.
- Slip the glasses through the slits and fold them down so the glasses sit flat on the card.
Pop It Valentines
These pop it toys are all the rage with elementary school kids, and I admit, they are pretty fun to fidget with. I like these particular hearts because they can be clipped to a backpack.
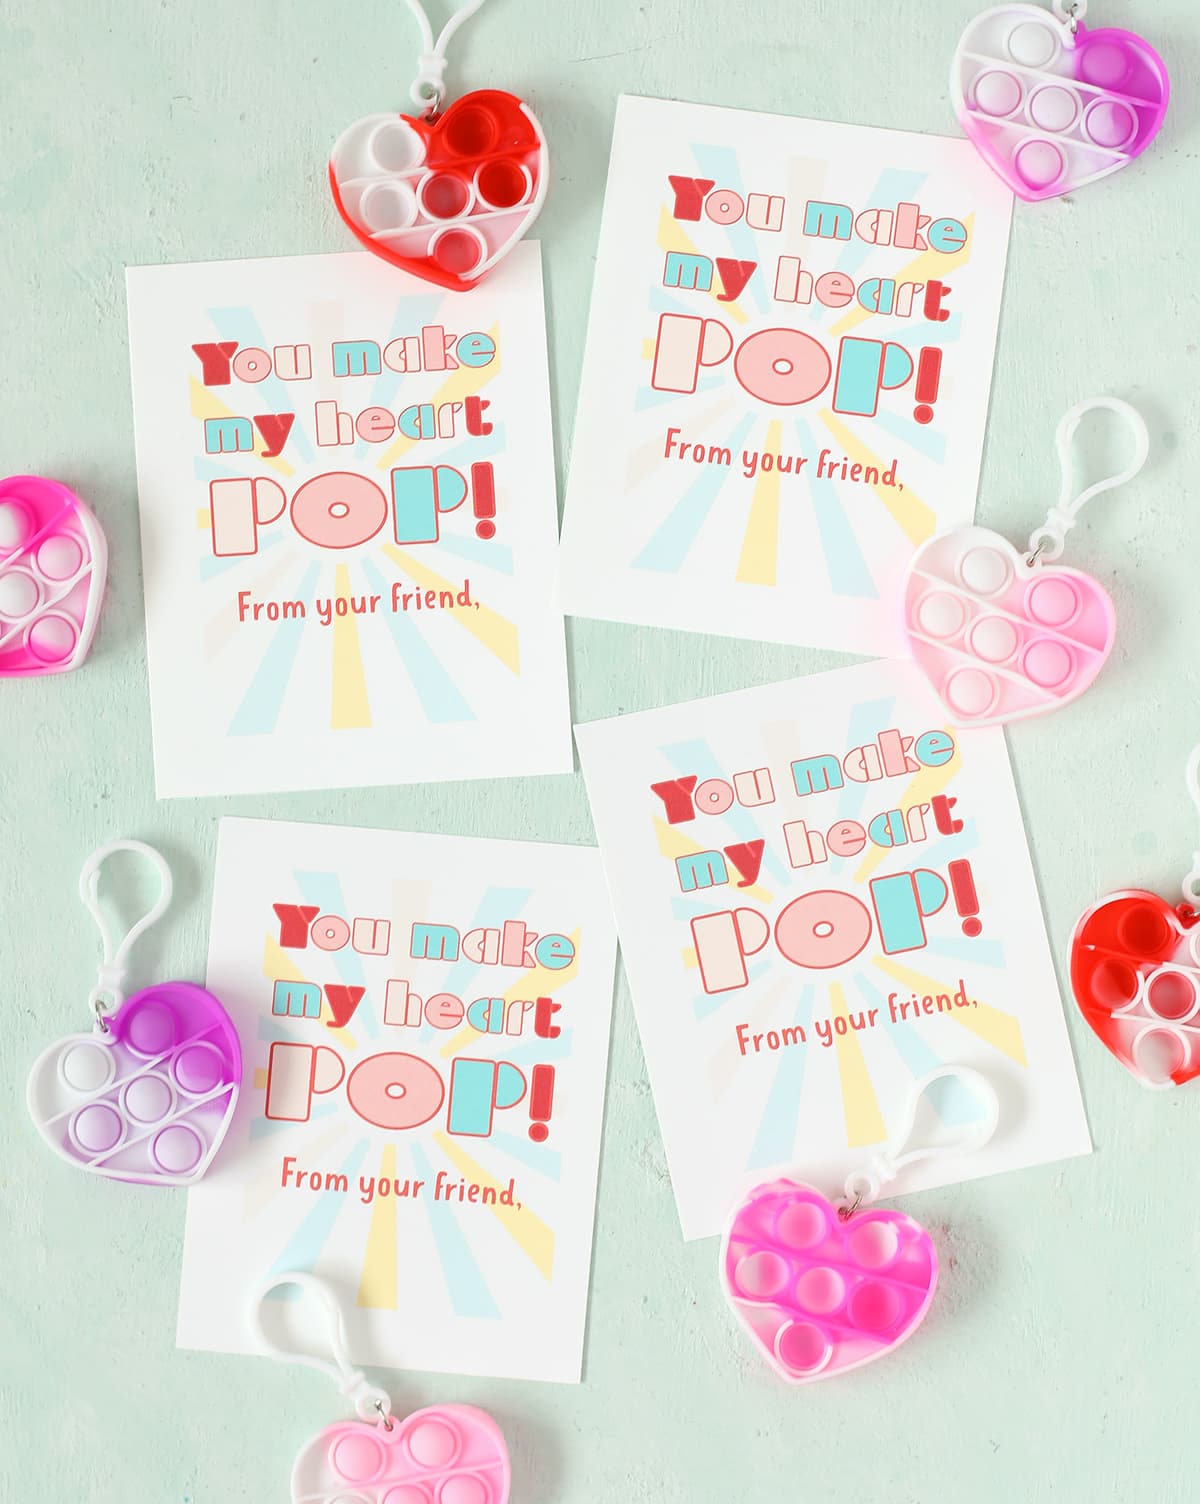
- Print the cards onto white 8.5″ x 11″ cardstock. These print 4 to a page.
- Cut the four cards apart using a paper trimmer. I designed the cards to cut evenly into fours, so it should only take three cuts per sheet.
- Attach the heart to the back of the card using tape or slip both items into an envelope or put the heart in a clear plastic bag and staple that to the card. It’s up to you!
Crazy Straw Valentines
My mom used to always make pink milk on Valentine’s Day, so these cards remind me of that. They’re such a fun valentine! Again, I drew these myself. Can you tell I’m excited about my newest craft obsession?
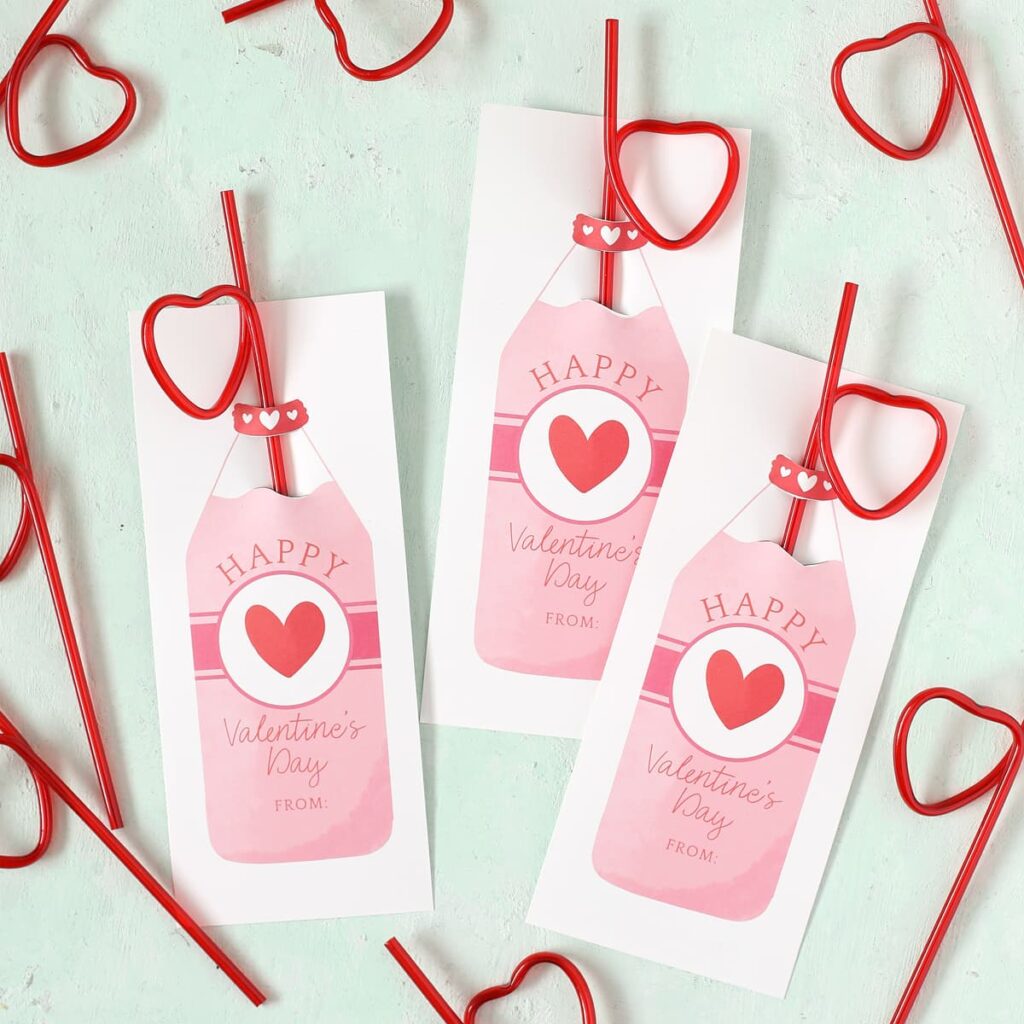
- Print the cards onto white 8.5″ x 11″ cardstock. These cards are long and skinny and print 3 to a page.
- Cut the three milk bottles apart using a paper trimmer.
- Use a craft blade to carefully cut three slits into the cardstock
Okay, which one is your favorite? I can’t choose just one!
To download the files, click on the button here:
Note: Many businesses and schools block access to Google Drive. If you’re having a hard time downloading the files, try again at home or on an unrestricted computer.

Let’s Get Social
I’m sharing tons of fun ideas on my social channels and I’d love for you to join me there.