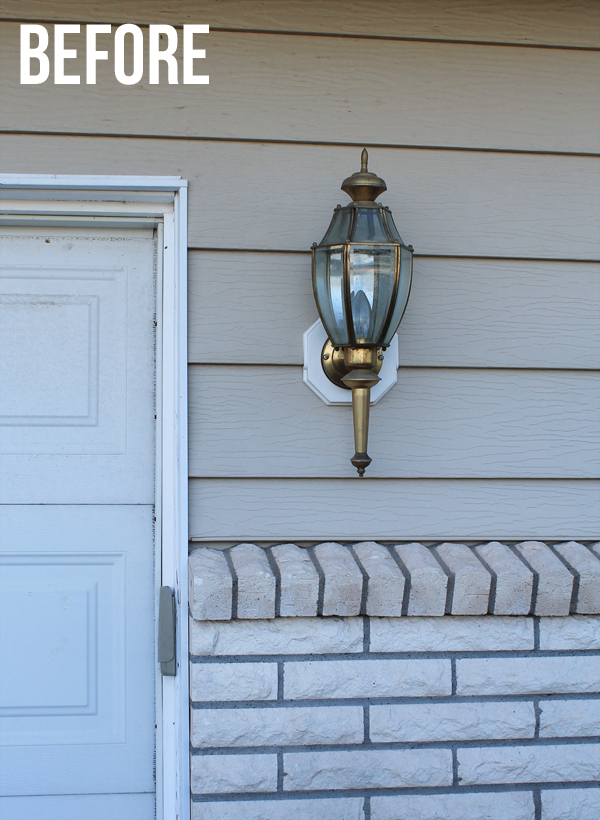
I’ve said it before and I’ll say it again: the power of paint amazes me! The old brass lights on the outside of our house were pretty weathered and dated looking:
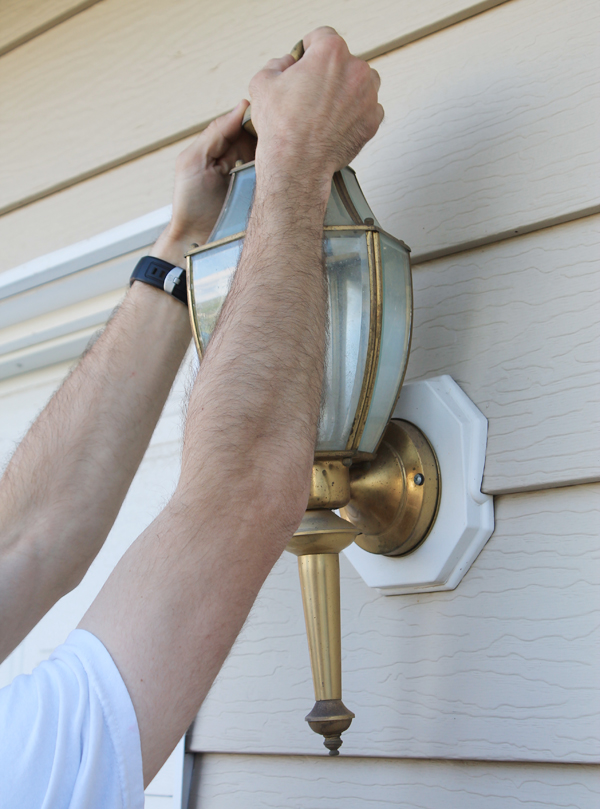
So my husband took them down…
…and I took them completely apart. Warning: this is not for the faint of heart. I was just praying I’d be able to put them back together again!
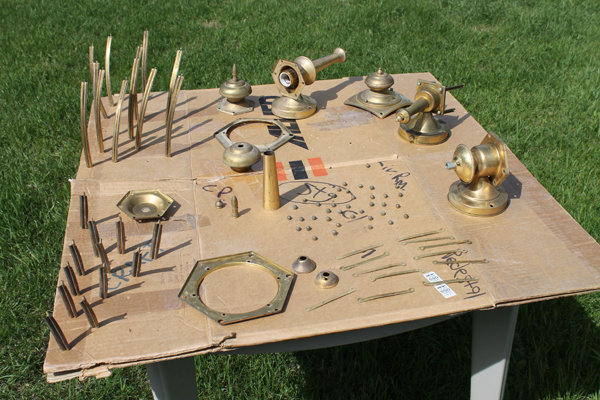
I sprayed all those little parts with a few coats of Rustoleum spray paint in an oil rubbed bronze metallic finish. Then came the crazy 3D puzzle of reassembly. It was hard, not going to lie.
But they did go back together eventually and look how much better:
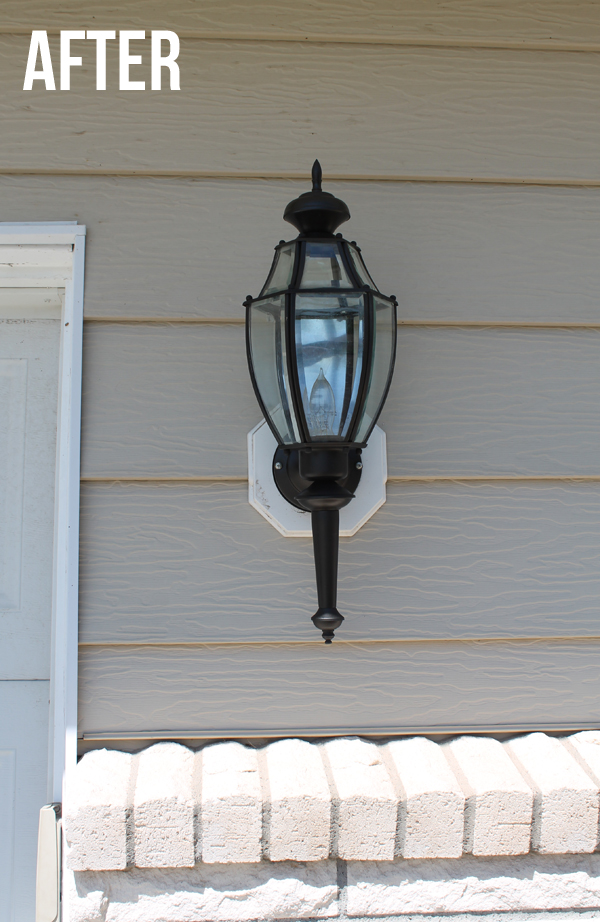
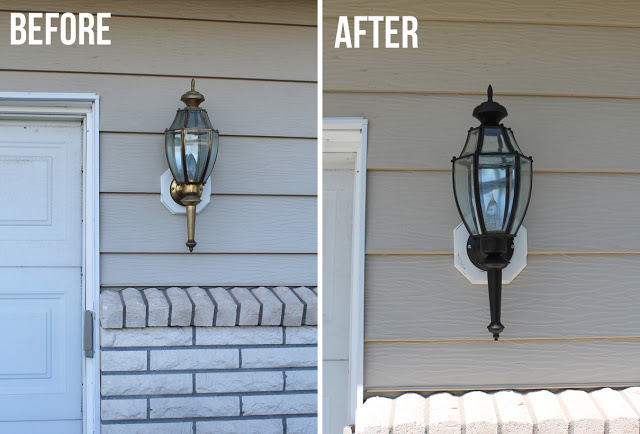
Yay! “New” lights! (Huh… looks like I need to wash the house! Where’d all that dirt come from?)
The light on the back porch was welded together, so I left it up since it couldn’t be taken apart anyway. I taped off the glass and put paper up to protect the side of the house from overspray.
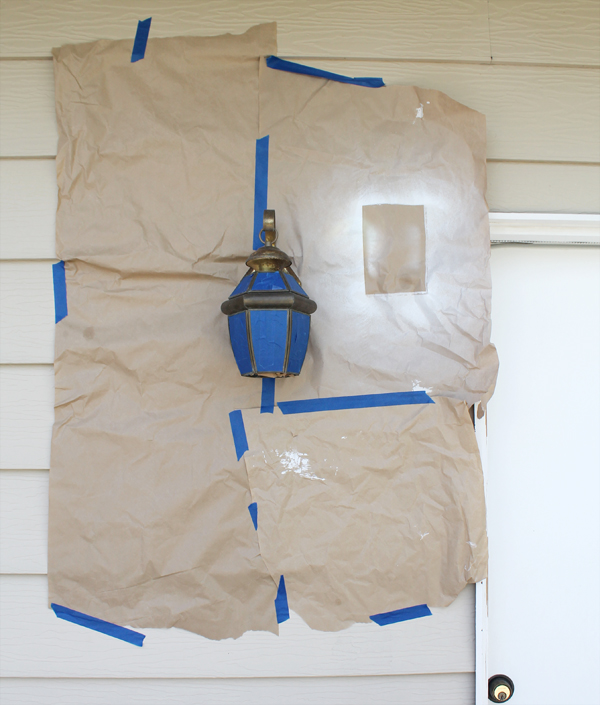
This was easier for sure, but not as perfect, because I couldn’t paint some of the inside parts. However, the finished product still looked pretty great.

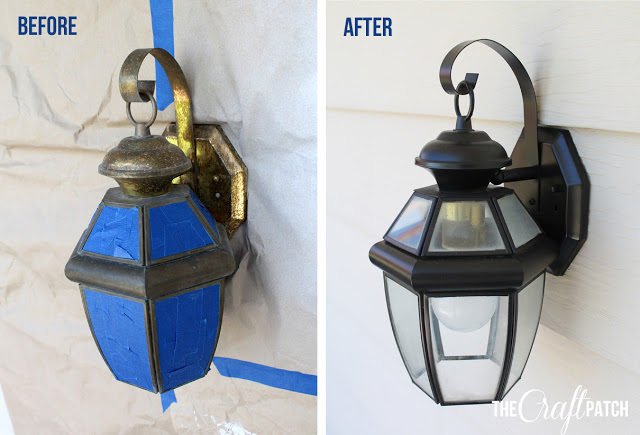
And here’s a view of the front lights. I love small, easy changes with big impact!
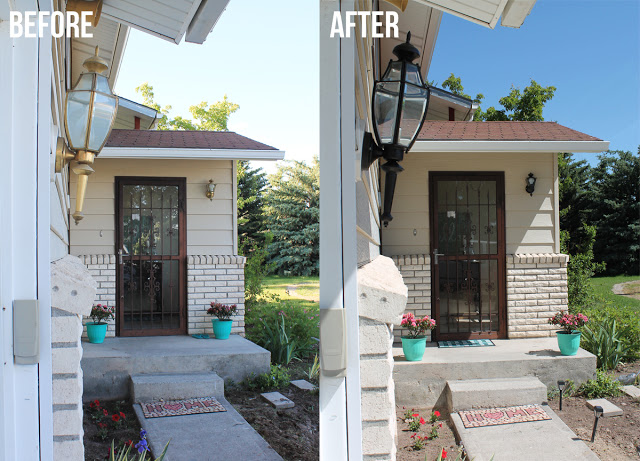
Next I’m going to tackle the storm door and front door. They both need repainting desperately!

Comments & Reviews
wow! i wud have never thot they wud turn out so great! I'm thinking I need to try this before buying all new lights.
What kind of painted was used?
Rustoleum metallic spray paint in an oil-rubbed bronze color.
a flat black or satin black for the small lights you did?
I used oil-rubbed bronze metallic spray paint.
Nice try to make people think you are that crafty!! the "easy light exterior update" isnt even the same light! seriously….you are ridiculous!
How would I benefit from faking a light fixture makeover? I promise, it's the same light. The two photos are just taken from a slightly different angle. I don't know why you felt the need to be so rude.
Same light- easy to spot the existing brass in the light from the back porch. It saddens me that attention to detail is overlooked when haste to put someone or something down is the focus. Great work, Jennifer! I have to do the same to mine because we painted the front doors darker and now the patina nickel lights disappear. Ugh!
If only people would spread positivity as quickly as they jump on someone to demean, the world sure would be a better place.
Thank you for your kind words. I hope your lights turn out great!
Thanks for the information! Anyone with two eyeballs can see it is the same light =) You are officially crafty! And I'm so glad you took the time to share this information because now I can do something with my ugly brass lights, yay!
Anyone with 2 eyeballs can see it is the same light =) You are officially crafty, and I'm so thankful you posted this! Now I can handle my ugly brass lights, yay!
Just what I was looking for! Great job! Thank you!
This worked great on my outdoor fixtures! The only regret I have is that I didn't do this sooner! I saved so much money compared to buying new fixtures. Thank you!
Thank you very much for the post! This project will definitely save me lots of money. Did you sand before painting?
Yes, I sanded lightly. The important thing is that there is no flaking paint and no grease or dirt.
Great job. I want to try this. Hope it looks as good as yours.
It’s been 3 years since I painted mine and they still look great. Good luck! I hope yours turn out awesome!
I did it!! Save myself some money and they look great!!
My next project! Thanks for the inspo! I was about to buy new fixtures…