Learn how to make a fun surprise box out of Duck Tape. This is a perfect gift for a teacher or for Mother’s Day!
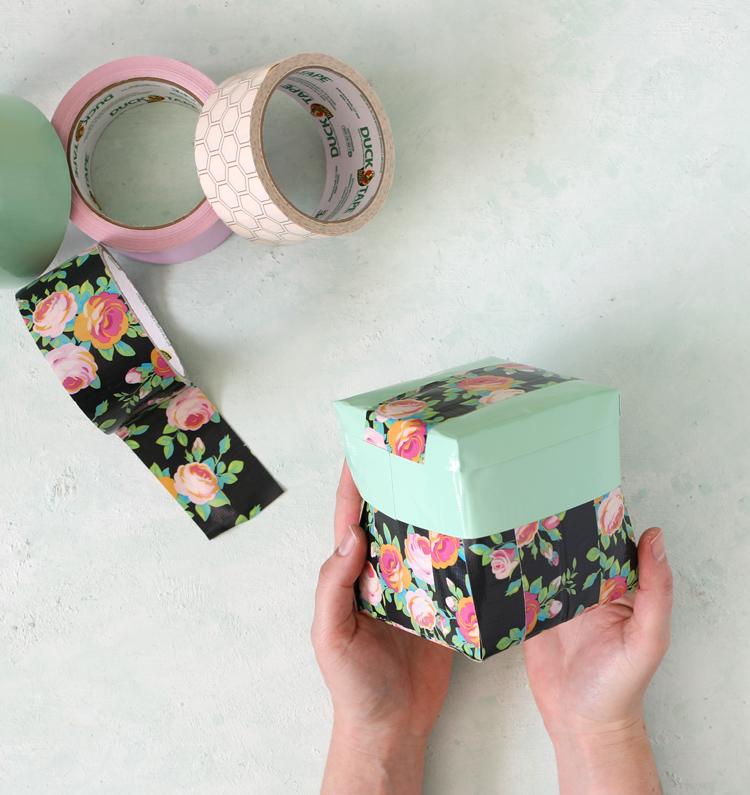
Teacher Appreciation Week is coming right up, so today I thought I’d share this fun Duck Tape craft idea with you. I’m going to show you how to make a super cute pop-out surprise box with Duck Tape! This is an intermediate level Duck Tape craft that may be a bit tricky for beginners or very young children.
This post is sponsored by Duck Tape®. All ideas and opinions are my own.
To make this craft, all you need is Duck Tape and scissors, but I recommend using a rotary cutter with a mat and ruler instead. It’s much, much easier to cut straight, crisp lines and to make sure everything stays square.
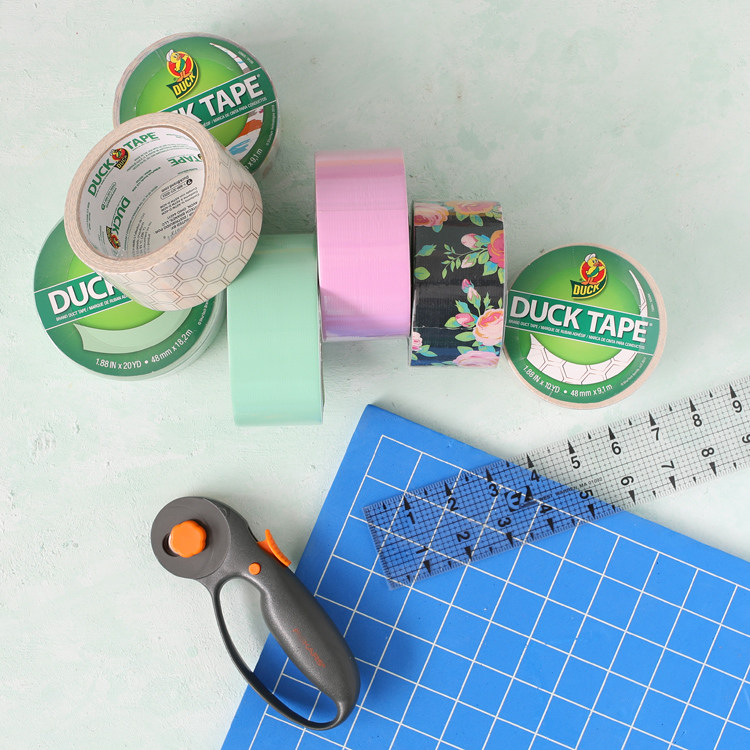
There are so many cute Duck Tape patterns and colors available these days. You can view all of the different colors and patterns here.
My box has three layers inside, but you can add as many layers as you’d like by adjusting the measurements.
Step 1: Cut
The easiest way I have found to cut Duct Tape is with a rotary blade and cutting mat. Just stick the tape down to the mat, measure out the size you want, cut it with the ruler and rotary blade, then peel it off the mat.
You don’t need to do it this way. Regular scissors work okay, but man is this WAYYYY easier!
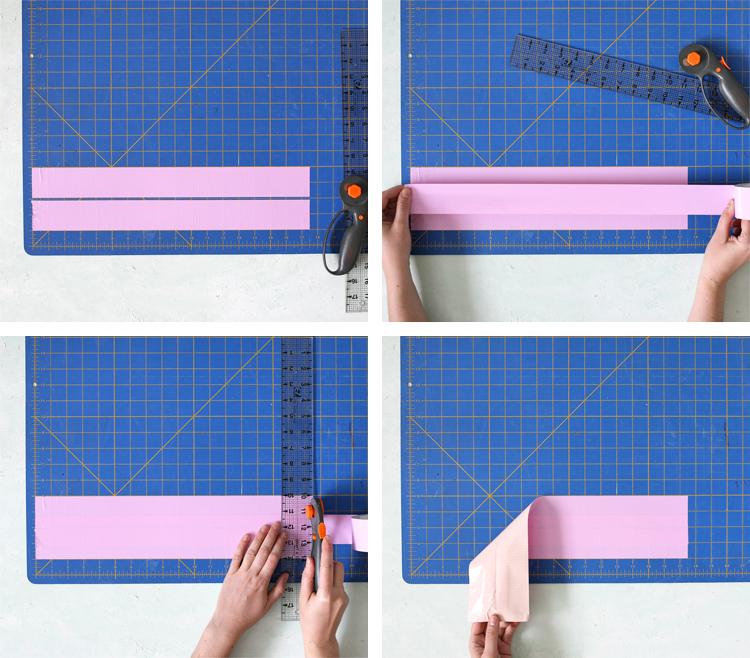
For this project, you will need two each of three different sized pieces for the three layers of the box. Here are the measurements:

Cut strips of Duck Tape to length, layering strips together to make the correct width. Then flip the strip over sticky-side-up and fold the ends in. The outside piece is 4 inches wide, so make a mark 4 inches in from each end and fold it there. The middle piece is 3.75 inches, so mark it there, and the inside piece is 3 inches, so you’d fold 3 inches in from the edge. Does that make sense? If not, the video tutorial at the bottom of the post might help.
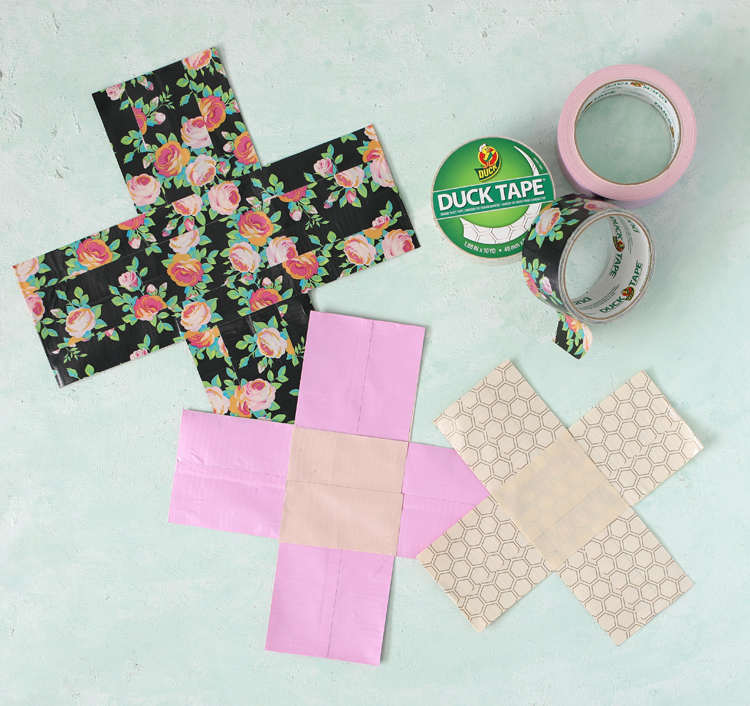
You’ll end up with pieces that look like this:

Step 2: Assemble
To assemble the box, start with the outside layer. Stick the two strips together to form a t-shape, sticky centers together.
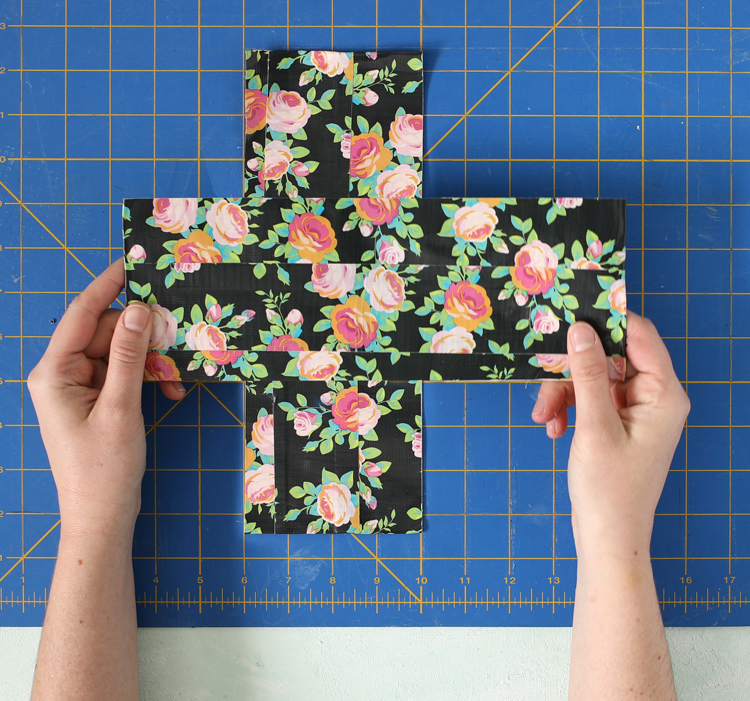
For the middle and inside layers, stick the two strips together to form a t-shape but this time with the sticky centers both facing up.
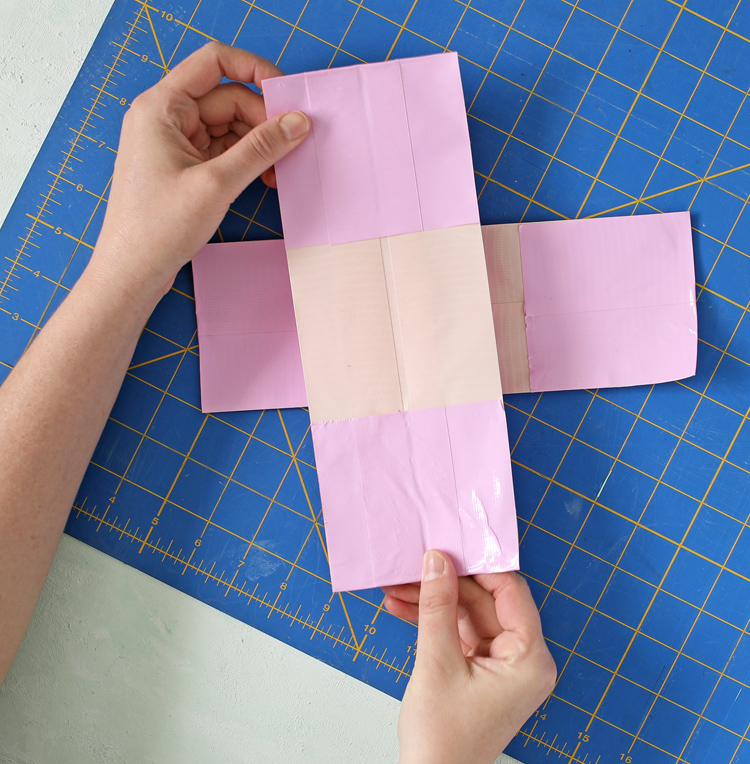
Now you should have three different pieces that are all shaped like T’s.
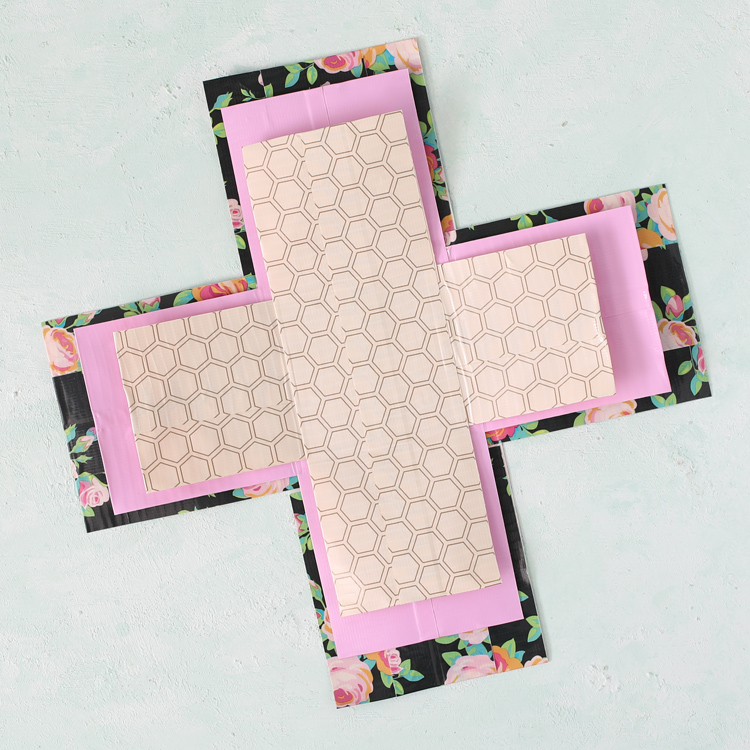
Place the middle layer sticky-side-down to the outside layer, then place the inside layer onto the middle layer sticky-side-down and you’ll end up with the bottom part of an exploding box.
Step 3: Make The Lid
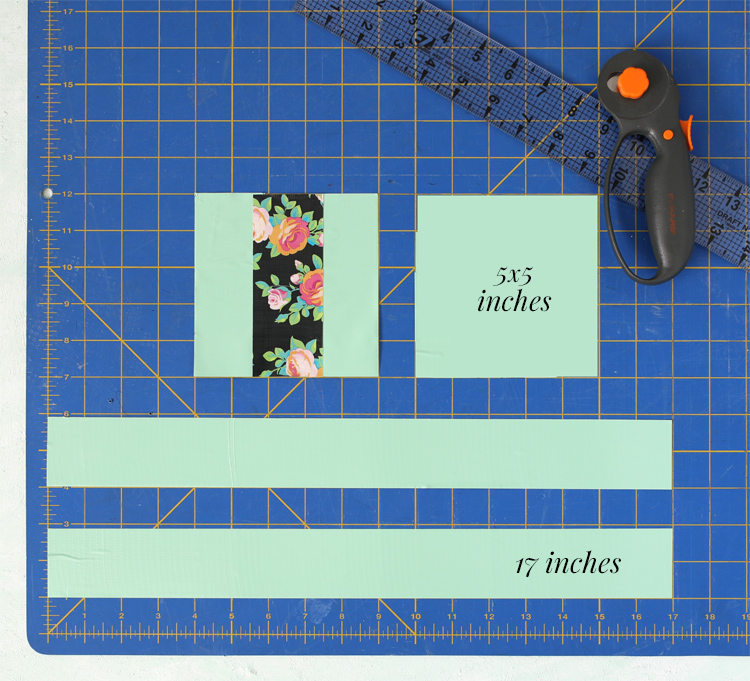
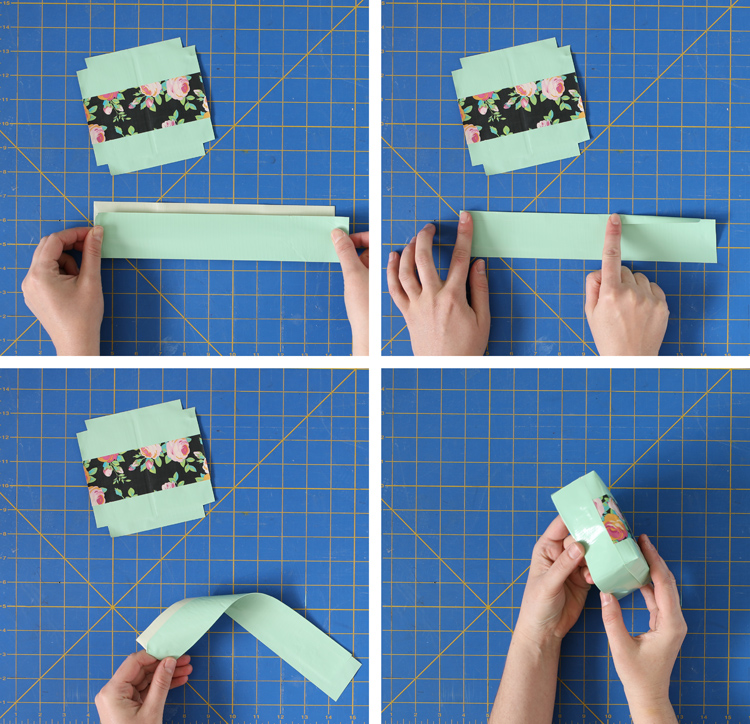
To make the lid cut two 5 inch squares and two 17 inch strips.
Place one of the squares sticky-side-up on your work surface, then line up the other square to it and press it into place.
Place one strip sticky-side-up on your work surface, then place the other strip on top, with a 1/2 inch offset.
Fold over one of the sticky edges, but leave the other one as-is.
Wrap the strip around the edge of the square piece to make a lid. The notches will come together to form a corner and the offset piece lines up with the edge of the square. Again, the video is really helpful in showing how this is done.
Step 4: Personalize
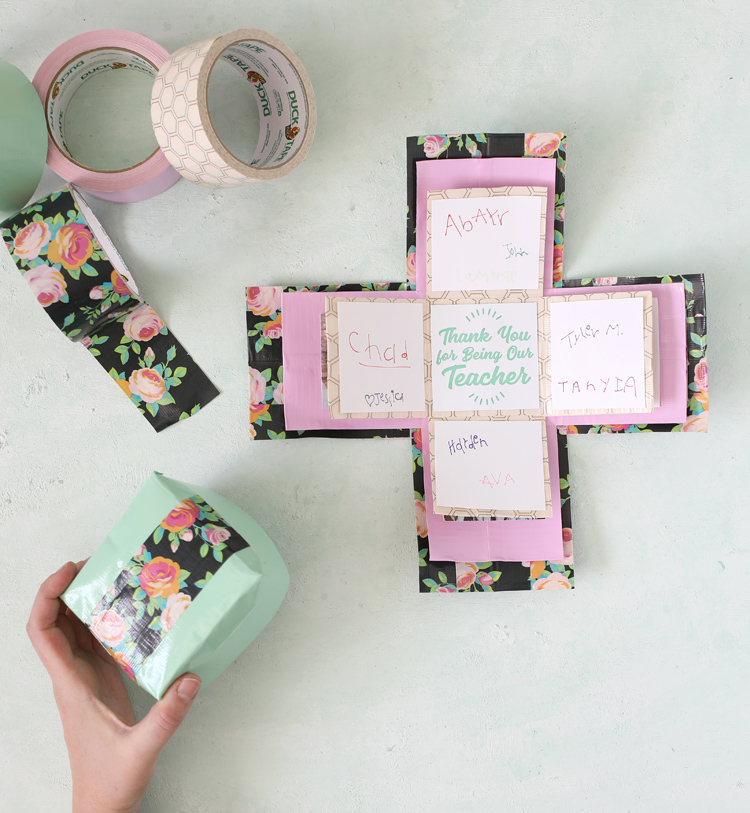
Since this surprise box is a teacher gift, we had each child in the class sign their name and included favorite pictures from the year, but there are so many different ways you could personalize it! I know I would love to receive something like this for Mother’s Day or a birthday. Or you could tuck a bunch of gift cards into each layer and make it a really substantial gift. Anything goes!

Comments & Reviews
This is really the cutest little thing! I’ve seen these made with paper, but that looks much harder and I have a huge bin of Duct Tape just waiting to be made into something adorable! Thanks for all the crafts!
xx, ms. mystery