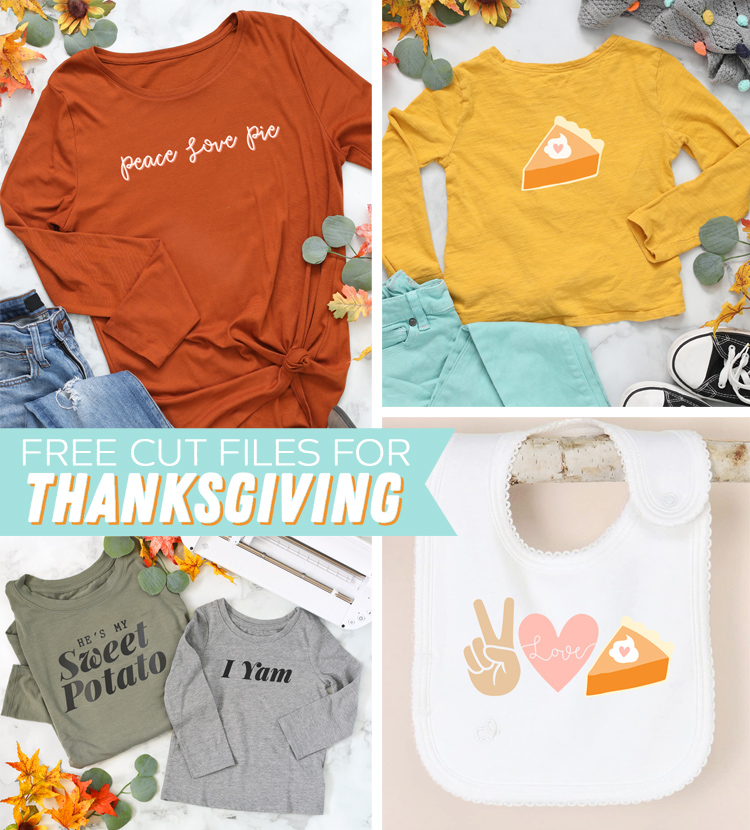
Make festive Thanksgiving shirts for the whole family with these free cut files and your Silhouette Cameo or Portrait machine.
Thanksgiving may be a little weird this year, but I am determined to make the most of it. It’s one of my favorite holidays, so I decided to be a little extra this year and make fun DIY shirts for the fam. Thanks to my trusty Silhouette machine, it was super easy to whip up something fun.
This post is brought to you in partnership with Silhouette America. All opinions are my own.
If you’ve never used heat transfer vinyl before, it is a special material you can cut with the Silhouette Portrait or Cameo, then iron on to fabric to create custom one-of-a-kind shirts. The vinyl design is permanent and can be washed in the washing machine.
And you don’t have to stop at just t-shirts! Heat transfer vinyl can be used on tote bags, baby bibs, socks, canvas sneakers, hair scrunchies, sweatpants, sweatshirts, and just about any other type of fabric item.
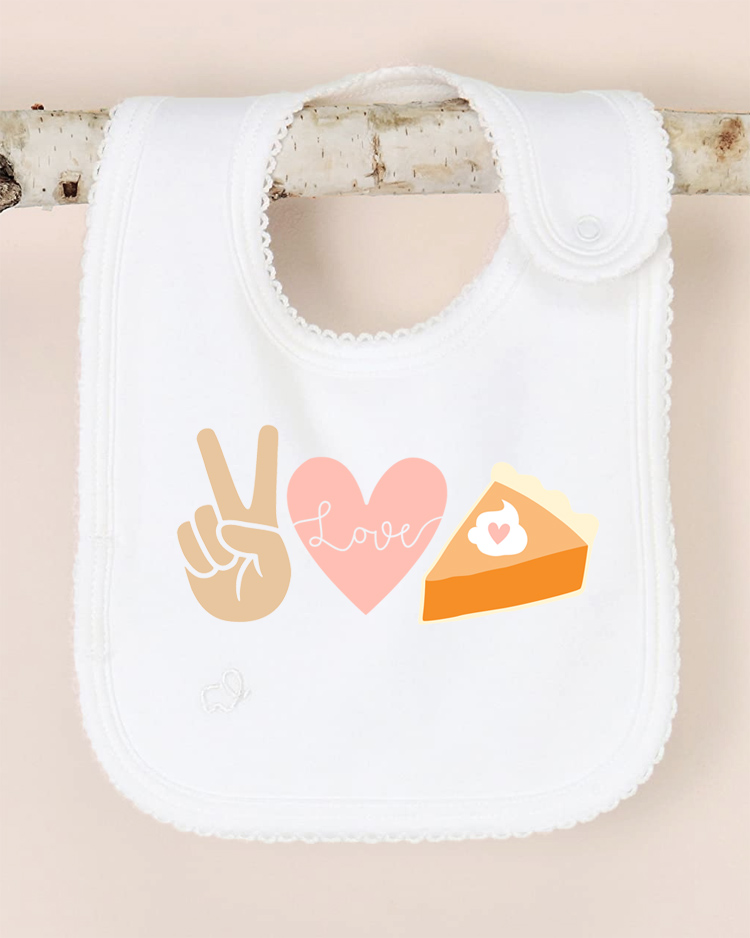
I made this baby bib especially for my baby niece to wear on Thanksgiving this year.
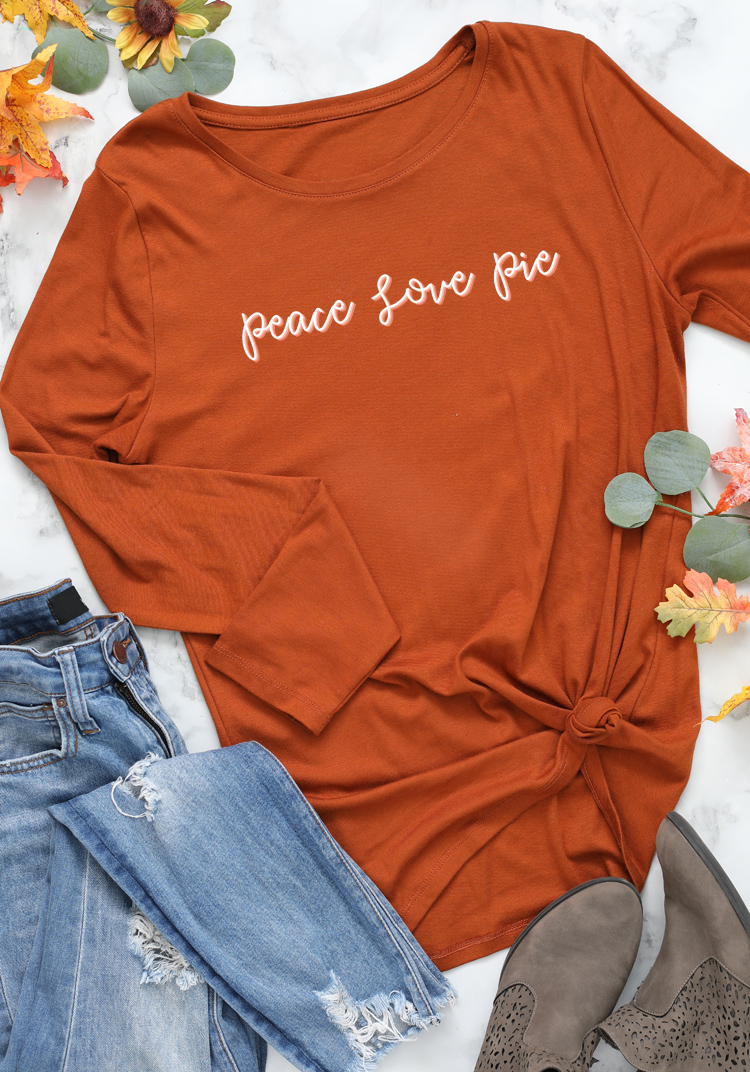
Peace. Love. Pie.
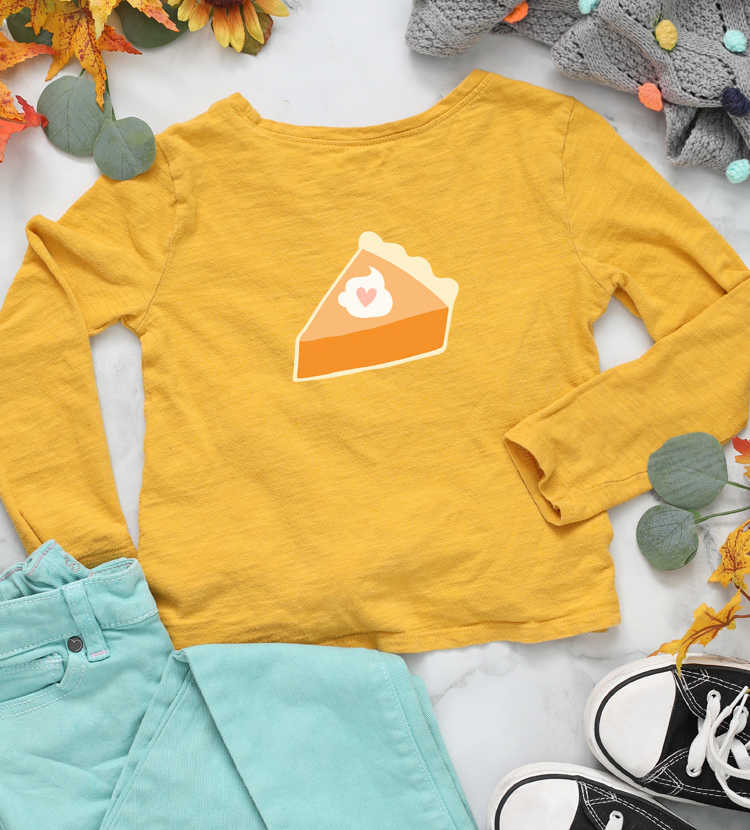
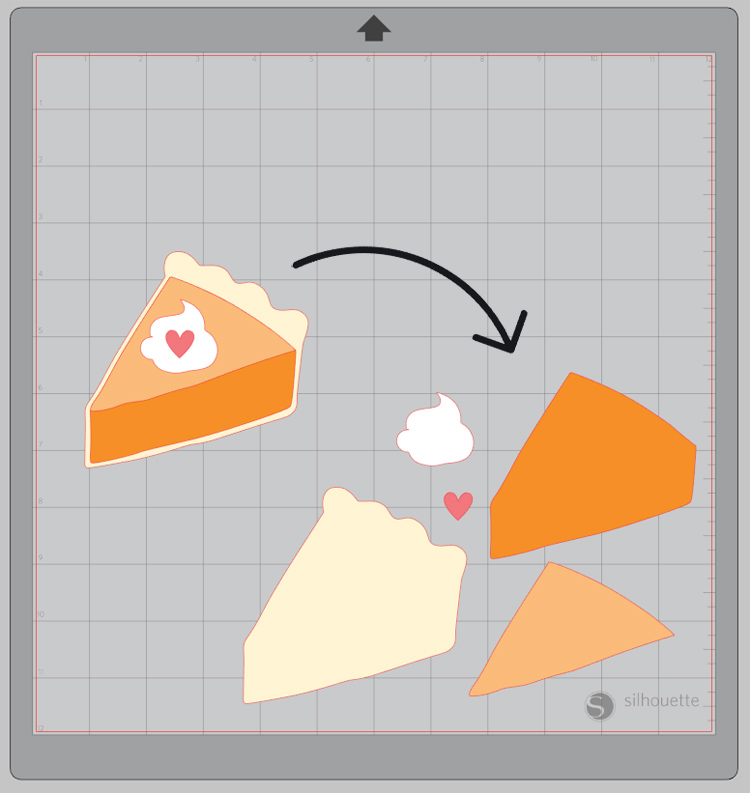
Or just use the pie design on it’s own! It features different colors of vinyl that I layered together to make a multi-colored image.
When you open the cut file, all of the layers will be grouped together. To cut it out, right click on the image, then select UNGROUP. Then you can grab each individual piece. You’ll need to cut them separately since each layer is cut from different colors.
My teenage daughter’s shirt is simple and understated, but it also has layered iron-on vinyl. Can you see that subtle shadow under the white vinyl? The layered look is super trending and really adds depth. Give it a try some time if you haven’t already! Just be sure to read the label of the vinyl you’re using. Glitter vinyl, flocked vinyl and some other types of specialty heat transfer material can only be used on the top layer.
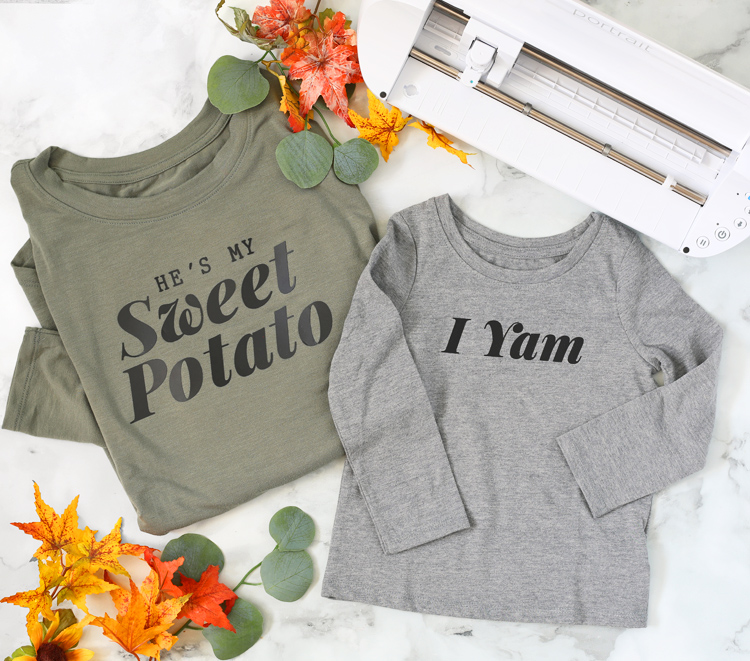
I saved my favorite design for last. Here are our “Mommy and Me” Thanksgiving shirts.
Get it? I am. I yam.
LOL. I crack myself up! I won’t have a little one for much longer, so I’m doing allllll the cheesy things now. He’ll be a shy teenager soon enough.
All of these files are available to download for free. Everything is in one folder, but there are SVG files and PNG files of each design and I also added a “SHE’S my sweet potato” file too.
Be sure to check out the Silhouette Design Store’s awesome cut files too if you need more Thanksgiving designs. They have so many talented designers that I’m sure you’ll find tons of cute things to tempt you.
If you’d like a quick refresher on how to apply Iron-On vinyl, this one minute video will walk you through the steps or you can read the written instructions below.
How to Make a Custom Shirt with Heat Transfer (Iron-On) Vinyl
- Download the cut file you’d like to use and open it in Silhouette Studio.
- Measure your shirt to determine how large you’d like the graphic to be. Resize the file in Silhouette Studio accordingly. Just click on the image, hover over one of white squares in the corners, click, then drag. The graphic for my adult sized shirt measured about 8 inches across and the graphic for my toddler sized shirt measured about 5 inches across.
- Mirror your image by clicking OBJECT > MIRROR > MIRROR HORIZONTALLY.
- Click on the SEND tab in the right hand corner of Silhouette Studio, then adjust your cut settings for heat transfer vinyl.
- Load vinyl into the machine, then hit the blue SEND button.
- Once the design is cut, unload it from the machine and weed away excess vinyl.
- Center design on shirt with the clear carrier sheet side up.
- Cover with a clean white cloth, then press and iron for about 30 seconds, or until all of the design adheres properly. Peel away the clear carrier sheet and your shirt is done!


Let’s Get Social
I’m sharing tons of fun ideas on my social channels and I’d love for you to join me there.