Use rubber stamps on wood to create a beautiful farmhouse style sign.
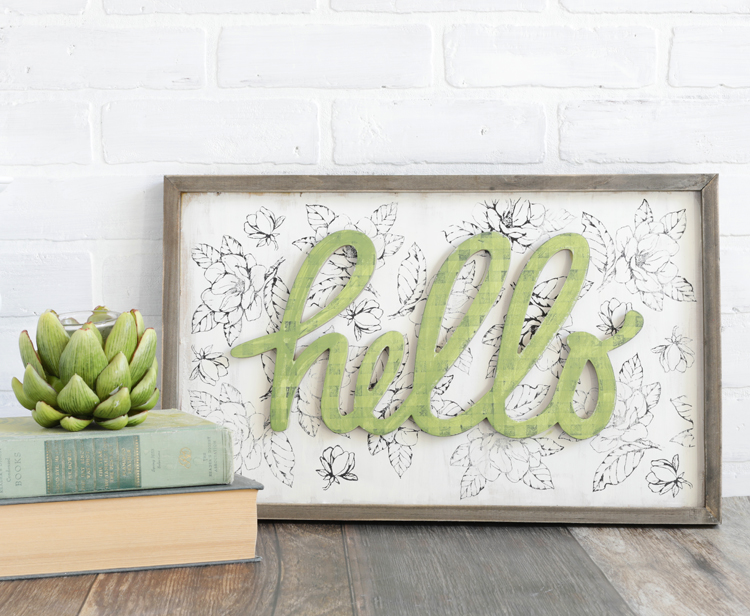
I’ve been enjoying diving back into the world of rubber stamps thanks to my recent partnership with Stampin’ Up! Since I don’t really scrapbook anymore or make as many handmade cards as I used to, I’ve been on a quest to find fun and new ways to use craft stamps.
The other day I thought, “I wonder if you can stamp on wood?” so naturally I gave it a try. And IT. IS. AWESOME.
I made a wooden farmhouse style sign and I love how it turned out.
Want to make one too? I’ll walk you through the steps below or you can scroll to the bottom of this post to watch a quick video of this craft.
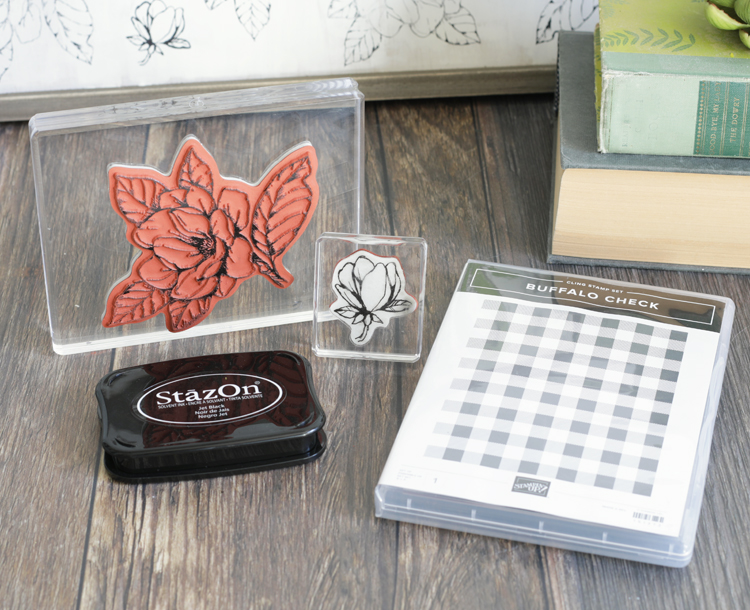
Supplies Needed
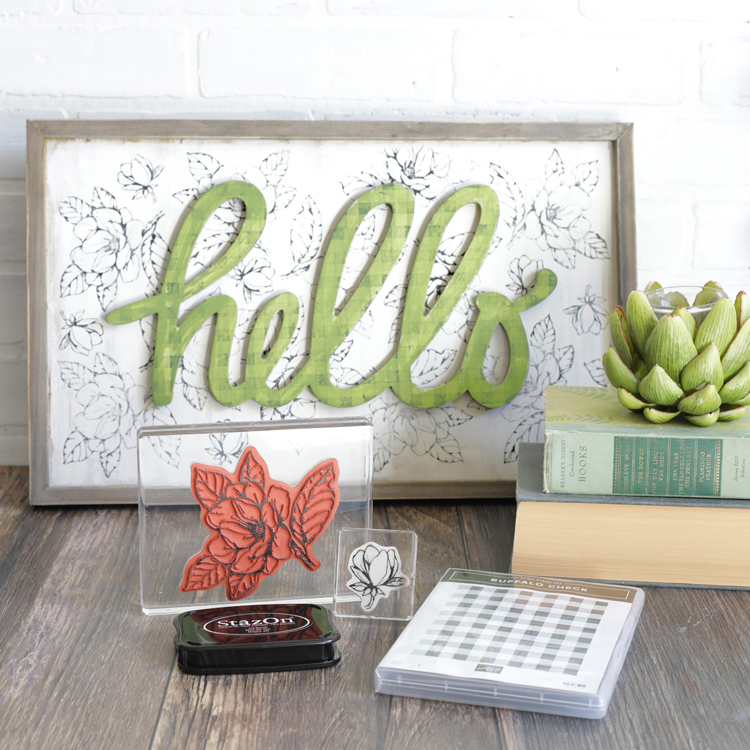
- Good Morning Magnolia Cling Stamp Set
- Buffalo Check Stamp Stamp
- Jet Black Stāzon Ink Pad
- Blank Wood Sign
- Chipboard or Wood Decorative Word
- Chalk Paint (Optional)
- Paint Brush
- Craft Glue
Instructions
Step 1: Fix the large magnolia flower to a clear stamping block, load the stamp with ink, then stamp it directly onto the wood sign.
Step 2: Fill in the design with the smaller magnolia flower stamp. You may need to adjust the position of the stamp on the clear block so that you can stamp close to the edge of the sign.
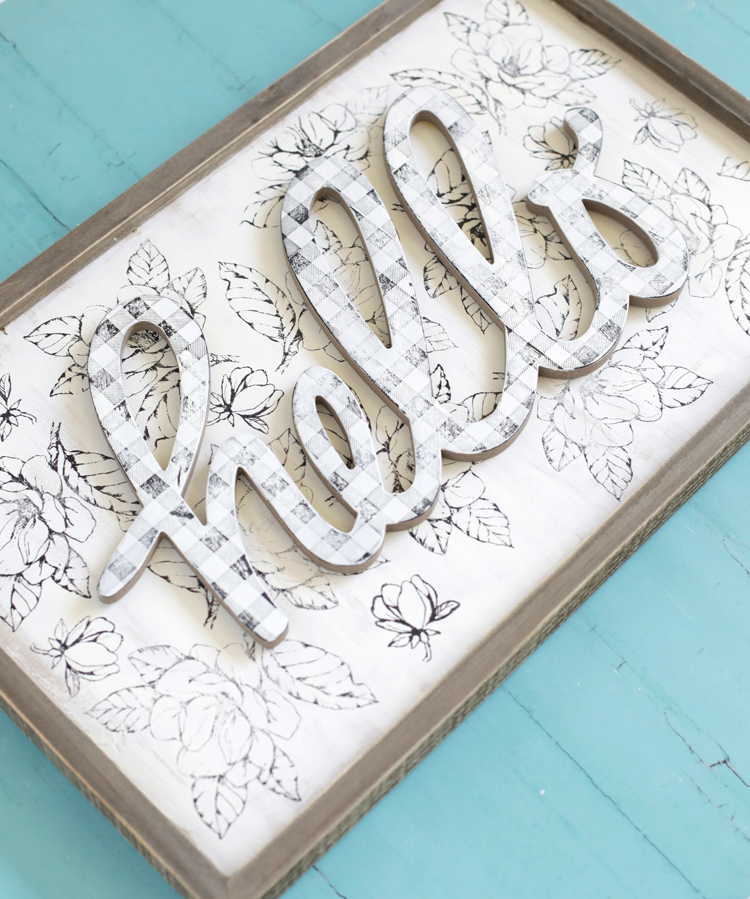
Step 3: Fix the buffalo check stamp to a clear stamping block, load the stamp with ink, then stamp it onto the front of the word. Be sure to line up the squares when stamping so that the pattern repeats correctly.
When you’re done with these steps, your sign will look something like this:
Step 4 (optional): I couldn’t help myself… you know how I love color. So I brushed a very light coat of green chalk paint over the buffalo check stamped word.
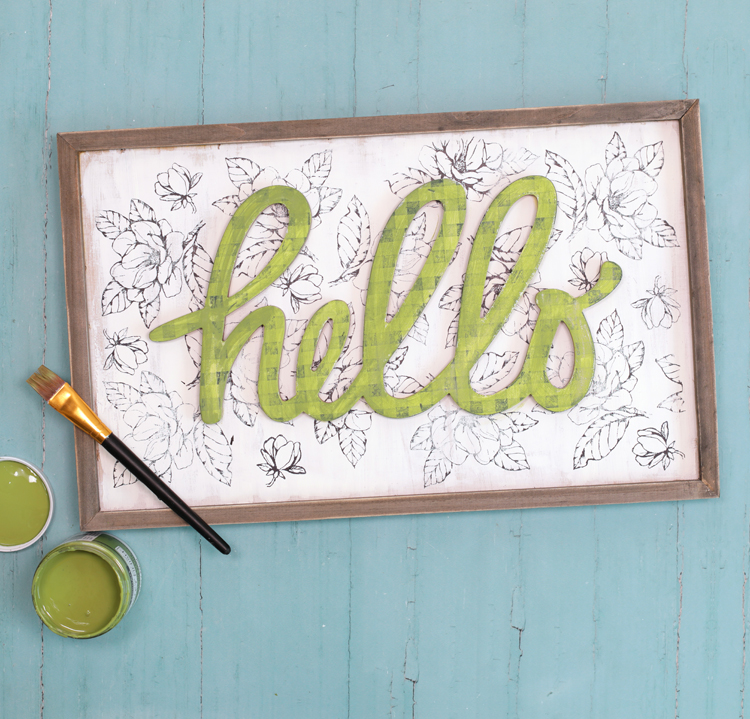
I love how it added a worn and weathered texture. If you want a crisper buffalo check pattern, just paint the letter before stamping and be sure to load up your stamp completely with ink. You’ll get a totally different look!
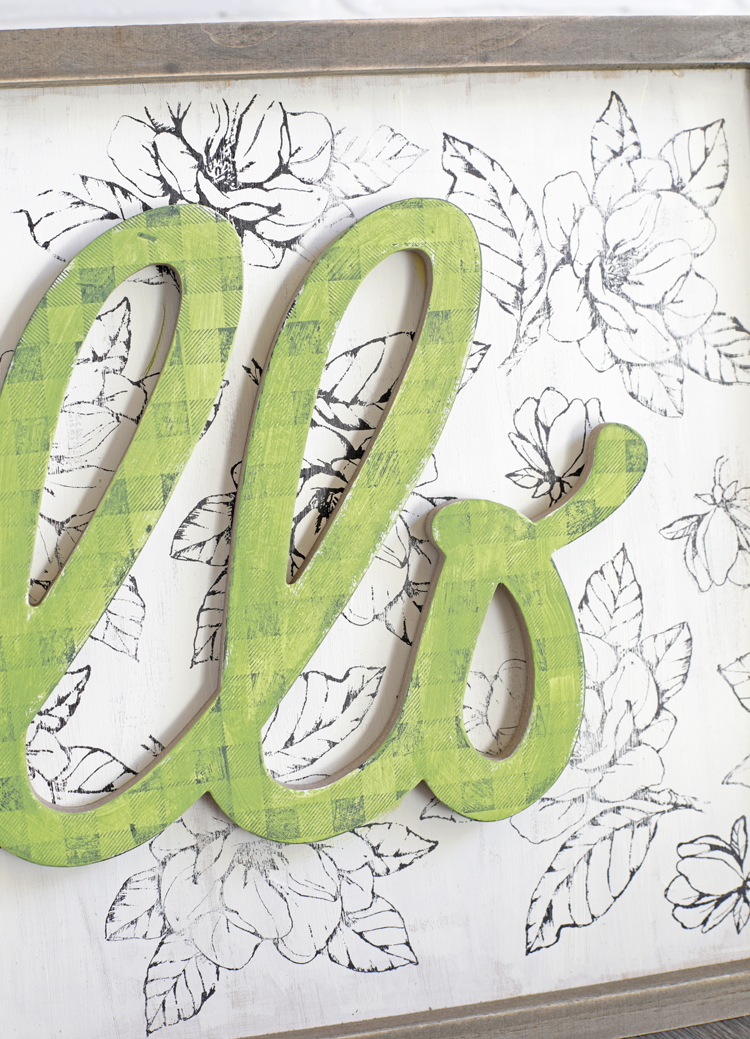
Overall, I’d say I’m a huge fan of stamping on signs. I like that I didn’t have to worry about cutting paper. Have you ever added paper to a curvy word like I used in this sign? Cutting around the edges is HARD! The stamp was quick and easy. Big fan.
Stamped Wood Sign Video Tutorial
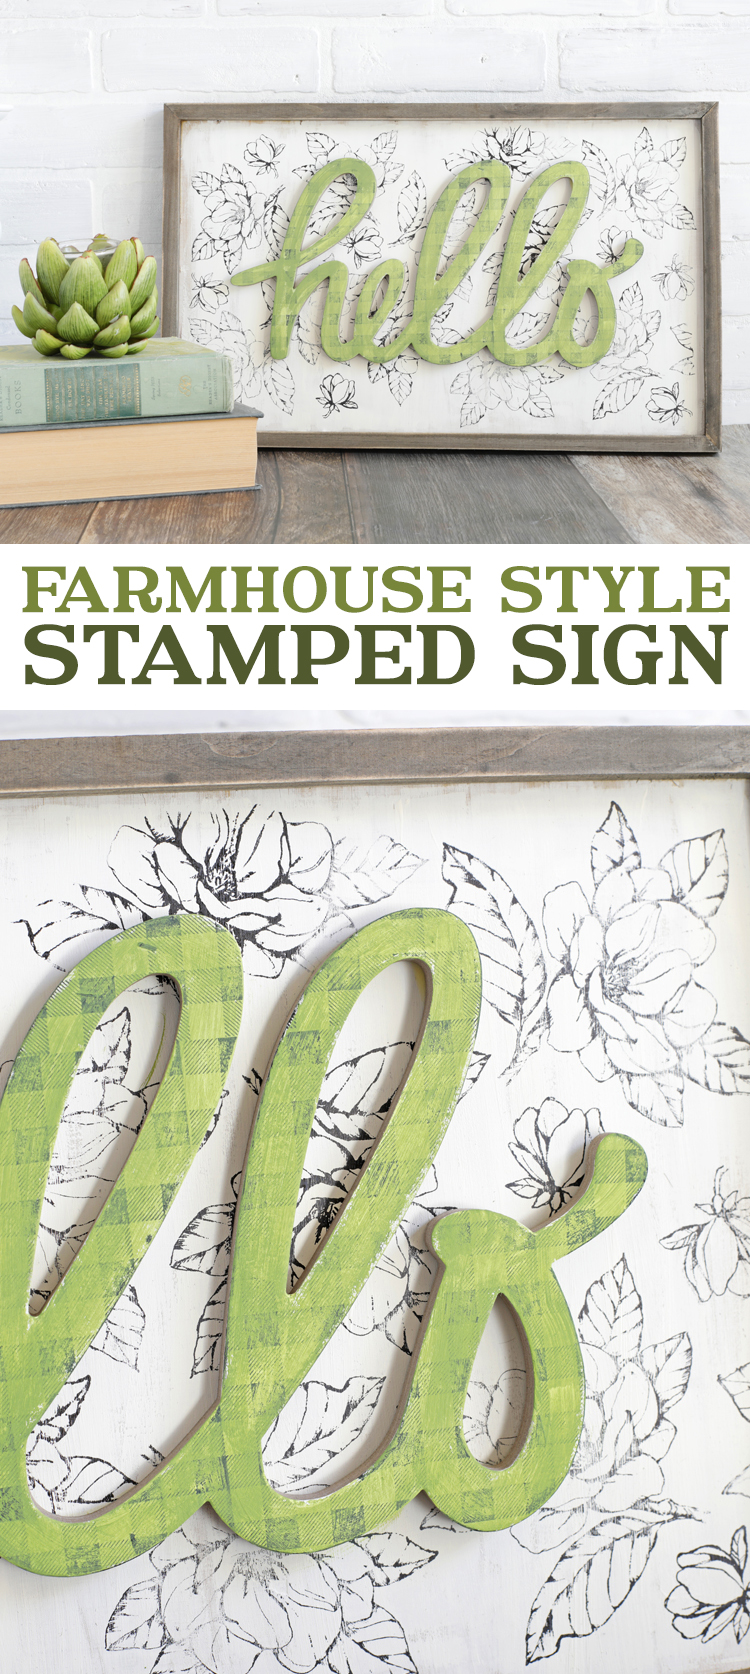
Inspired by this project? Pin it so you don’t forget it!
This post is sponsored by Stampin’ Up! All opinions are my own. If you want to learn more about these products, contact a Stampin’ Up! demonstrator. You can easily find one near you by visiting www.stampinup.com and clicking on the “Find a Demonstrator” button.

Comments & Reviews
Smart idea!! And so cute!
Lovely inspiration! I need to go dig out my old stamps and get crafty!
That’s so gorgeous!! I could even see using that flower as a wall treatment!! Or the back of a bookcase? You’ve got me reconsidering stamping!
Beautiful!
So cute! I love the flower stamp. It would even look cute on its own and maybe filled in with some watercolor paint.
Great idea! I have a tote full of stamps and was trying to figure what to do with them!
I LOVE the buffalo stamp turned green! That’s really cute. Want me to put it in my kitchen? LOL!
Holy Stampin! up! I LOVED all the stampin up stuff when I was in high school! This is gorgeous and even though I’m so tired of wooden signs it makes me want to make one right now! So cute!
Oh my! I love it. Your videos are great and love seeing the cute kids!
Very cute, love the stamped look
I love the background! This whole project looks like a Hobby Lobby find. 😍
This is the cutest. I need it in my entryway.😍
Oooh it’s so pretty!!