Make DIY stamped Christmas ornaments two ways: stamp with ink onto wood slice ornaments for a rustic woodland vibe or use stamps to imprint designs into oven bake clay.
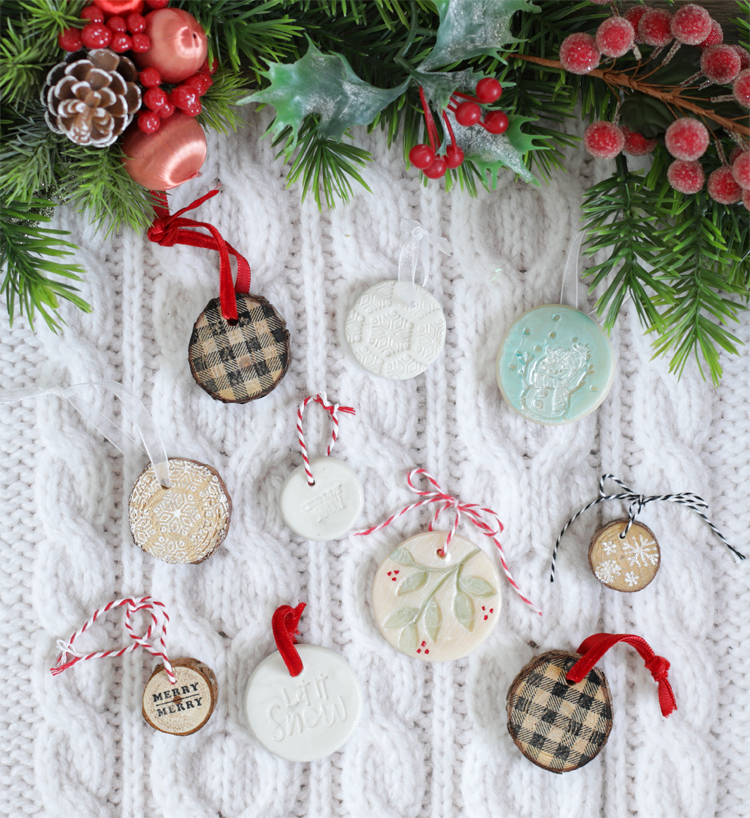
Handmade Christmas ornaments are my very favorite thing to make for Christmas. We love to add them to our trees each year, but they also make a great gift or as an extra touch when wrapping gifts.
This post is sponsored by Stampin’ Up!
Today I’m going to show you two different ways you can use stamps to make Christmas ornaments. You will need the following supplies:
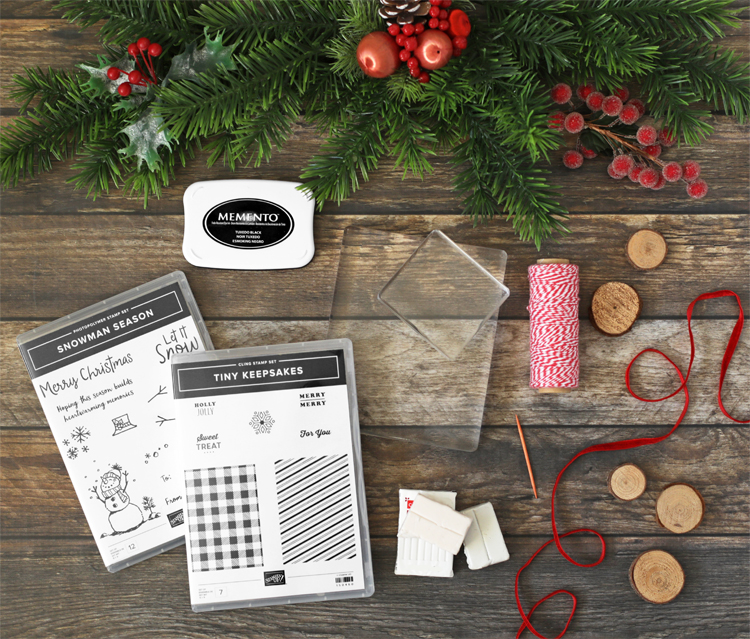
Materials Needed
- Tiny Keepsakes Stamp Set
- Snowman Season Stamp Set
- Memento Black Ink Pad
- Clear Stamping Blocks (I used sizes F and D)
- Wood Slices
- Polymer Oven-Bake Clay
- Ribbon and/or Baker’s Twine
- Toothpick
- Aluminum Foil
Don’t miss the video tutorial at the bottom of the post.
Wood Slice Stamped Ornaments
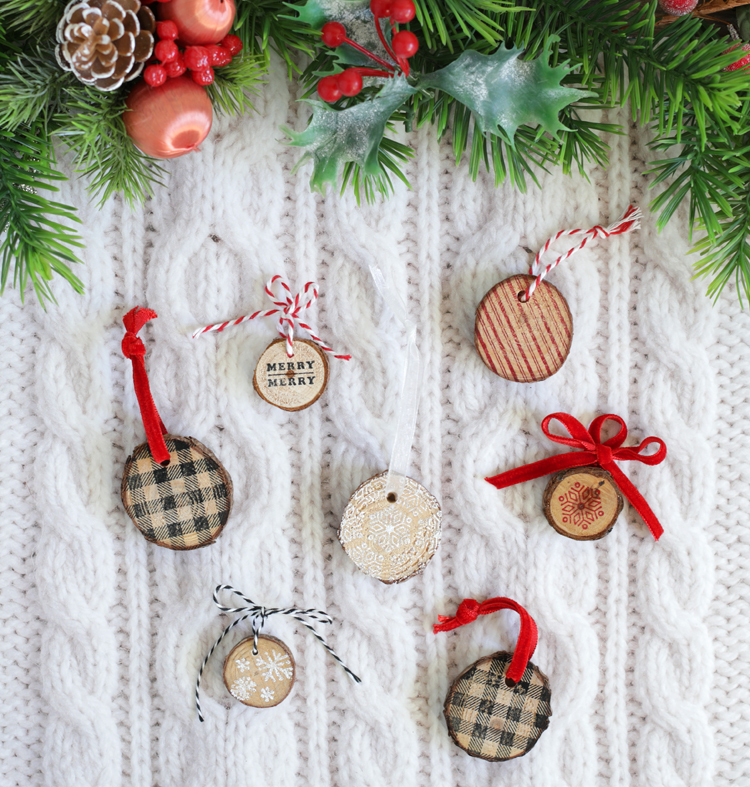
Step 1: Drill a hole through each wood slice for hanging.
Step 2: Choose a stamp design and attach it to a stamping block.
Step 3: Load the stamp with ink. Carefully line it up over the wood slice and press firmly.
Step 4: String a ribbon through the hole for hanging.
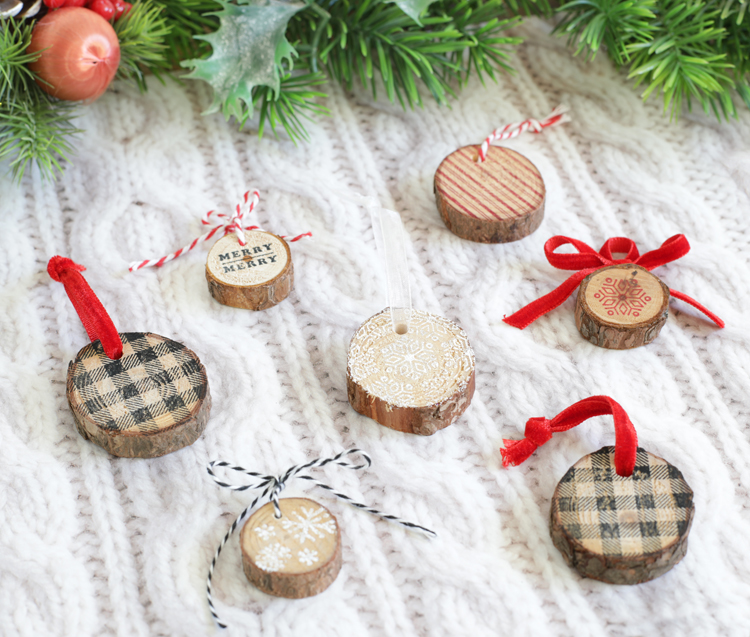
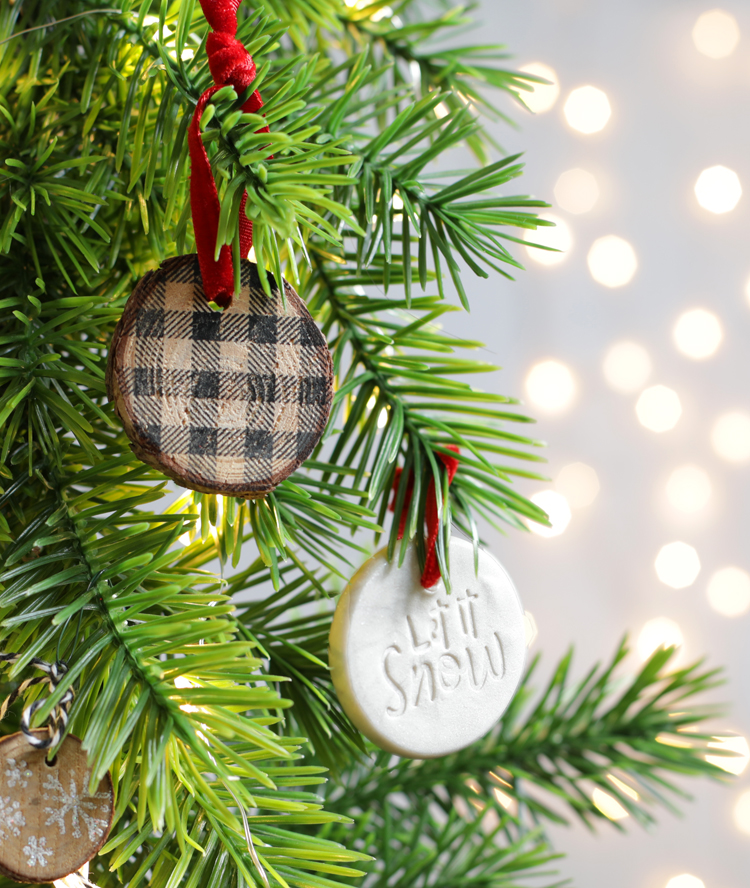
I just love how these stamped ornaments turned out and they were so easy. That buffalo check with the wood grain showing through… all the heart eyes!!
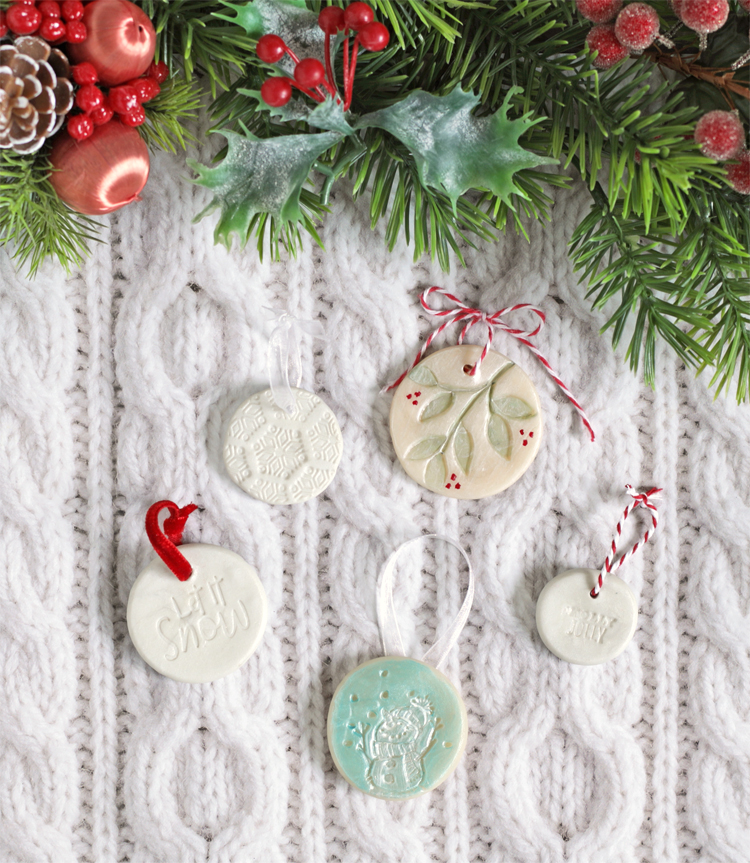
DIY Stamped Clay Christmas Ornaments
It was really hard to capture the beauty of these stamped clay ornaments. The relief image the stamps create when pushed into the clay is so cool. I am so excited about these ornaments and I plan to make many more this season.
Step 1: Tear off a quarter piece of clay from a 2 oz. brick. Knead it between your fingers until it softens. This will make an ornament that’s approximately 3 inches across
Step 2: Roll the clay into a perfect sphere between your hands, place it on a smooth work surface. Use a clear stamping block to smash it flat. You can decide how thick or thin to make the ornament by how much you press.
Step 3: Attach a stamp to a stamping block, then gently and evenly press the un-inked stamp into the clay. I totally messed up the first time I tried this… but I just re-rolled the clay and tried again. No biggie!
Step 4: Use a toothpick to add a small hole in the ornament for hanging.
Step 5: Move the stamped ornaments onto a piece of aluminum foil and bake according to the instructions on the clay package. The clay I used said to bake at 275 degrees for 15 minutes, but I noticed that different brands and varieties had slightly different instructions.
Step 6: Once the clay is baked and cooled, you can add color with Stampin’ Blends markers, acrylic craft paint or just leave them plain white. It’s up to you!
Step 7: String a ribbon or baker’s twine through the hole for hanging.
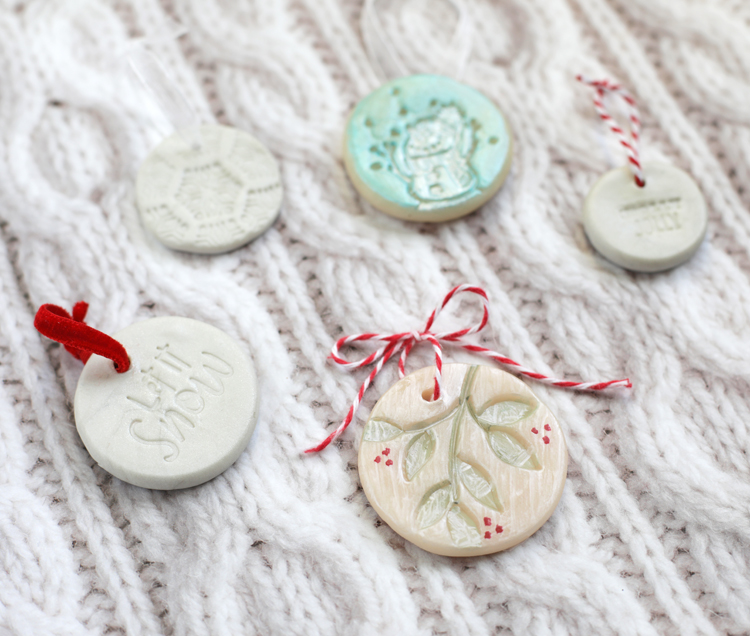
That’s it! Can you believe how incredibly simple both ornaments are to make? The end results are stunning, but this really is easy enough that even kids could handle it.

Comments & Reviews
Your Christmas tree and Craft are beautiful thank you, for sharing keep up the awesome Crafts you do Merry Christmas blessings to you and your family, ..
Thank you so much Francis! Kind comments like yours keep me going!
Love very pretty