Spring is in the air and it feels so good! This week I experimented with different craft supplies and came up with a really fun tote bag design. I am going to be using it all summer long!
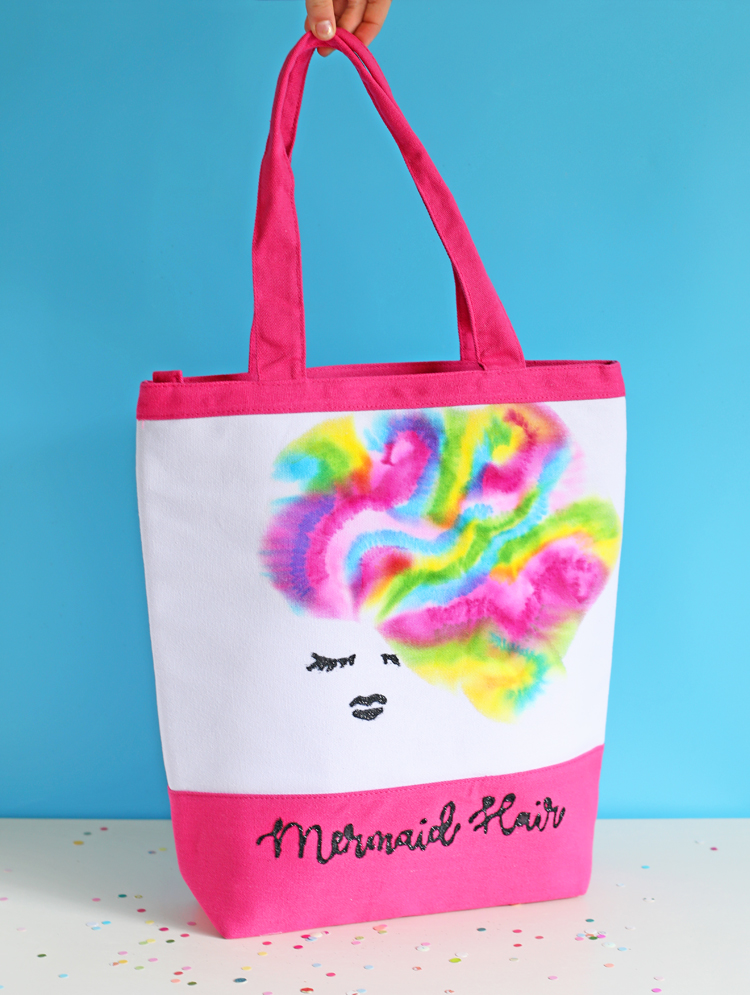
I made a mermaid-themed tote bag! Do you love the mermaid’s hair? I just think it’s so fun! And it was a really quick and easy craft to make. I picked up all of my supplies at Michaels, including the cute blank canvas bag.
Here’s how you can make your own mermaid bag…
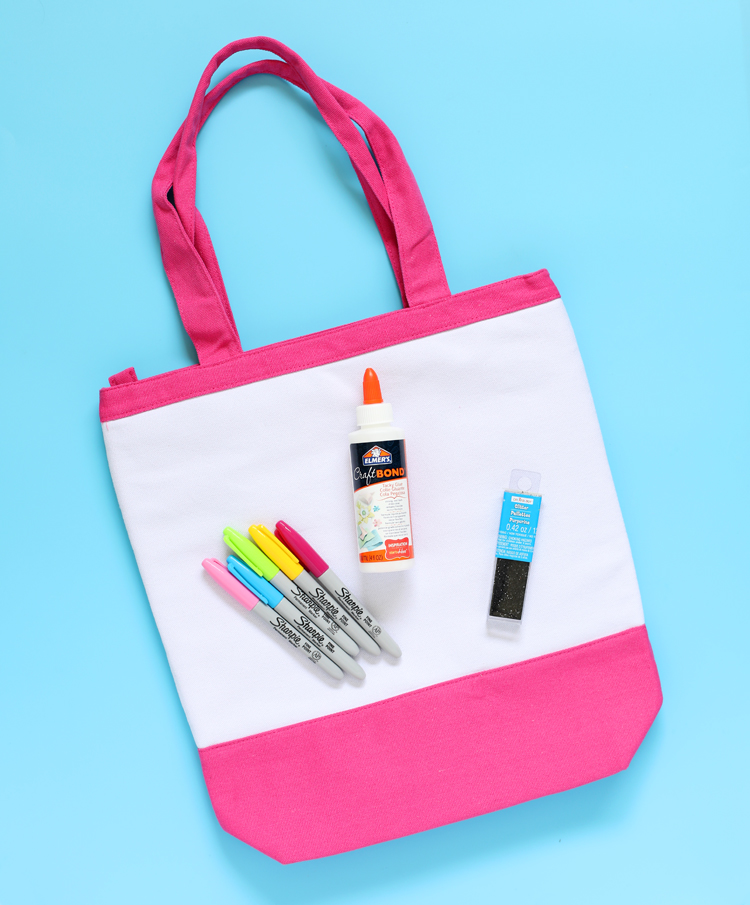
Supplies:
- Blank Tote Bag
- Sharpie Markers
- Elmer’s CraftBond Tacky Glue
- Glitter
- 91% Strength Rubbing Alcohol
- Medicine Dropper
Begin by coloring a design onto the tote bag using the Sharpies. I drew curly wisps of hair with strands in all different colors.
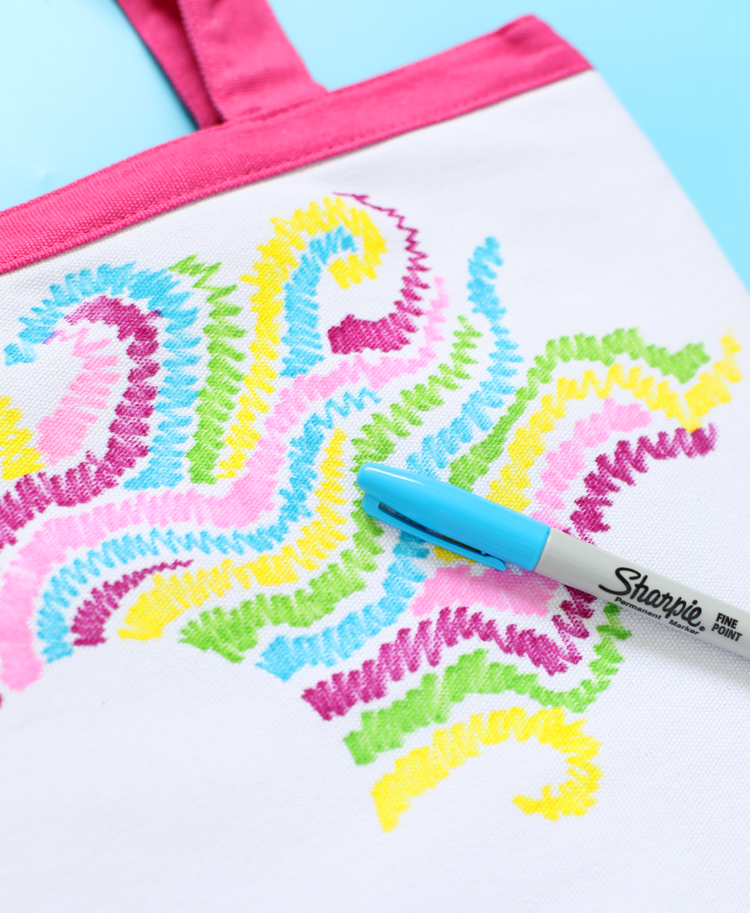
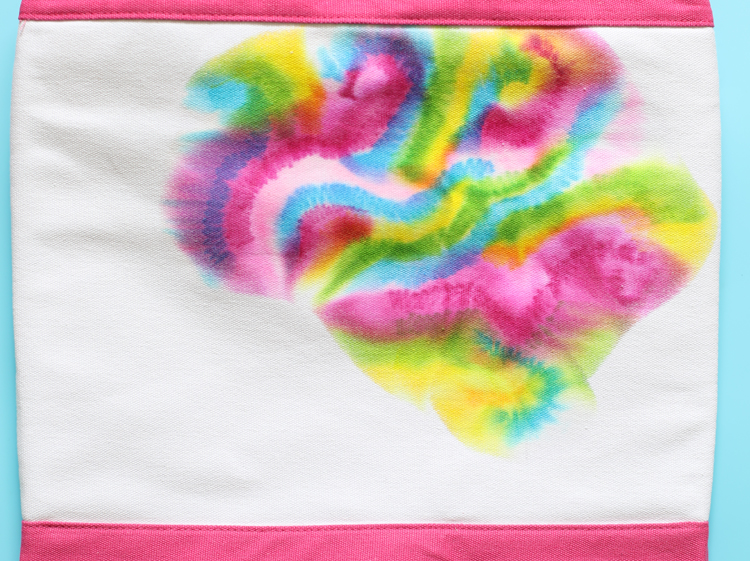
Once you’re satisfied with the design, fill a medicine dropper with rubbing alcohol and drip alcohol onto the Sharpie marker design. This will make the ink bleed, mix together and turn into a watercolor tie dye masterpiece. It’s better to start small and go slowly. You can always add more.
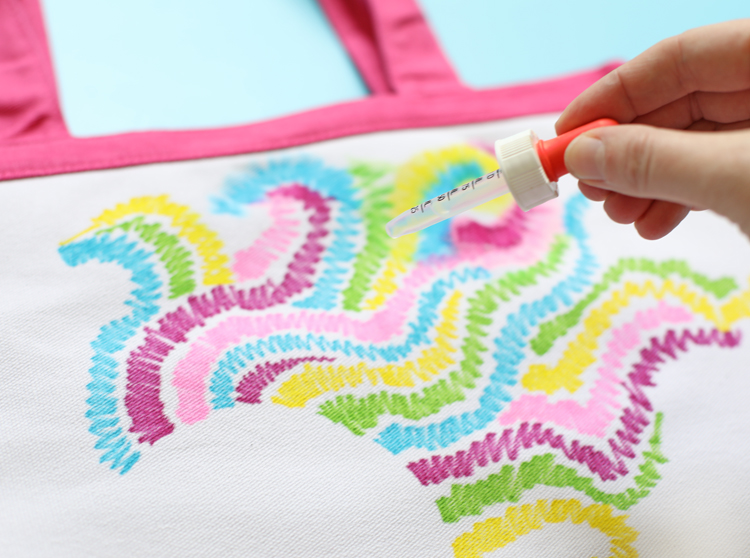
This is what mine looked like after the rubbing alcohol. Isn’t it cool?! The rubbing alcohol softens up the edges and makes it look like tie dye, but it’s so much easier to control the outcome!
The next step is so fun. It’s what makes the whole project come to life!
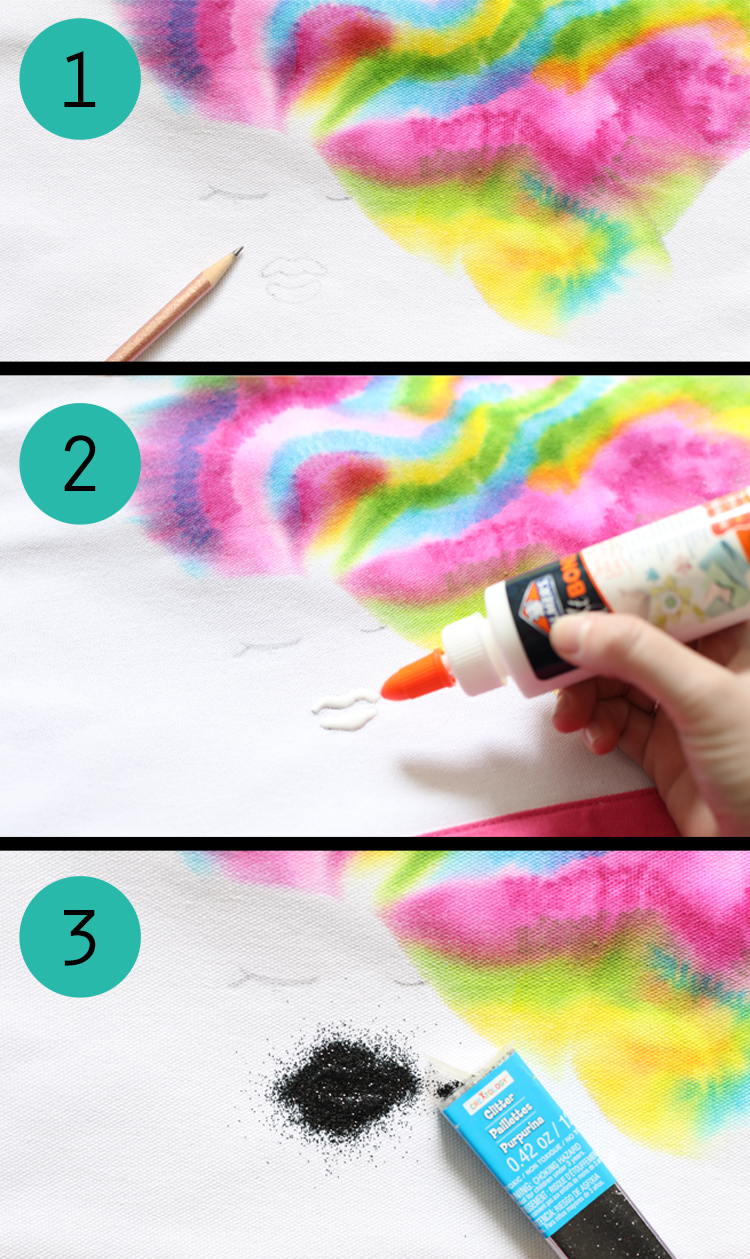
- Use a pencil to sketch out eyes and a mouth.
- Fill the design in with Elmer’s CraftBond Tacky Glue.
- Immediately sprinkle the glue design with glitter. Tap to remove excess glitter and reveal the face design.
I also added the words “Mermaid Hair” to the bottom pink portion of the bag using the same glue and glitter method as the face. I love this technique because the glittered parts of the bag have awesome dimension thanks to the glue. It looks so great!
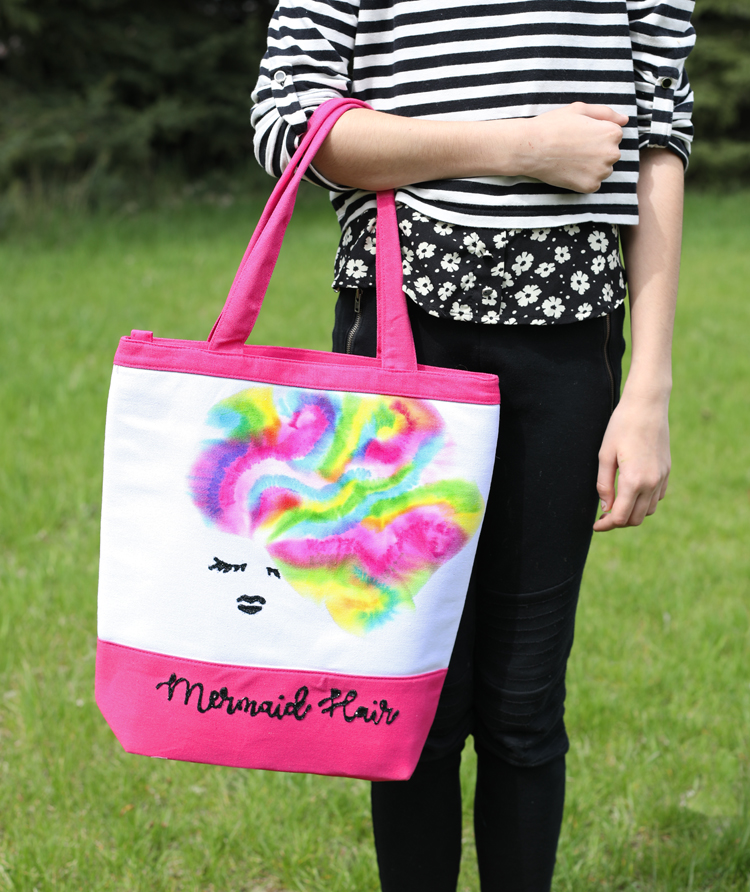
Anyway, now we are ready to hit the beach. I can’t wait to show off my cute new tote bag… if my teenage daughter will ever give it back! I might be headed back to Michaels to get another cute tote so I can actually keep it for myself.

Comments & Reviews
Very cute idea, but I’m just wondering what did you put inside of bag to keep ink from bleeding through to the back? Perhaps a piece of cardboard or plastic would work. I’d hate to see someone ruin their project without realizing it. I’m going to make a few of theses in different designs for Birthday gifts!
My bag was very thick, so none of the ink bled through. But you could definitely put something inside. Tin foil works well!
Do you need to go over the “ink” with any kind of liquid sealant afterwards – if it gets washed, would that bleed the ink out of it? I like the concept, just still trying to set it in my mind. Thank you. 🙂
The ink is permanent once it dries.