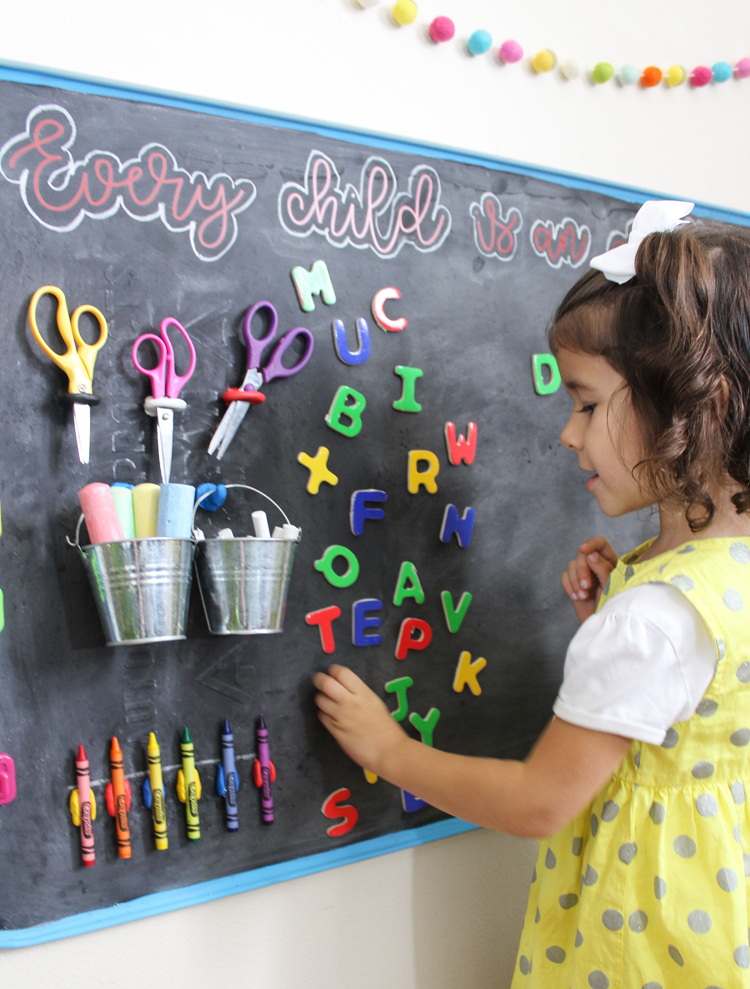
Learn how to create a giant magnetic chalkboard art station for children out of a metal automotive drip pan.
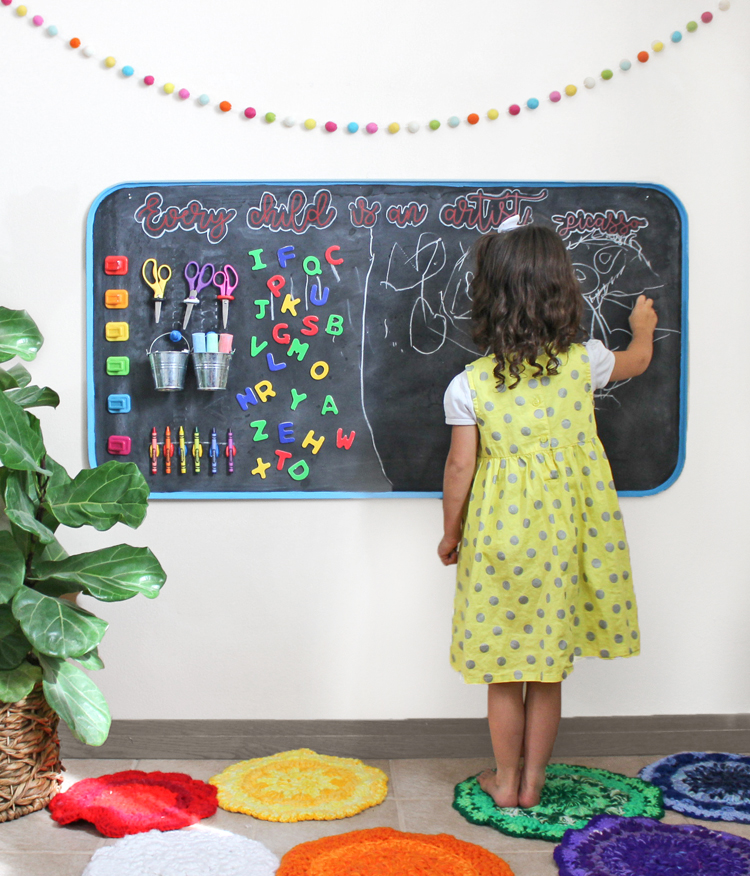
Today I’m going to show you how to create an awesome child’s art station. It’s a large magnetic chalkboard with attached storage space for art supplies and the whole thing hangs on the wall. It would be the perfect addition to a playroom and is sure to encourage creativity in your budding little artist.
I’ve been wanting to create an art station for my kids for some time now. I came up with something that I think is pretty great. My kids are already playing with it nonstop!
Here’s how you can make a giant magnetic chalkboard art station of your very own.
Step 1: The base of the art station is made from a drip pan. It can be purchased in the automotive section at Walmart. The first step is to spray the entire pan with chalkboard paint. Two light coats will give you good results.

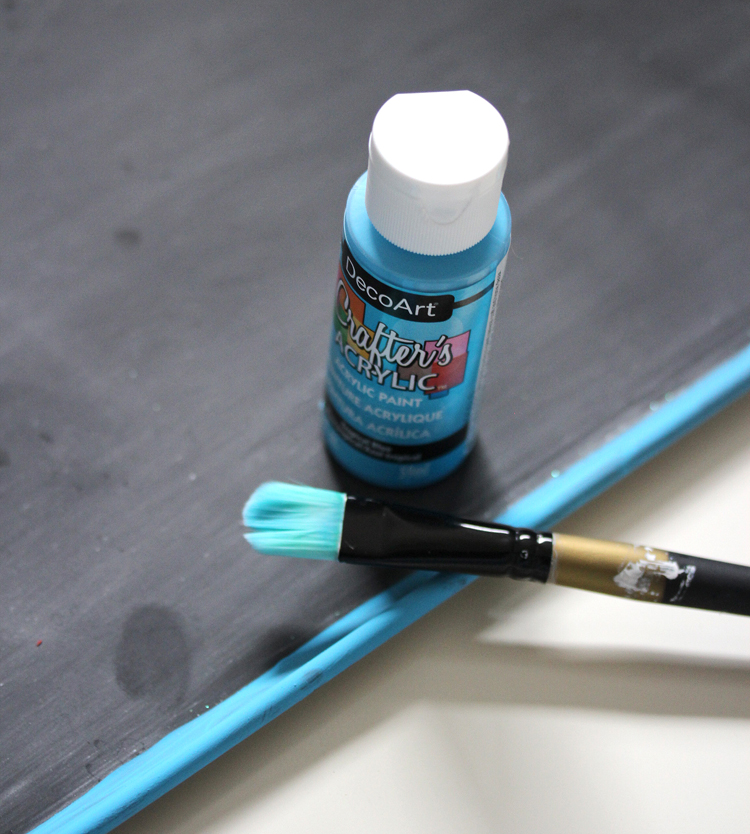
Step 2: Use acrylic craft paint to paint a colorful border around the edges of the drip pan. This step is optional, but it adds a lot aesthetically.
Step 3: Drill holes for hanging. I used a regular drill bit and placed my holes near the top of the board. I chose to make two holes so the board wouldn’t move.
Step 4: This is where the real fun begins! You’ll need a pack of Sugru moldable glue.
Guys, this stuff is super cool. It is the consistency of silly putty and can be molded, squished, stretched and bent into any shape you can dream of. Then after 24 hours, it hardens into a flexible silicone rubber. And it pretty much sticks to anything!
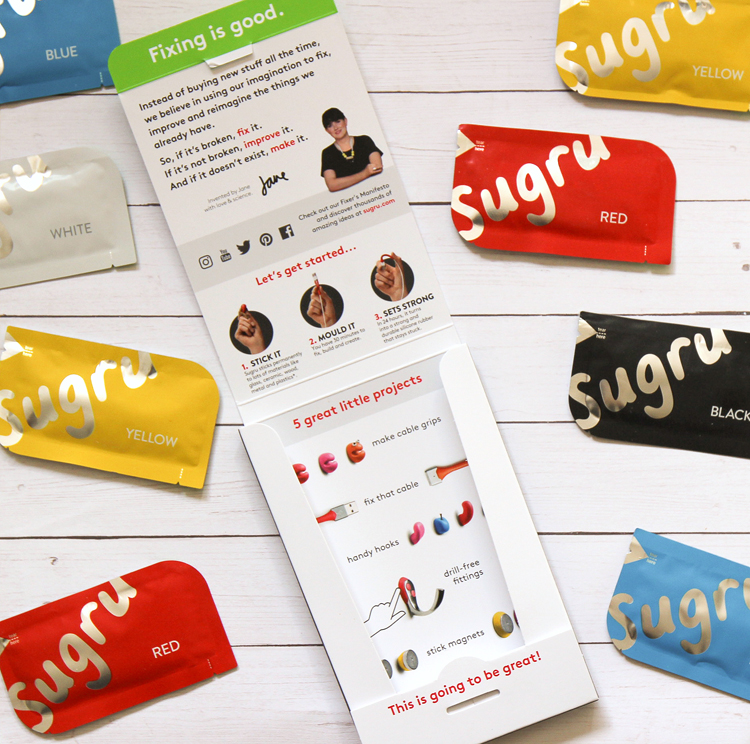
This is what it looks like:
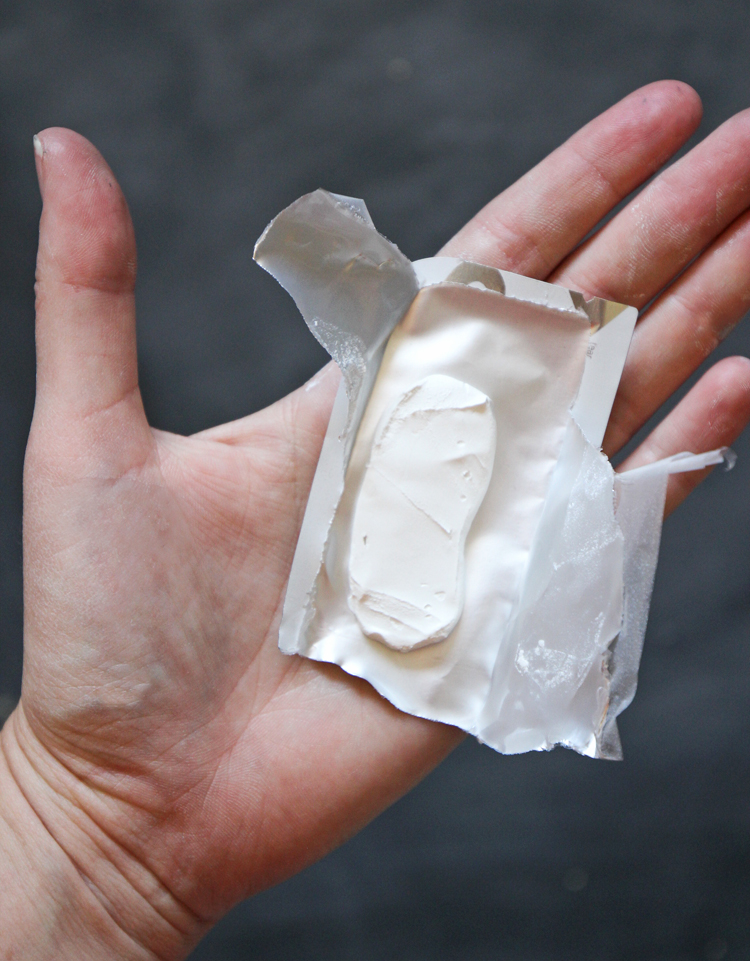
It comes in individual packs to prevent waste. Once a mini pack of Sugru is opened, you have 30 minutes to mold it into any shape you want. Then leave it for 24 hours and it will magically turn into a firm but bendable silicone rubber. Sugru can be used on glass, ceramic, wood, metal and plastics and once cured it’s waterproof, heat and cold resistant, electrically insulating and shock resistant. Pretty amazing if you ask me!
Their new formula is kid-friendly too, so no worries if you have little hands helping you complete your project.
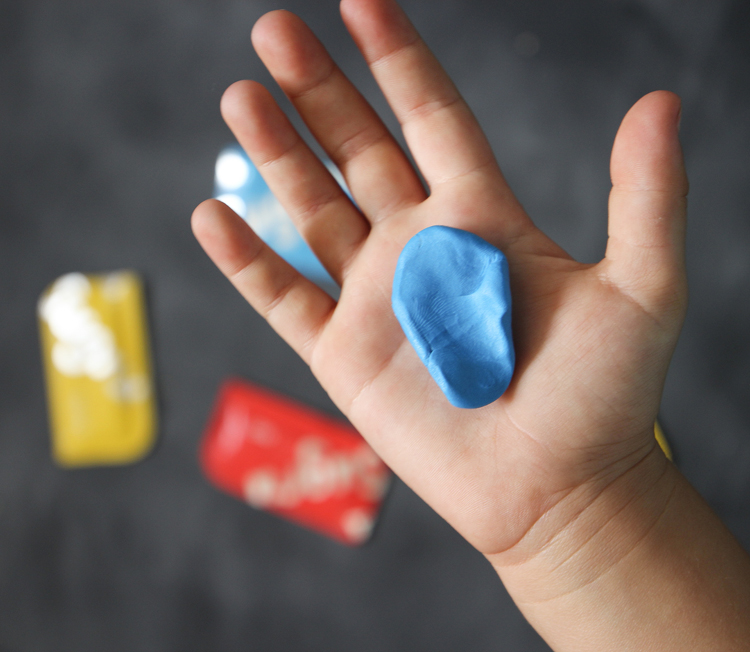
I used Sugru in three different ways in this project.
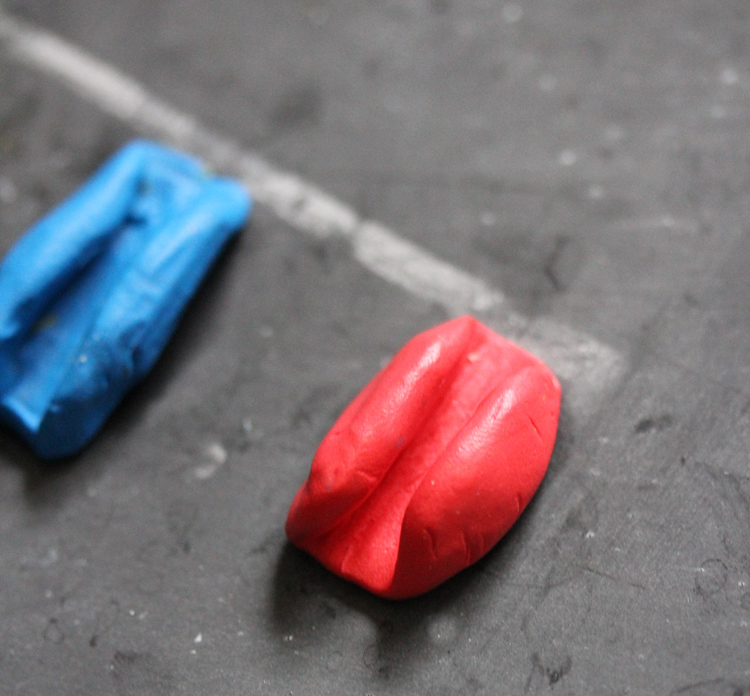
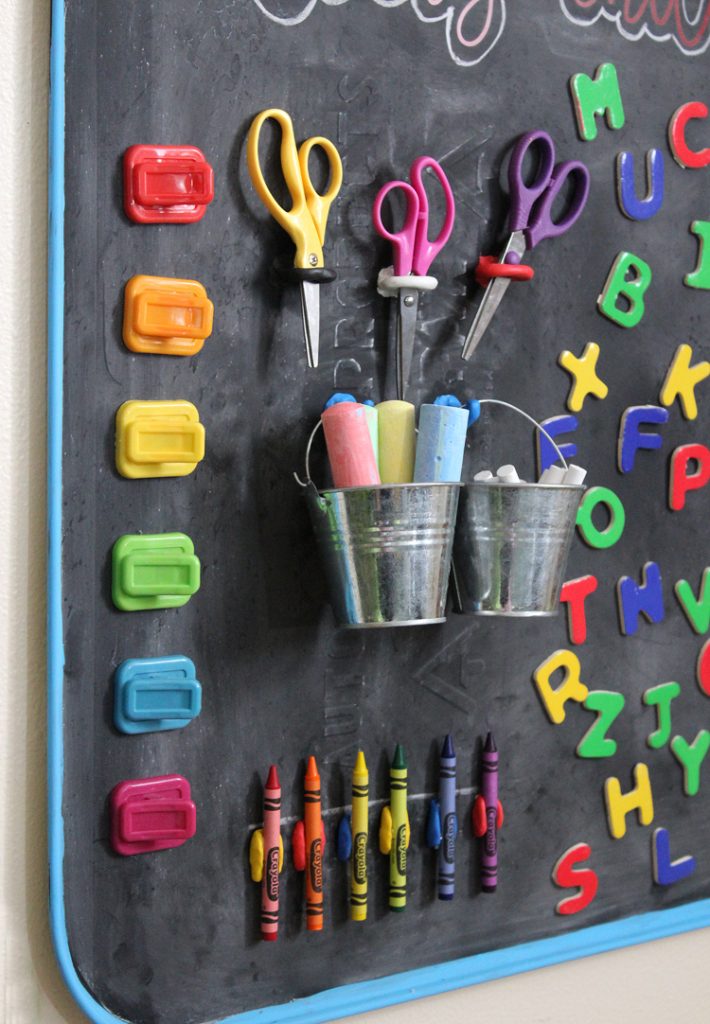
First, I created a space to hold scissors. I formed the Sugru into the shape I wanted then attached it to the chalkboard.
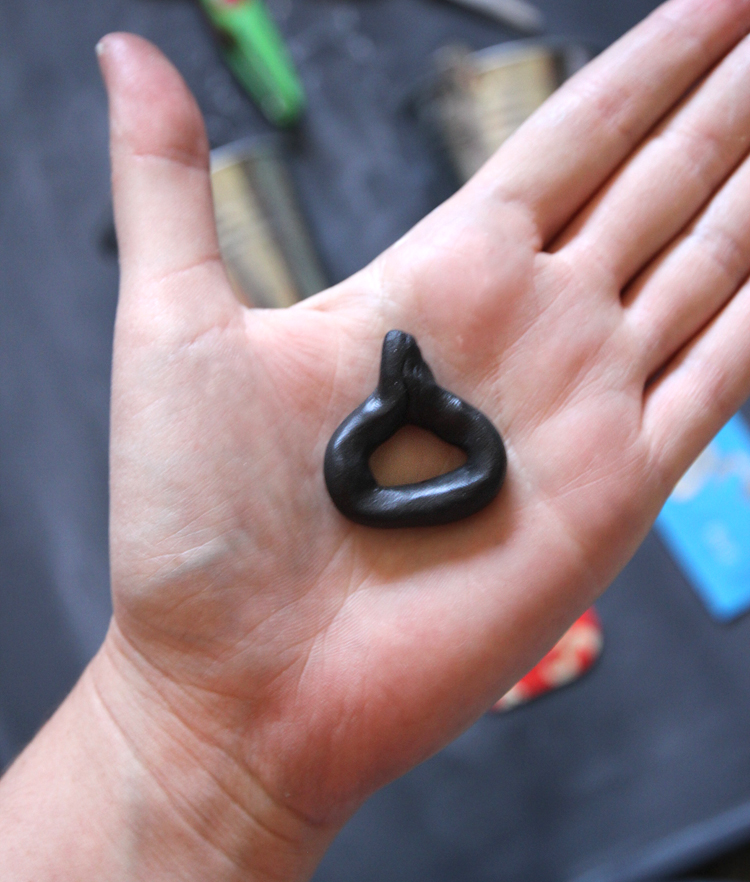
Next I created hooks so I’d have a place to hang some little baskets filled with art supplies.

And lastly, I made “clips” to hold crayons.
Don’t they look so pretty all lined up in a row?
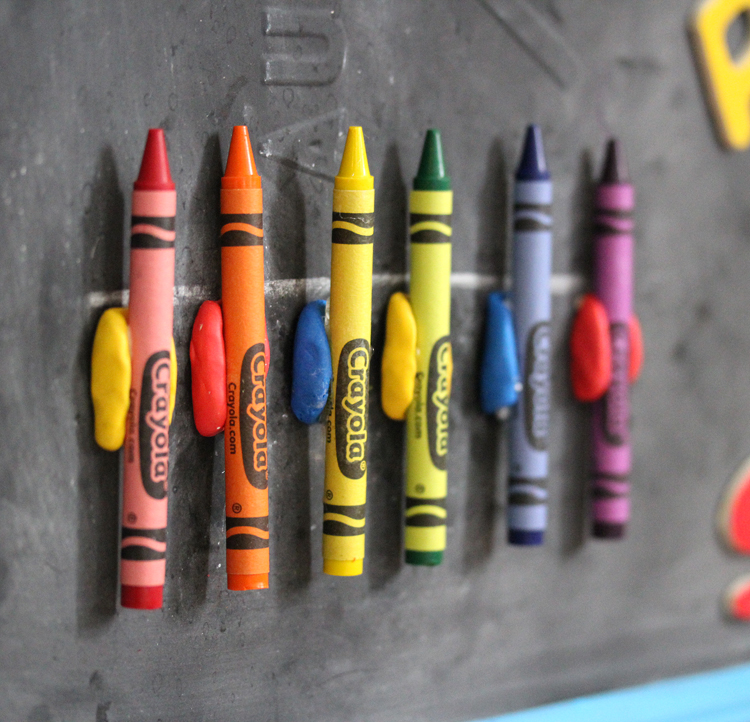
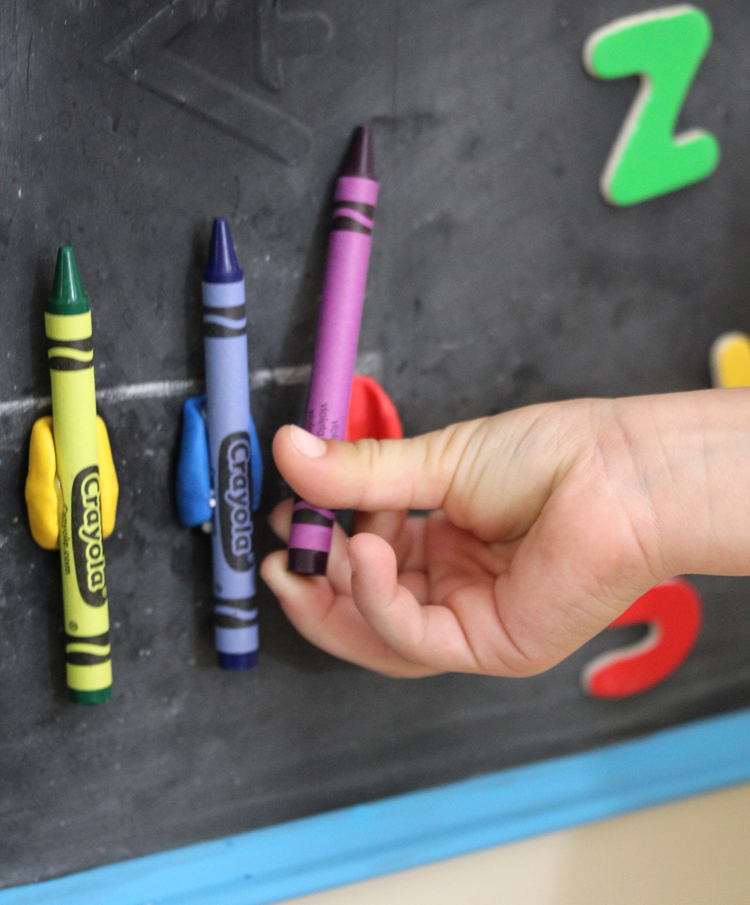
Are you starting to see all of the cool ways Sugru can be used to attach things together? It’s also pretty easy to remove with a sharp knife – if you ever want to change things around.
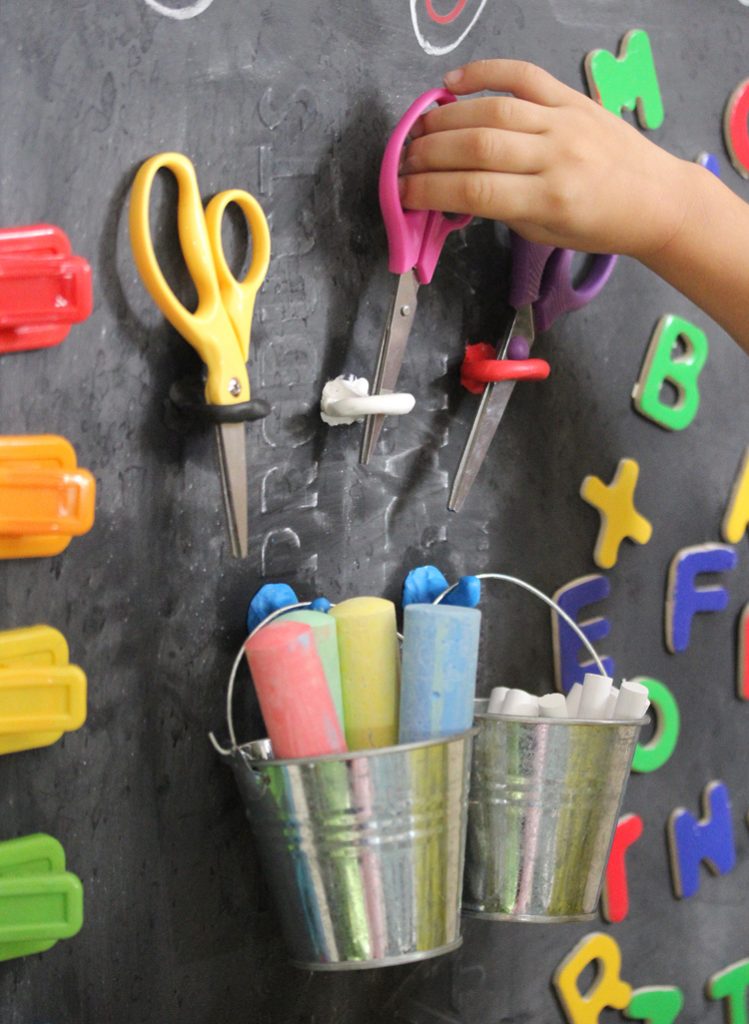
I wanted to have a way for my kids to also draw on paper, so I found some colorful magnetic clips at the dollar store and they can be used to hold paper in place for drawing with crayons or for displaying paper art projects.
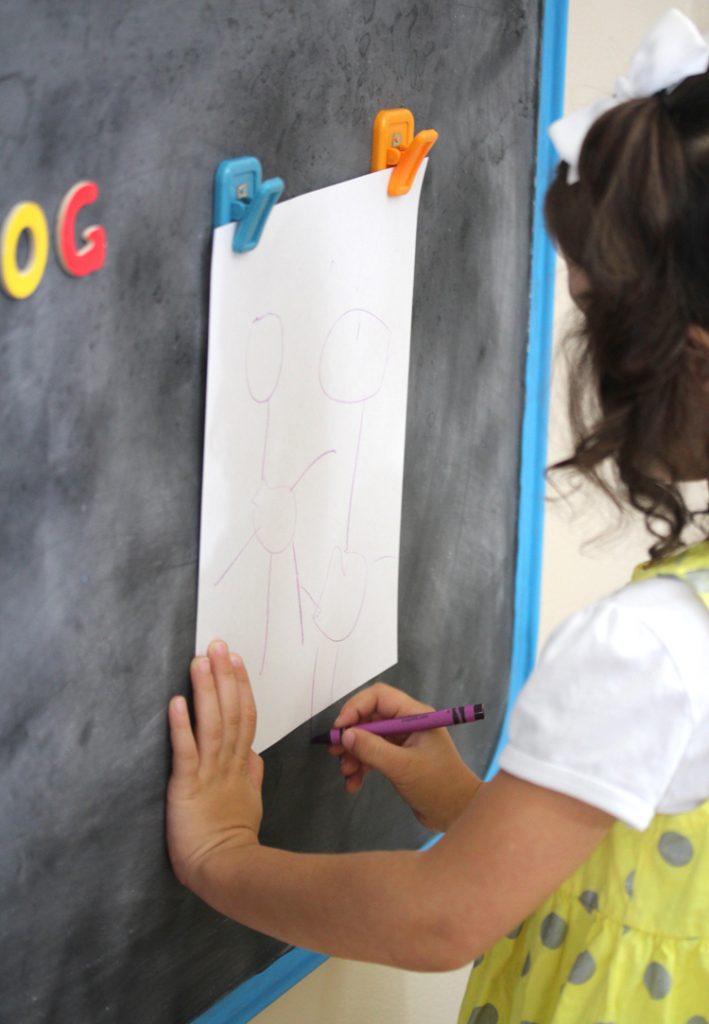
Another advantage of a magnetic chalkboard is that these letter magnets work perfectly. I’m loving the versatility of this project! My kids can color with chalk or crayons, hang artwork, or do letter magnets. I was thinking I’d glue some magnets to the backs of a few puzzles we have too so they can put them together on the chalkboard. It’s sure been a lot of fun!
Here are a few other ways you can use Sugru:
- Wrap earbud or charging cord ends to prevent breakage.
- Fix broken plastic toys (like that one-armed Buzz Lightyear).
- Create hooks that will stick to virtually any surface.
- Attach items to walls without making holes.
- Make heat-proof handles for pots and pans.
- Fix a hole in a pair of sneakers or rain boots.
- Add extra shock-absorption to your phone case.
Super cool stuff! Anyway, I hope you enjoyed this craft tutorial. Thanks for stopping by and happy crafting!
Thank you so much to Sugru for sponsoring this post. When they contacted me about a partnership, I was so excited. Their product is genius and I can already think of a hundred ways to use it!

Let’s Get Social
I’m sharing tons of fun ideas on my social channels and I’d love for you to join me there.