Decorate your stand mixer with printable vinyl decals. It’s easy with a Silhouette machine!
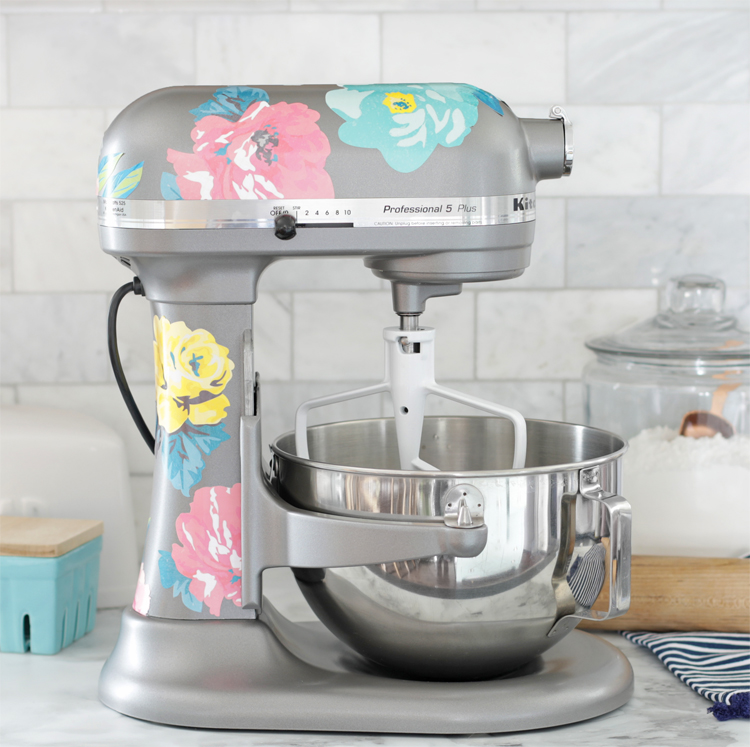
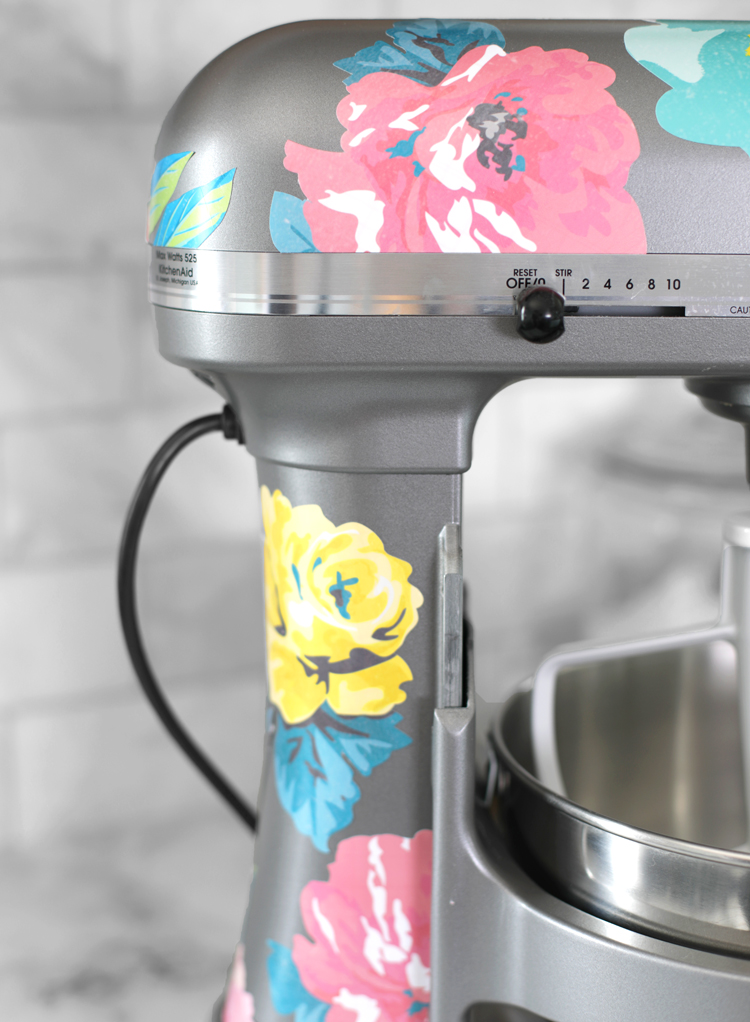
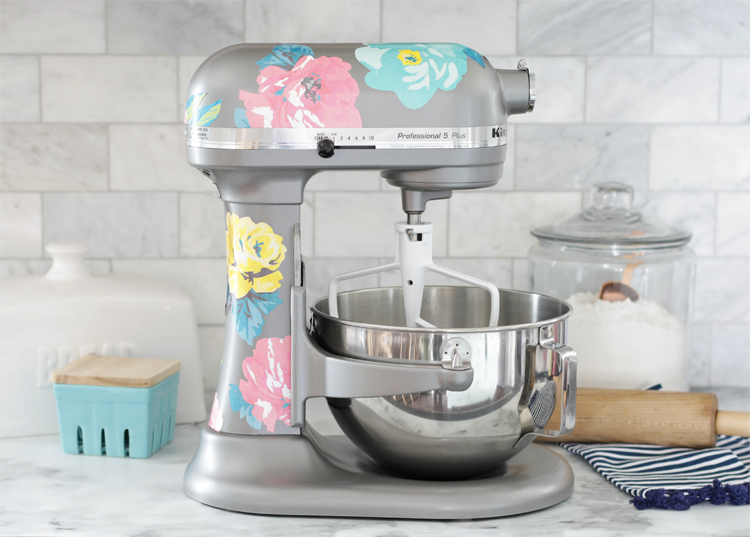
I’m so excited to share today’s project. I got a KitchenAid mixer for Christmas and I love it. It’s the only appliance that I leave out on the counter. I agonized over what color to get, but in the end decided with a neutral mixer because I like to switch up my home decor too much to be tied to just one color. So I came up with a way to spice up my mixer that’s not permanent. I added custom floral vinyl decals and I just adore the fun pop of color and whimsy it adds to this hard-working kitchen appliance. It’s so much more “me” now that it’s fancy!
This post is made possibly by my sponsors at Silhouette.
Let me show you how you can make your own custom vinyl decals.
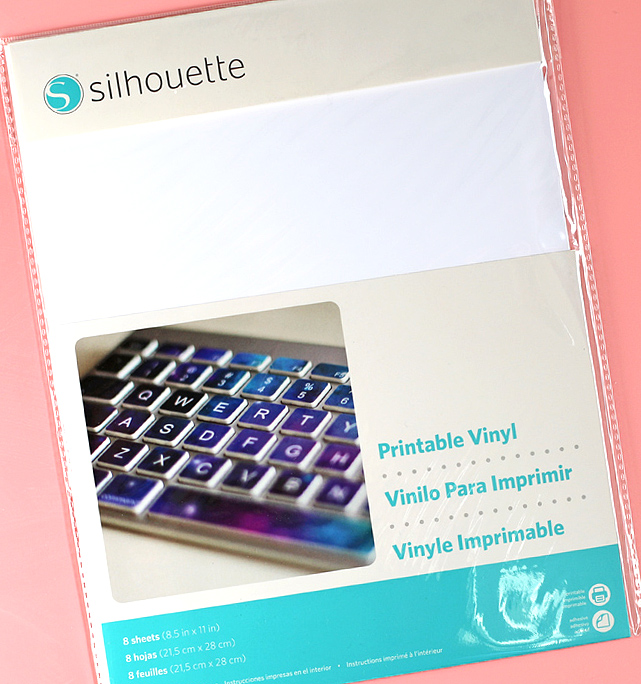
The key is this printable vinyl from Silhouette:
You can purchase it from the Silhouette Design Store or from Amazon.
Start by choosing the designs you want to use. I purchased Print & Cut flowers from the Silhouette Design Store, designs 247165, 245749, 247183, and 245713.
Silhouette has a ton of different Print and Cut designs and any of them would work well for this project. It’s totally up to you and your style.
How to Print and Cut in Silhouette Studio
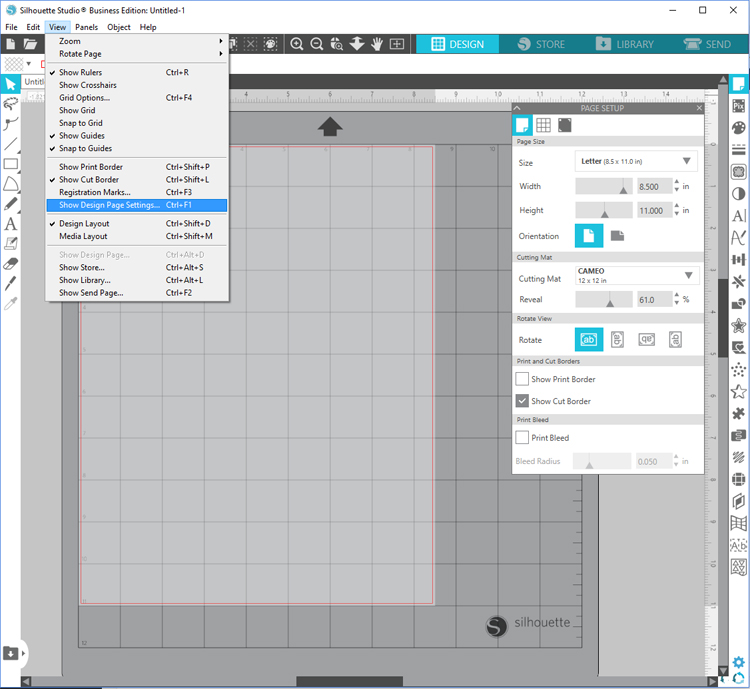
Step 1: Click View > Show Design Page Settings. Adjust the page size to Letter. Adjust the cutting mat size to whichever mat you’re using. I used the standard 12×12 mat.
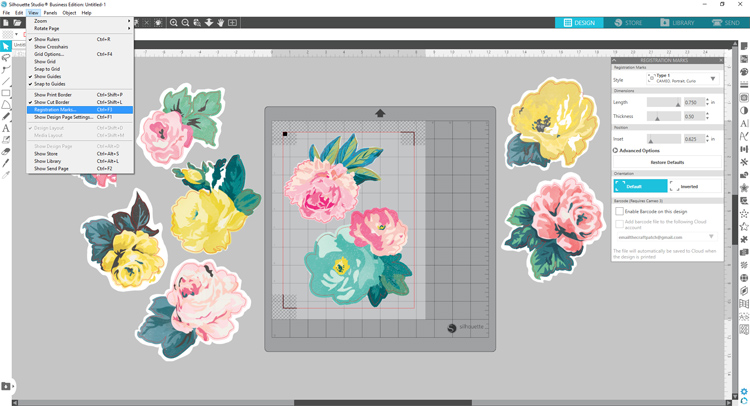
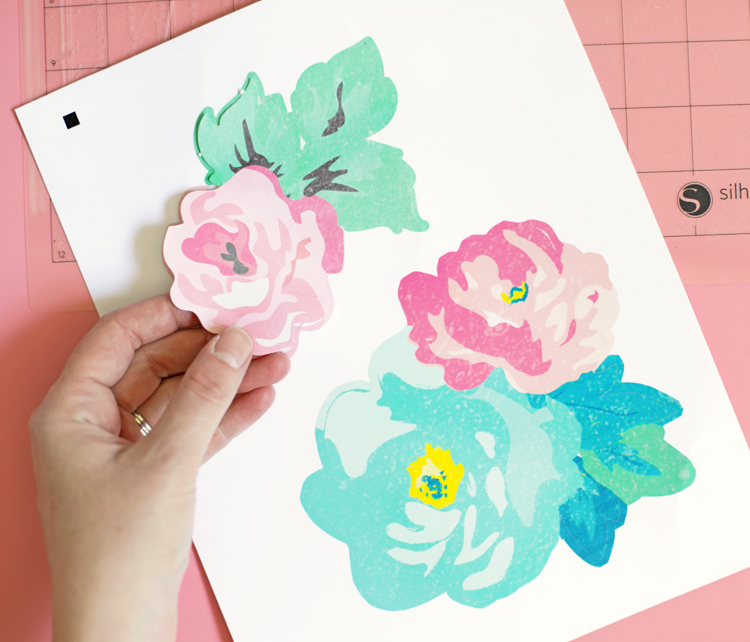
Step 2: Add the flower designs from your library and adjust the size so they fit on the page and are the size you want for your final project.
Step 3: Click on View > Registration Marks. Then use the window on the right hand side of the screen to adjust the settings. Under “Style” choose “Type 1”. You can use that same window to adjust the placement and size of the registration marks if necessary, but the standard settings usually work well.
Step 4: Print the designs with registration marks onto the vinyl. You’ll want to double check that you load the printable vinyl sheets the right direction into your printer. If you’re not sure which side to print on, peel up a corner of the sheet. The side that is sticky is the front of the sheet and the correct side to print on.
Step 5: This step is critical! Before cutting out your design, you’ll need to seal the vinyl with a clear acrylic spray. Because this vinyl will be in the kitchen, it could be exposed to moisture that would smudge the ink. I did some experimenting and found that it worked best to spray the printed design before cutting. I used Rustoleum Clear Coat. I’ve linked to it on Amazon so you can see what the bottle looks like, but it’s wayyyyy overpriced. It only costs about $3 at Walmart, so definitely buy it there!
Step 6: Place the vinyl sheet on a cutting mat and load it into your Silhouette Cameo. Select the correct cut setting for Printable Vinyl and send it to be cut.
Step 7: Once the shapes are cut, peel them off of the backing paper and adhere them to the mixer. I would avoid the rounded parts of the machine. I couldn’t get the vinyl to go on smooth over those areas, but with some strategic placement on the other parts of the mixer, it doesn’t really matter.
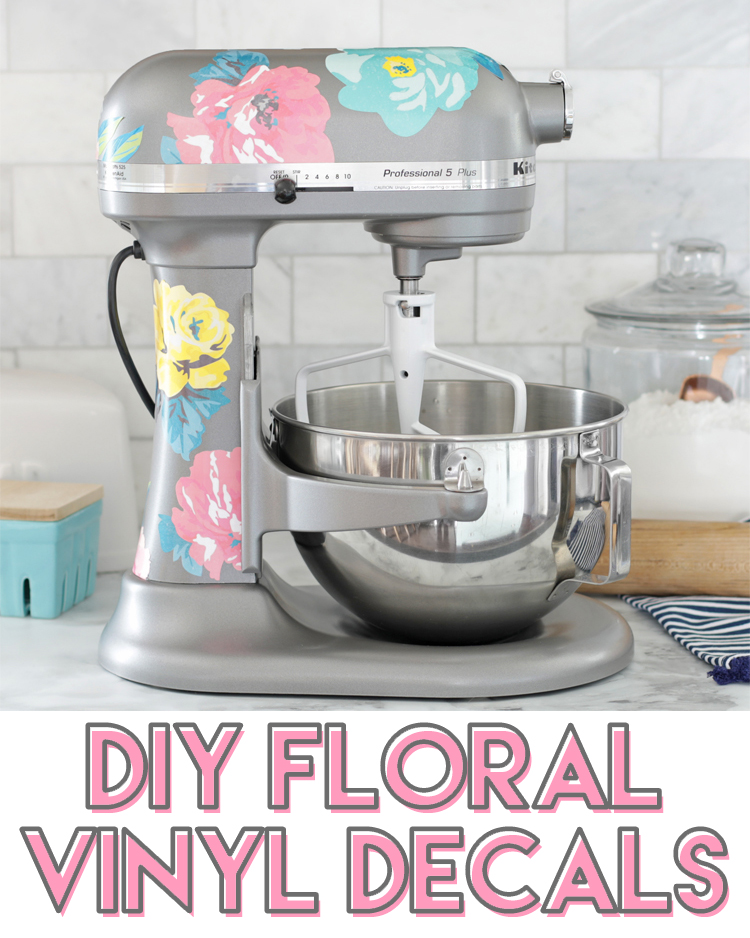
And that’s it! My KitchenAid is looking awfully fancy, don’t you think? I love the fun pop of color.
It matches the colors I have in the rest of the room, so it really looks good. And the best part is that if I decide to change up my decor in the future, I can easily peel off these decals and replace them with something else. Ooo… maybe I’ll do something festive for Christmas!
Like this project? Pin it so you don’t forget it.


Comments & Reviews
This is so cute. I have the dark blue mixer (got it as a Christmas gift several years ago) I call her blue lady, and she is a hard worker, especially in the fall when I sell various flavors of rolls (pumpkin, cranberry, Apple, banana).