Learn how to make a decorative floral arch that attaches to a table. It’s a gorgeous and unique party decoration that can be adapted to any theme or season.
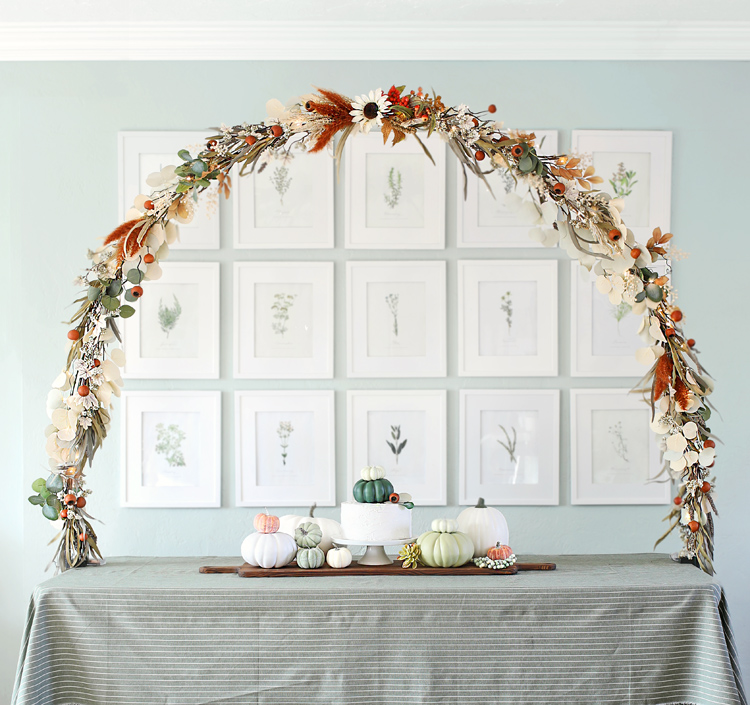
I have the most gorgeous DIY party decoration to share with you today. It’s a beautiful floral arch that attaches right to a table, so it’s perfect for decorating the bride and groom’s table at a wedding or the food table at a bridal shower, birthday, baby shower or holiday. Change out the floral picks and you can make it work for any season or occasion. Just think how pretty a Christmas version would be!
I’ve styled my arch with neutral fall florals in a soft color palette of cream, white, sage green and just a few pops of orange and I am absolutely smitten with the sophisticated autumn vibe.
Let me teach you how I made it so you can make one too!
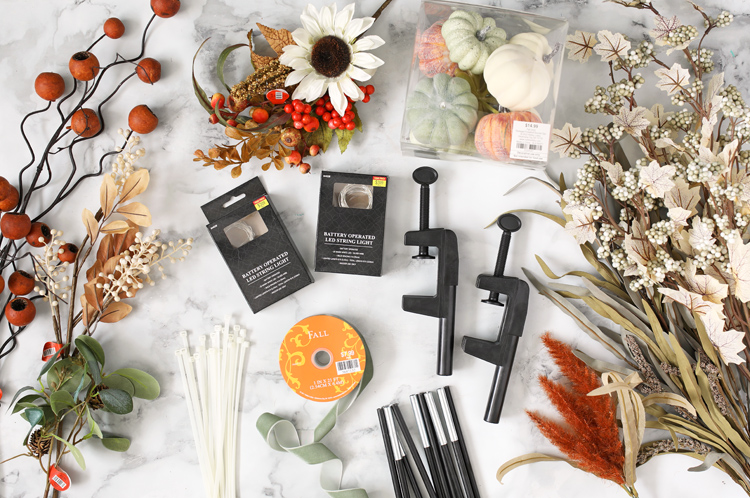
Materials Needed
- Floral Stems
- PARTY ARCH CLAMPS + POLE KIT
- White Zip Ties
- Black Duck Tape
- Fairy Lights (Two Sets)
- Wire Cutters
I thought I might use ribbon to cover over the black metal pole, but in the end I decided I didn’t need it. So I guess I’ll get to use that gorgeous sage green velvet ribbon for something else. Oh shucks. LOL.
And just in case you’re curious, the tablecloth is this Olive Woven Striped Duck Cloth Fabric with this wood charcuterie board is on the table under the pumpkin centerpiece.
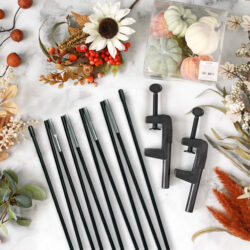
Pole & Clamp Arch Kit
I have also used this same arch kit for other events. You can see my tabletop balloon party arch here.
Instructions
Step 1: Lay down a tablecloth, if desired. Attach one clamp to each end of the table over the tablecloth, making sure the clamps are evenly spaced and attached securely.
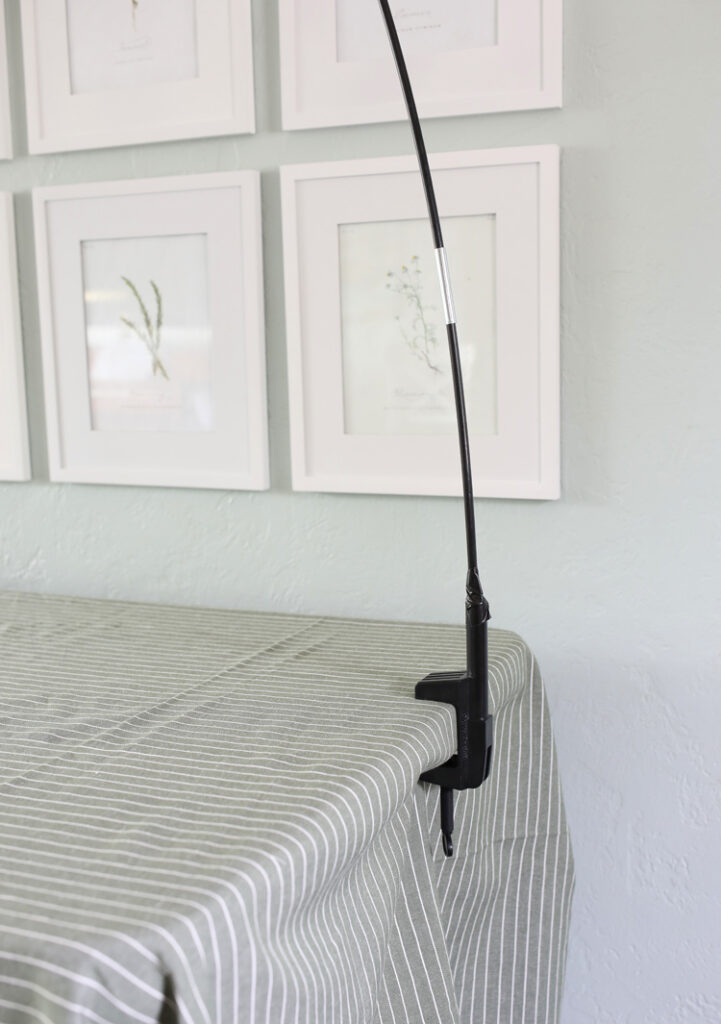
Step 2: Unfold the rod so that it turns into a long pole. This is just like the poles in a tent. Place the two ends of the rod into the holes in the clamps. Secure with black Duck Tape. You don’t want those poles popping out during your party!
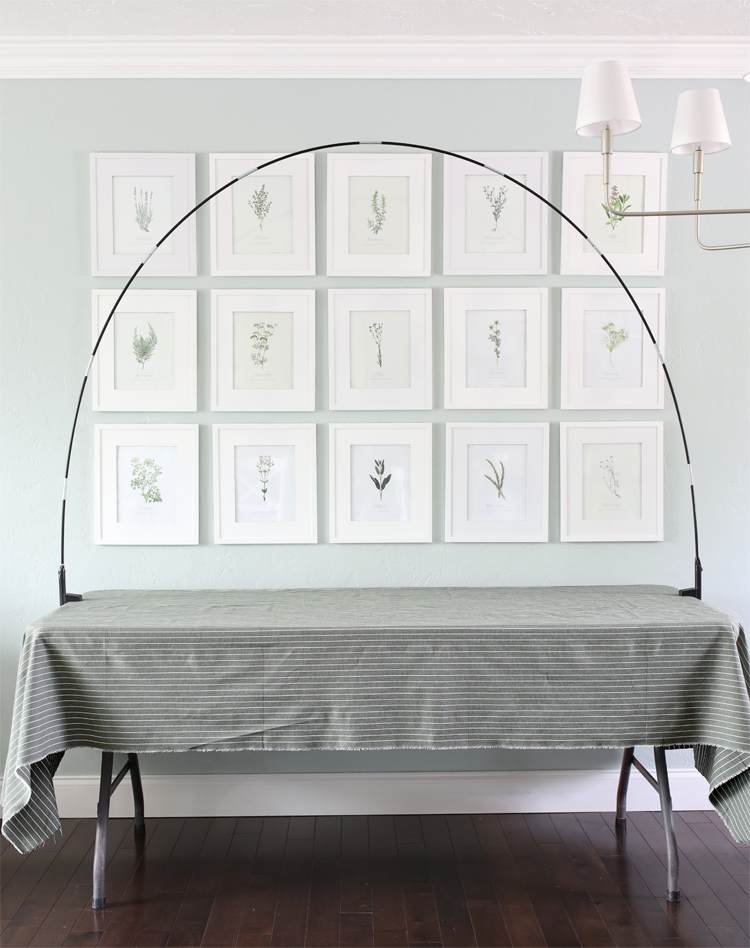
Step 3: Begin attaching floral stems to the arch using zip ties. Alternately, you could use florist wire, but the zip ties were so handy and easy to use that I really do recommend them. Remember, you can use wire cutters to cut bushier floral stems into several smaller pieces. Then you can spread the smaller pieces throughout the arch for a more balanced look.
Step 4: String the fairy lights throughout the arch. Make sure to weave the wire in so it is not noticeable. I used two strands of lights and placed the battery packs next to the clamps on either end and then had the two strands meet in the middle.
Step 5: When you are happy with the look of your floral arch, use wire cutters to trim off all of the zip tie tails.
Then turn those fairy lights on and admire the stunning display you just created. I don’t think pictures do it justice. It is seriously SO. PRETTY. in person.
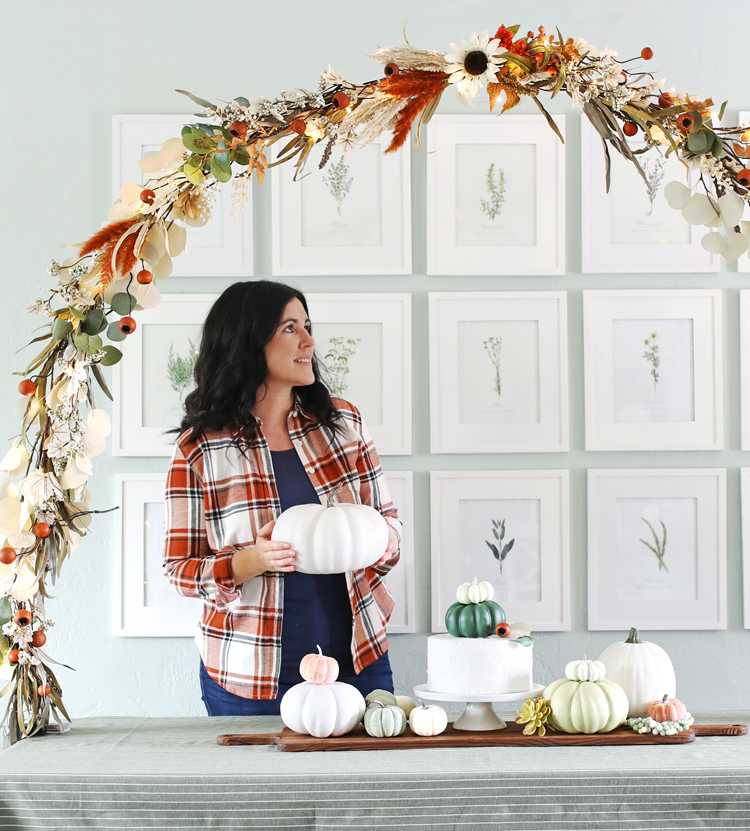
Sophisticated, unique, customizable and tons of visual bang for your buck… I mean, it’s basically the perfect party decoration!
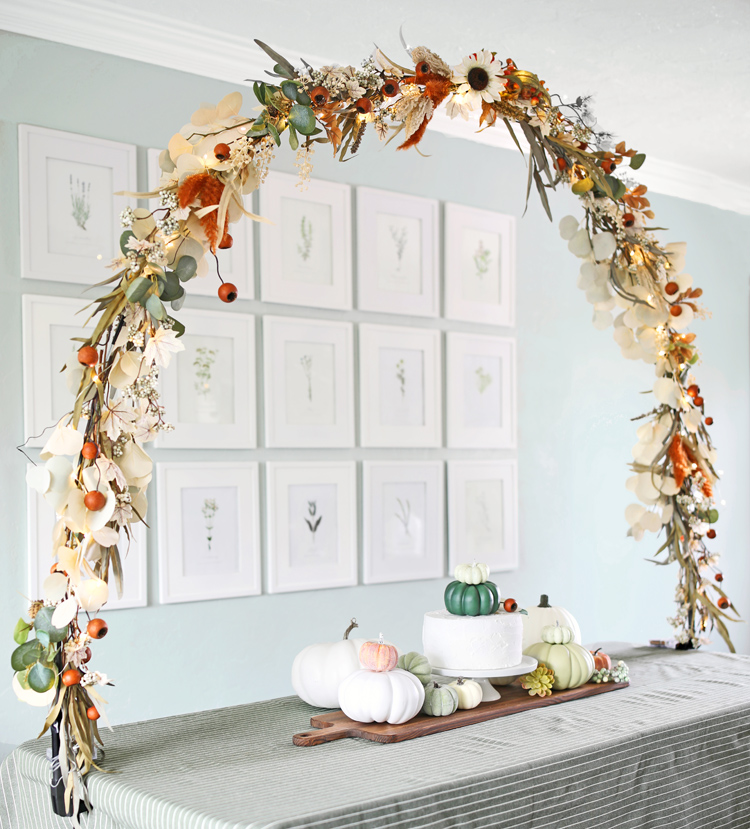
Want to see the whole process? Here’s a quick video.
Video Tutorial
Like this idea? Pin it to save it for later.

Comments & Reviews
Where do you buy the arch with the clamps
It’s linked in the list of supplies.
How big does the table have to be?
My table is six feet, but the pole is very bendy, so it can bend to fit whatever you clamp it to. If your table is smaller, your arch will go higher. If your table is bigger, the arch will be flatter.
Hi hello🥰
Was wondering around how many stems of each of the florals you used ?
Thanks in advance ❤️
I got three of each I believe!
Would the clamps for the arch work for an island counter?
yes!
So gorgeous! Where are the pumpkins from? Did you make them?
They’re from Hobby Lobby.
Love this! Aside from taping the pole into the clamp, could this be easily moved? I’m thinking prepping at home and relocating to event space by moving pole with florals all connected. Thoughts?
I think it would work! If you’re careful during transport and then plan for a bit of time to fluff everything back up and adjust, I can see that working just fine.