Make this easy DIY alphabet matching book using iron-on vinyl and felt. It’s a perfect learning activity for preschoolers.
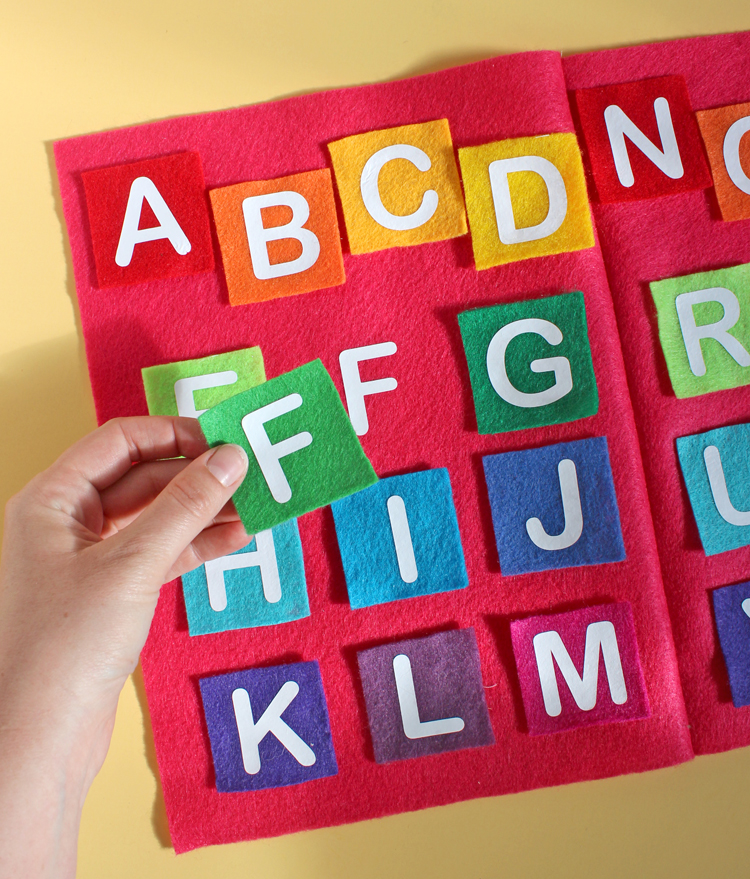
I’ve got a fun and colorful craft project to share with you today. If you’ve got preschool aged kids or grandkids, this little alphabet activity book matching game has quickly become a HUGE hit at my house. And the good news is that it’s super quick to work up and sewing is optional. Anyone can make this book!
A big thank you to Expressions Vinyl for sponsoring this post. Affliliate links may be used.
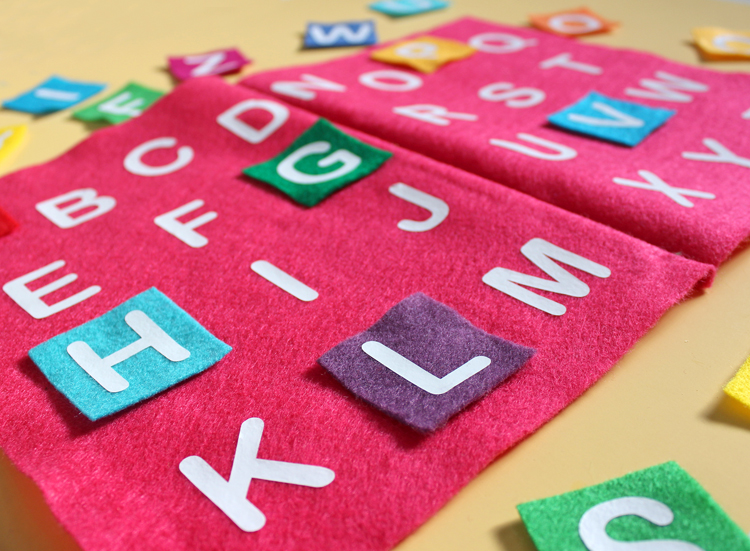
The matching game is shaped like a book and has little felt letter squares that your child can match to the letters inside the book.
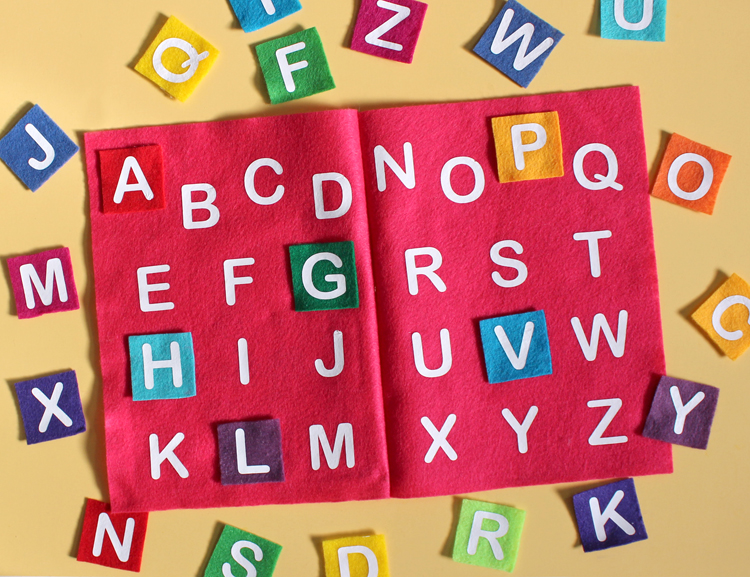
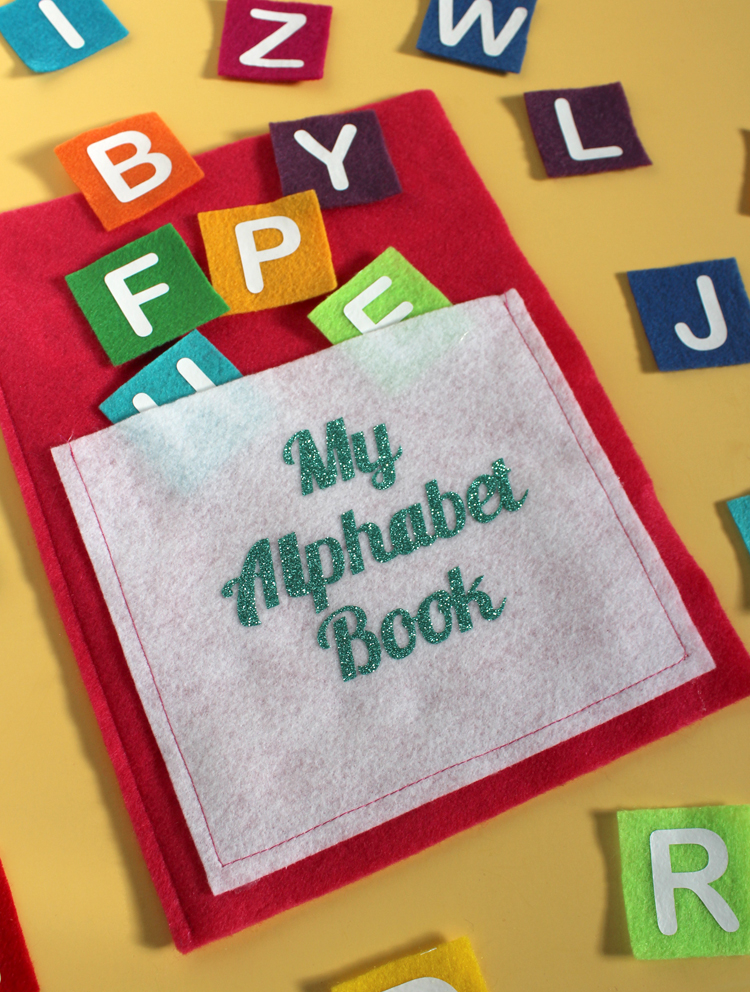
The front cover even has a pocket to store all of the letters!
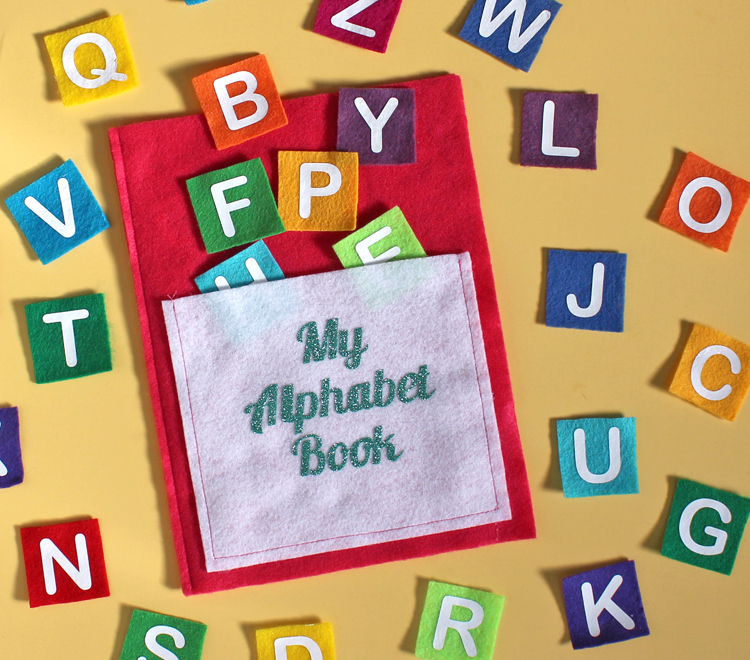
The blank back page is the perfect place for your child to practice making words.

So fun, right? Let me show you how I made it so you can make one too.
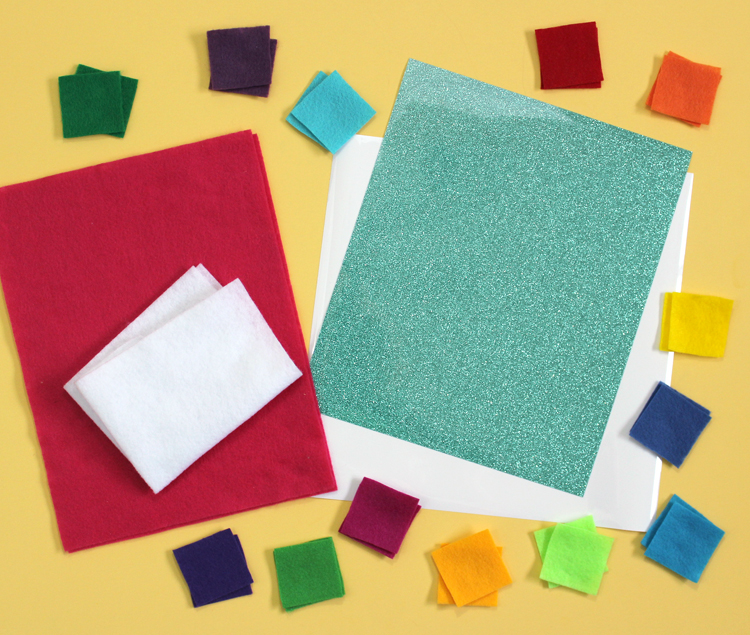
Materials Needed
- White Easy Weed Heat Transfer Vinyl
- Glitter Heat Transfer Vinyl
- 2 matching felt sheets, approximately 9″ x 12″
- 1 white felt scrap approximately 6″ x 7″
- 26 felt pieces cut into 2″ x 2″ squares
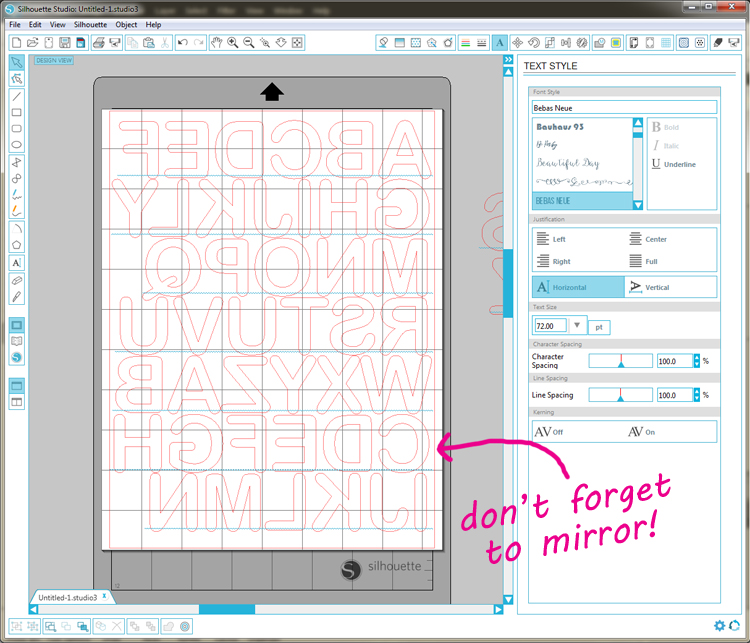
Step 1. In Silhouette Design Studio, choose a font and type out the letters of the alphabet, then double it since you’ll need two of each letter. Size the letters to fit within a two inch square. Helpful hint: Double check to make sure the letter W fits within two inches, since it’s usually the widest letter. MIRROR the letters, then adjust the cut settings for heat transfer vinyl. Insert the heat transfer vinyl into the Silhouette shiny side down, then let the machine cut out your alphabets!
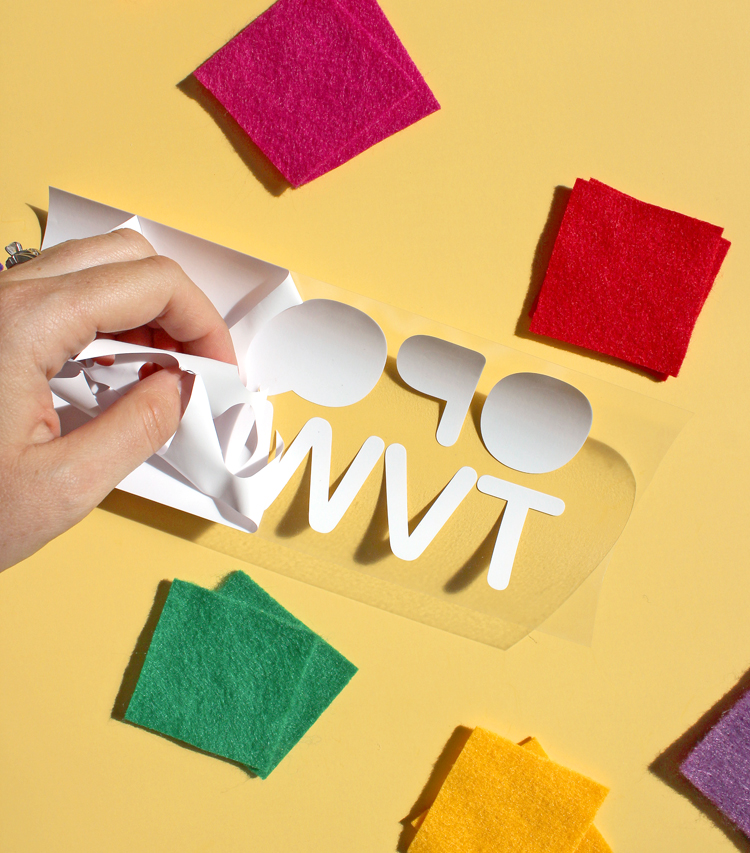
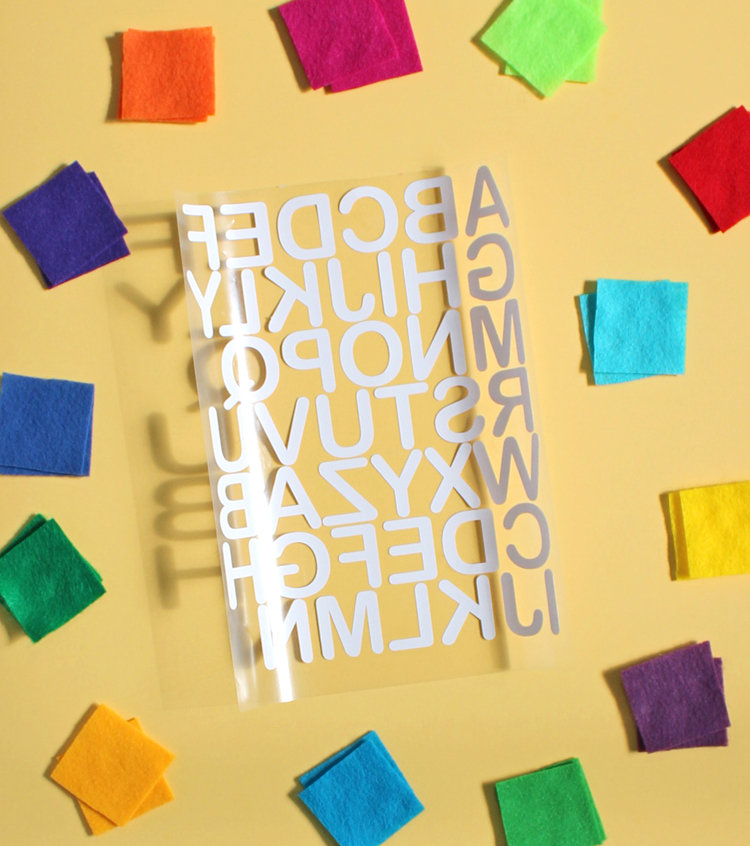
Step 2. Once the cut job is done, weed the extra vinyl, leaving the letters stuck to the clear backing paper.
They should look something like this:
Step 3. Cut each letter apart.
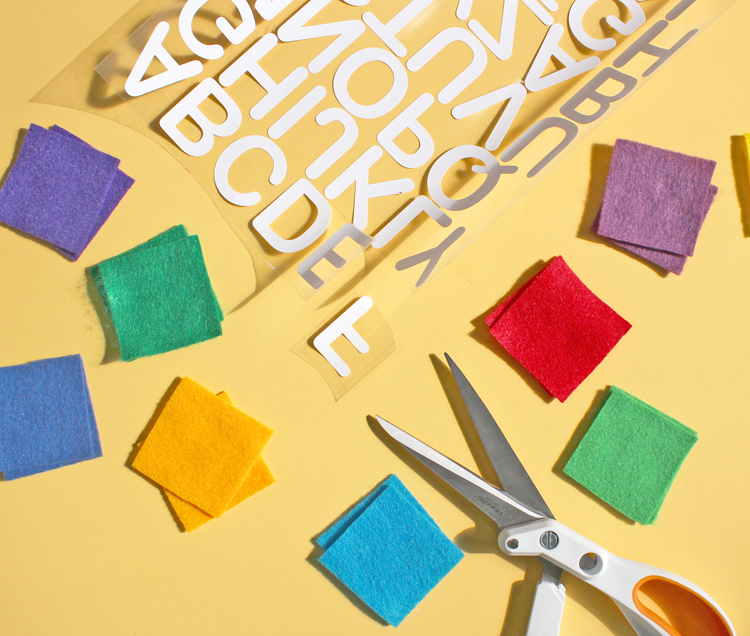
Step 4. Save one set of letters for later. Iron the other letters onto the felt squares.
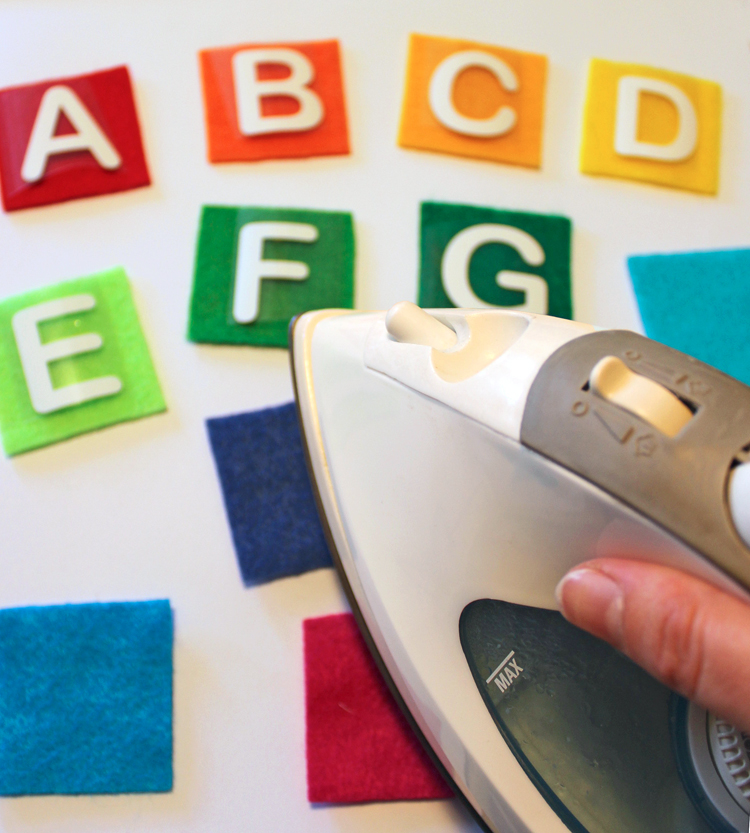
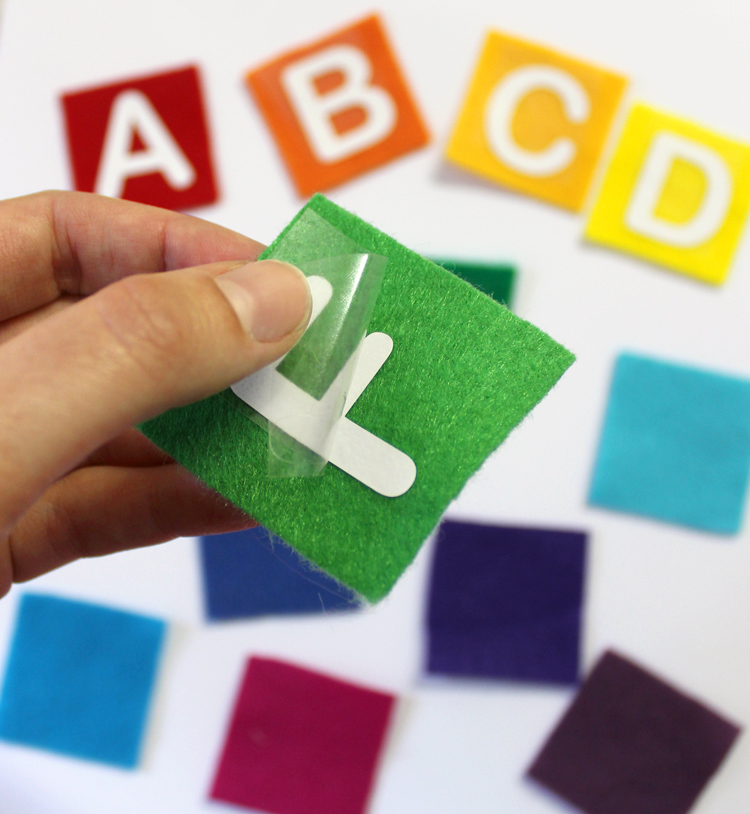
Step 5. Peel away the clear backing paper and the vinyl should be stuck to the felt.
Step 6. Iron the other set of letters to the two full sized sheets of felt.
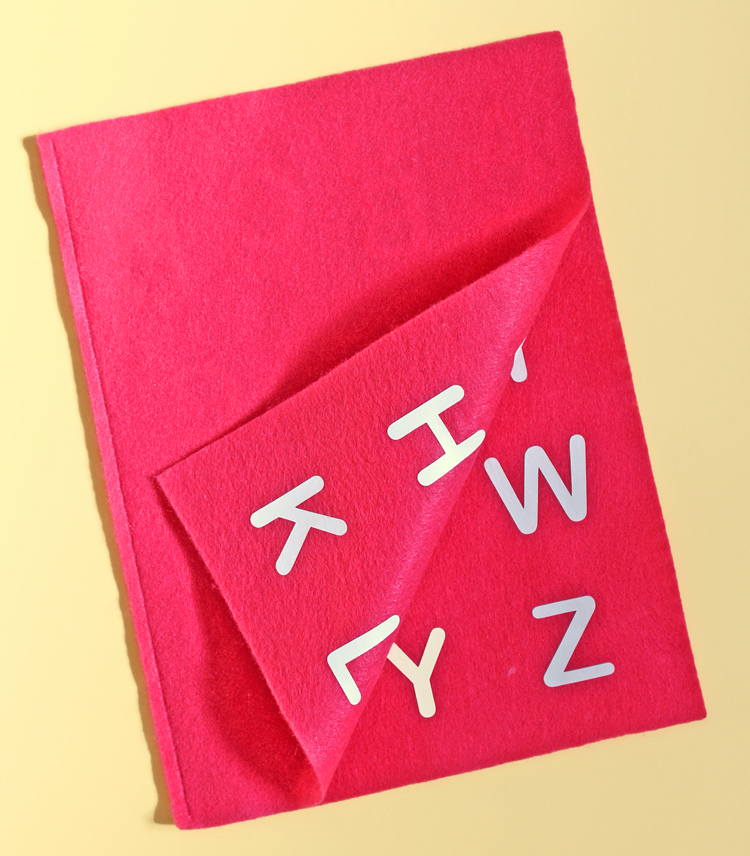
Step 7. Sandwich the two sheets together so that the letters are touching and sew one edge together to make a book. You could also hot glue the pages together if you are sew-a-phobic.
Step 8. Next, go back to Silhouette Design Studio and write out whatever words you would like on the pocket. I simply wrote, “My Alphabet Book” but this would be a great chance to customize the book with a child’s name.
If you choose a cursive font, weld the letters together, then mirror the image. DON’T FORGET TO MIRROR!
The cut settings for glitter heat transfer vinyl should be set to BLADE:4 SPEED:4 THICKNESS:18.
Load the glitter heat transfer vinyl into the machine with the shiny side down, then cut out your design.
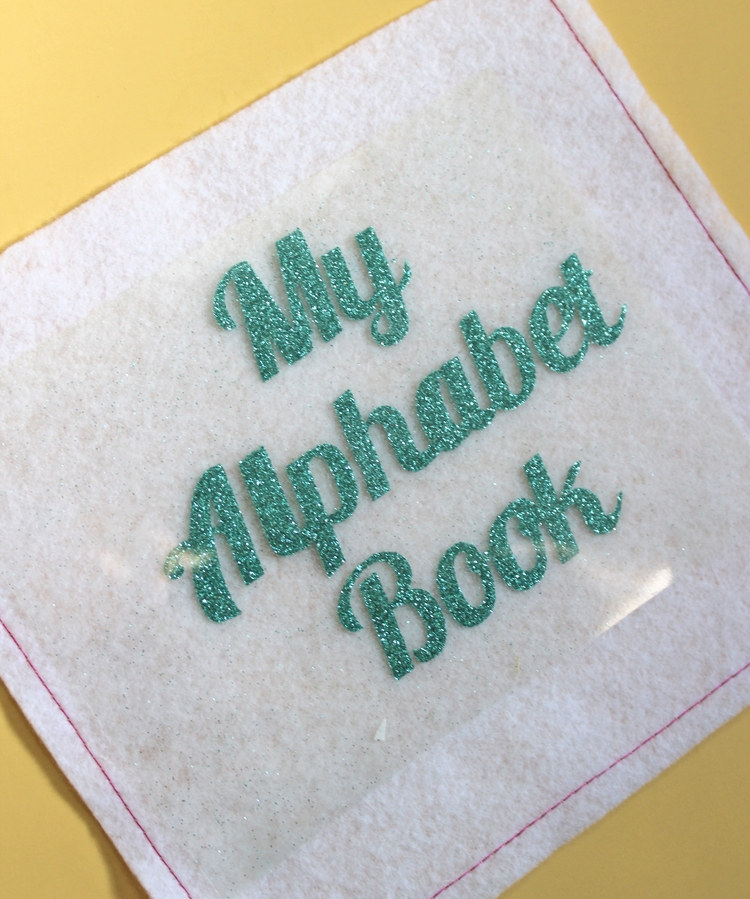
Step 9. Cut a pocket piece from felt. Mine was about 6″x 7″. Iron the glitter words to the front of the pocket. I sewed a decorative line around the edges of my pocket, but that is totally optional.
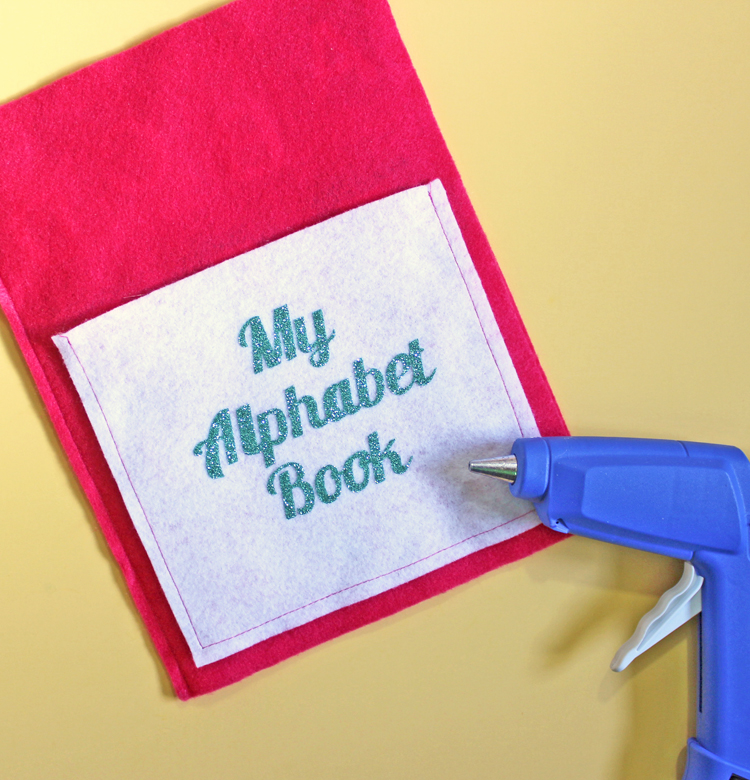
Step 10. Use hot glue to attach the pocket to the front of the book. Run a small bead of hot glue around the left, bottom and right edges of the pocket and DO NOT put any glue on the top edge… or it won’t be much of a pocket. Ha ha!
Now you can fill the pocket with all of the letter squares and the project is complete!

Comments & Reviews
Can’t wait to make this for my granddaughter! She is 3 and perfect age to start this. I will make another for my grandson but he is only 8 months old so just a bit too young right now but someday he will have one too.
How wonderful!