Get the look of expensive wallpaper without the hassle or cost using your Silhouette Cameo or Portrait machine.
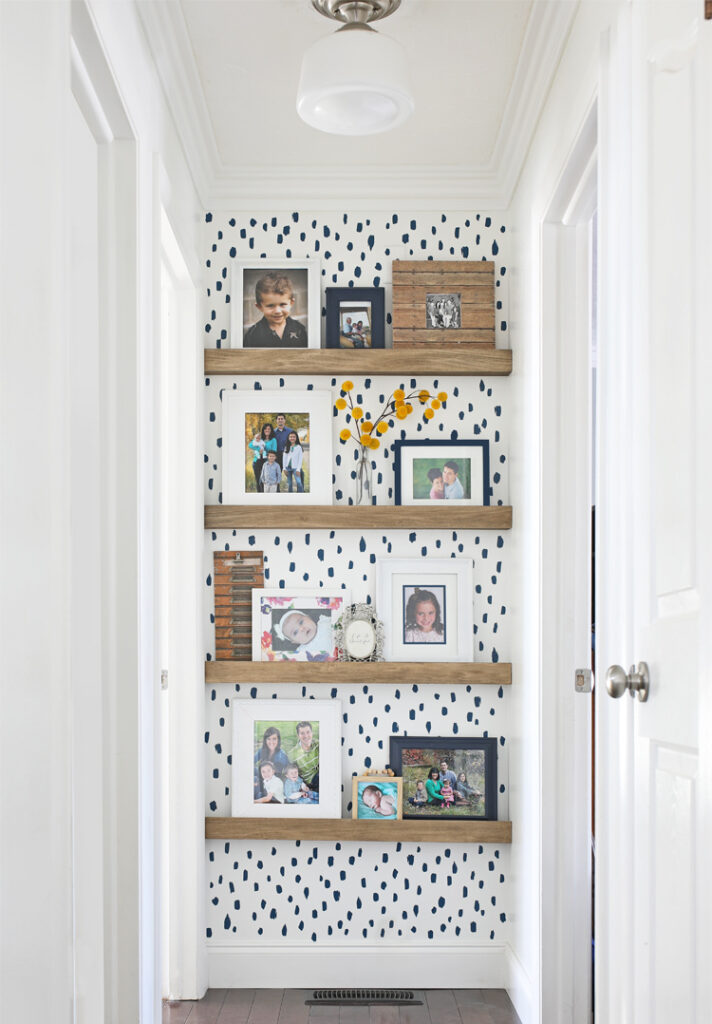
I love the look of wallpaper, but I have the unfortunate gift of expensive taste. Line up any ten objects and I guarantee the one I’ll fall in love with will cost the most. LOL. So even though I want to turn into a wallpapering fool and plaster every inch of my home with it, I always balk at the price.
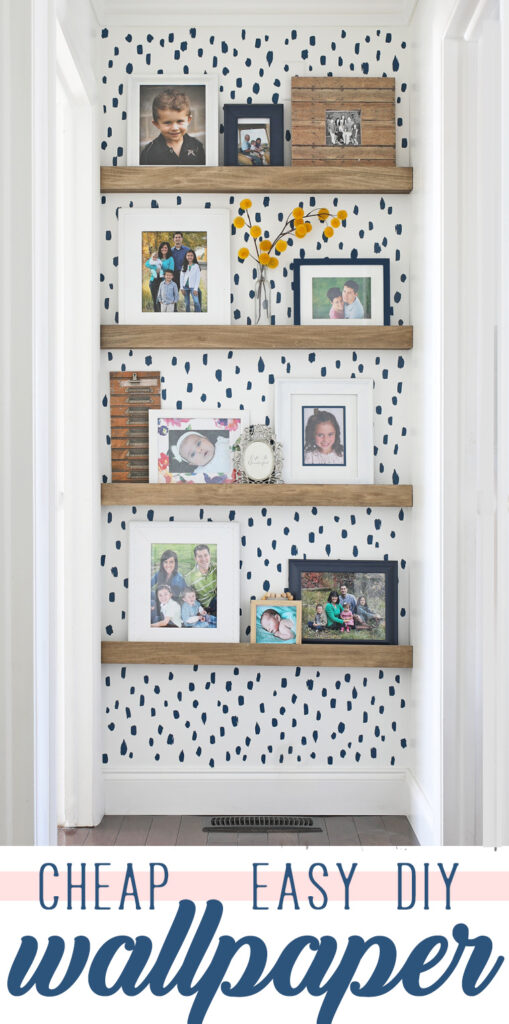
Today I’m going to show you how I added the look of wallpaper in my home using removable vinyl cut with my Silhouette Cameo machine. This project cost me less than $5 and took me less than two hours.
This post is sponsored by Silhouette America. All opinions and ideas are mine.
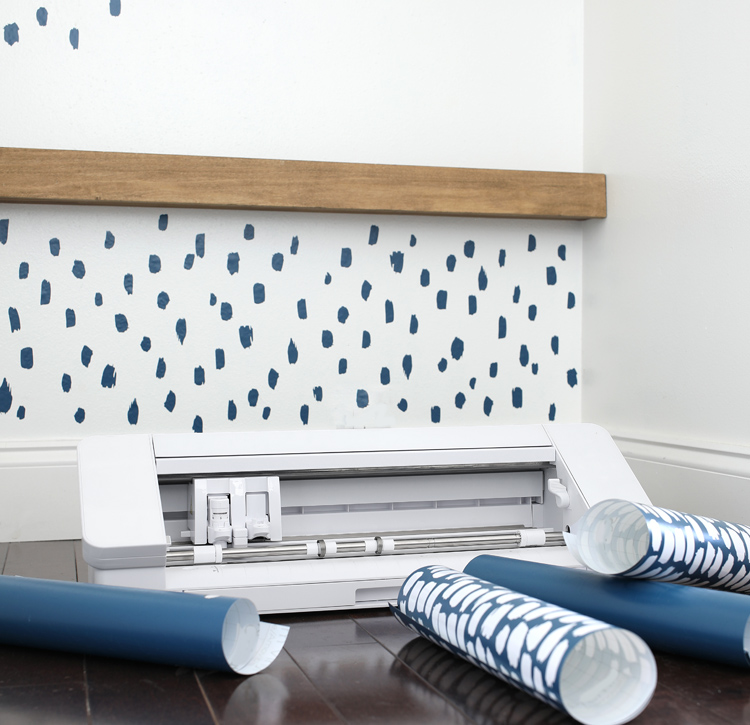
This is an easy project. All you need is a roll of removable vinyl and a Silhouette Cameo or Silhouette Portrait machine. If you’re using a Cameo machine, I suggest buying a 12 inch wide roll and if using the Portrait machine, get the 9 inch roll.
I used matte vinyl so it looked more like wallpaper and it took a 12 inch by 60 inch piece to cover my wall that is 3 feet wide and 8 feet tall.
The first step is to choose a design. I have included a free cut file for this paint splotch pattern I created, but there are a ton of different options in the Silhouette Design Store that would work well. Just search for “stencil” or look up any sort of design you have in mind.
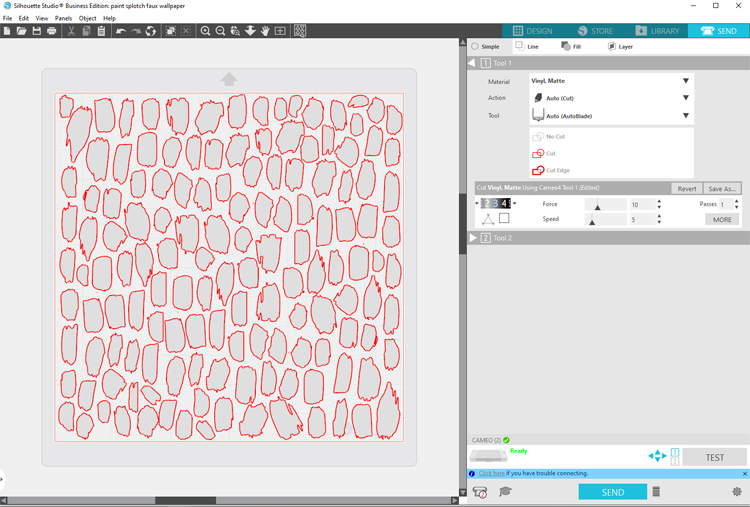
Send the design to your Silhouette machine to be cut. I broke my splotches up into five 12×12 inch sections to make the vinyl easier to work with.
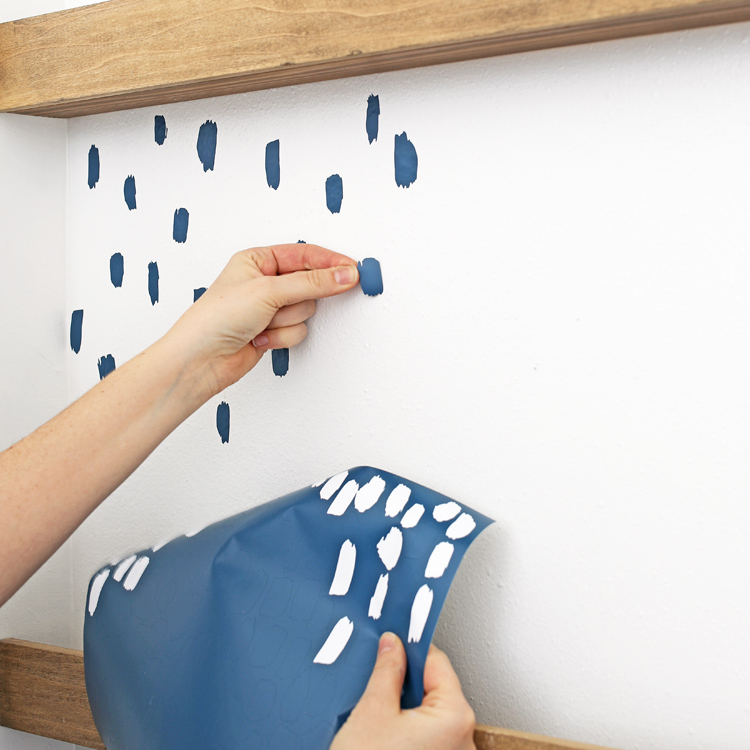
Since my pattern was pretty freeform, I didn’t weed or use transfer tape. I just turned on an audiobook and went to town peeling off the splotches and sticking them onto the wall. It was super easy and honestly kind of zen and relaxing. Totally threw me back to my Lisa Frank sticker collecting days.
I am absolutely in love with how this little project turned out. It adds so much spunk to my hallway! The design turned out even better than I had hoped too. You can’t tell it’s not a single piece of wallpaper until you get right up next to it and touch it. Seriously, it looks SO. GOOD.
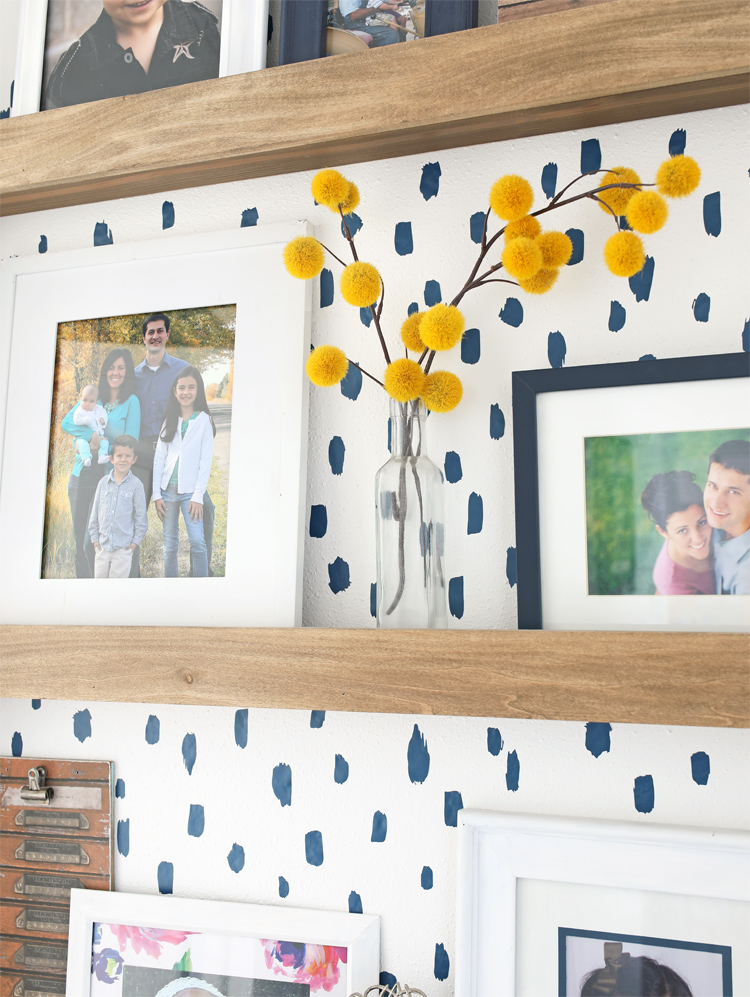
So of course I’m already planning the next place I want to add wallpaper to. Ha! Dare I try something with a more technical pattern? A floral print? There are some super cool possibilities and I am once again amazed at what I can make with my trusty Silhouette machine.
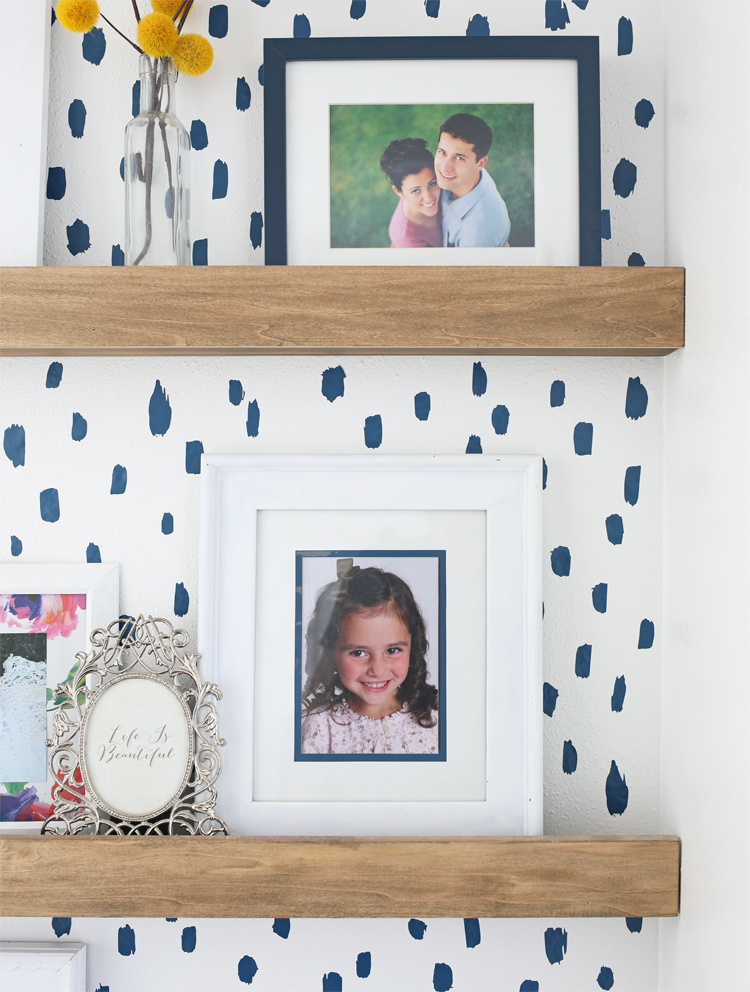
I also really love that the design is easily removable and won’t damage my walls. I could have painted this pattern on pretty easily, but painting over it would have been hard. If I ever wanted to paint over it, I would have had to sand the whole wall to remove the ridges on each paint splotch. The vinyl seemed much less risky to me.
Anyway, there you have it… my cute and cheap “wallpaper” make with my Silhouette machine.
If you’re interested in learning how we built the photo ledges, you can check out that tutorial here.
Download the paint splotch cut file here.
The link will take you to a folder than includes a PNG, SVG and Silhouette Studio file of the pattern. Use whichever format is easiest for you, but please remember that all files shared on The Craft Patch are for personal use only. Thanks!
Like this project? Pin it so you don’t forget it!

Comments & Reviews
Where is the link for the cut file?
Near the bottom of the post in big letters it says, “Download the paint splotch cut file here.” Just click on that and it will take you to the files.
Your wall turned out really cute! I love the color you used too!
We got a Silhouette this Christmas and this looks like such a fun and simple project to do with it. Thanks for the inspiration!
Hi! I came across your post through Pinterest looking for some inspiration. And I’m inspired! Is the cut file compatible with the Cricut. I hope so. Thank you!
Did you use permanent or removable vinyl?
removable