Make a gorgeous and easy family birthday board to keep track of everyone’s birthdays. This easy craft would be a wonderful gift for grandparents!
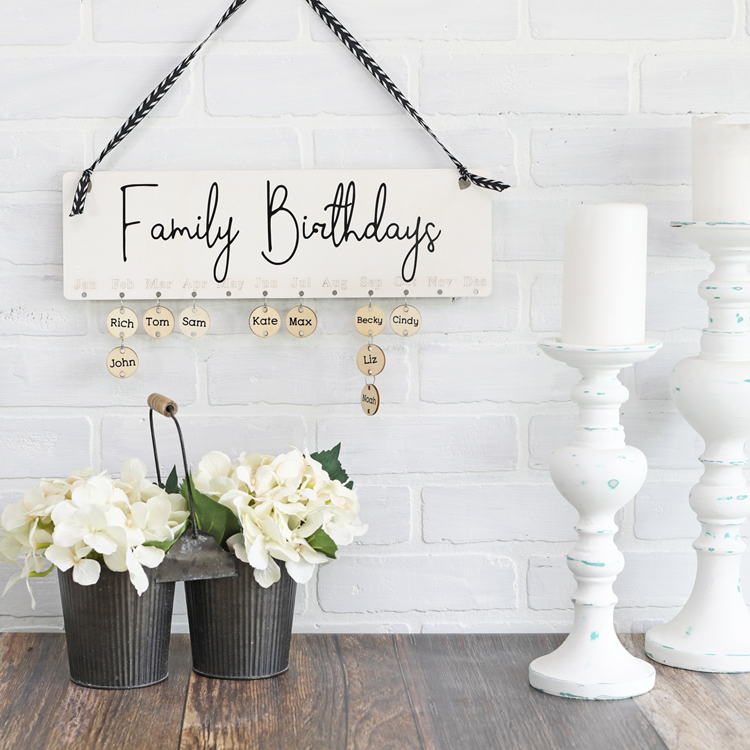
My grandma has a wooden birthday board hanging on the wall at her house and as a kid I loved looking at the birthdays of each family member. Hers is country blue and mauve toll painted with little hearts. I love it, but I decided that I could update this craft and give it a modern twist. This is not yo mama’s birthday calendar!
If you like to make handmade gifts for the holidays, it’s time to start planning ahead. This birthday board makes the perfect personalized Christmas gift for grandparents.
And the best part is that you can buy an inexpensive kit on Amazon that includes everything you need to make it except for the paint!
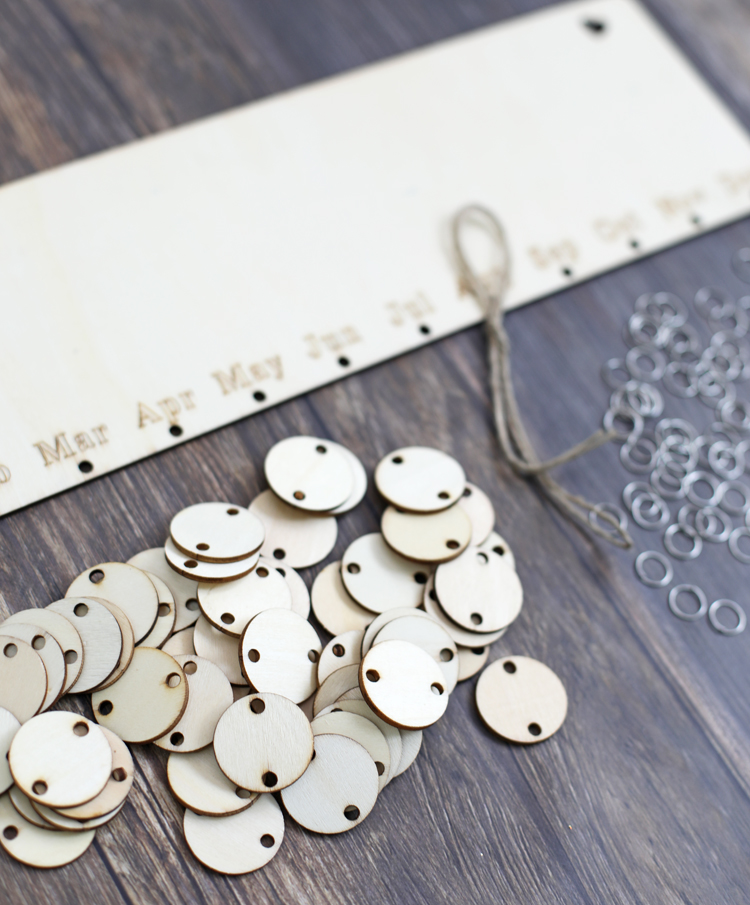
SUPPLIES NEEDED (affiliate links)
- Wooden Birthday Board Calendar Kit
- Craft Paint
- Ribbon, optional
This is a simple craft that doesn’t need a lengthy explanation. If you’d rather watch a quick video tutorial, scroll to the bottom of this post.
Step 1: Paint the board. I did a light whitewash finish. I mixed equal parts water and matte white paint and lightly brushed it over the wood. I left the wooden circles as-is.
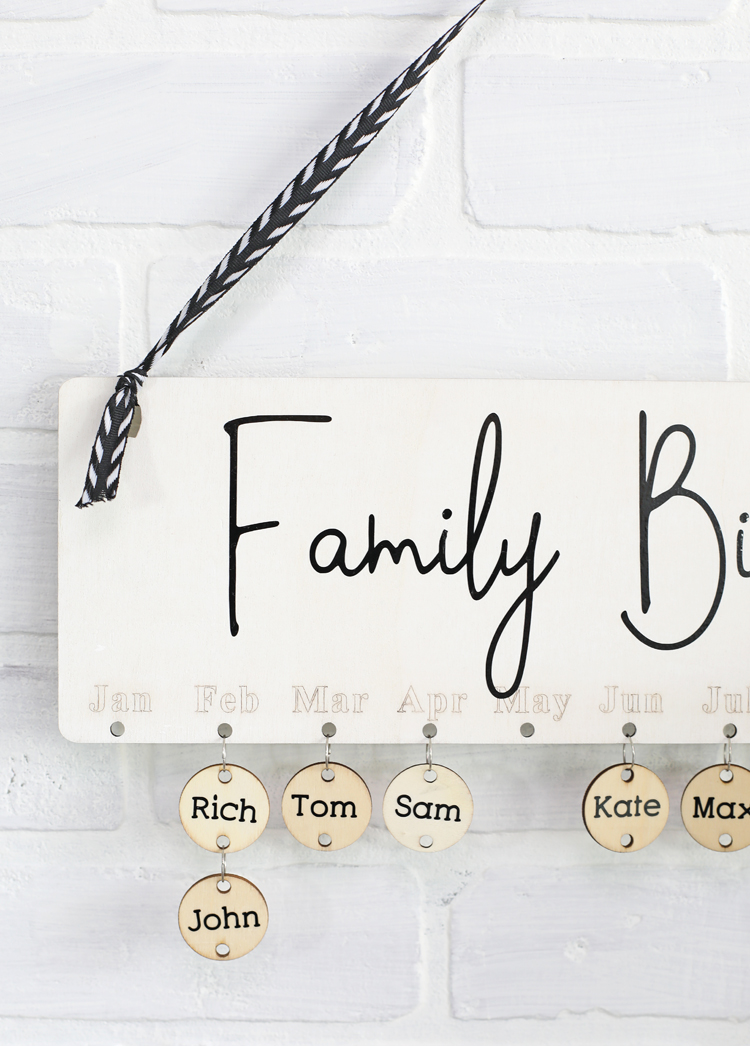
Step 2: Use a Silhouette or Cricut machine to cut out the words “Family Birthdays” from black adhesive vinyl. The board measures 15.5″ x 4.75″. The font I used is called Simple Game.
Step 3: Use adhesive vinyl or a paint pen to write the name of each family member on one side of the wooden circle and their birth date on the other side. The vinyl takes forever, but you get such a nice, clean result.
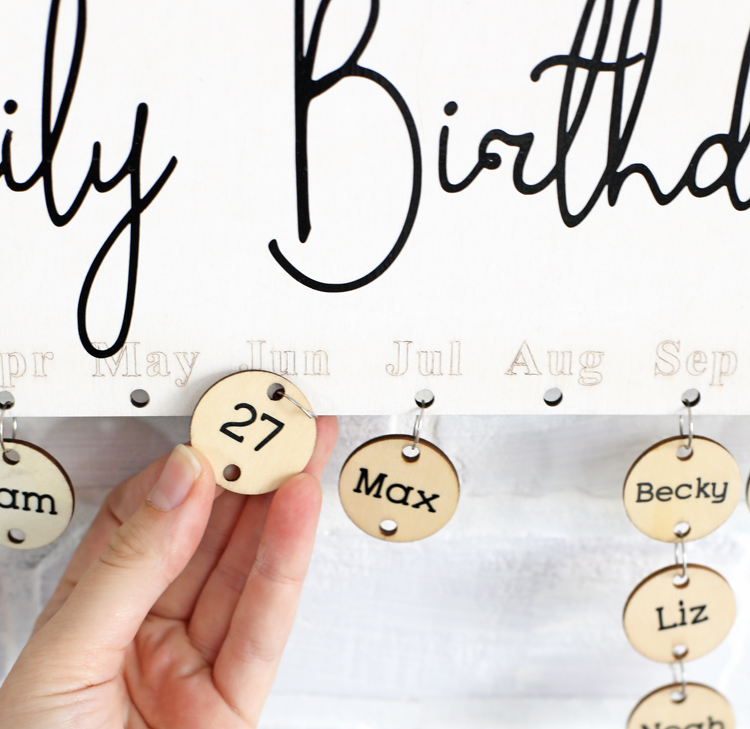
Step 4: Attach each wooden circle to the correct month with the metal rings included in the kit. If there is more than one birthday in a given month, link the circles together.
Step 5: Tie the twine that came in the kit to the heart-shaped holes on each corner OR swap it out for some fun ribbon.
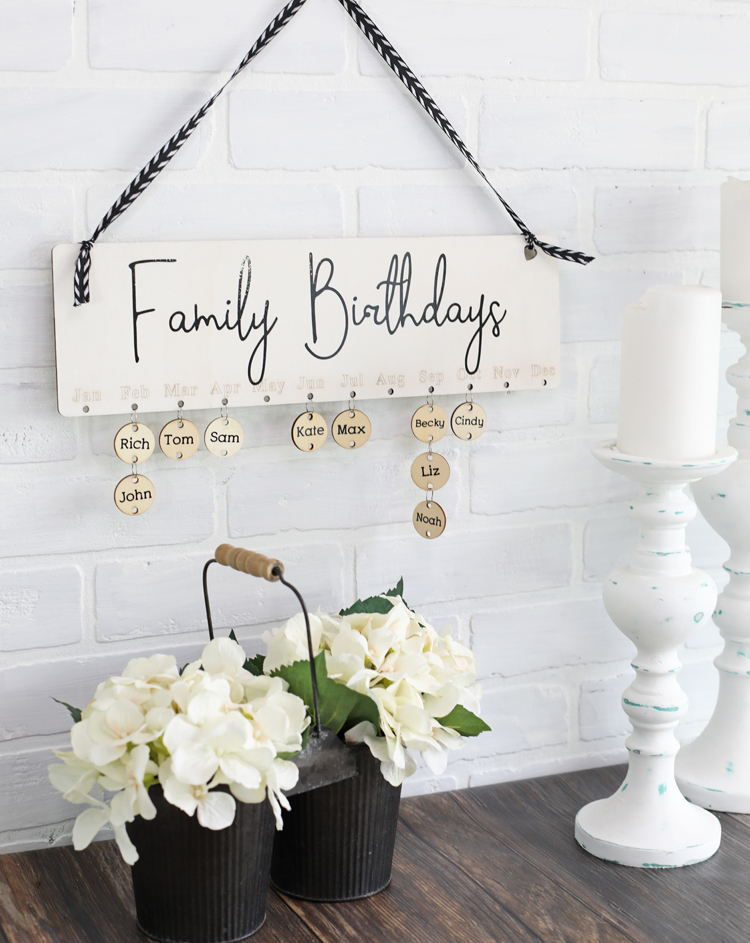
I kind of love the more modern farmhouse vibe of this sign. It’s definitely not toll-painted in 90’s colors. LOL. If you’re making this for yourself, you can customize it to fit the decor in your home. I also think this would make a fantastic group craft to work on for a girls night in or Super Saturday or craft club.

Comments & Reviews
I have made several of these over the last few years. I give them as gifts and the recipients are always thrilled.
did you cut out your own wood and what kind did you use? this tutorial looks like the woods thin….
Nope, I bought the whole kit on Amazon! I shared the link in this post.
I don’t have a cricut or silhouette yet want to use vinyl lettering. Do you know of any website or store I can ask to print and cut the lettering for me?
I’m sorry I don’t. Maybe check on Etsy?
Etsy has vinyl for these boards if you do not have a Cricut. Thanks for the tip from Amazon! Love this!
Where can I purchase the circles and clasps or the calendar kit?
I don’t know if you can purchase the circles and clasps separately. There is a link to the entire kit in the supply list on this post.
I bought my kits off Amazon. Wooden circles and hearts and the rings all together.
I’ve done this and love it!!! But…my hearts won’t lay straight, they turn ever which way. Is there a trick to make them face forward?
It looks like you printed the names with a cricut and then applied them, What type of material did you use to do that?
I used adhesive vinyl.