Create a beautiful mixed metallic fall wreath from scrapbook paper and rose gold vinyl cut with a Silhouette Cameo machine.
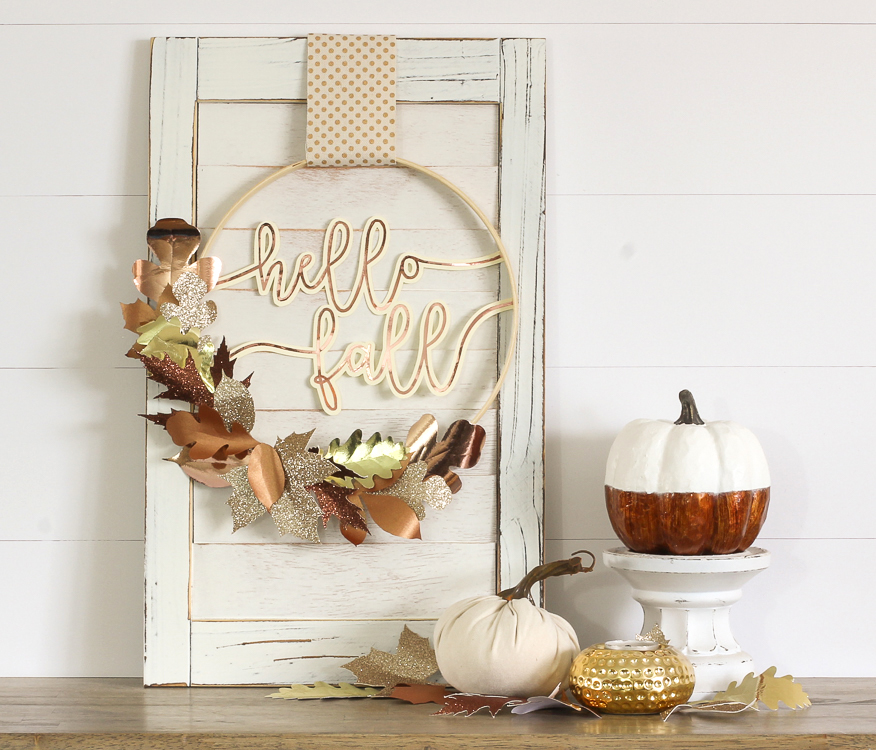
Fall is in the air here in Idaho and that means it’s time to bust out all the fall crafts! I love decorating my home for fall and this year I really wanted to try some new things. You saw my entryway’s nontraditional fall color scheme a few days ago. For the family room decor, I wanted to try mixing metallics. I decided to make fall leaves out of metallic and glitter scrapbook paper and they turned out SO. PRETTY.
Thank you to my awesome friends at Silhouette for sponsoring this post.
This step-by-step tutorial will teach you how to make a simple fall wreath out of metallic and glitter scrapbook papers and Silhouette’s new Rose Gold Vinyl.
To make your fall wreath, you’ll need:
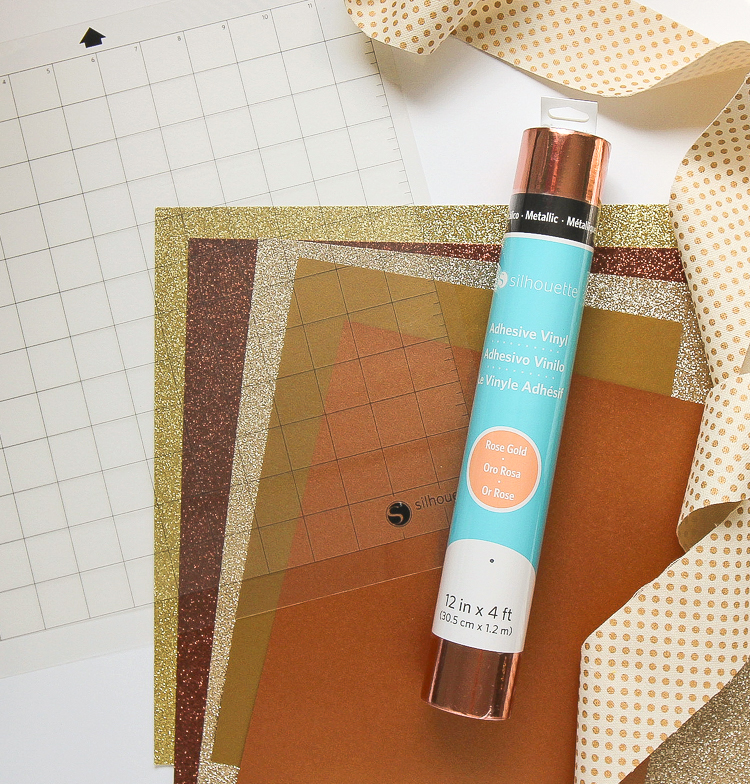
Materials
- 9″ wooden embroidery hoop
- Silhouette cutting machine
- Rose gold craft vinyl
- “Hello Fall” Silhouette cut file
- Transfer Tape
- Various metallic or glitter scrapbook papers in gold, copper, champagne, bronze and rose gold colors
- Ribbon (mine is from Hobby Lobby)
- Hot glue gun + gluesticks
Instructions
Step 1: We’ll start by making the words that go inside the wreath. You can download the words I created (link in supply list above) or use the “Offset” tool in Silhouette Studio to create your own words with an outline layer. Cut the back shadow layer out of cardstock, then cut the top layer from rose gold vinyl.
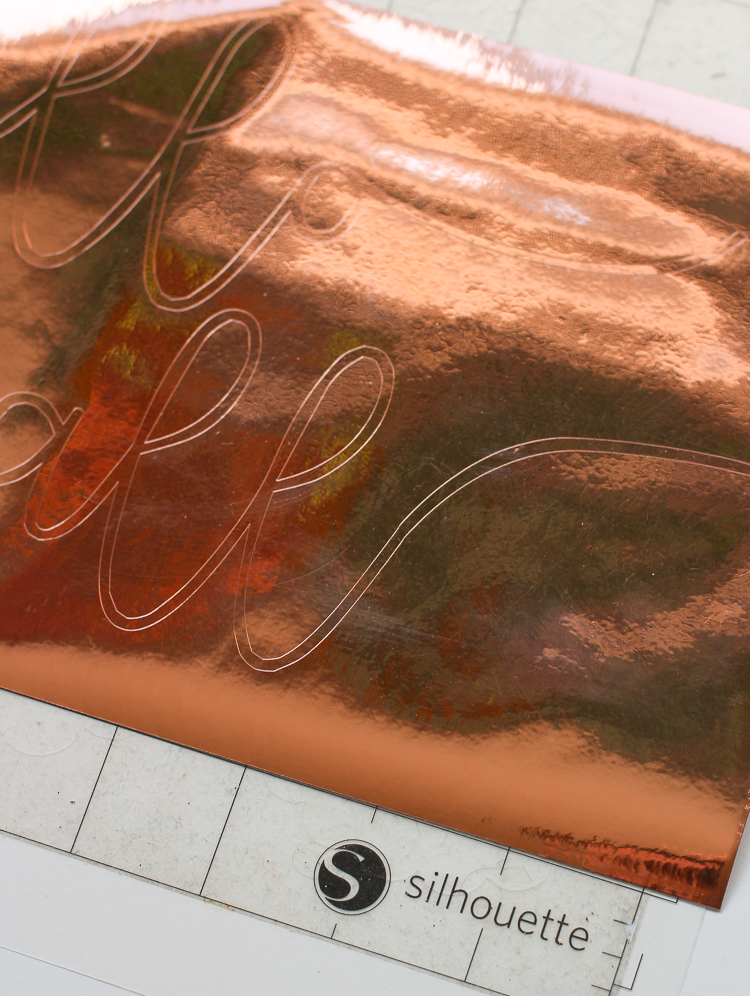
Isn’t this stuff pretty? Sooooo shiny!
After the design is cut, weed away the excess vinyl.
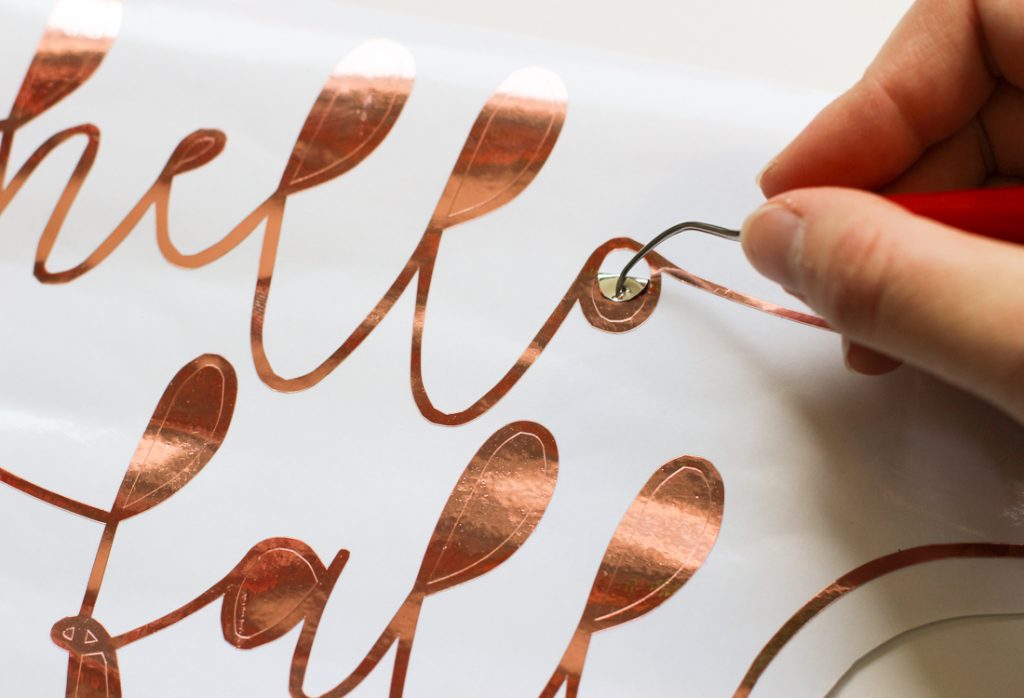
Use transfer tape to remove the design from the white paper backing.
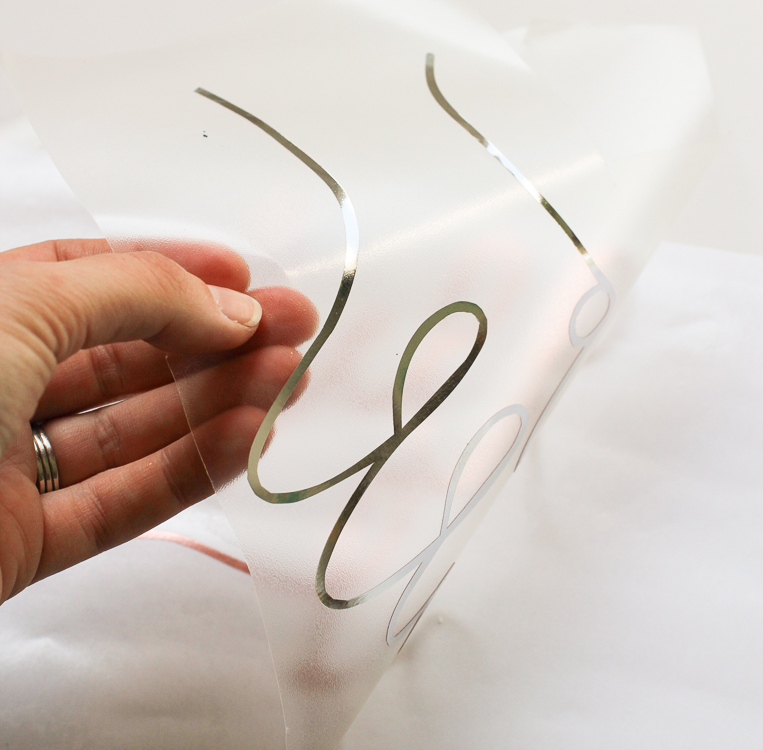
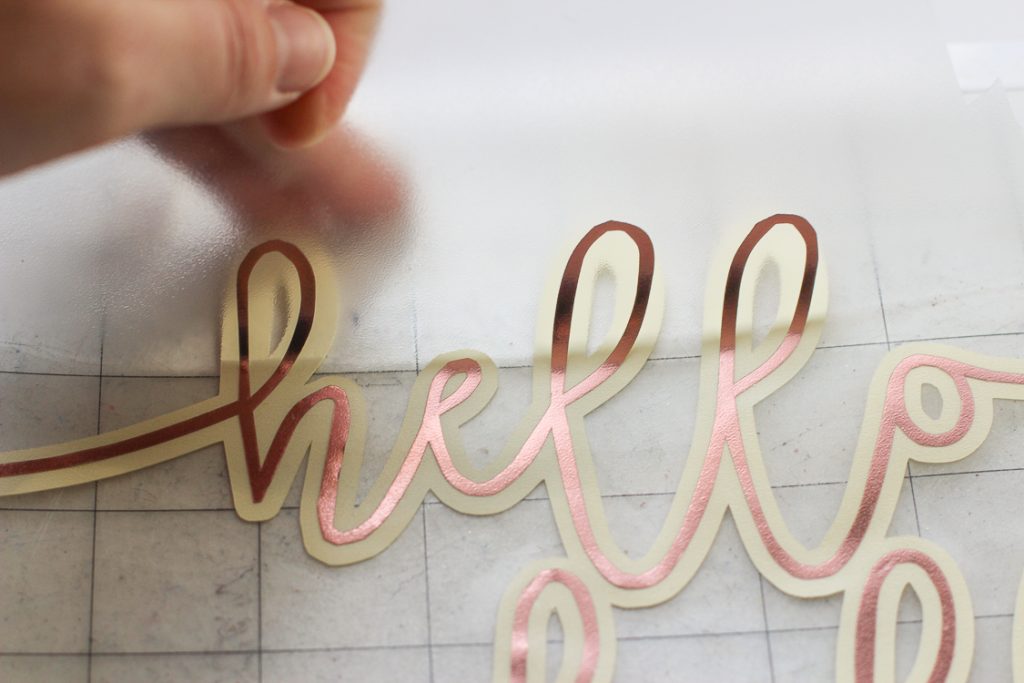
Then carefully layer the vinyl on top of the cardstock backing. I “hovered” the vinyl above the cardstock until I was sure it was lined up correctly, then pressed it into place and peeled away the transfer tape.
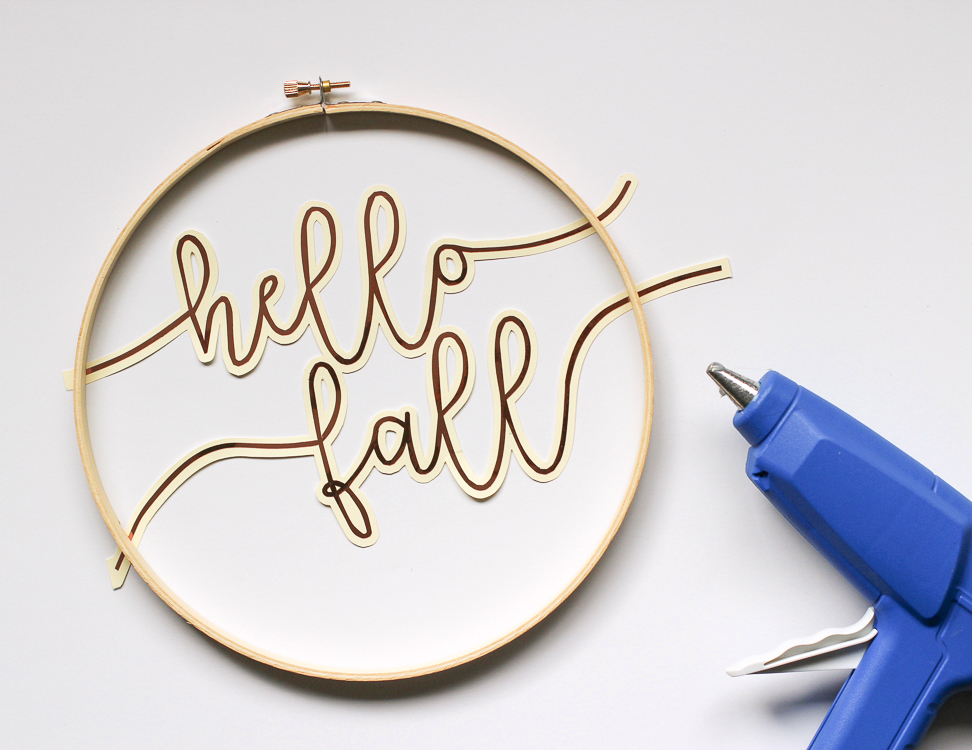
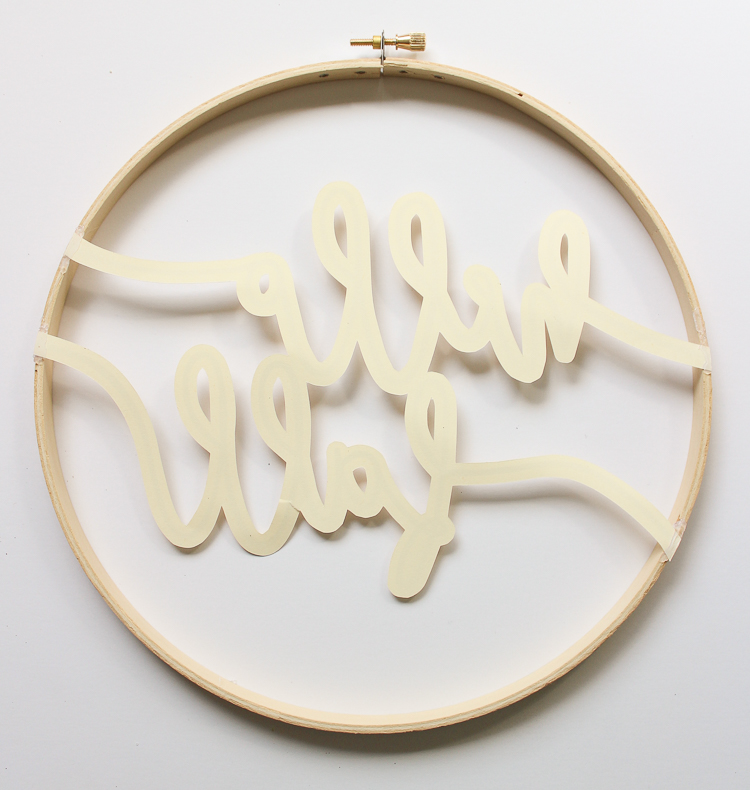
Step 2: Once the two layers are combined, place them inside the embroidery hoop. Attach the words with hot glue at the four edges where the swooshes touch the hoop.
Trim the excess off flush with the hoop.
Step 3: Download a few different leaf shapes from the Silhouette Design Store and arrange them in Silhouette Studio so that as many leaves as possible fit on a single paper. Adjust the cut settings and send them to the machine. Note that glitter cardstock is quite thick and will need a pretty deep blade setting to get a clean cut.
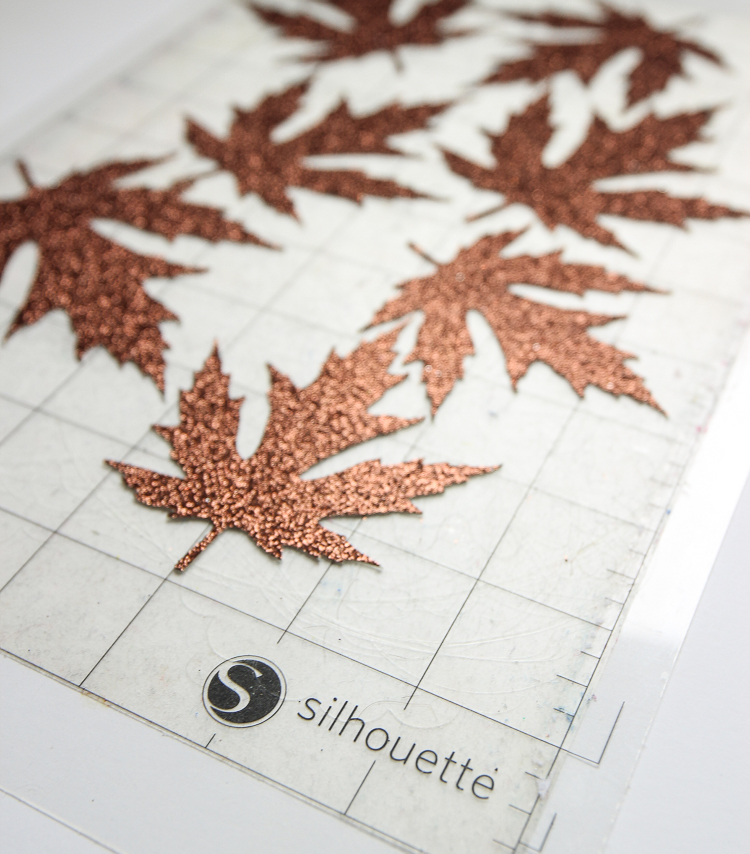
Step 4: After all of your leaves are cut, it’s time to shape them to look more realistic. If you have an embossing tool, that would work well. If not, the rounded end of a paint brush handle works well. That’s what I used. Place the leaves on a soft work surface like a self-healing mat or a folded up dish towel, then use the tip to press veins into each leaf.
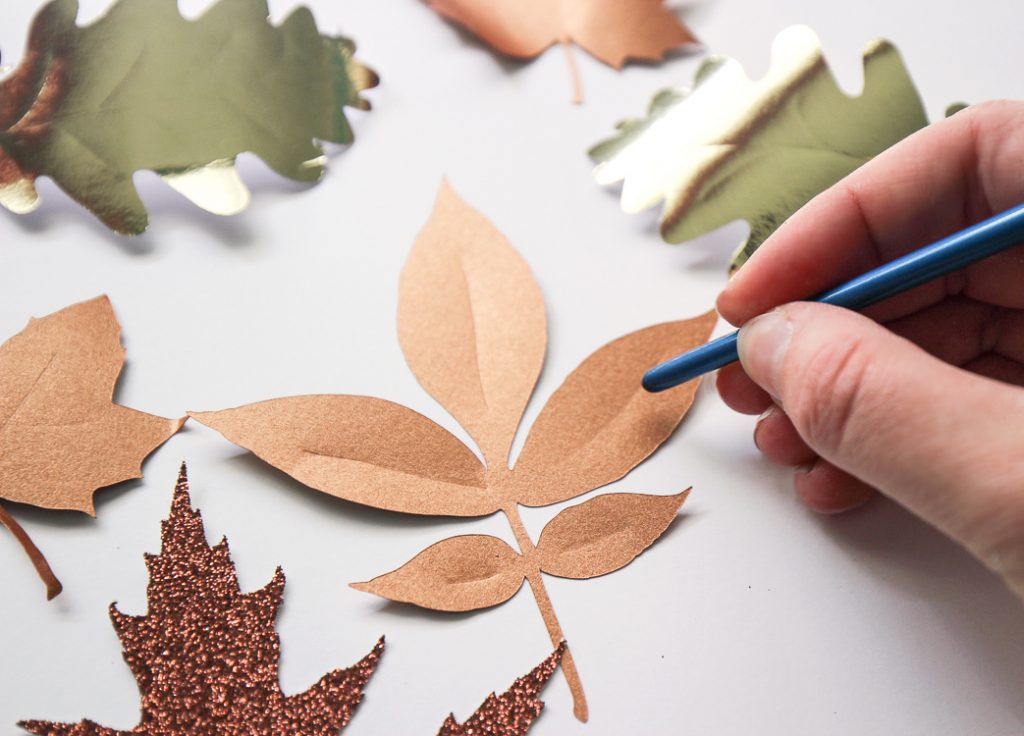
Then roll the paper around a pencil to curl the leaf ends. This step is super important. Look at these two leaves:
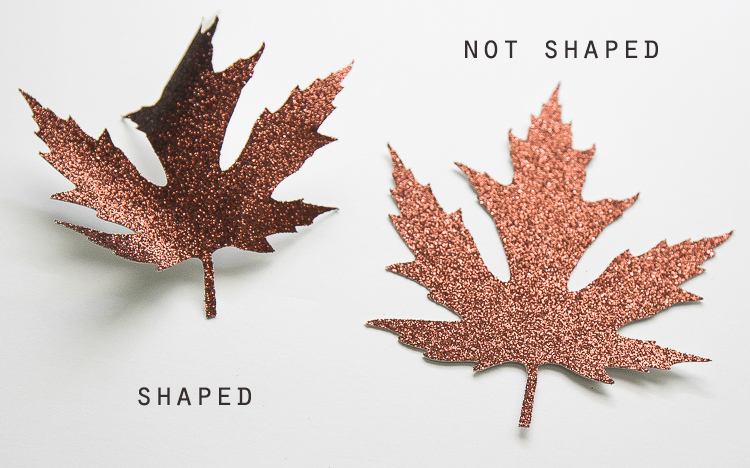
One looks realistic and one looks like it’s made of paper. Once you’ve added veins and curled the leaf ends, you’ll have a pile of gorgeous metallic leaves that look pretty amazing.
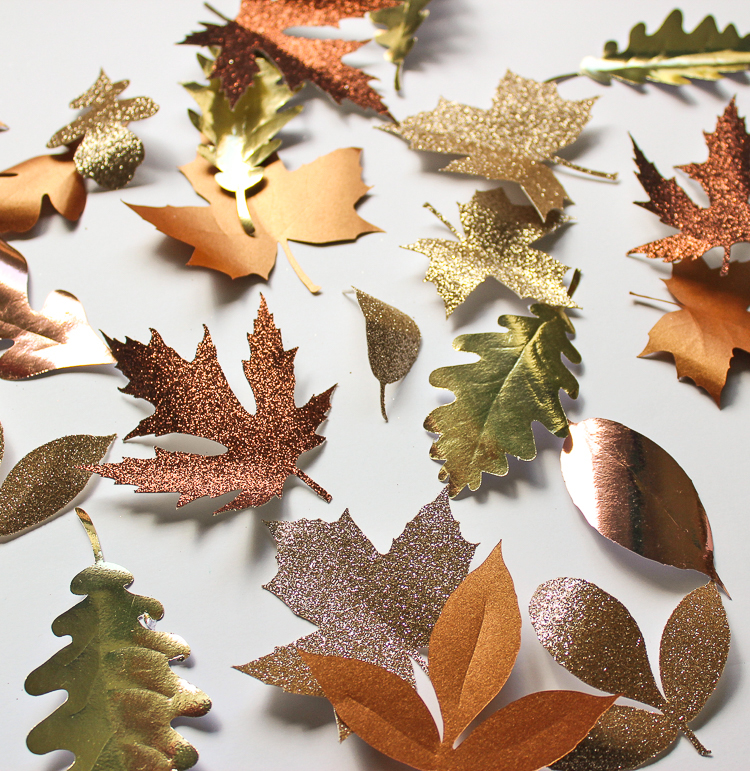
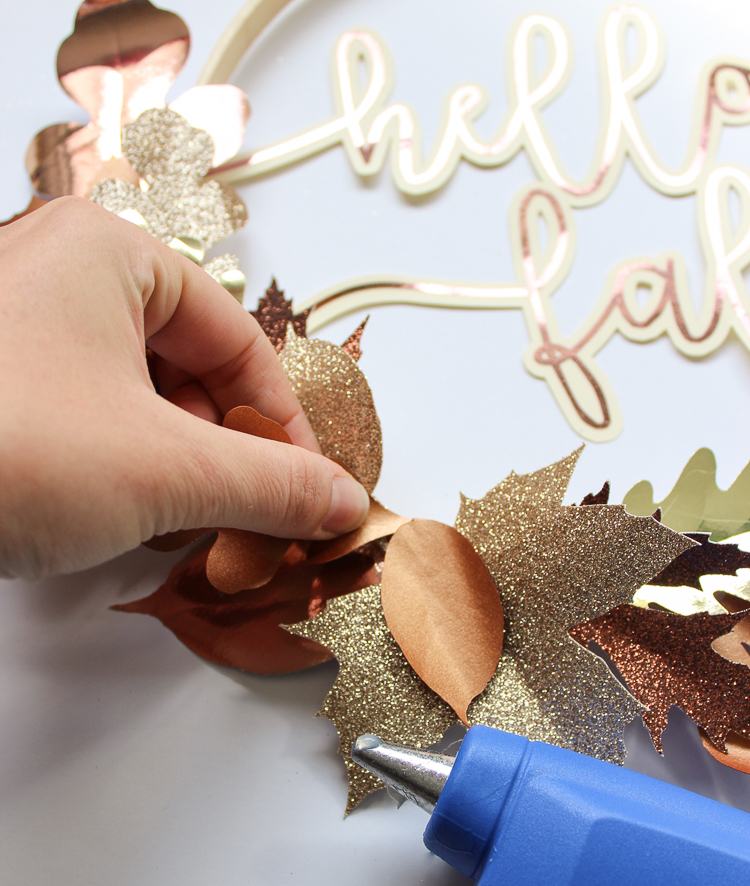
Step 5: Use hot glue to attach the leaves to the embroidery hoop.
Step 6: Add a ribbon to the top of the wreath for hanging, then find the perfect spot to hang your pretty new fall decoration!
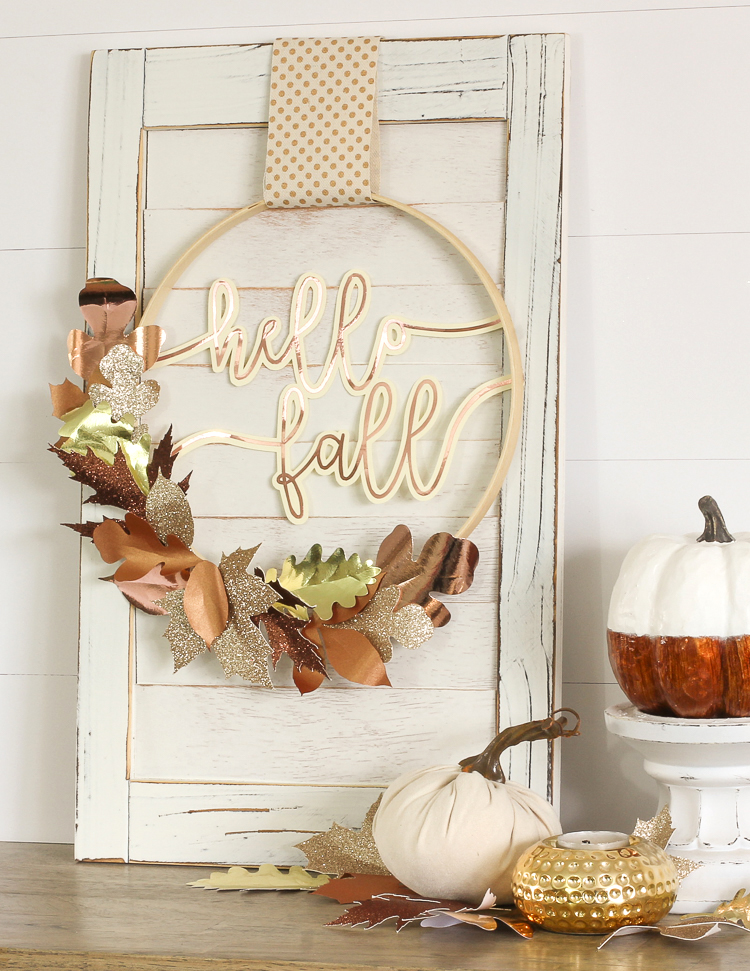
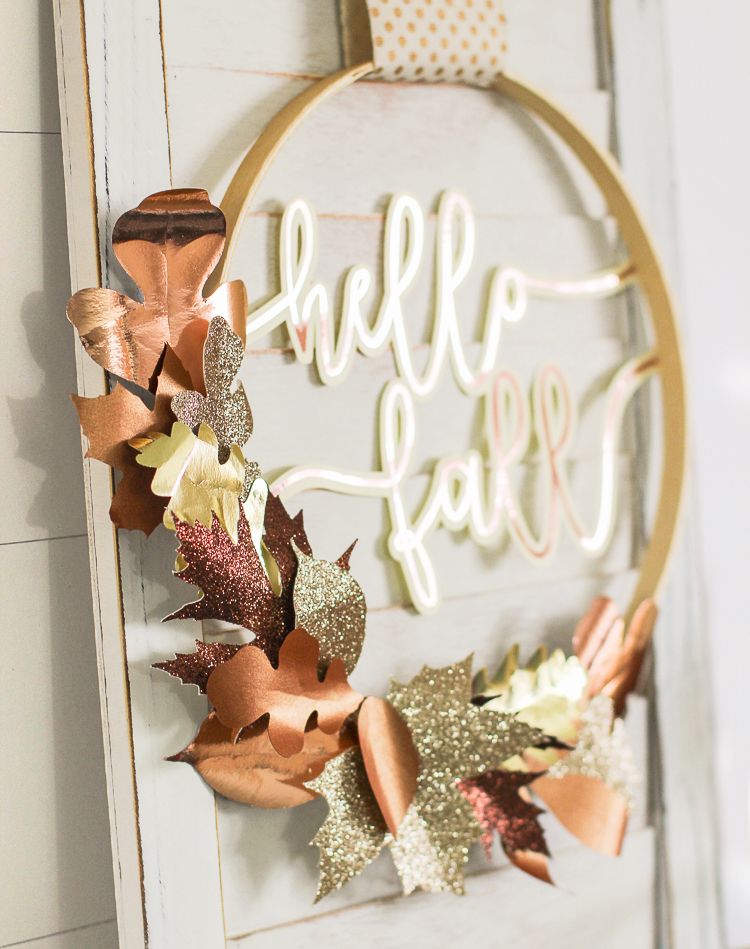
Aren’t the different metallic shades so pretty together? I love the sparkle and warmth they add to my fall décor. These metallic leaves would be pretty made into a banner or used as jar filler or even just scattered around a shelf or in a bowl.
Like this idea? Pin it!


Let’s Get Social
I’m sharing tons of fun ideas on my social channels and I’d love for you to join me there.