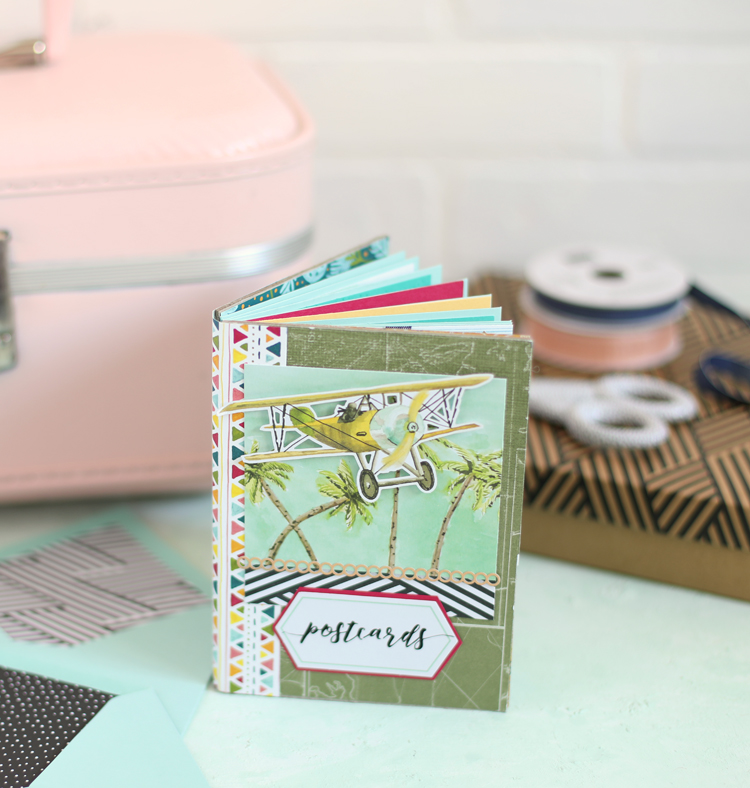
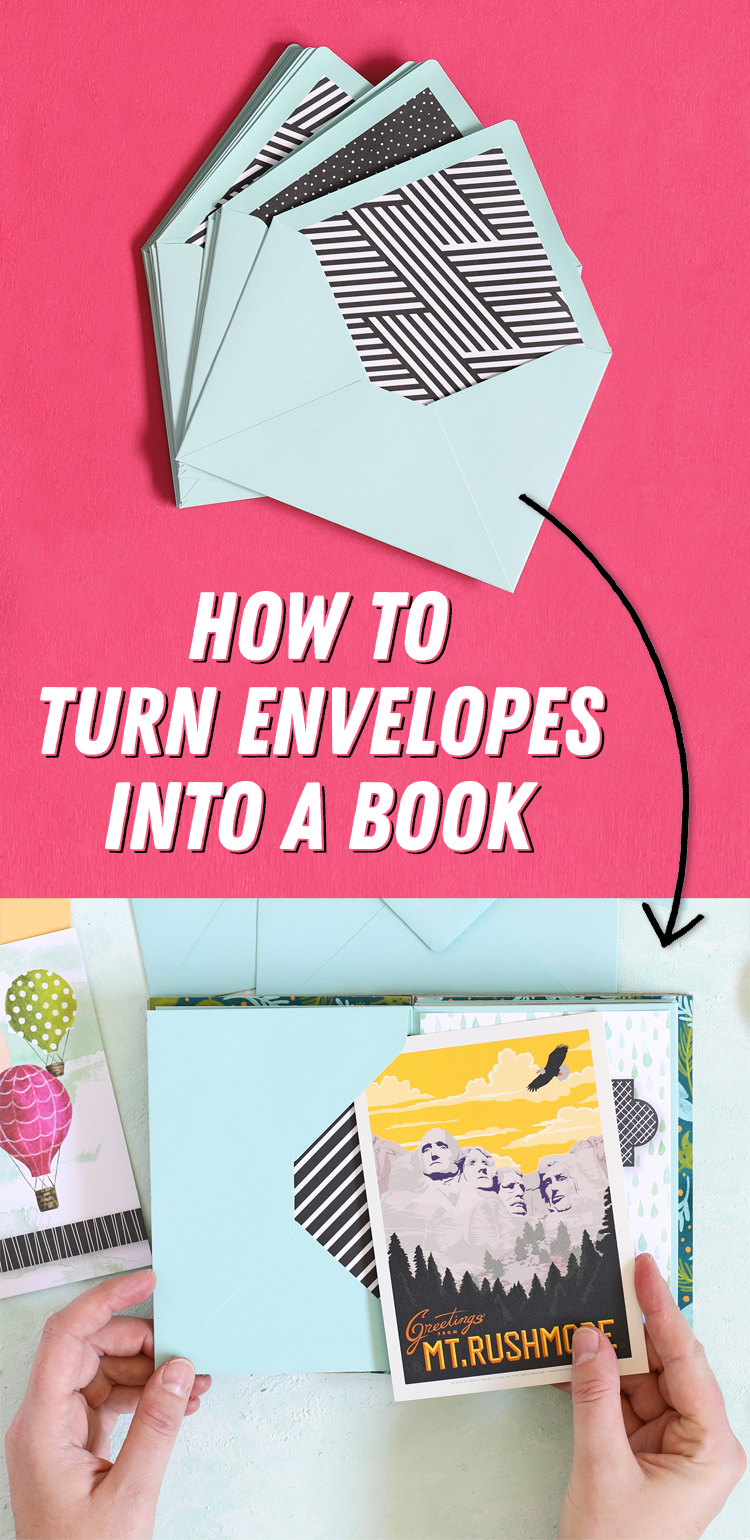
Learn how to make a mini book out of envelopes. This envelope book will be used to store a post card collection.
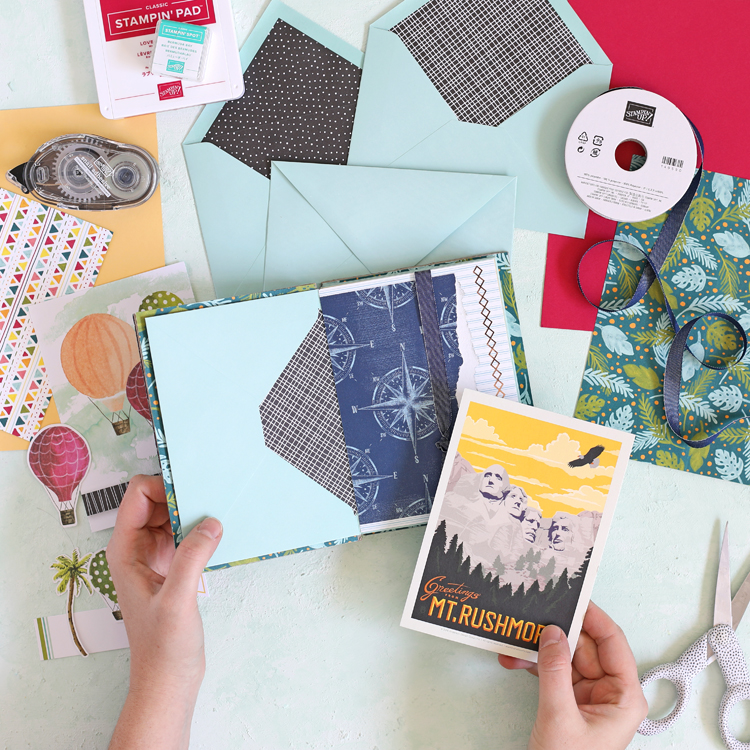
My daughter has been collecting postcards on every family trip we’ve taken over the last few years. I thought it would be a special gift to make her a mini album to store her post card collection in. I recently received the Looking Up Card Kit from Stampin’ Up and knew it would be the perfect base for making an envelope book. The travel themed graphics are darling and the envelopes are the perfect size to hold postcards!
It’s not too hard to make an envelope book and they can be used for so many different purposes. Today I’m going to walk you through the ins and outs of creating a book from envelopes and I even have a video tutorial to guide you. Let’s get started!
Thank you to my sponsors at Stampin’ Up! for making this post possible.
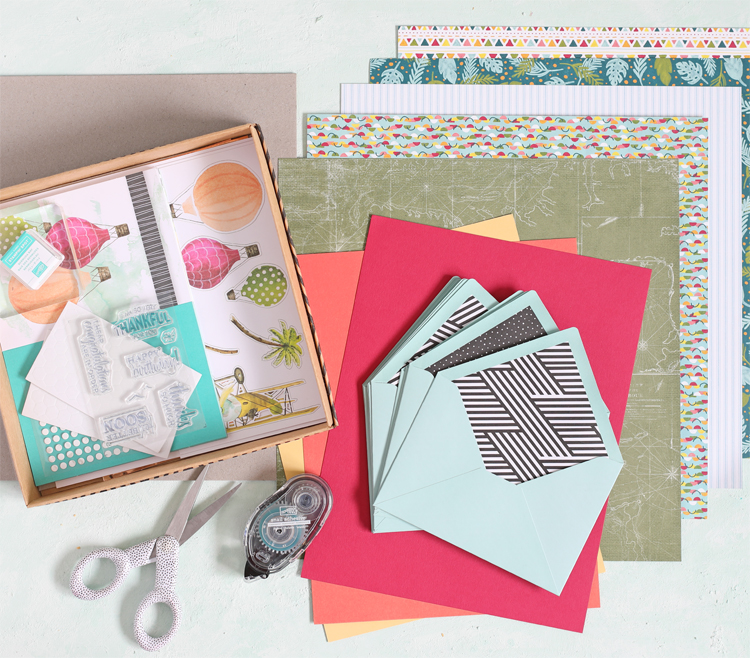
Materials Needed
- 8-12 Cute Envelopes – I used the Looking Up Card Kit
- Assorted Cardstock and Patterned Paper
- Chipboard
- Adhesive
- Scissors or Paper Trimmer
Don’t forget there’s a video tutorial at the bottom of this post. If any of the steps seem confusing, the video will help clear things up!
Instructions
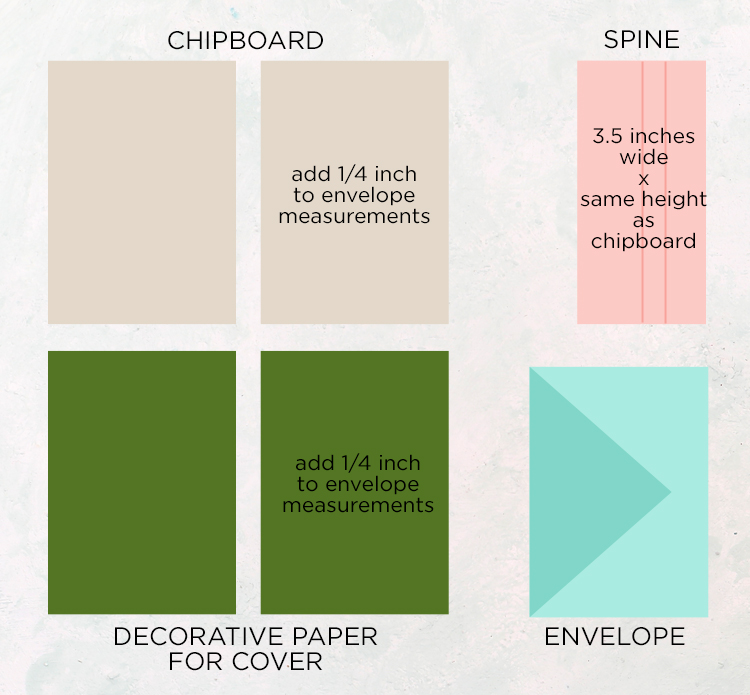
Step 1: Cut two 4 5/8 x 6 3/8 inch pieces of chipboard. If you are using different envelopes, measure them then cut the chipboard to be 1/4 inch larger (length and width) than the envelopes.
Step 2: Cut decorative paper to the same size as the chipboard and attach it to one side.

Step 3: Cut a 3.5 x 6 3/8 inch piece of cardstock for the spine. If you are using different envelopes, keep the 3.5 inch width the same and cut them the same length as the chipboard.
Step 4: Make two score lines in the spine piece of paper. Make the first score line 1 inch in from the right side and the second score line 2 inches in from the left side.
Here’s a chart to help you sort out all of the measurements:
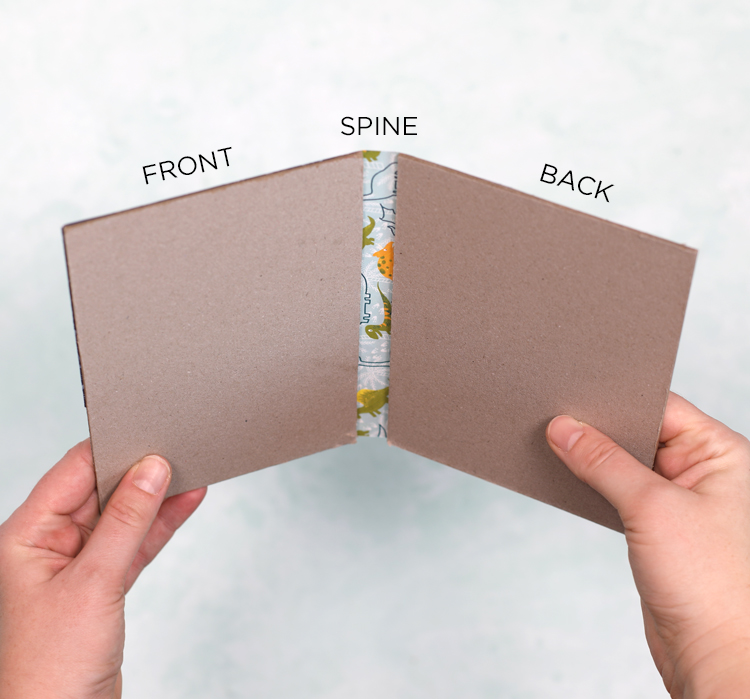
Step 5: Use the scoring lines to line up the front and back chipboard pieces and glue in place. The spine should overlap 1 inch on the front cover and two inches on the back cover, with a 1/2 inch gap in between.
Step 6: Place all of the envelopes into a stack flap side up. Make sure they are all facing the same direction. Put adhesive along the triangle flap, then stack the next envelope on top of it, lining it up on all sides. Watch the video below if you’re unsure about this step.
Step 7: Glue the envelope pages into the book cover. Remember the book cover is slightly larger than the envelopes, so line up the inside edge of the first envelope and the inside front cover and then leave a 1/8″ border showing around the other three sides. Line up the straight edge of the triangle shaped flap with the inside edge of the back cover and glue it down too.
I have found that it works better to apply adhesive to the paper and then press it to the chipboard. Sometimes if you apply adhesive to the chipboard first, it tears away and doesn’t stick as well.
Step 8: Decorate! It’s time to add embellishments and all of the fun details. The card kit comes with lots of cute elements that are travel themed. I also cut the cards themselves in half and used them as decor.
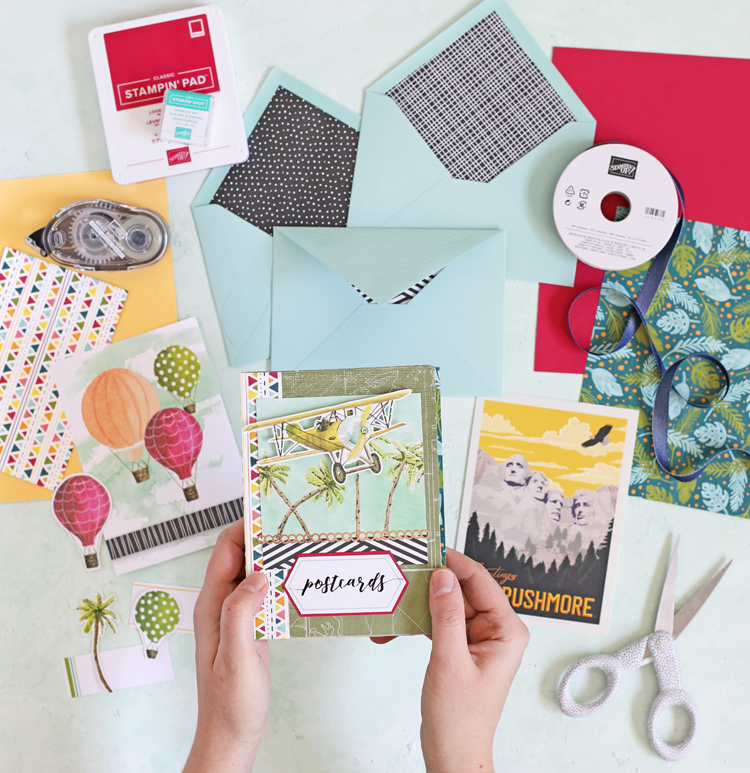
I’ve seen these envelope books used all sorts of ways. They’d be perfect for storing cherished Christmas cards, you could turn them into a recipe book, use them as a scrapbook mini album and put keepsakes in the pockets… so many fun possibilities!
ENVELOPE BOOK VIDEO TUTORIAL
Like this project? Pin it so you don’t forget it!

Comments & Reviews
VERY COOL 👍🏼👍🏼♥️👏🏼THANKS FOR Sharing!! VERY HANDY How You DID the EXTRA Cardboard on IT!! SO The holes DONT tear😱👍🏼Our Grandkids ARE at AGE , You Know where EVERYTHING is A TREASURE!!! The Biggest Thing IS IT WOULD be FUN for THEM to HELP make And Decorate it🥰Even For Mother’s Or Father’s Day.Weve MADE the Slime AND THEY THINK THAT ITs COOL👍🏼G-d♥️BlessAnd THANKS AGAIN 😊
I can’t see a video except for gluing the envelope stack, is there another?
Yes, there’s a video under the large words “Envelope Book Video Tutorial”
Really wanted to make this project , and was happy to see there was a tutorial. Only problem was the tutorial was ads and only the first few moments were a tutorial. After the 3, or fourth add I gave up watching. Sad.
I’m really sorry that happened to you! I contacted the company that runs my videos for me and have asked them to prevent that from ever happening again.
I would love to see the different things you make .
I love this website! We’re visiting my out-of-state son, daughter-in-law and family in Sept and I promised my granddaughter we’d concentrate on special crafts while we’re there. This is a perfect way to document our visit with pictures!! (As well as a special letter to my granddaughter) 😊
Thank you!!
What a wonderful idea!
I’d like to make these books for my kids to have when they are gone with other family for a period of time. They could open each envelope on a day with a note, picture or fun little treat. How many envelopes could a book like this hold?
Ì am a newbie and this looks perfect to make a birthday book for my grown daughter!
I have always had trouble with making a spine on a booklet. Your directions were so easy to follow. Thank you.
Looks interesting, thanks for sharing!