It’s easy to make your own custom DIY ear muffs with the help of a pre-made kit. All you need is the kit and fabric of your choice!
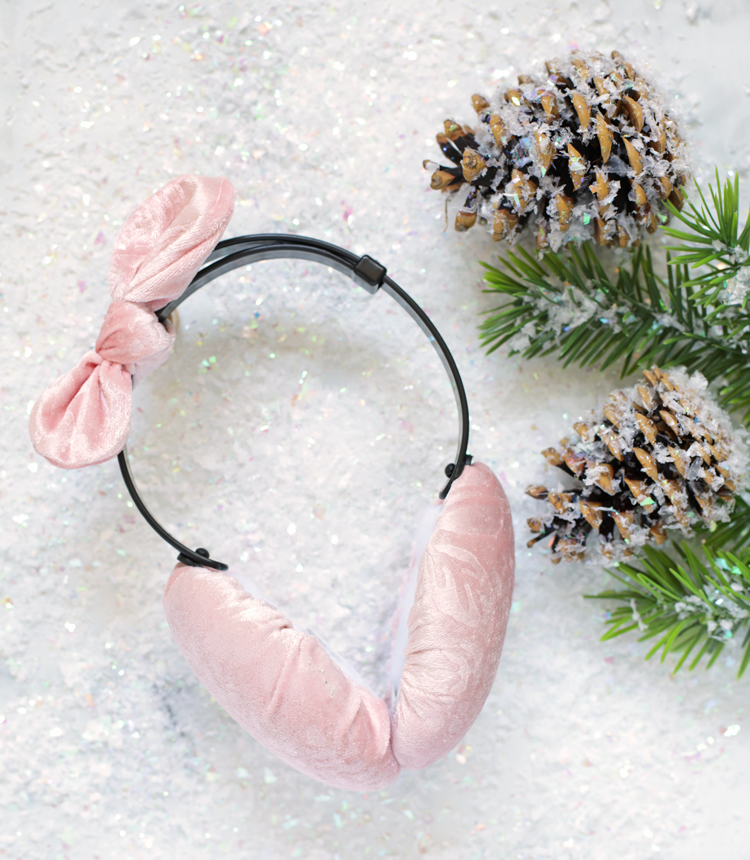
The weather is cooling down and winter is a-comin’. Keep your ears toasty warm with a cute pair of custom ear muffs. They’re easier to make than you would think thanks to a pre-made ear muff kit. All you have to do is a bit of sewing and gluing and your ear muffs will be done in no time.
Watch this short video tutorial to see how easily these DIY ear muffs come together.
DIY EAR MUFF VIDEO TUTORIAL
Materials Needed
- DIY Ear Muff Kit – The frames come in black or white
- Fabric – Approximately 8″x16″
- Hot Glue Gun + Glue Sticks
- Sewing Machine
- Matching Thread
- Free Fabric Cutting Guide (Download and print)
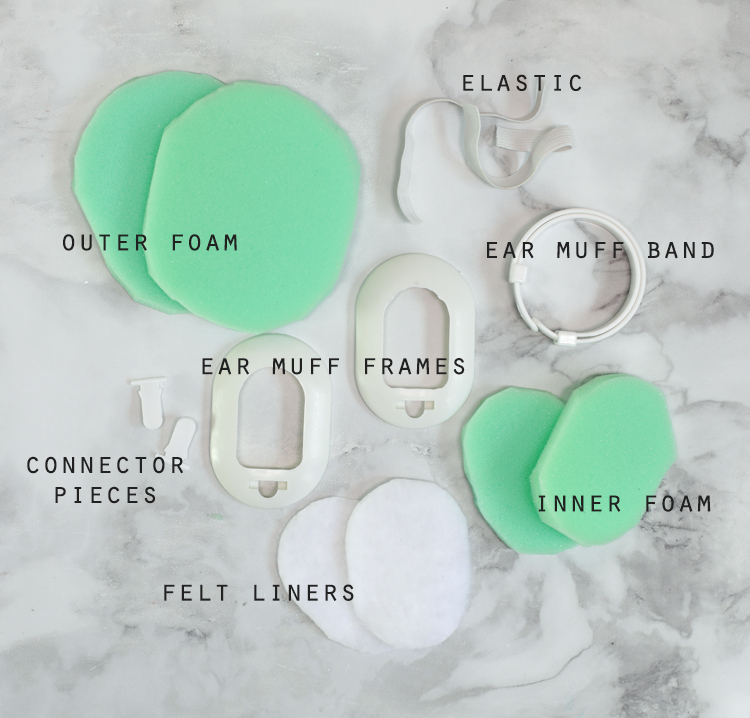
Here are the pieces included in the ear muff kit:
Assembling the Ear Muff Frame
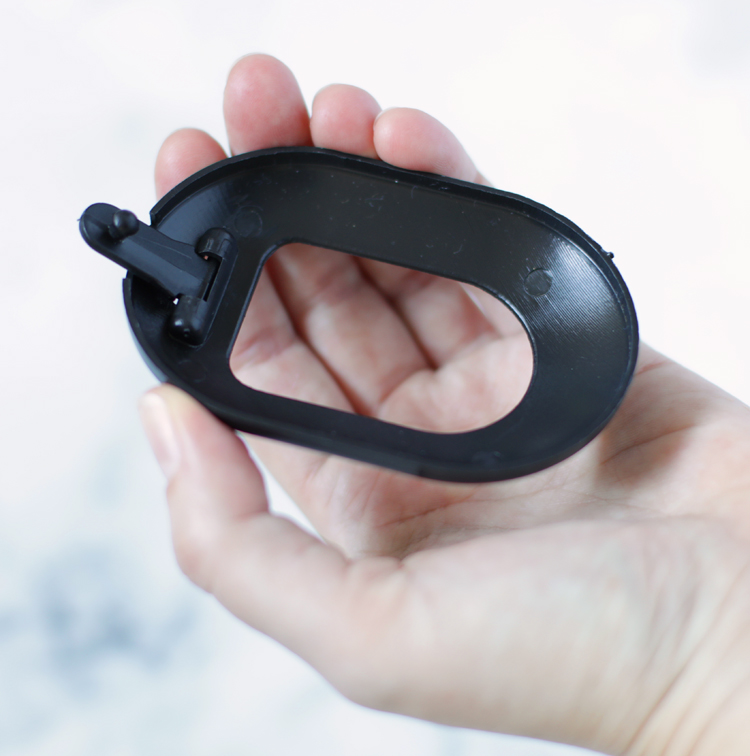
Step 1. Snap the connector knobs into the slot on the ear muff frames. Look closely at this picture so you don’t put them in backwards. They must go in this direction:
Step 2. Run a bead of hot glue on the inside of the frame, then press the inner foam piece in to place.
Step 3. Glue the felt liner piece on top of the inner foam piece, with the fuzzy soft side facing out.
Step 4. Glue the outer foam piece to the outside of the frame, making sure it’s centered.
Step 5. Repeat for the other ear piece.
Sewing the Fabric Ear Muff Cover
Step 1. Cut out two pieces of fabric using the printed pattern piece as a guide.
Step 2. Place the elastic on the RIGHT side of the earmuff cover material. Sew the elastic to the earmuff cover, starting with a back stitch to hold it in place. Follow the edge of the earmuff cover closely, pulling the elastic tight and scrunching the fabric a bit to make that small piece of elastic stretch all the way around the fabric’s edge. The two ends of the elastic should meet to form a circle.
Step 3. Stretch the fabric cover over the ear muff frames.
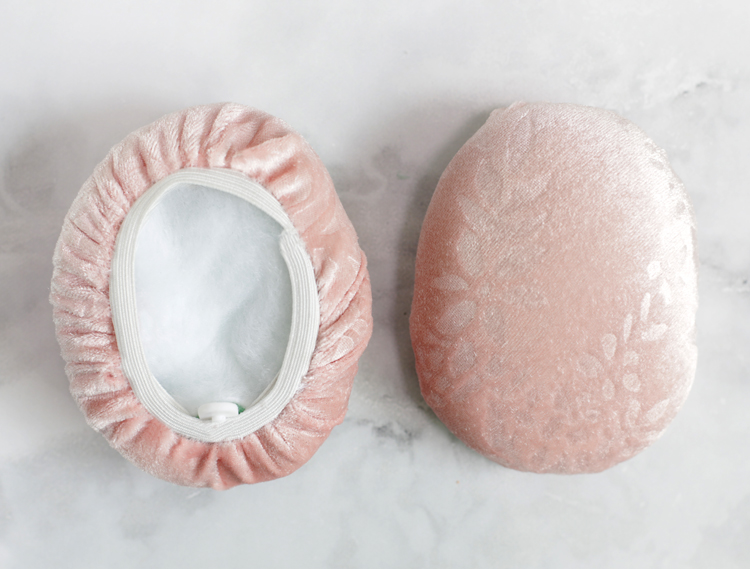
Step 4: Slip the holes on either end of the ear muff band over the connector pieces on both sides until you feel them click into place.
There are a thousand ways you can customize these ear muffs to match your personality. I made the pink pair for my daughter, so I decided to add an easy fabric bow just for fun. To make one, cut two 9 inch x 2 inch rectangles, round off both ends, then sew right sides together around the sides, leaving a hole for turning.
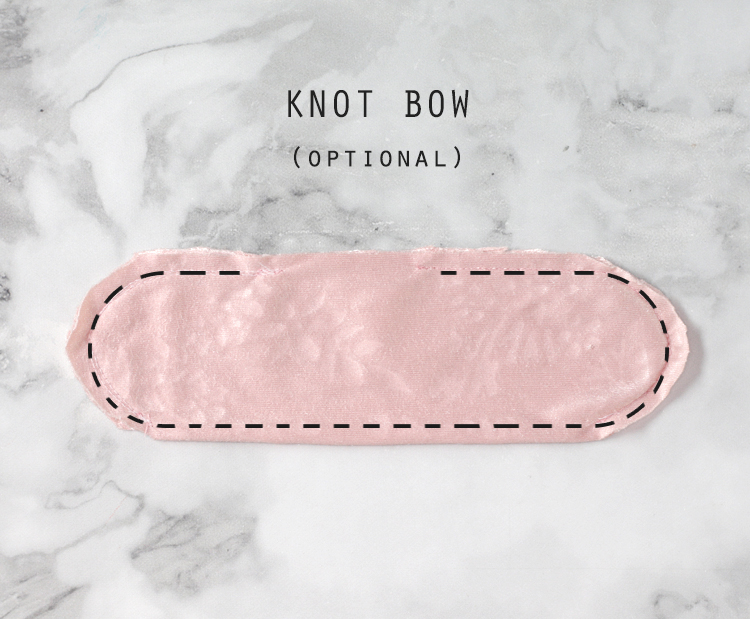
Flip it right side out, then tie it onto the ear muff band to form a bow.
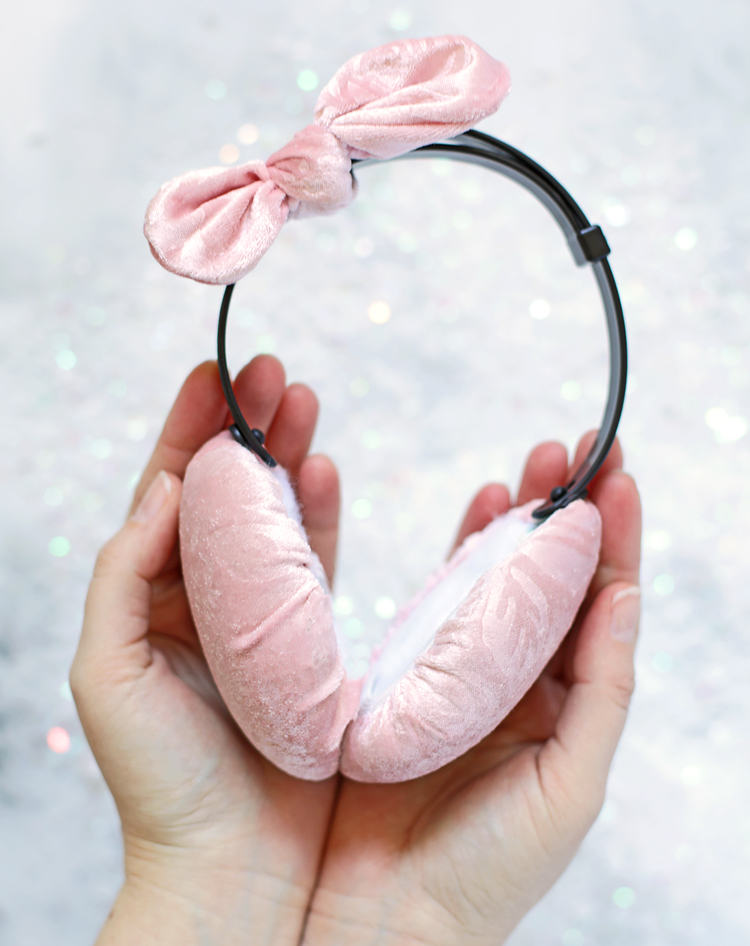
It’d be cute to add little animal ears to the muffs or to applique animal faces onto the fabric. My friend Amy made ear muff covers out of recycled sweaters and she made a pair of fuzzy owl ear muffs too! Anything goes, so get creative.
Like this project? Pin it so you don’t forget it!

Comments & Reviews
Thank you sooo much for this graeat tutorial. I have searched everywhere trying to find good directions to do this.
I really like the visual with the video too. So helpful!