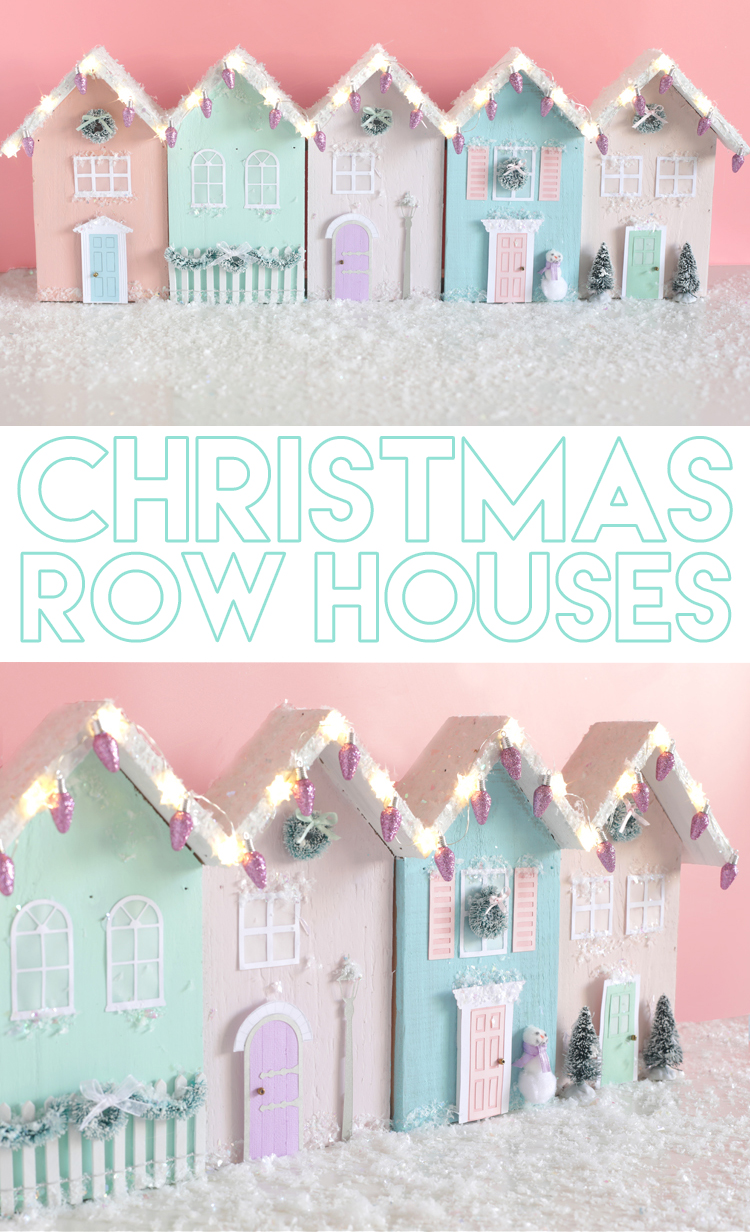
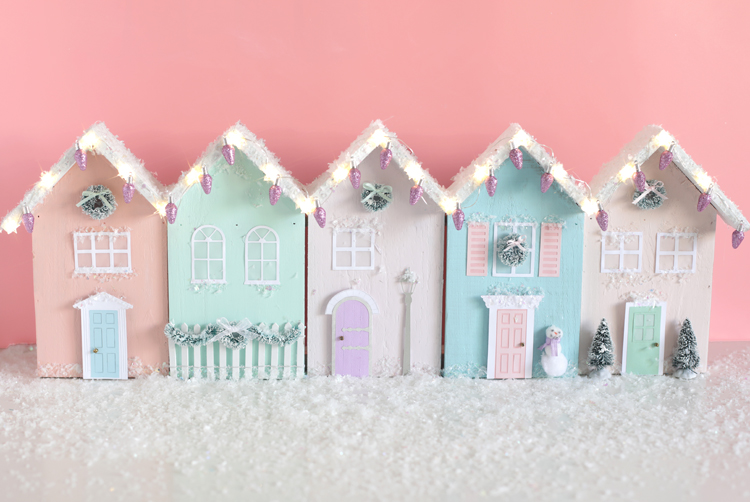
Make adorable miniature Christmas row houses with lights to add whimsical charm to your decor this holiday season.
I’ve got such a fun craft for you today. Yes it’s a little early for Christmas, but if you do a handmade Christmas you have to start early! Today I’m going to show you how to make these stinkin’ cute mini Christmas houses. It all started when I saw this at Hobby Lobby:
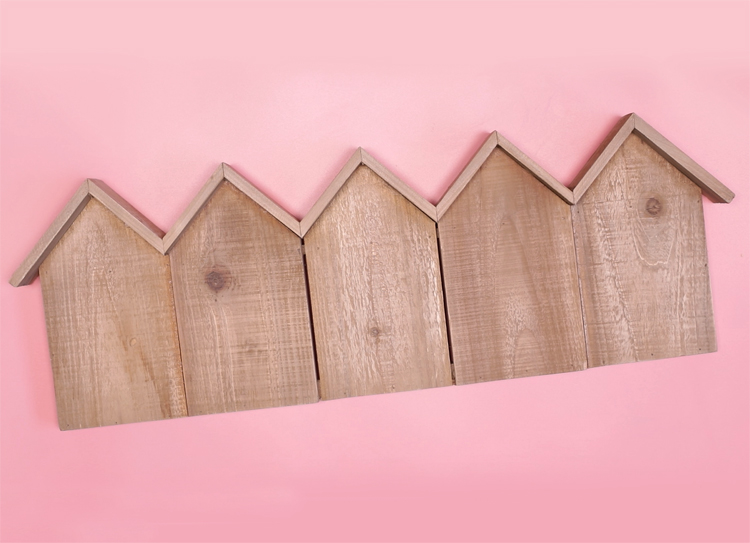
I couldn’t stop thinking about how cute it would be as a little row of Christmas houses. Maybe it’s because I visited Charleston, South Carolina this past summer. I just had to make my own little Rainbow Row Christmas style.
A big thank you to my sponsors at Hobby Lobby for making this post possible.
Here’s how you can make your own little Christmas village. If you’d rather watch a VIDEO TUTORIAL, scroll to the bottom of this post!
Materials Needed:
- Rustic Birdhouse Wood Panel
- Craft Paint
- Cardstock and Vellum, Assorted Colors
- Fine Tip Glue Pen
- Assorted Miniatures: Wreaths, Trees, Picket Fence, Etc.
- Battery Operated Fairy Lights
- Mod Podge
- Glitter Snow
Step 1: Paint the wood. I chose vintage pastel colors just for fun, but you could definitely go more traditional with red and green. Paint the roofs white so they look like they’re covered in snow.
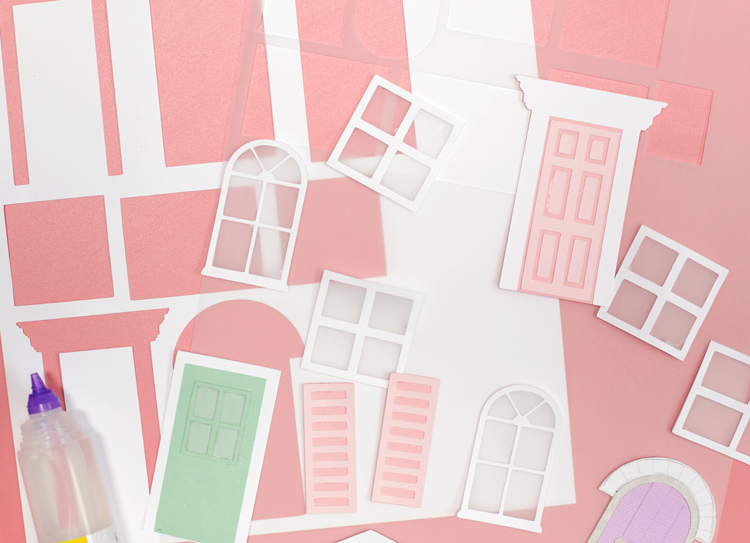
Step 2: Make all of the windows and doors. I used my handy Silhouette Cameo machine and downloaded pre-made designs from the Design Store (here, here, here and here). If you don’t have a craft cutting machine, you can definitely cut these by hand, it would just take longer. I lined all of the windows with vellum to mimic the look of glass. It worked surprisingly well! I recommend using a fine-tip glue pen to glue all of these small pieces together. I lined the back of each door with a piece of craft foam to make them stick up off of the houses and add dimension.
Step 3: Add details. I added miniature wreaths and trees, a little snowman made of pom poms and a mini picket fence. To make the garland on the fence, I cut up two of the mini wreaths. The knobs on the doors are little golden beads. Don’t skimp on the details… that’s what makes this project fun!
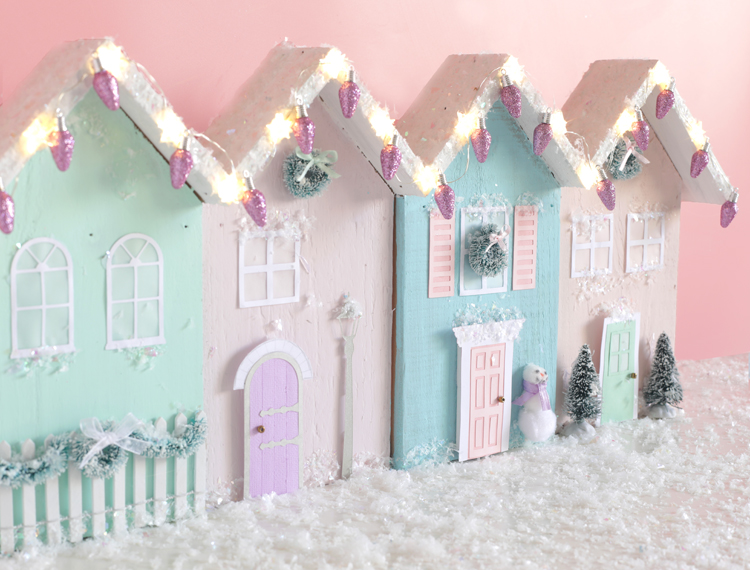
Step 4: Brush Mod Podge anywhere you want snow to pile (along the bottom of the houses, on windowsills, on the roof, etc.) then sprinkle the fake snow onto the wet Mod Podge to make it stick. It’s best to work in small sections so the glue doesn’t dry before you can sprinkle it with snow.
Step 5: Add lights! I used hot glue to secure little LED star shaped lights all along the rooftop. Then I glued fake mini Christmas bulbs on top just for fun. Glue the battery pack to the back of the sign, making sure you can still access the batteries and on/off switch.
Then turn those lights on and watch the whole project glow.
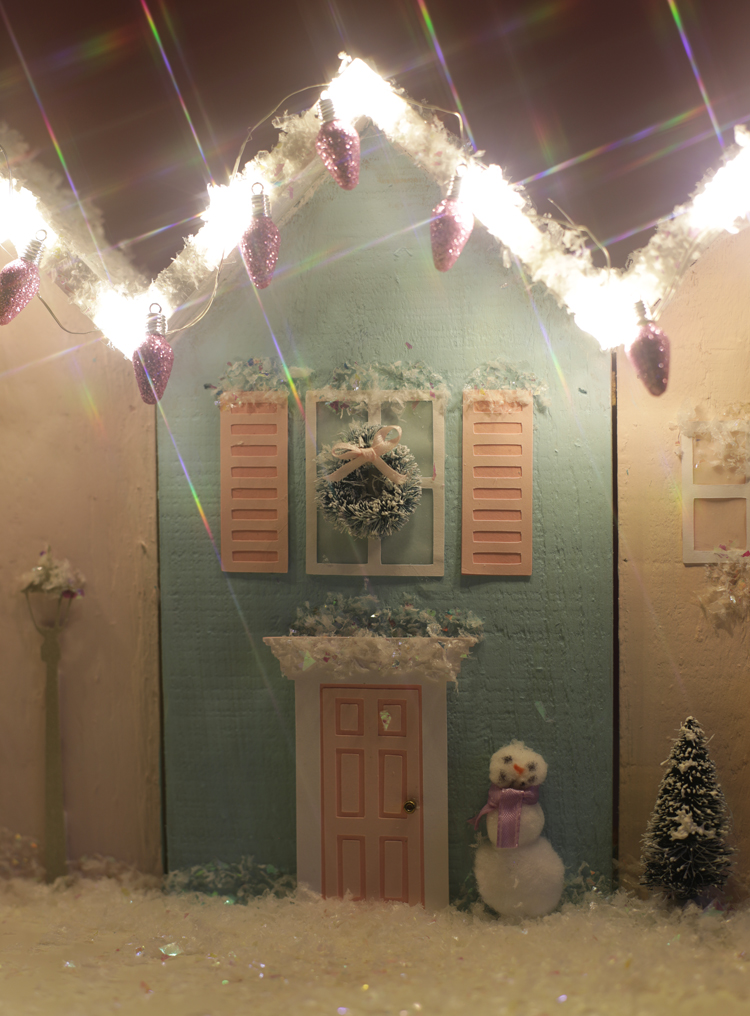
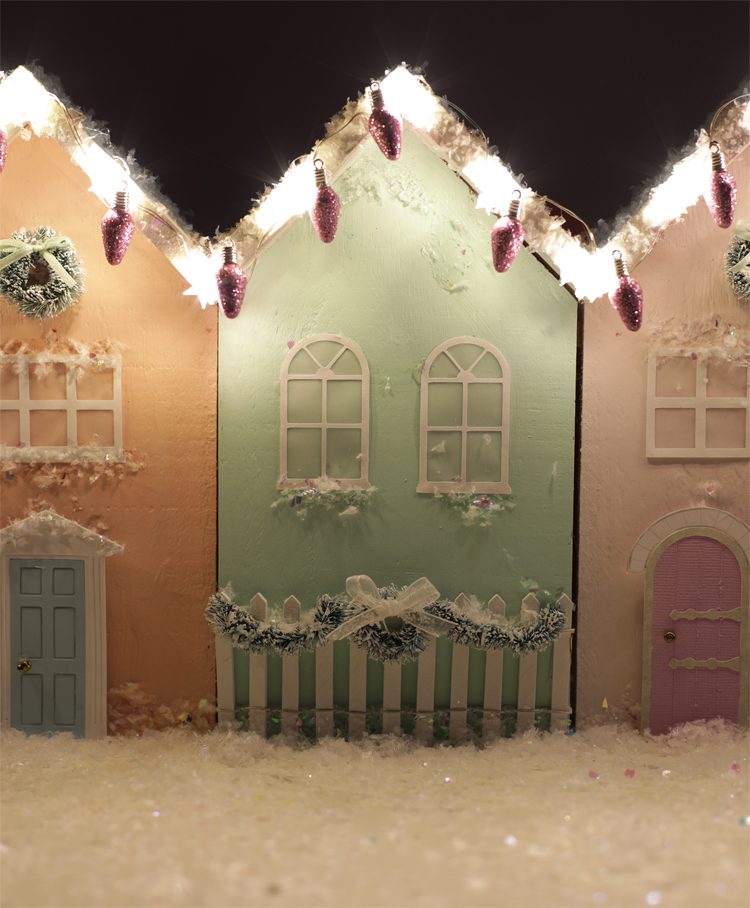
Ahhhh!!!! Too cute to handle!
Miniature Christmas Row Houses Video Tutorial
Like this project? Pin it so you don’t forget it!
Don’t forget to print out a coupon (or pull it up on your phone) before you head to the store. It’s always nice to save a little cash.
This post is sponsored by Hobby Lobby. All opinions are my own.

Comments & Reviews
Where can you download the windows abc doors to print. Can you do it from a printer? You used silhouette cameo can you use a Cricut? I may buy one and was leNing towards cricut.
I used my Silhouette Cameo to cut out the windows and doors. Silhouette has a library of cut files you can purchase (most are about $1) and that’s where I found the windows and doors I used. I don’t own a Cricut machine so I don’t know what is available for it, but you could definitely try Googling door and window images and printing them out.
Hi, I hope you can still reply to this. I have the files from silhouette, but there is no instruction on how to put them together. Can you help? For example, the purple long hinged door has 3 arch pieces. So how is that assembled? There are extra pieces for each door and I’m so new to this I’m not sure how to put them together. Thanks so much!