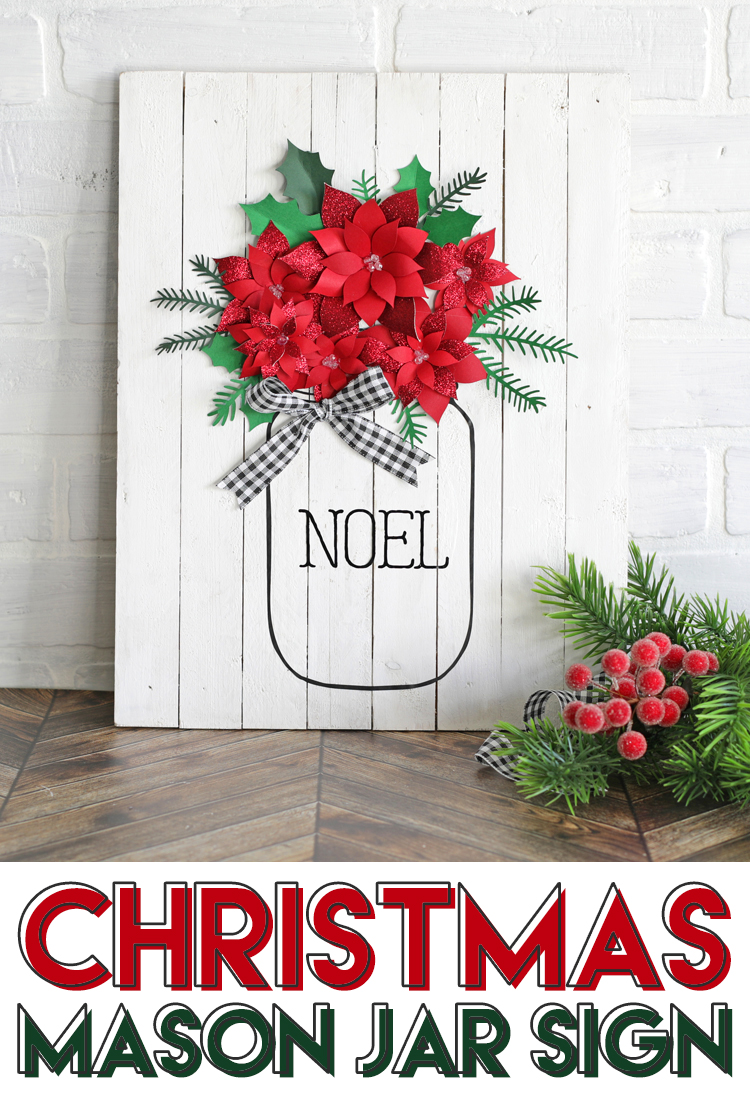
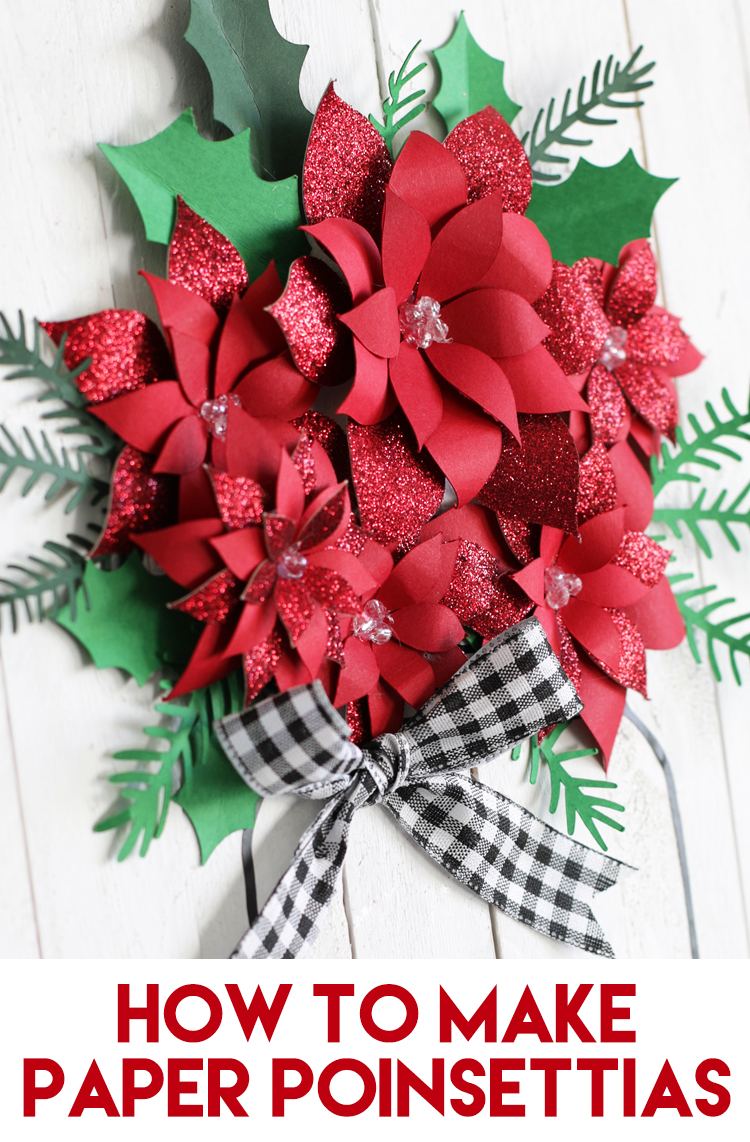
Learn how to make an adorable DIY wooden Christmas sign featuring a mason jar filled with glittery paper poinsettias.
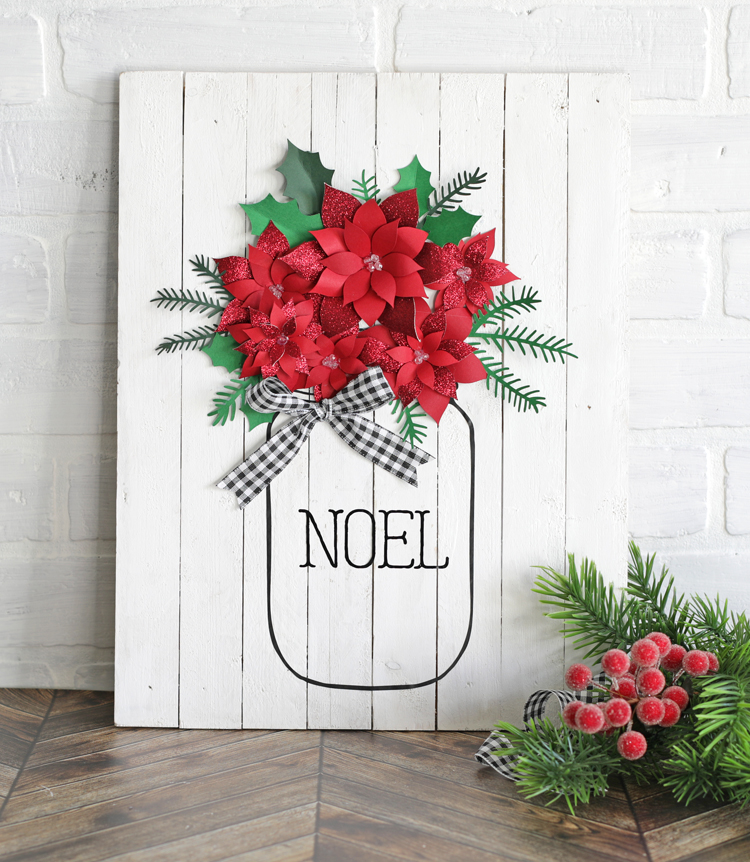
It’s so fun to DIY signs, especially for the holidays. They make the best Christmas decorations and they’re also fun to give as gifts.
Today I’m going to show you how to make this cute Christmas sign that features a vinyl mason jar design filled with poinsettias cut from glitter paper, the word “NOEL” and a big buffalo check bow. Isn’t it cute?
I love this sign so much that I’ve made several versions. Check out the fall mason jar sign and the Fourth of July mason jar sign or skip the mason jar part altogether and make a cute sign with rolled paper flowers.
Affiliate links may be used in this post.
To make your own sign, you’ll need the following materials.
Materials Needed
- Unfinished Wooden Sign
- White Chalk Paint
- Black Adhesive Craft Vinyl
- Silhouette Cutting Machine
- Transfer Tape
- Red Glitter Cardstock
- Red Cardstock
- Green Cardstock
- Beads or Gems
- Buffalo Check Ribbon
- Hot Glue Gun + Gluesticks (linked to my favorite glue gun EVER)
- Mason Jar Cut File
- Poinsettia Cut File
- Pine Branches Cut File
If you’d rather watch a video tutorial of this project, scroll to the bottom of the post.
Step 1: Paint the wood sign and let dry completely.
Step 2: Cut the mason jar shape out of black craft vinyl. Weed excess vinyl.
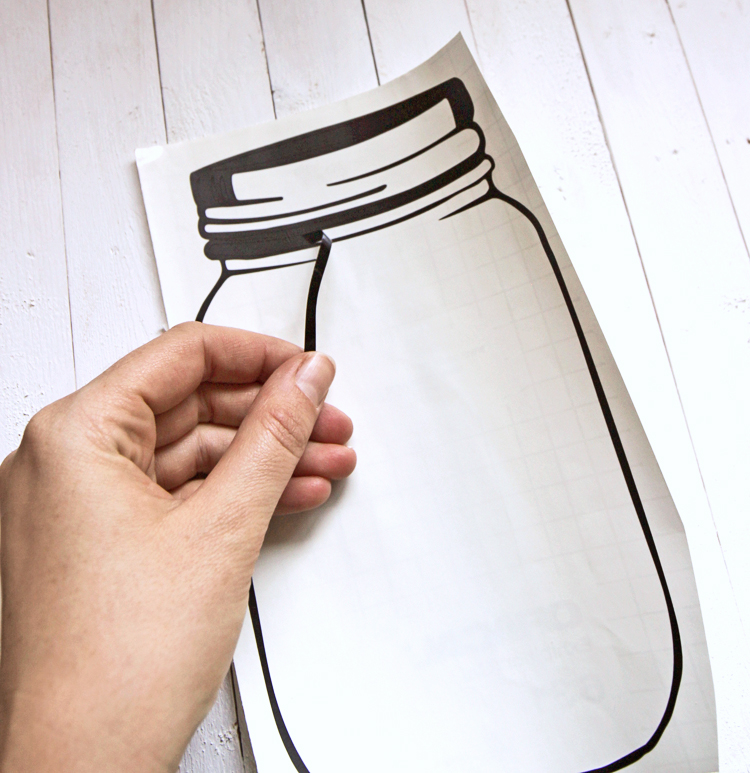
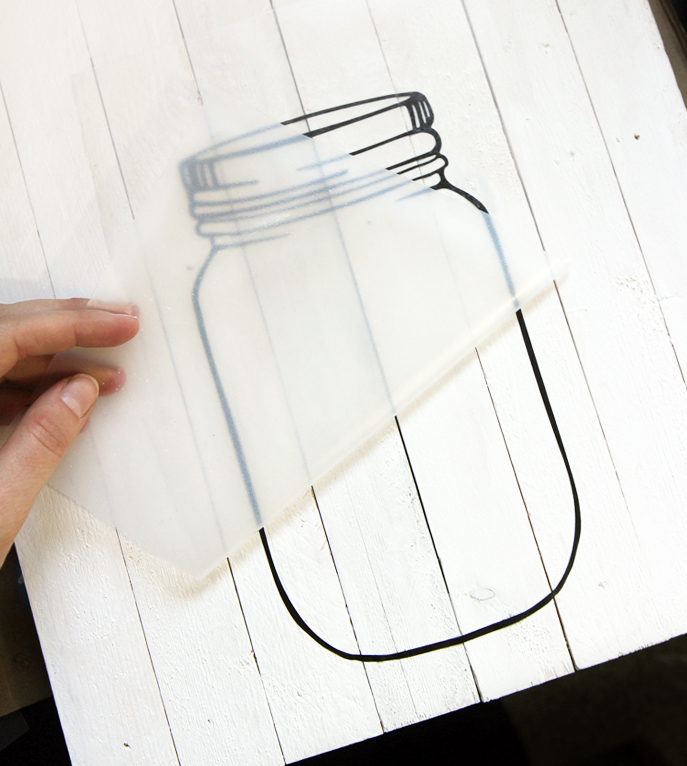
Step 3: Apply mason jar design to wood using transfer tape.
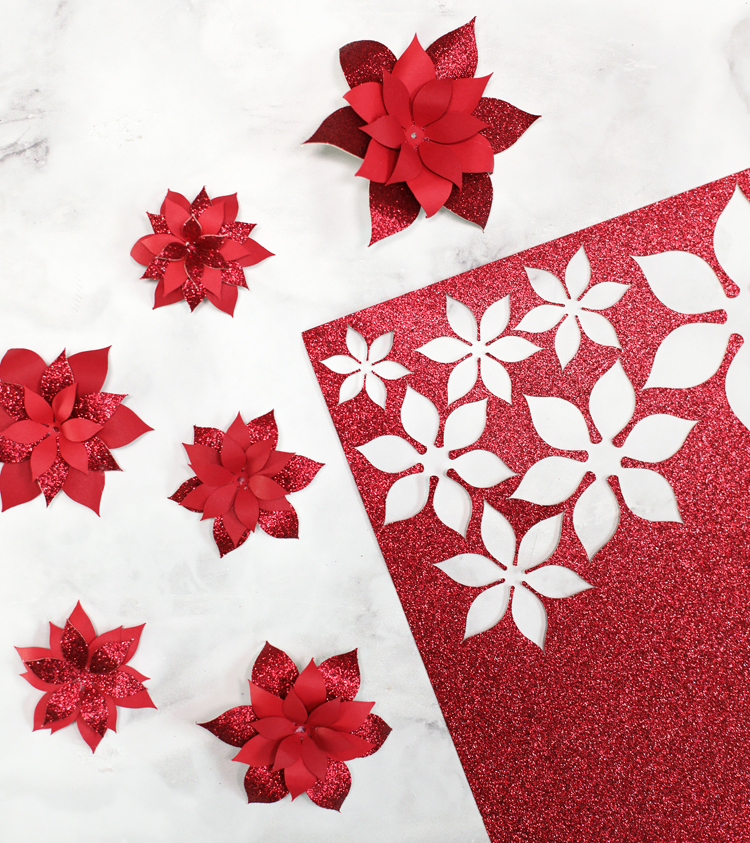
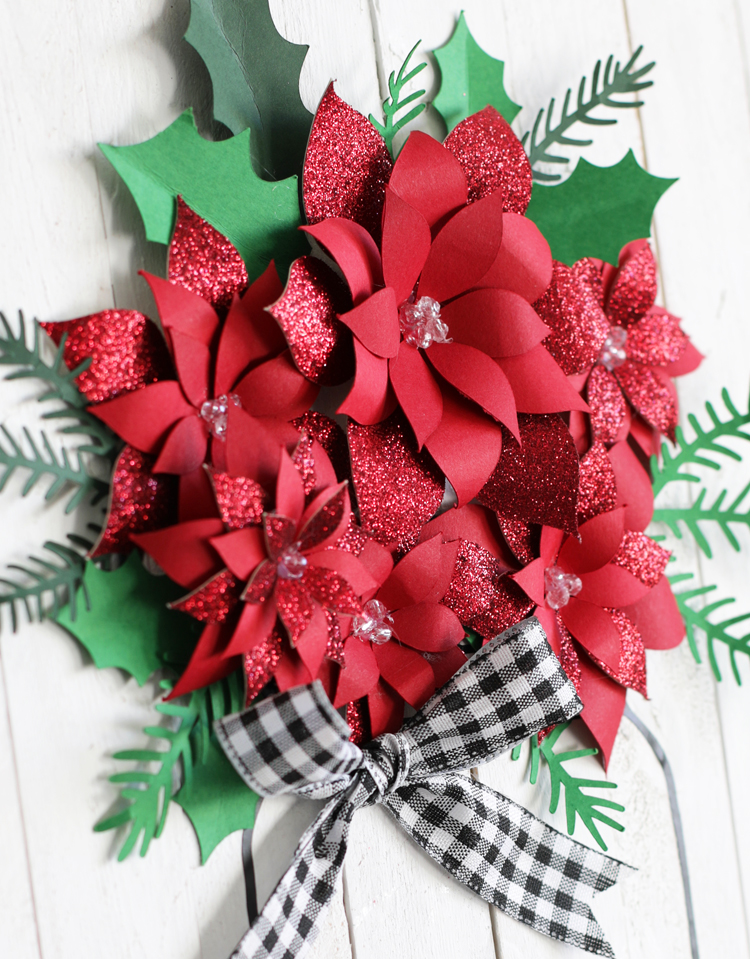
Step 4: Cut out poinsettia flowers from a variety of red cardstock. Layer the flowers and glue them together. Add beads, gems or other small decorations to the centers. Cut out green holly leaves and pine branches.
Step 5: Arrange the flowers and greenery so they look like they’re coming out of the top of the mason jar. Glue into place using hot glue. Add a bow if desired.
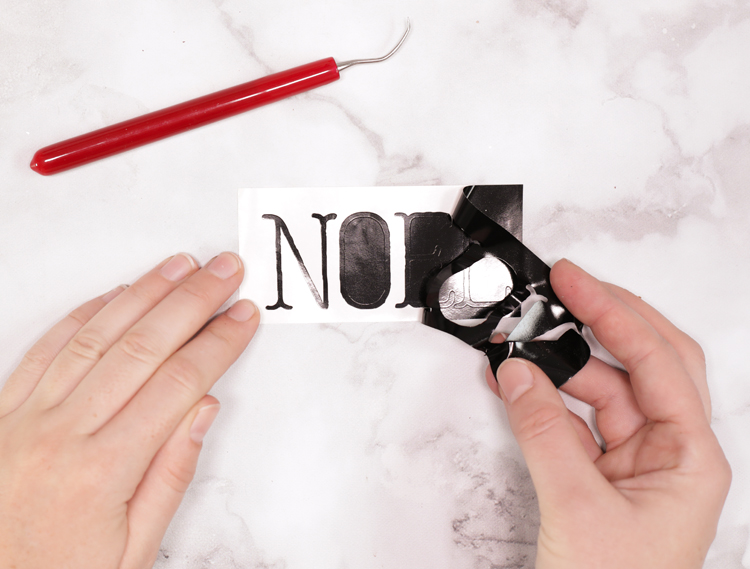
Step 6: Choose a festive holiday word and cut it out of adhesive vinyl. Weed excess vinyl.
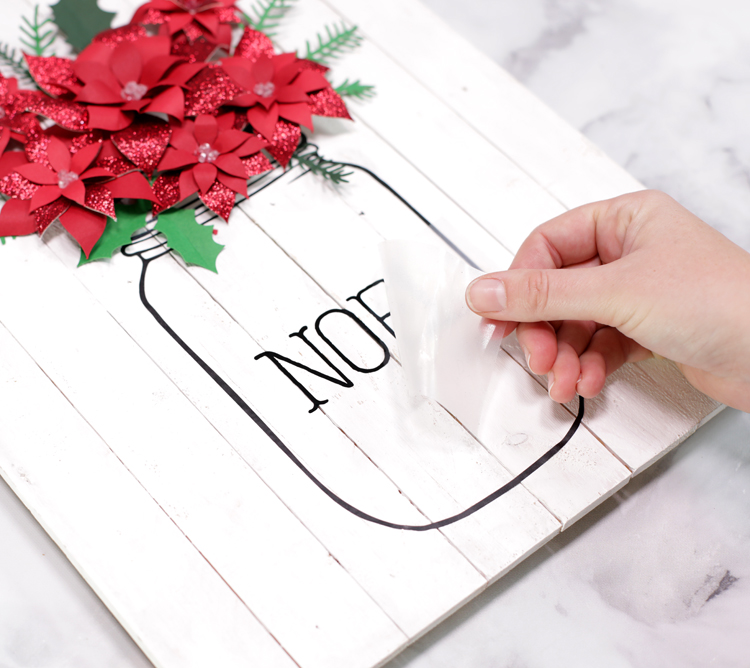
Step 7: Apply the word to the wood sign using transfer tape.
And that’s how you make this cute Christmas sign! I’m going to display mine on my entryway table surrounded by other cute Christmas decorations.
Mason Jar Christmas Sign VIDEO TUTORIAL
Like this idea? Pin it so you don’t forget it!

Comments & Reviews
Not much of a video…no picture. Where is the pattern for the different size poinsettia petals? Disappointed
Hi Judith, I’m sorry you were disappointed with this project. I do have a link to the flower petals I used if that helps. It’s in the “Materials Needed” section.
Just a reminder, I am offering all of these ideas and resources to you for FREE, so maybe you could keep that in mind when deciding to complain.
Great project! Thanks for sharing!! Can’t wait to try!! 🌲
darn cute and I feel the need to make it. Thanks for sharing!
Beautiful,Im on my way to the store now!!!!
how do you find the stencils for the mason jar and the word Noel ? are they pre-made?
I purchased the templates from the Silhouette Design Store and cut them out of vinyl using my Silhouette machine.
I have the brother cutter, it is new and not real experienced with it. I just love this . Is the cutter you use similar? When I figure this out Everyone will be getting this. Thanks so much. Hoping I can get the same patterns
I am not very familiar with the Brother cutter, but it should be able to handle similar projects, as long as you can find cut files.
What font is the Noel in?
The font is called “Garlic Salt”
Thank you
Jennifer I can’t express enough how much I love your ideas!!!! 👍 I just absolutely LOVE them! It’s SO NICE of you to share your ideas. I personally appreciate it so much! Hope to see more of your projects.
Thank you so much Becky! Your kind words keep me motivated!
Hello, How big did you cut your poinsettias?
They’re between 3-4 inches.
Thanks for sharing your video and recipe. This is very doable. All your ideas are so great!