Did you catch our exciting bathroom renovation reveal? Gah! I am so thrilled with how the space turned out and I can’t believe I get to have such a beautiful bathroom. Pinch me!
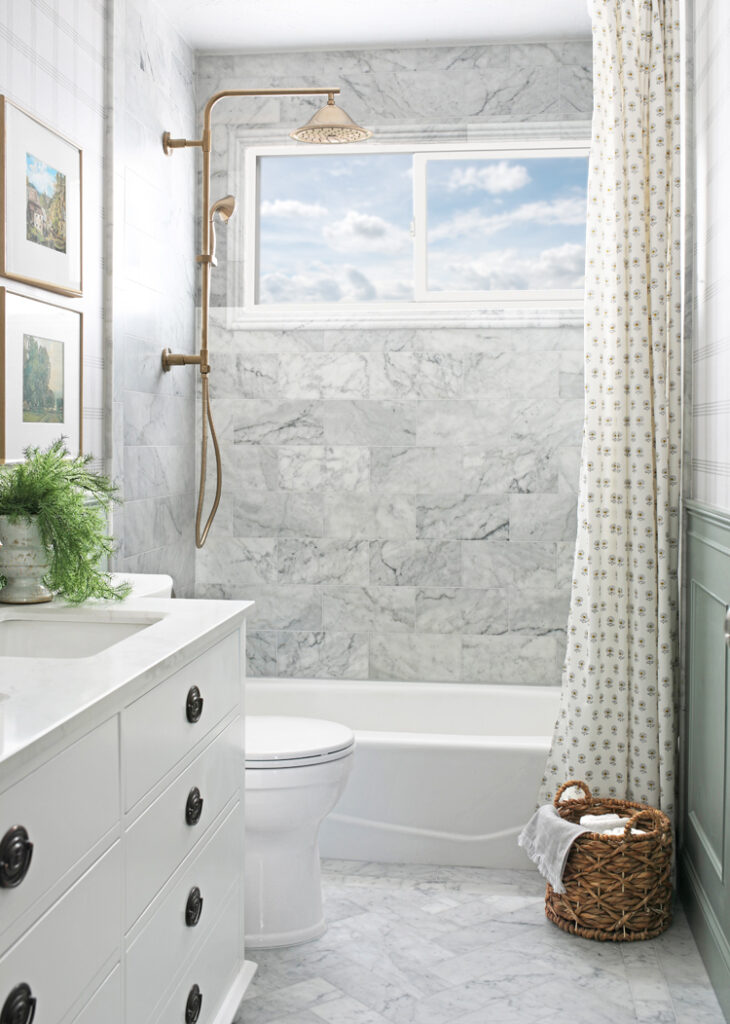
Today I wanted to go into more depth about the faucets and plumbing fixtures we chose because it was something that ended up being more complex than I expected and I thought sharing the information would prove helpful if you ever remodel a bathroom.
This post is sponsored by Delta Faucet. All selections, explanations and opinions are mine alone.
From the minute I started planning this renovation, I knew I wanted two things: marble tile and gold faucets with a vintage flair. I fell in love with the look of exposed-pipe showers. They have the perfect touch of old world charm that I wanted. So after much research, I landed on the Delta Faucet Cassidy™ Collection in the stunning Champagne Bronze™ finish.
I am very impressed with the feel and quality of the fixtures. They are heavy and solid. The last thing I wanted after working so hard on the bathroom was to end up with cheap fixtures that leaked and caused water damage a year or two from now.
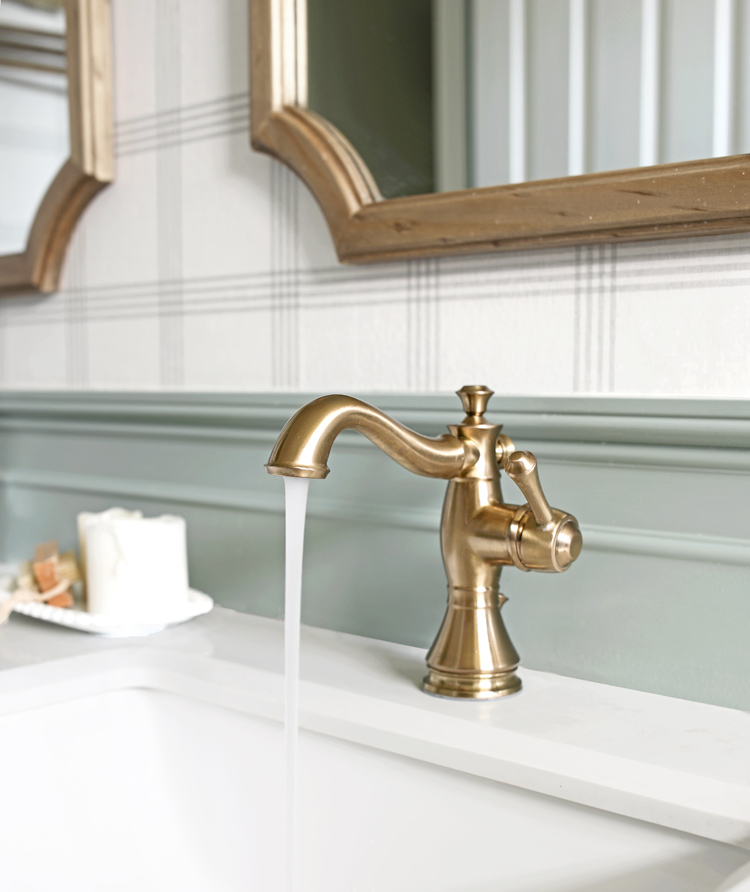
The first thing I have to say is that the Champagne Bronze™ finish is so pretty. It’s gold, but not too gold… it’s soft and subtle, not the yellow in-your-face 90’s brass we all grew up with.
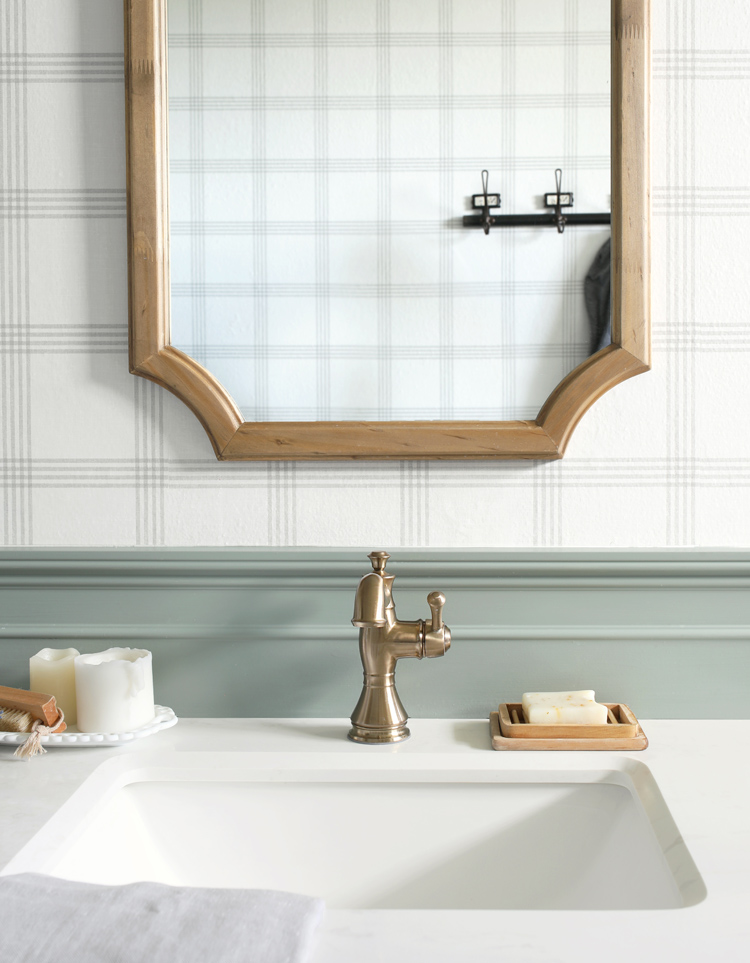
For the bathroom vanity, we used the CASSIDY™ Single Handle Bathroom Faucets. They also make a version with a channel spout that is super cute, but we have extremely hard water and I didn’t want to worry about any build-up in the channel (or toothpaste from the kids, eww!), so I went for the more traditional spout. I really prefer the single-hole faucets too because I think they are easier to clean.
For a plumbing novice like me, it was a little tricky to figure out exactly which parts we needed to order for the tub/shower combo, so I have illustrated the different parts we used to help make it more clear.
Shower Plumbing Parts
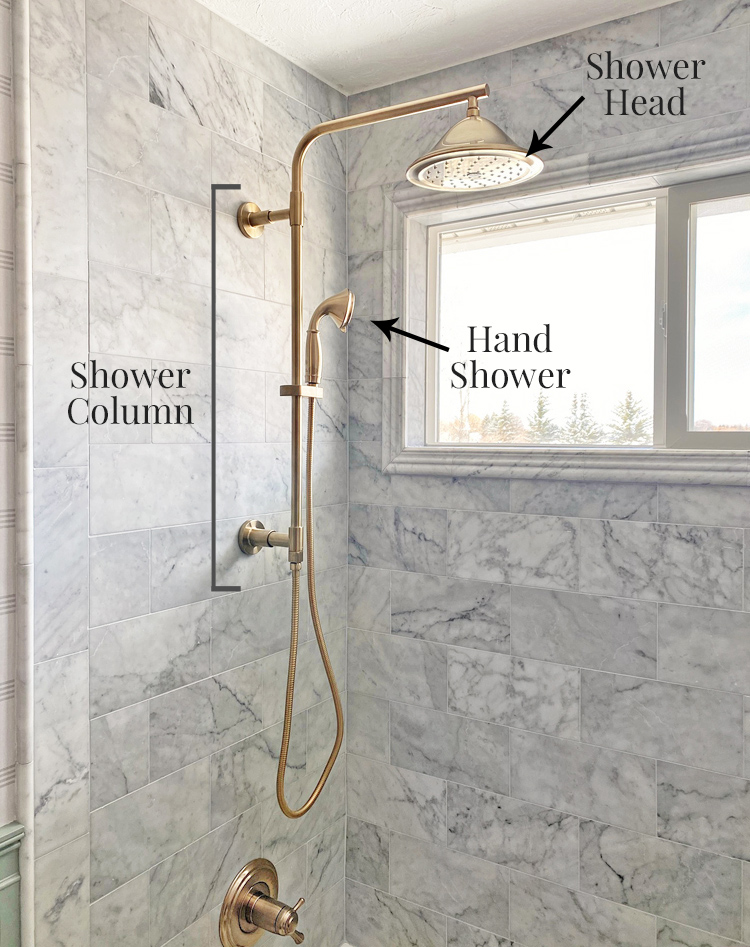
The shower column touches the wall in two spots. The top one is where the water pipe comes out and the bottom one is anchored into the tile with screws. Then you can choose any shower head and handheld shower combination to attach to the column. These are the products I used:
- Shower Column 26″ Round
- Single-Setting Raincan Shower Head
- H2Okinetic® 3-Setting Adjustable Wall Mount Hand Shower
The rain shower head is so luxurious, but I am a die hard hand shower lover and have to have both. The rain head is for standing there enjoying the hot water whilst belting out a tune and the handheld shower is for washing my hair. LOL. The hand shower has H2Okinetic Technology® which sculpts water into a unique wave pattern, giving you more coverage. I also love using it to rinse out the tub. To switch the water from the rain head to the handheld attachment, there’s a simple lever near the bottom of the shower column that you just turn.
Tub Plumbing Parts
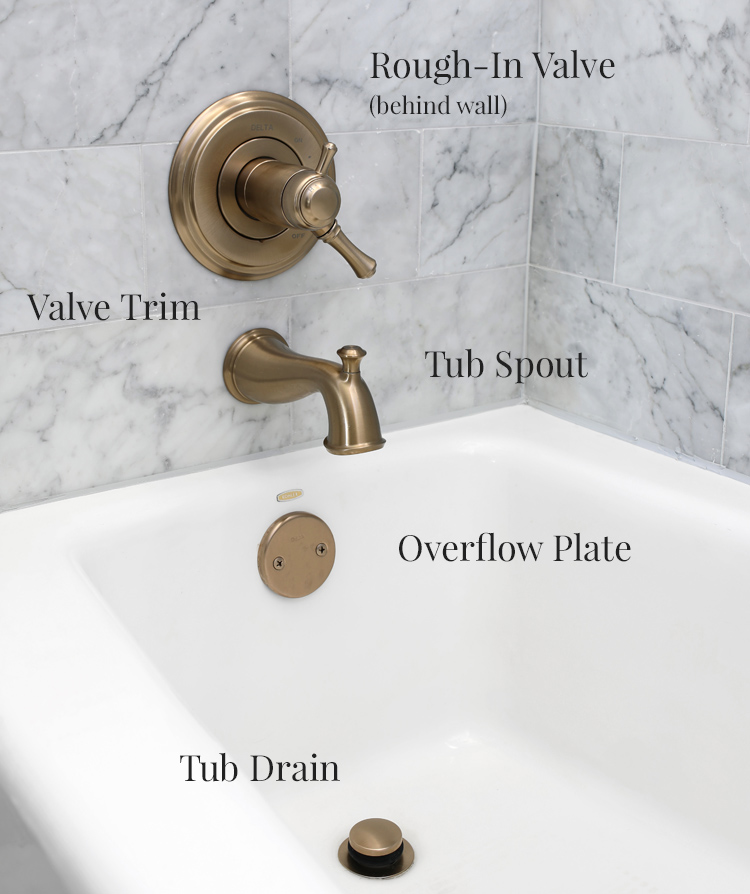
Here are the parts you see in the photo above:
- MultiChoice Universal Tub / Shower Rough
- TempAssure 17T Series Valve Only Trim
- Tub Spout – Pull-Up Diverter
- Overflow Plate
- Tub Drain
The part that was confusing to me during the process was the rough-in valve and valve trim. The rough-in valve goes behind the wall and is installed before tiling. It’s the mechanism that controls the water flow and temperature. The valve trim is the pretty metal circle and handles that go on top of the rough-in valve. You can purchase the parts of the valve trim separately with different handle styles and different functions, but you always need to buy the rough-in valve too.
You also need a tub spout with diverter and an overflow plate and tub drain to match the finish of the faucets. And we learned that tub drains come in different sizes, so you have to buy the correct size to be able to screw the new drain into your existing plumbing under the tub. If you’re installing a new tub, it’s probably easier to purchase the whole bath drain assembly, which includes the pipes that hide behind the tub, because then you know the pieces will fit together. If you’re having trouble shopping, installing or troubleshooting your Delta Faucet products, their customer service team is always there to help.
Coordinating Accessories
Did you know that you can swap out the handle on your toilet? It is a super easy job, but I think it makes a big difference. The handle that came on our new toilet was plastic spray painted silver. In less than five minutes I swapped it out for a real metal handle that matches the rest of the bathroom fixtures and wow, talk about leveling up!
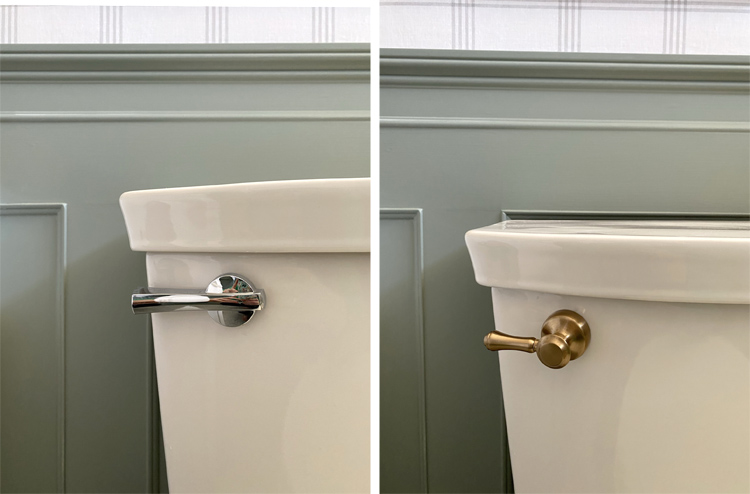
This is the Delta CASSIDY™. Traditional Tank Lever in Champagne Bronze™. So pretty!
Delta® also makes towel rings and bars, toilet tissue holders, robe hooks, soap dispensers, grab bars and several other items so it’s super easy to match all of your accessories to the faucets.
So what’s the easiest way to shop for bathroom plumbing fixtures?
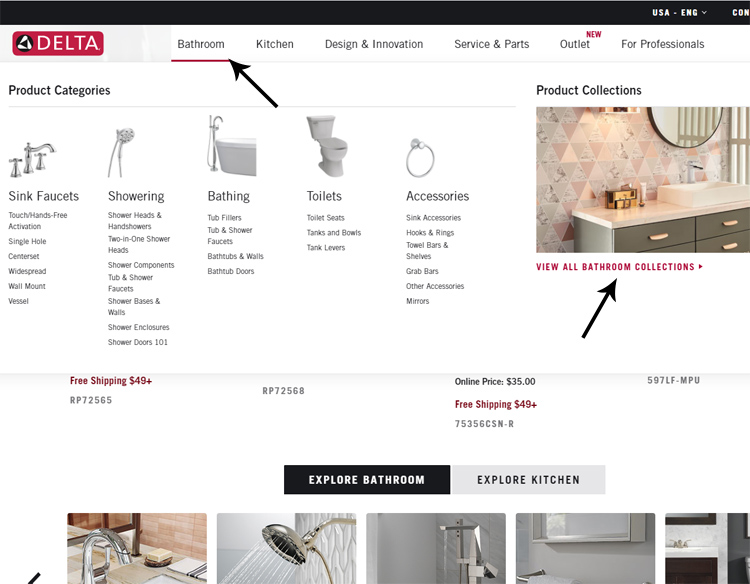
I suggest starting on Delta’s website https://www.deltafaucet.com/ and browsing by collection. Once you’ve narrowed down the style you want, click the Where to Buy function to find your closest, favorite retailer.
So hopefully that helps explain a few things you need to know if you’re going to remodel a bathroom any time soon.
If you have any questions, check out the main bathroom reveal post for a full source list and lots more details about everything in the bathroom. If you still can’t find the answer you’re looking for, leave a comment and I’ll get back to you soon.

Comments & Reviews
Your bathroom is beautiful! You did an amazing job sharing your Delta faucet changes, thank you for being so thorough!