Grab a cup of cocoa and settle in for some cozy farmhouse Christmas decor inspiration.

I’m so excited to be sharing a mini holiday home tour with you today. Thanks to my generous sponsors at JOANN, I just put the finishing touches on the Christmas decor in my living room and kitchen and I am thrilled with how it turned out. I can’t wait to show you all the details of my cozy farmhouse Christmas tree and kitchen shelves.
Let’s start with some of the details on the tree. The red and green plaid ribbon was the inspiration for the whole look. When I saw it at JOANN, it was love at first sight and my decor plan fell in to place. I kind of went nuts and bought all the things. I picked up some pom pom garland, a few oversized wooden snowflakes and lots of red berry sprigs. I also found a wooden “FA LA LA” banner and it matched the snowflakes so well that I had to get that too. Good thing everything was on super sale.

Then I saw a coordinating ribbon in a fair aisle sweater pattern and picked up a roll to use for wrapping gifts. I also bought matching wrapping paper and gift bags… if you give a mouse a cookie, right?
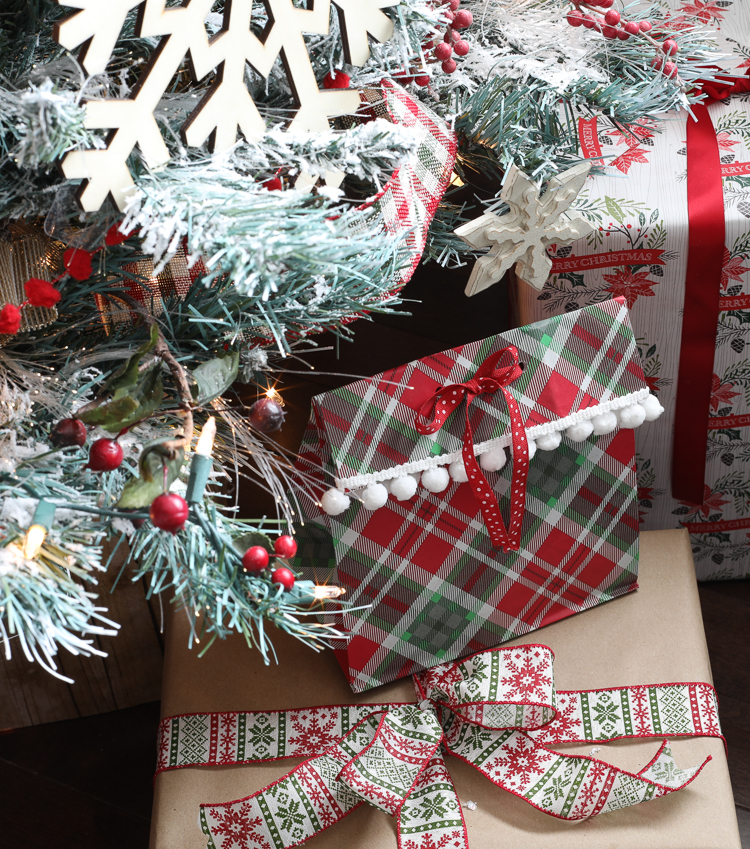
That little plaid gift bag was a regular bag with handles, but I cut them off, folded the top over, punched some holes in it and added pom pom trim. Isn’t it darling?
I bought this paper mache reindeer from JOANN last year, but noticed they had more in stock this year. It took a lot of will power not to buy a whole herd of them.
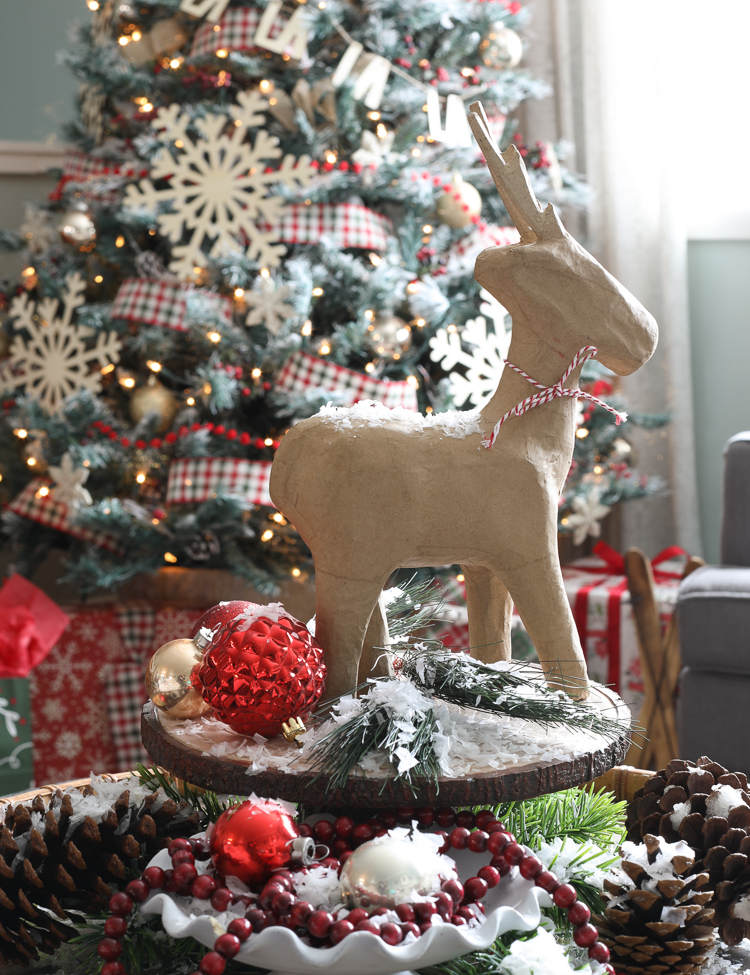
On the ottoman in the middle of the room, I filled a tray with ornaments, pine cones, greenery, a red cranberry bead strand and lots and lots of fake snow.
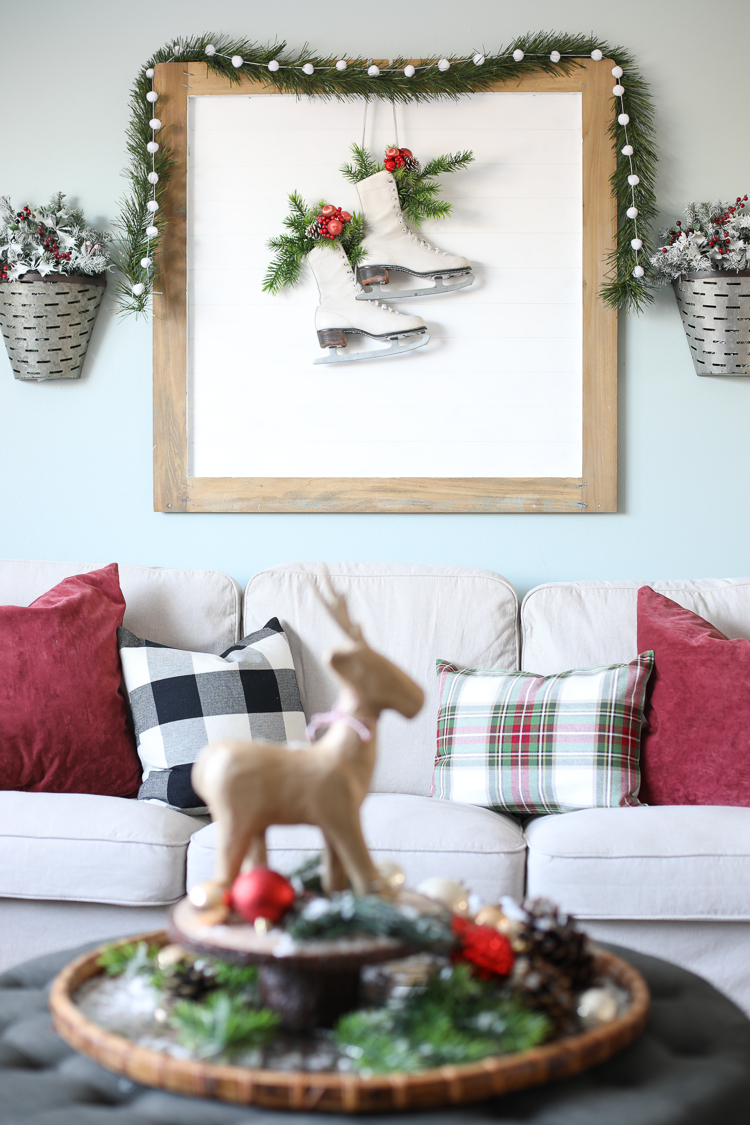

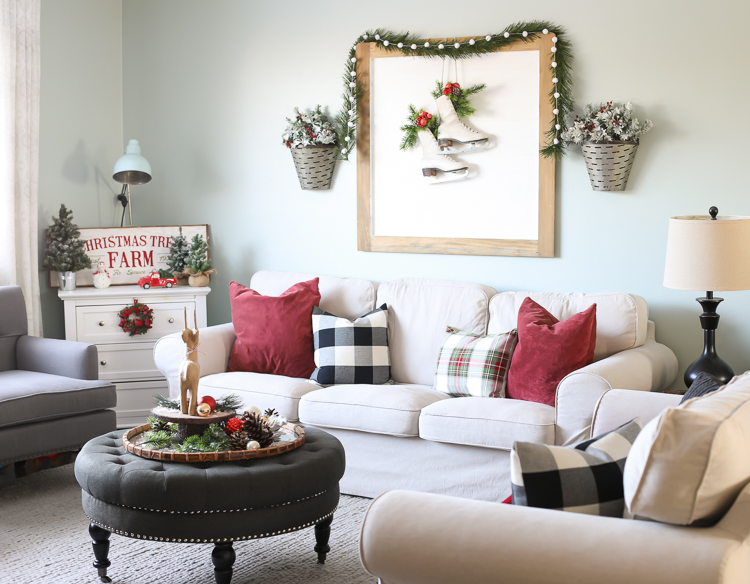
Isn’t it such a warm and cheery space? It makes me want to sing Christmas songs and roast chestnuts. Okay, maybe that’s a stretch… are roasted chestnuts even good? Who knows!

Now let’s move on to the kitchen. If you read my blog regularly, you’ll know that we just finished a major kitchen remodel that took us nearly two years to complete. I have been dreaming of decorating these open shelves for Christmas since we first built them! Squeal!! Pinch me! Here they are!
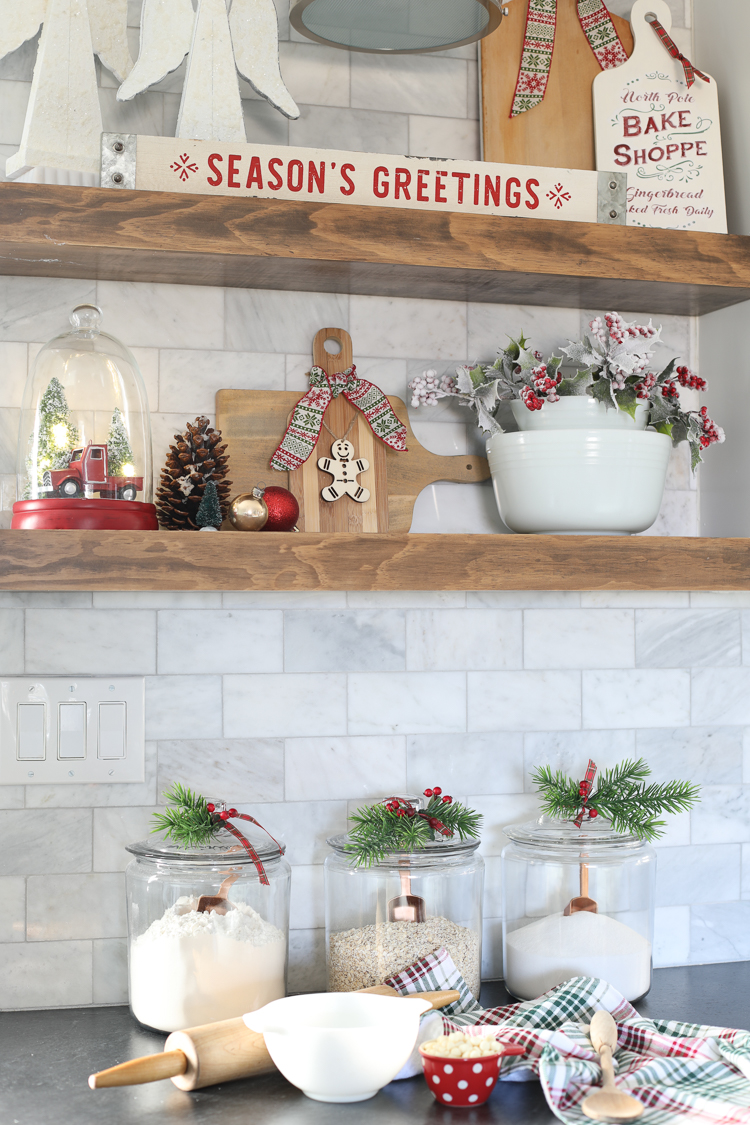
Because this is one big open space, I kept with the same cozy farmhouse decorating style for cohesion. I mixed some of my kitchen items with really fun decor that I found on my little shopping spree.
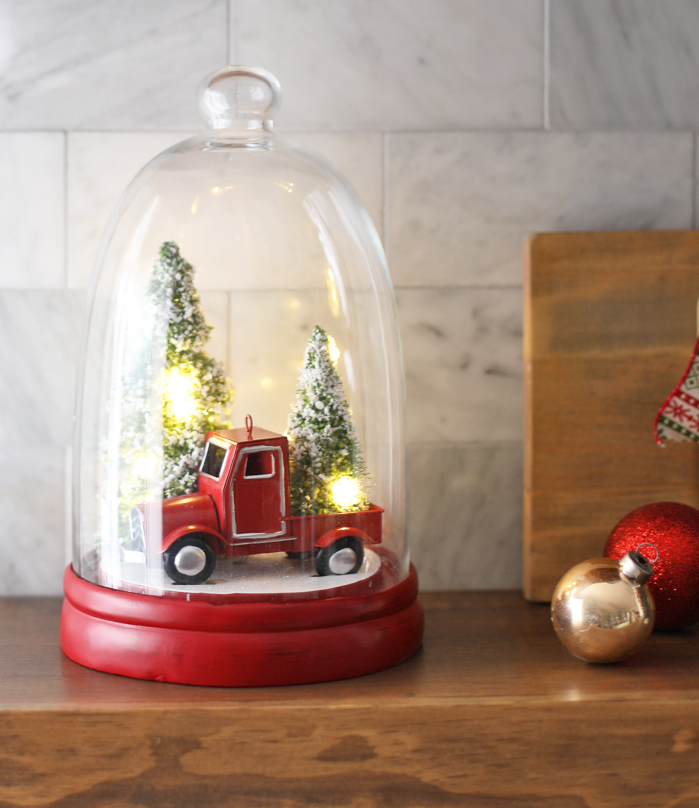
My favorite piece is this cloche. It has so many of my favorite things in one… twinkle lights, snow, bottle brush trees and red trucks. So good!
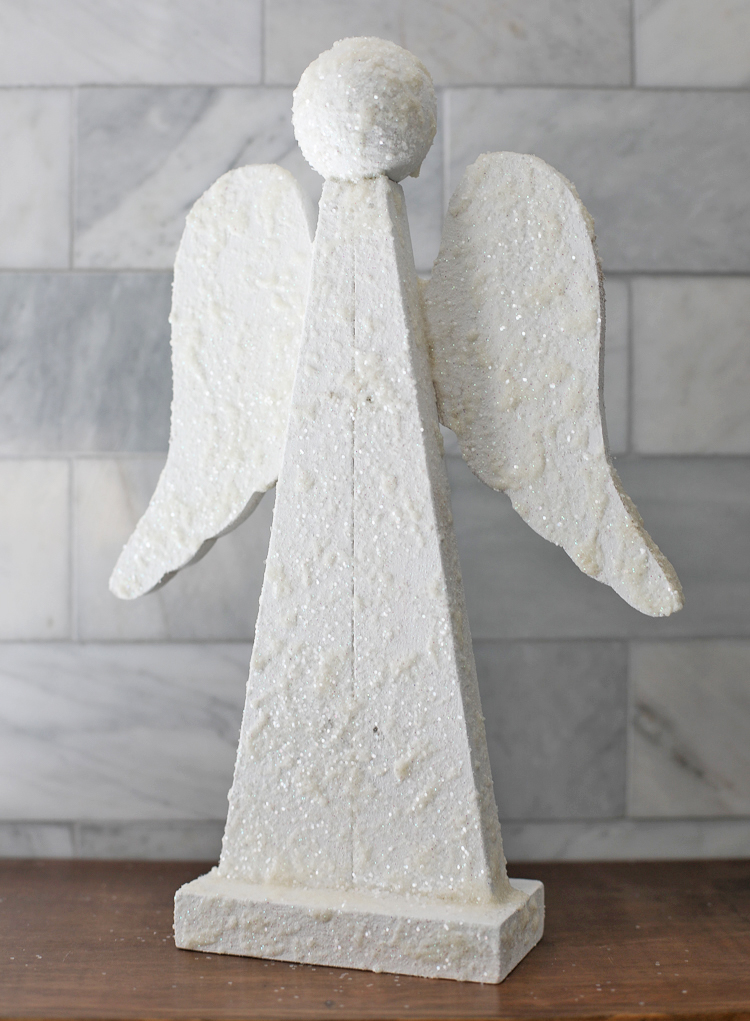
This snow angel was a raw wood piece that I finished myself.
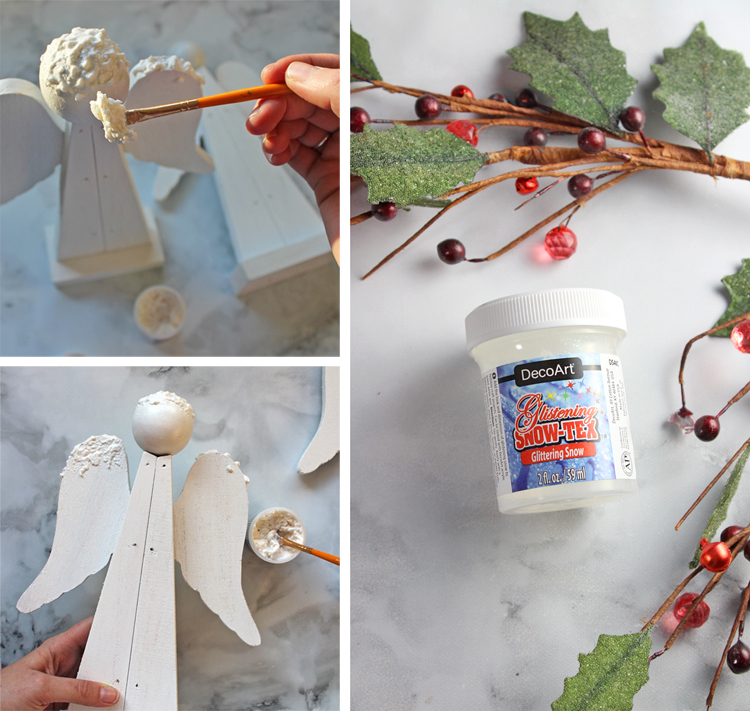
I started with a coat of white craft paint, then used a product called Snow Tex. It’s a really thick and chunky paste that you spread all over and then wonder what you just did because it totally looks like cottage cheese. But… when it dries, it looks like snow. Really! It’s pretty awesome stuff.
Oh, and while the Snow Tex was still wet, I sprinkled the angel with glitter, because glitter.
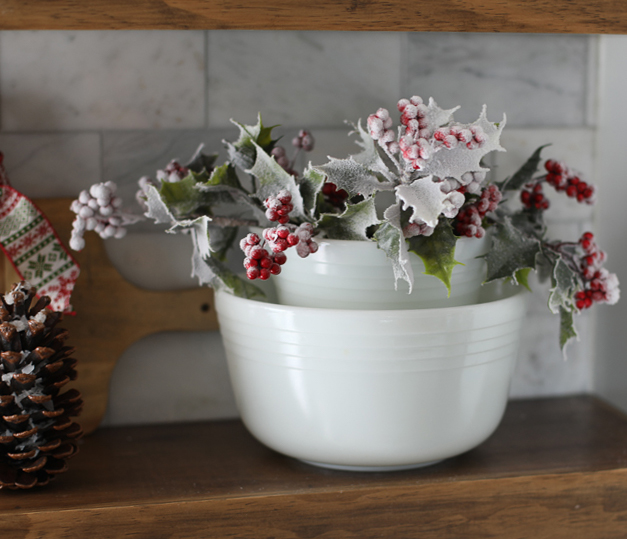
I dressed up my vintage Pyrex bowls with some pretty frosted holly berry sprigs. Are you sensing a theme here? #flockallthethings
This last little project might be my favorite of all. I created a vintage style Christmas sign on a wooden bread board.
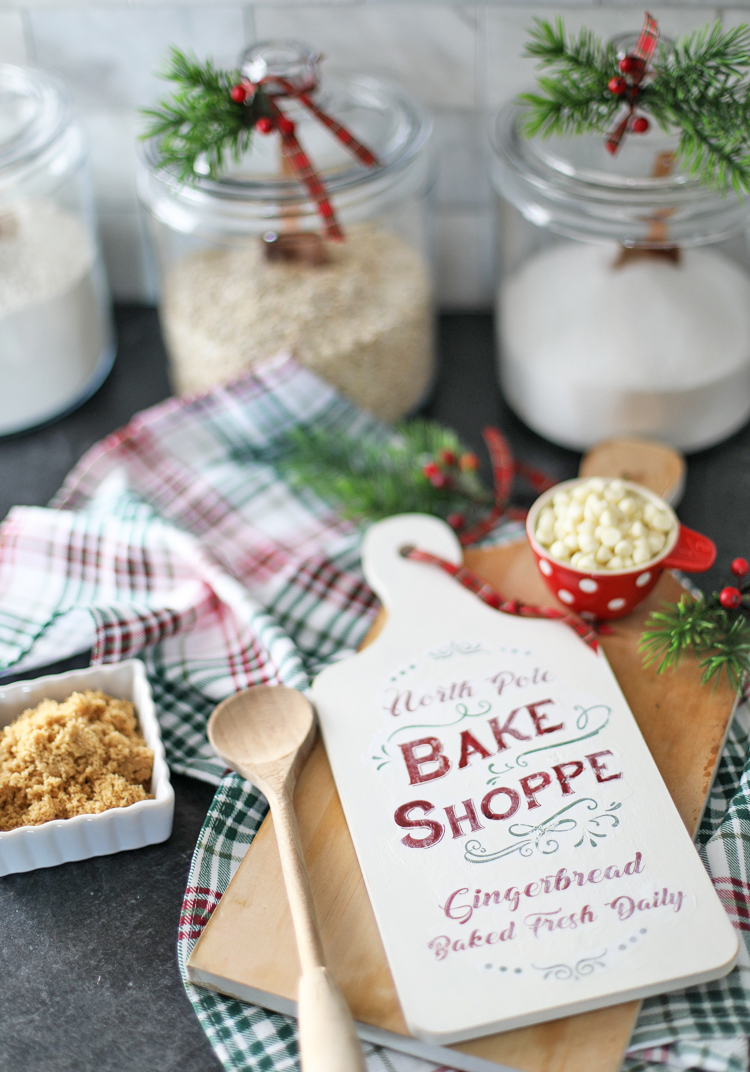
I normally use my Silhouette and vinyl or hand-paint my signs, but this time there was so much detail to the design that I decided to try a different technique.
I printed a mirror image copy of the design and used Mod Podge Image Transfer Medium. Have you ever tried this technique? It’s pretty amazing and honestly, quite weird too. Here’s how you do it:
- Download the design below. Use the mirrored image for this project. The design must be printed on a laser printer, not inkjet.
- Cover the entire design with a hefty layer of the transfer medium. Yes, you paint over the words right on the paper.
- Press the paper on to the craft surface, rub it to make sure it’s nice and smooth with no air bubbles or wrinkles and let it dry.
- Using a wet but not dripping washcloth, rub the paper backing until it starts to peel away, leaving only the ink design. I found better success in doing this in two phases. Remove most of the paper on the first try, then let the water dry out. Repeat the process again to remove the last bit of haze and paper.
It sounds harder than it is, so I made a video to show you exactly how to transfer the image to wood.
Image Transfer to Wood Video Tutorial

And let’s not forget the corner hutch that got a big makeover a few years ago.
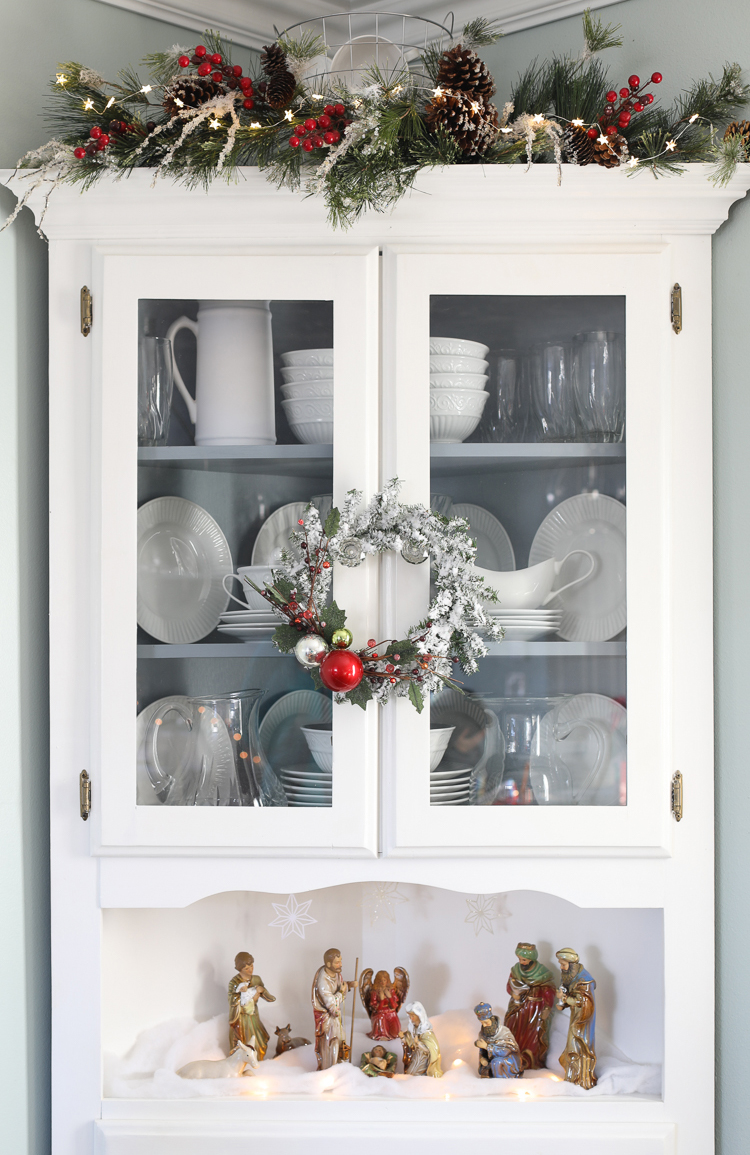
I added fairy lights to the garland up top and under white batting around the nativity and you should see how pretty it is at night. It glows!
Now that the house is decorated for Christmas, I am ready to start baking cookies, wrapping gifts and watching Christmas movies. It really is the most wonderful time of the year! Thank you to JOANN for all of the beautiful decor pieces!

Comments & Reviews
I LOVE THIS AUNT JEN!!!!!!!!!!!!!!!
Great job Jen! I love the farmhouse look! And you offer up some great ideas for us all to try! Thanks for sharing!
Can I ask where you bought the wooden angel? I know you finished yourself, but I’m having trouble just finding a raw wooden angel.
It was from Joann last year or the year before. I would check at Joann, AC Moore and Hobby Lobby.
Your decorations are lovely and your tree is a knock-out! Thanks for sharing your sweet home.
Thank you so very much!
Where did you get the corner shelf?
Facebook Marketplace! I repainted it.