Clay bead bracelets are a simple and cute type of bracelet that are fun to make and perfect for beginners.
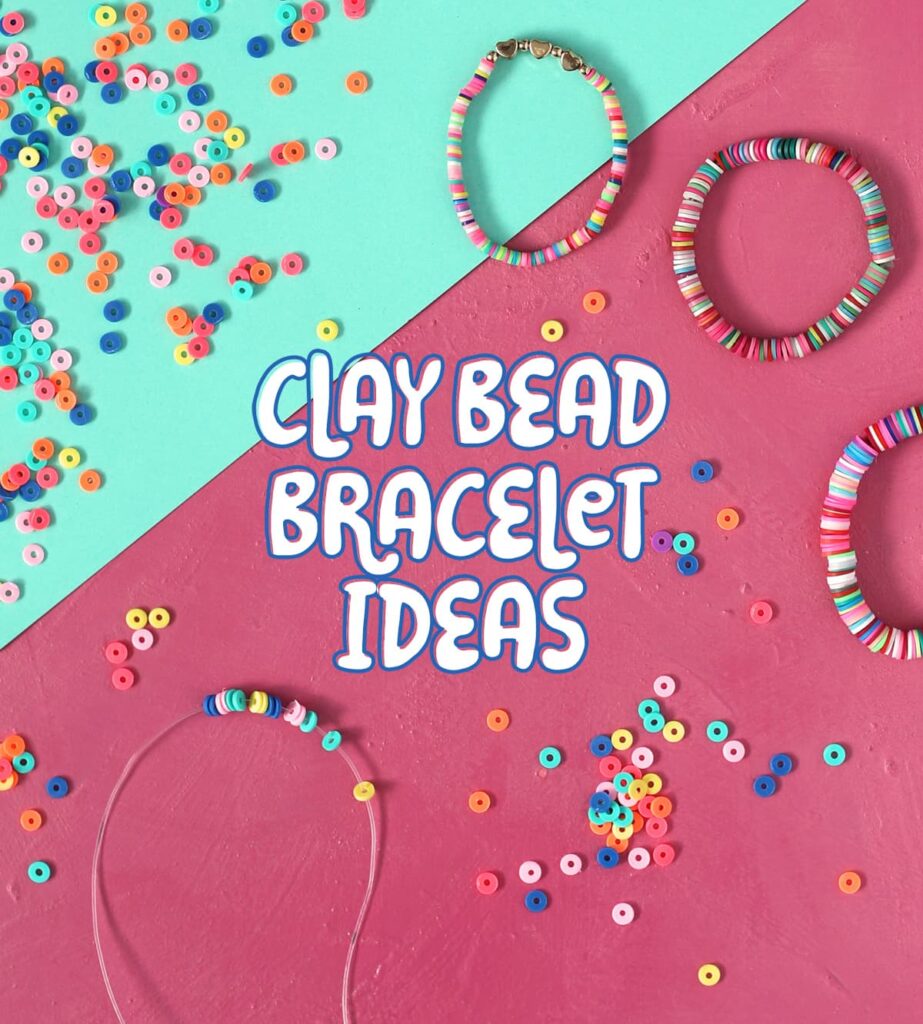
Clay bead bracelets are trending. If you have elementary, middle school or high school kids, you’ve probably seen these darling, colorful bracelets. They’re everywhere!
Today we’re going to talk all about clay bead bracelets… how to make them, what supplies are best, and different bracelet patterns and color combos and ways of putting them together for tons of variety and style.
Clay beads are flat and round with a hole in the center. Sometimes they’re also called heishi beads. They are made of polymer clay and come in every color out there. Clay bead bracelets are fun to make for kids and adults alike!
Clay Bead Bracelet Supplies
- Clay Beads (see my favorite sets listed below)
- Stretchy Bracelet Cord
- Scissors
- Jewelry Bead Board or a Piece of Felt
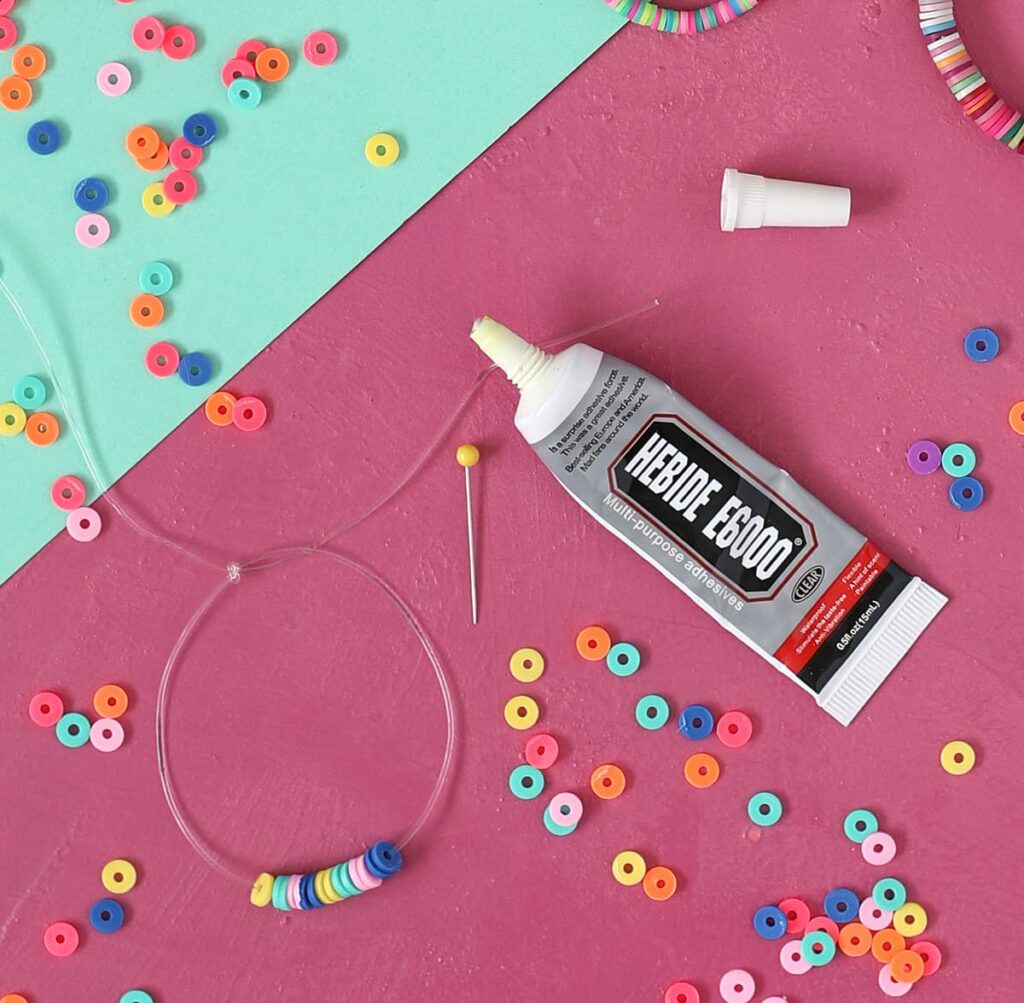
- E-6000 Glue
Here are all my current favorite clay bead bracelet kits. Click on any photo for more information or to purchase.
Favorite Clay Bead Bracelet Sets
A few notes on clay bead bracelet supplies:
- Some of those kits come with great organizers, stretch bracelet cording and helpful little tools, which is kind of nice, but all you really need is beads, string and scissors. Anything else is just extra.
- If you make a lot of jewelry, a bead board is so super handy for measuring, keeping your beads organized while assembling them and the one I linked even has a clear cover so you can stop mid-project and protect your beads from getting messed up.
- Thicker stretch cord is sturdier and usually the holes in the center of these types of clay beads are pretty big, so I’d recommend 0.7-1.0 mm cord sizes for strength. Really you can use whatever you have.
- If you don’t want to buy a bead board, a single piece of craft felt works amazingly at keeping your beads from rolling away and falling on the floor. I taught a beaded jewelry class at church a few years ago and gave each person a piece of felt and it worked really, really well.
- Some people prefer to use crimp beads to connect their bracelets together. I have found that tying a knot and adding a dab of glue works just as well (in the short term as well as the long term), so I don’t use crimp beads. But this is just personal preference and I’ll show you how to finish off your bracelets both ways so you can choose.
Clay Bead Bracelet Instructions
Step 1: Measure around your wrist. The average size for a woman’s bracelet is 7 inches in diameter.
Step 2: Plan your bracelet design. Lay the beads out in the pattern you want until it’s close to the right length for the measurement of your wrist.
Step 4: Cut approximately a 15 inch piece of stretchy bracelet cording. You want plenty of string… you can always cut off the extra, but if you cut it too small, it is really difficult to work with, especially when you go to tie a knot at the end.
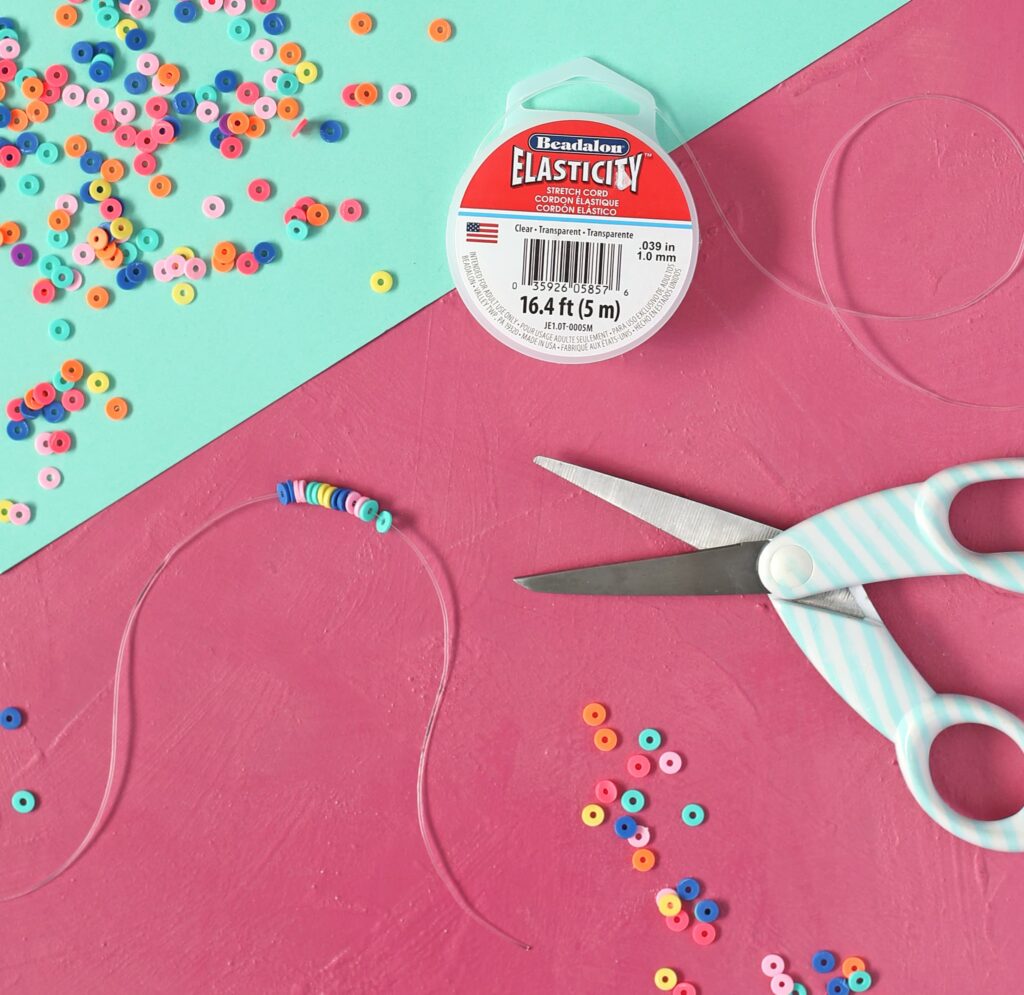
Step 5: String all the beads onto the bracelet cording.
Step 6: Check that your bracelet fits around your wrist. If you’re happy with the fit, it’s time to tie it off. To finish off your bracelet, you’ll want to tie a really sturdy knot called a surgeon’s knot. Here’s a super short ad-free video to show you how to tie a surgeon’s knot. It’s easy, promise!
Surgeon’s Knot Video Tutorial
Step 7: Dip a straight pin into the E6000 glue and use it to dab just a tiny bit of glue onto the knots to help secure them. If you’ve never used E6000 glue before, don’t squeeze the bottle, whatever you do!! It turns into a glue volcano and starts squirting out uncontrollably. If you know, you know. If you don’t know, take my warning. Ha ha. Once the glue is dry, slip the ends of the strings through the neighboring beads, then trim off the excess string so none shows.
Optional Step: Some people prefer to use a crimp cover to go over the knot of the bracelet. You just slip the C-shaped metal bead over the knot, then clamp it down using needle nosed pliers. Crimp covers are really common, so they’re available at every craft store in the jewelry aisle. This step is optional and up to your personal preference. I actually like just the knots and think they disappear more and make for a more seamless bracelet. But it’s up to you!
Clay Bead Bracelet Design Ideas
There are SO many different designs you can use to make clay bead bracelets. Here are just a few ideas to get your creative juices flowing. The highlighted titles are clickable if there is a tutorial or more information about the bracelet.
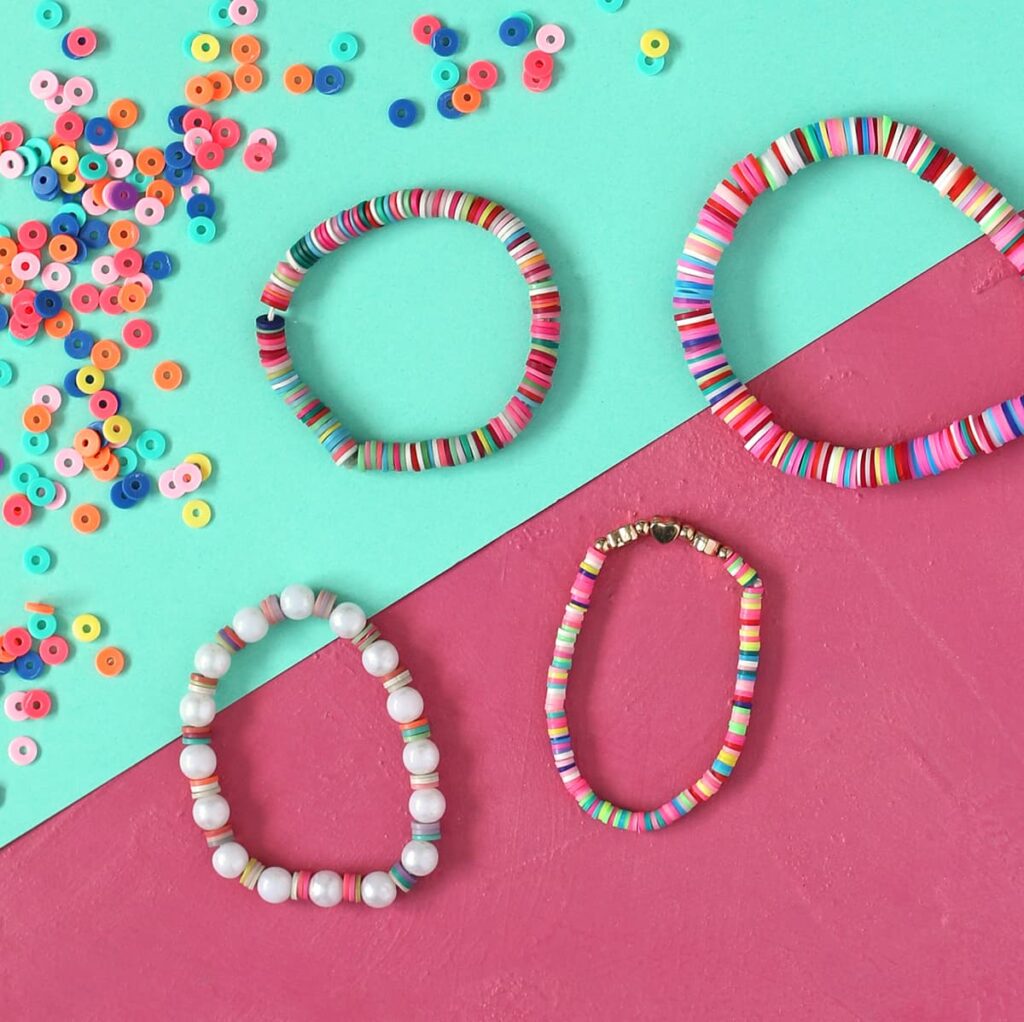
Random Design – This mishmash look of completely random colored clay beads is a favorite of mine. I love how it just feels happy and playful. It’s also the easiest and fastest bracelet to make because you don’t have to put much thought into the order of the beads.

Solids, Stripes and Color Blocks – These are the most basic clay bead bracelet designs, but don’t let the simplicity fool you. You can come up with so many cool looks just by blocking different colors together or doing different width of stripes.
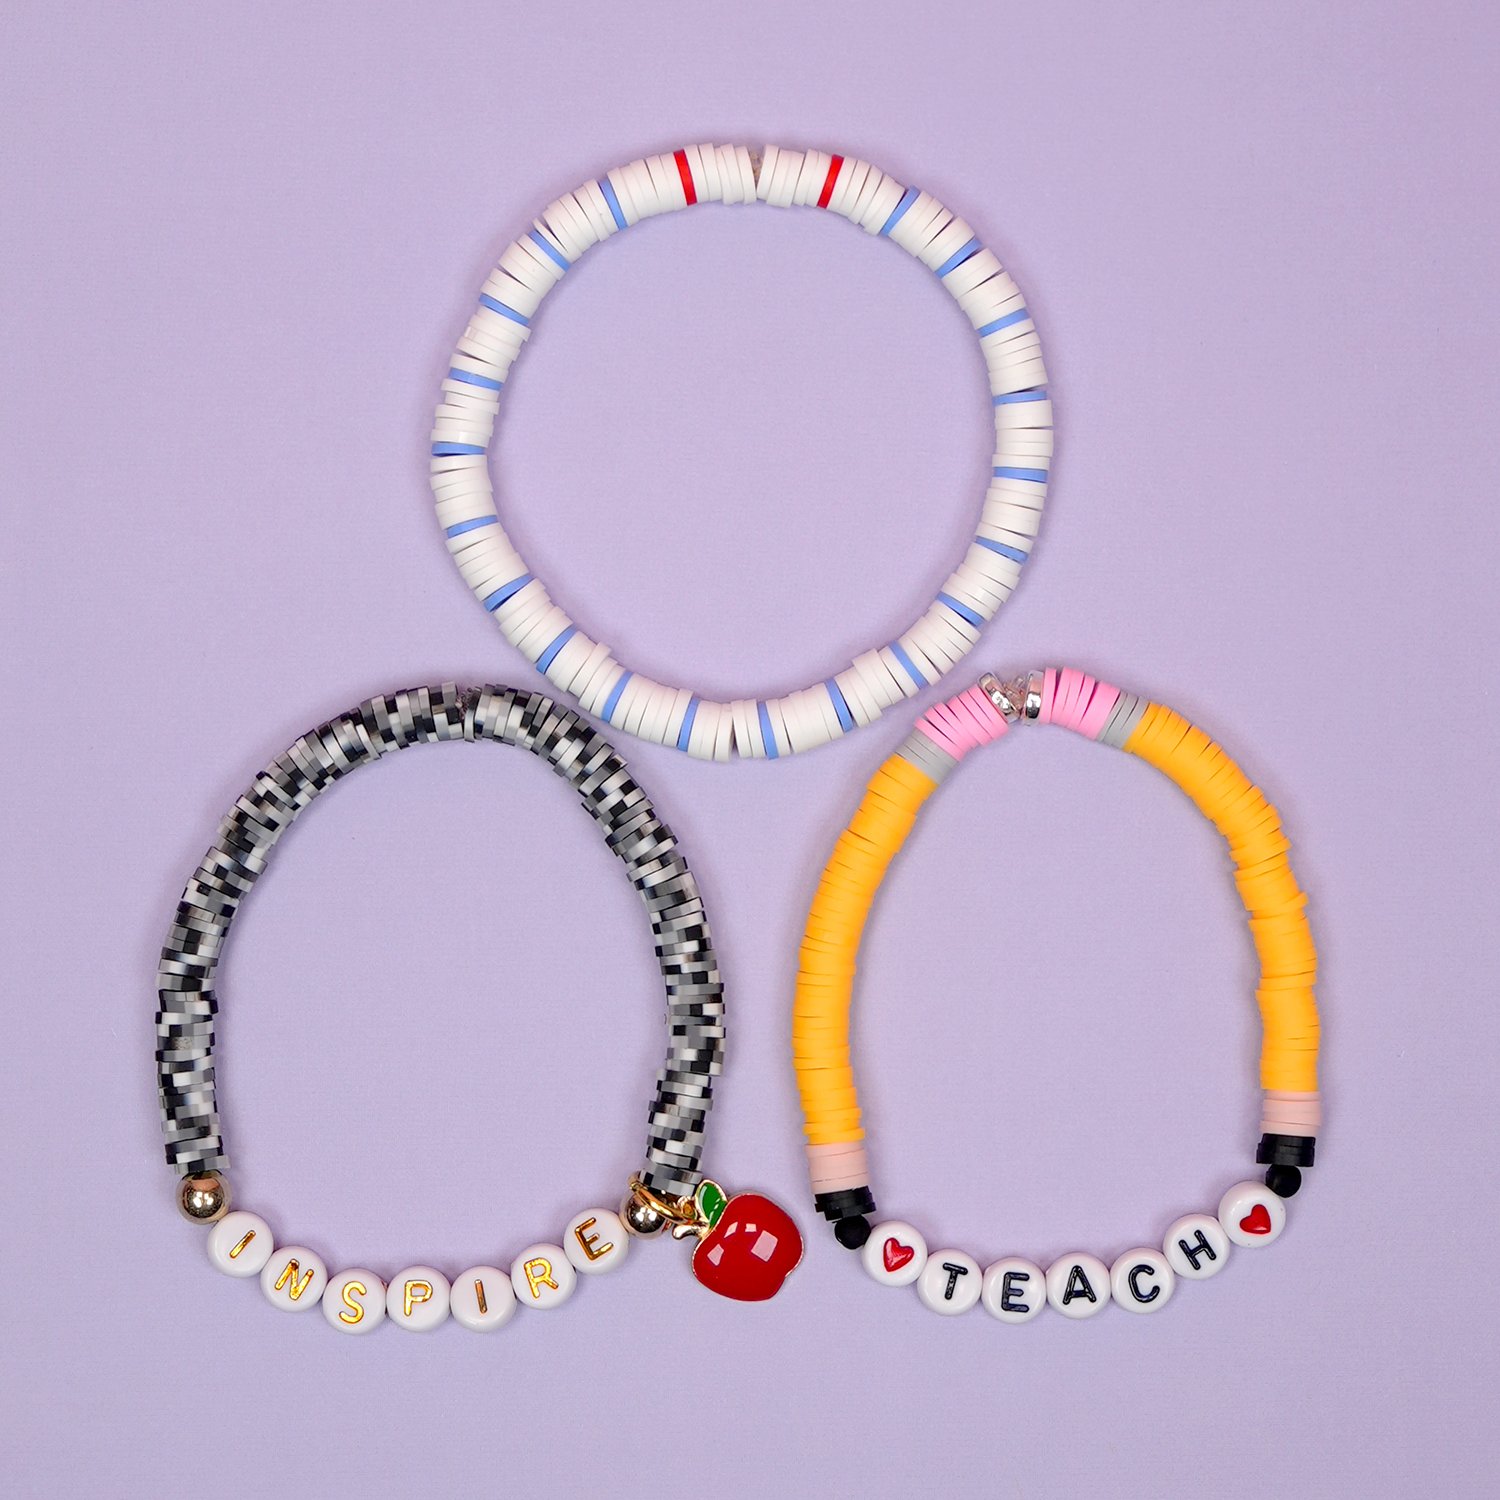
School Themed Clay Bead Bracelets – These clever bracelets are made to look like lined notebook paper, two pencils and a classic black and white composition notebook.

Add Letter Beads – Letter beads are all the rage after the whole Taylor Swift friendship bracelet trading frenzy this past year. Add your name, an inspirational word or something that will make you laugh. The possibilities are endless!
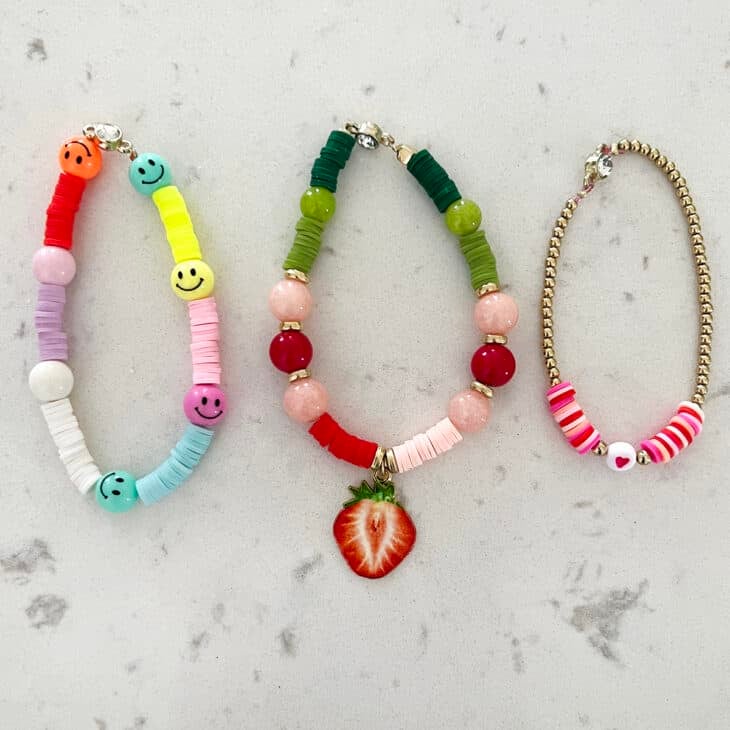
Add Charms – Adding charms to your clay bead bracelets can really change the whole look and feel of the bracelets. I love the smiley beads in this example photo.
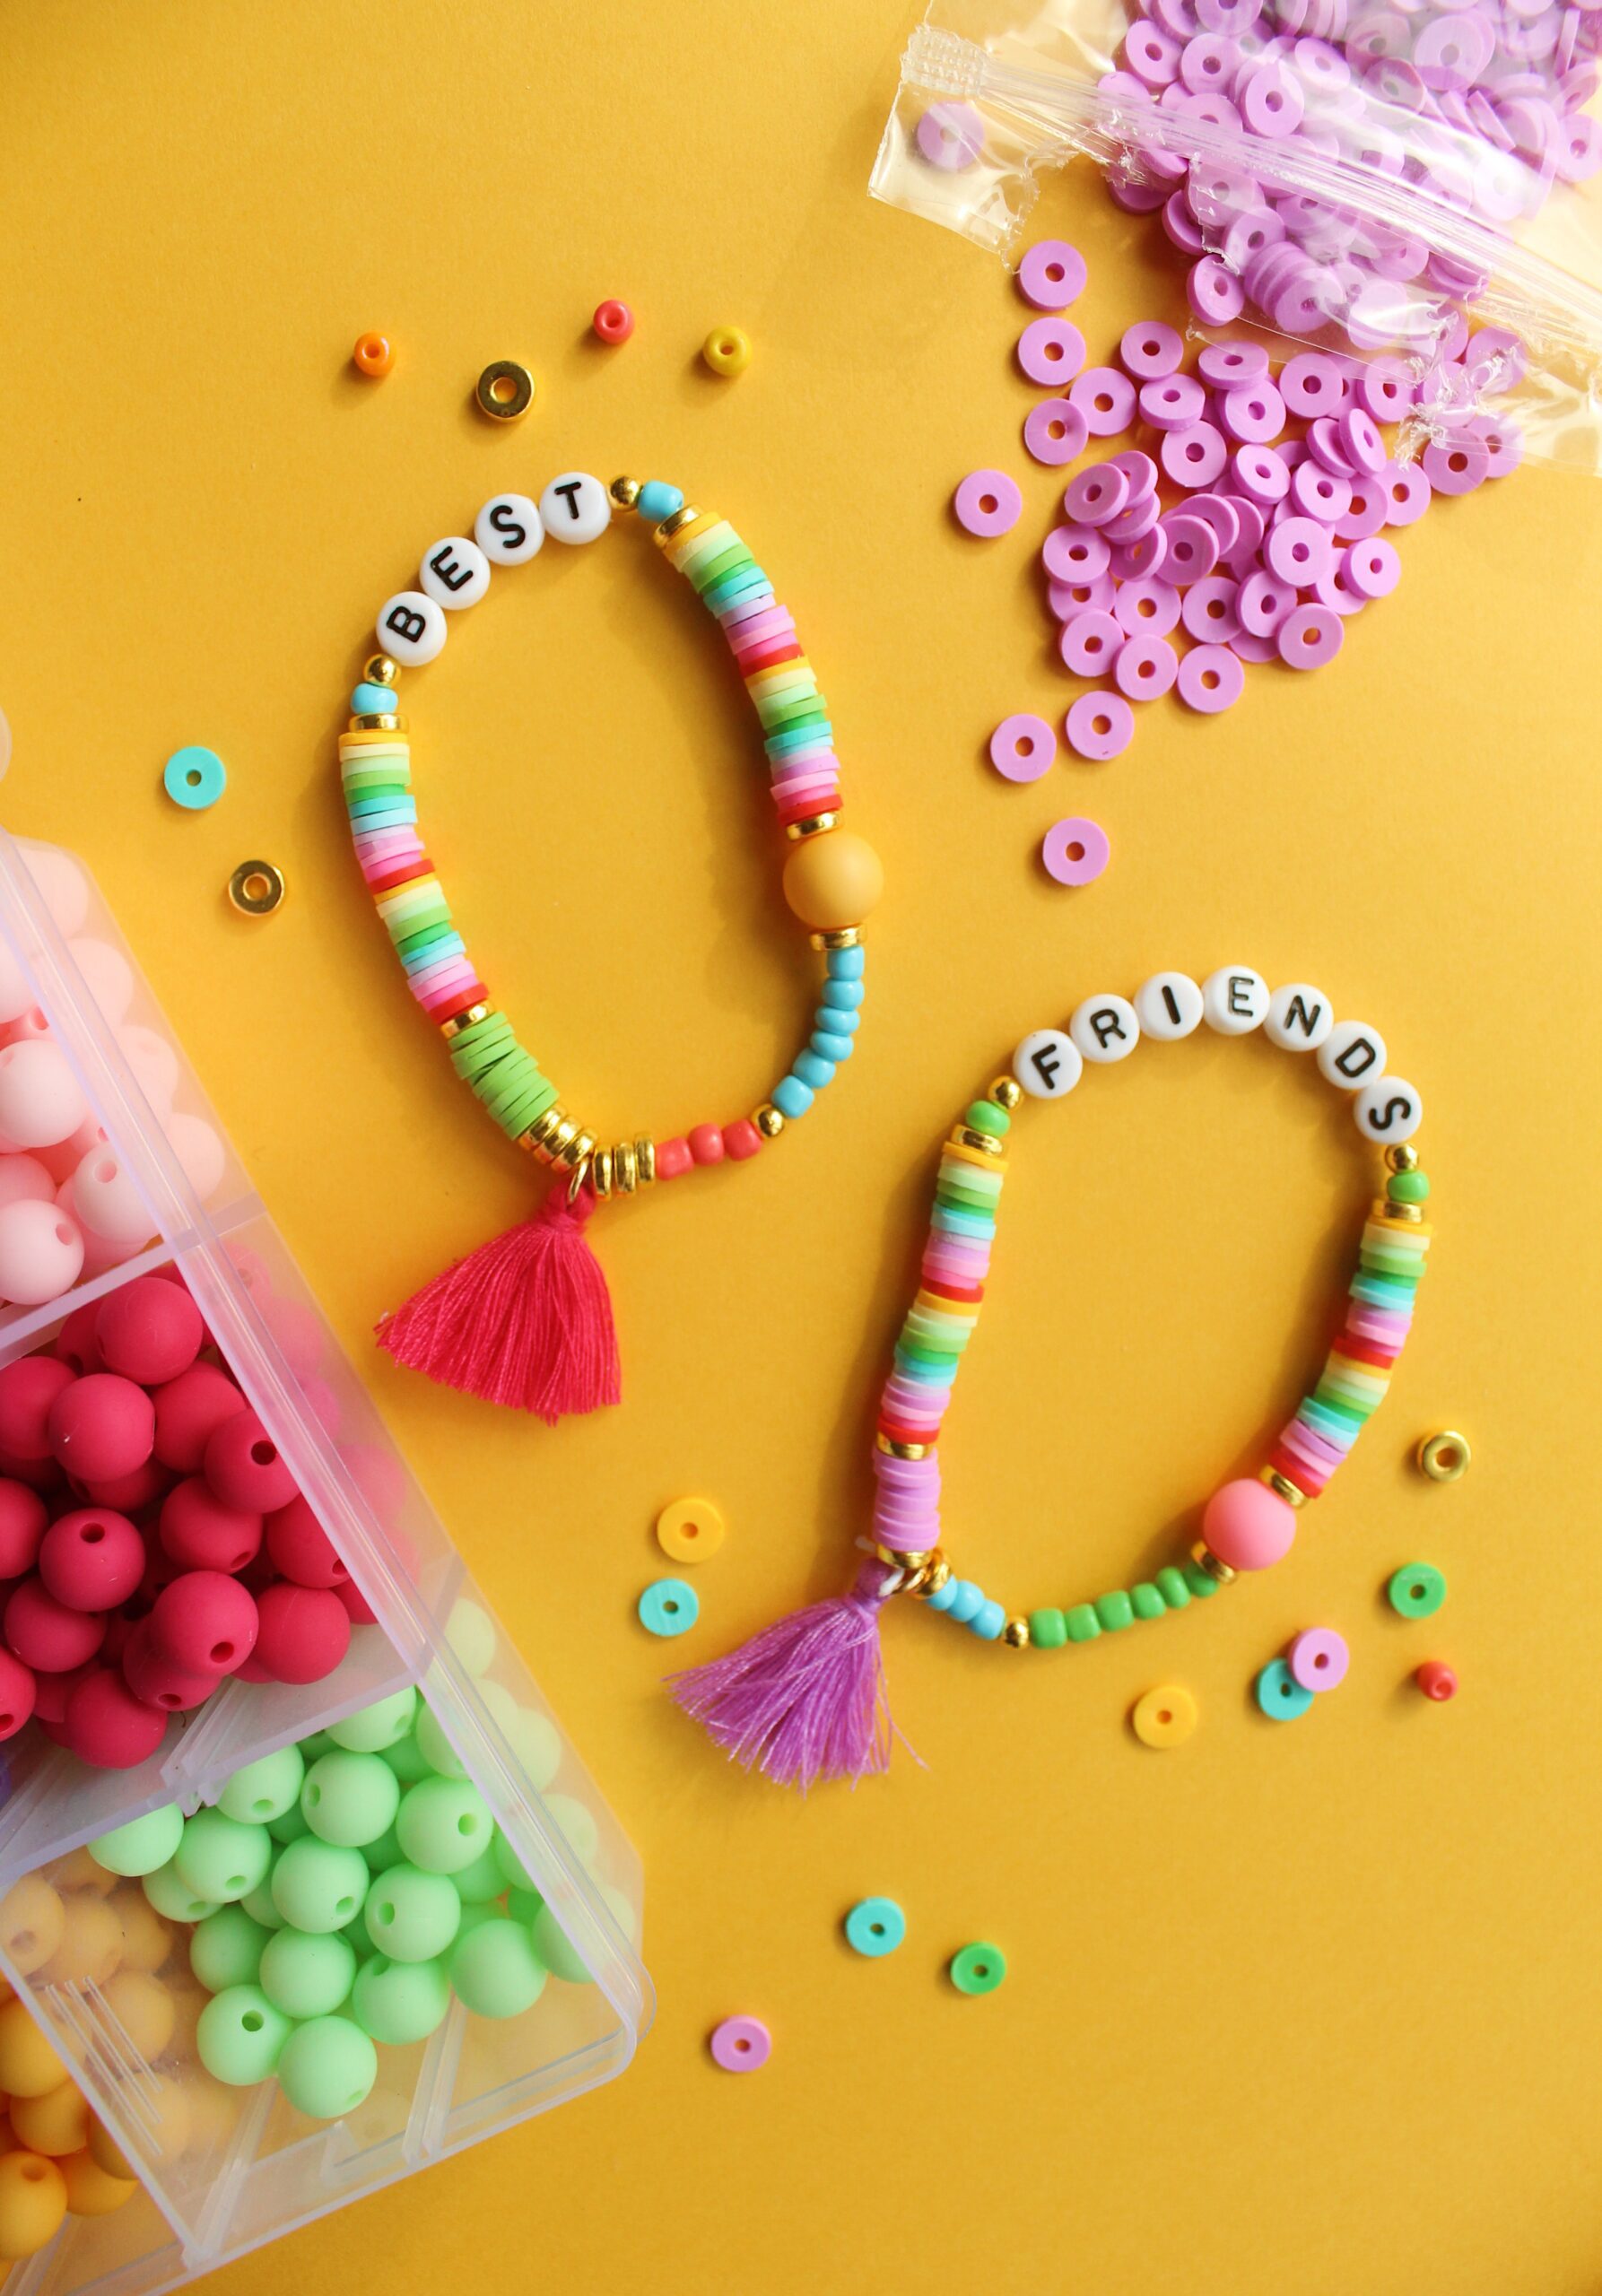
Rainbow Order – These cute bracelets have beads stacked in rainbow order as well as some of the other additions and embellishments we’ve already covered. But you know I adore anything in rainbow order, so I just LOVE these! Also can we please appreciate the cute tassels on these bracelets? Such a fun touch!
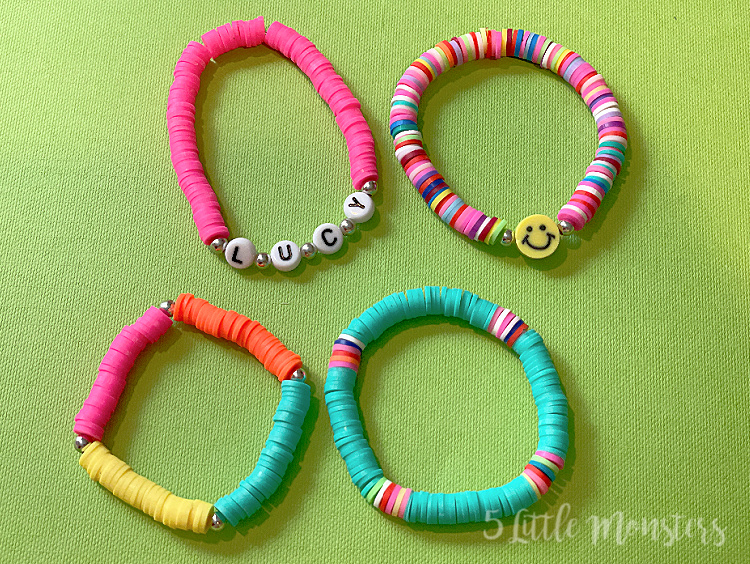
Metal Accent Beads – Metal beads add such a nice pop of shine to the matte texture of the clay beads. I especially like the bracelet that has four colored sections with a single metal bead between each color. So cute!
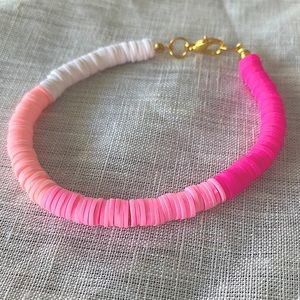
Ombre Clay Bead Bracelet – By color blocking different shades of the same color from darkest to lightest, you can get a really cute ombre effect.

Clay Bead Christmas Bracelets – Make bracelets for any holiday by choosing the right color combination. I love how these Christmas bracelets do the red and white striped sections because they look like candy canes. But orange and black would be perfect for Halloween, shades of all green for St. Patrick’s Day, or soft pastels for Easter. This is a really fun idea for any holiday!
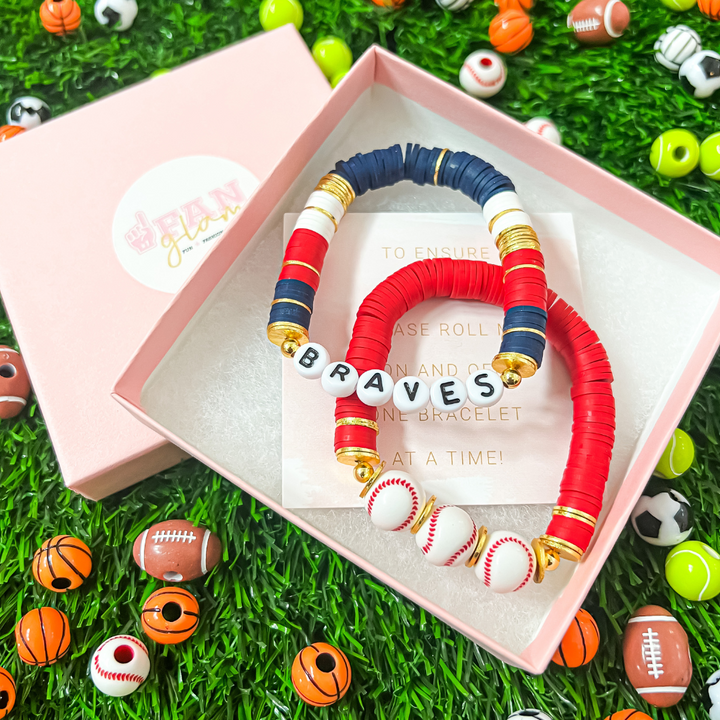
Sports Team Clay Bead Bracelets – Choose your favorite sports team’s colors and spell out their mascot or add sports themed beads to the clay beads. These would make a great gift for teammates or just fun to wear to games.
So there you go. All the knowledge you need to make clay bead bracelets as well as lots of creative inspiration to get you in the mood to make.
Happy crafting!
Like this idea? Pin it!


Let’s Get Social
I’m sharing tons of fun ideas on my social channels and I’d love for you to join me there.