Grab a cup of cocoa and settle in to enjoy my 2020 holiday home tour full of festive, traditional Christmas decorating ideas and inspiration.
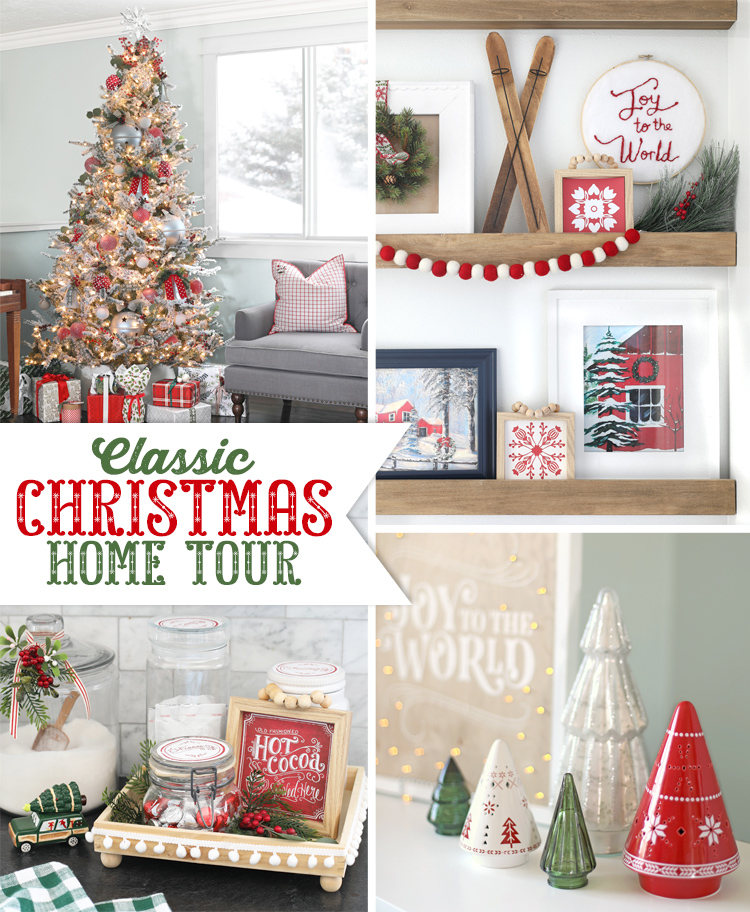
I’ve been decorating and photographing for weeks now (seriously… photographing houses is super hard) and I can’t wait to show you all the pretty holiday goodness.
This year I went with a traditional color scheme. The decor is mostly red and white with little touches of green and silver. I wanted a light and bright cozy look full of all of my favorite Christmas textures— velvet, mercury glass, felt, knit sweaters, greenery, ceramics. The overall style is updated traditional with a Scandinavian flair. I really love how it all turned out and I want to share some of the details that really helped make it all come together.
Some affiliate links are used below. That means I earn a small commission if you purchase something through my link at no extra cost to you.
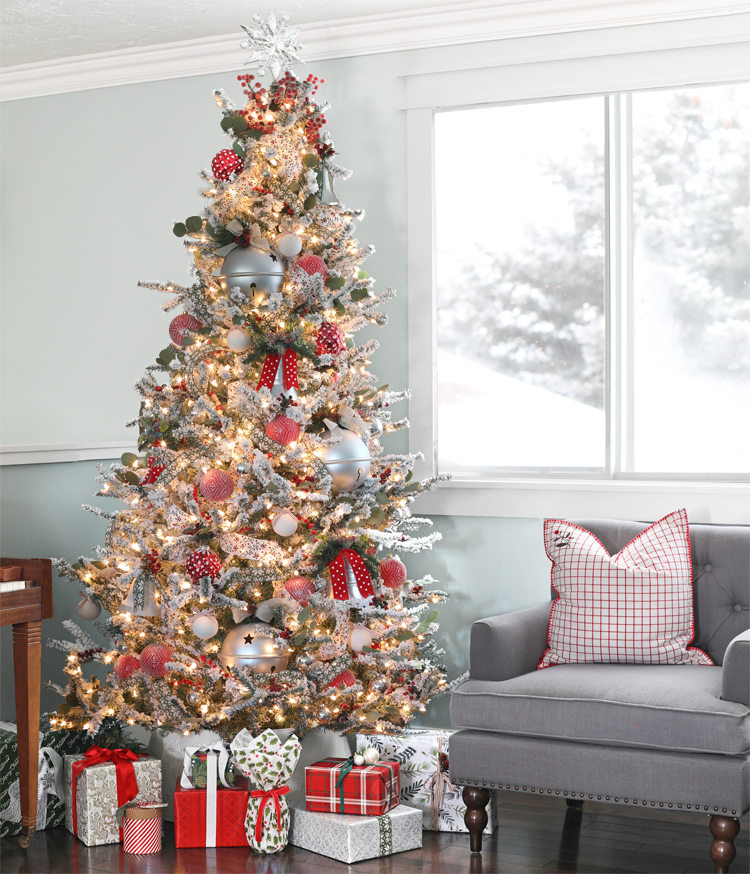
Let’s start with the Christmas tree, since it is the pièce de résistance.
Squeal! Just look at all that gorgeousness! I’m just tickled with how everything came together. I’ll share a full source list at the very end of the post, so check there if you have specific questions.
I made the plaid pillow by sewing two fabric napkins together and just put an Ikea insert inside. The whole thing cost $6 and I plan to unpick one side after Christmas and put a regular cover back on the pillow insert.
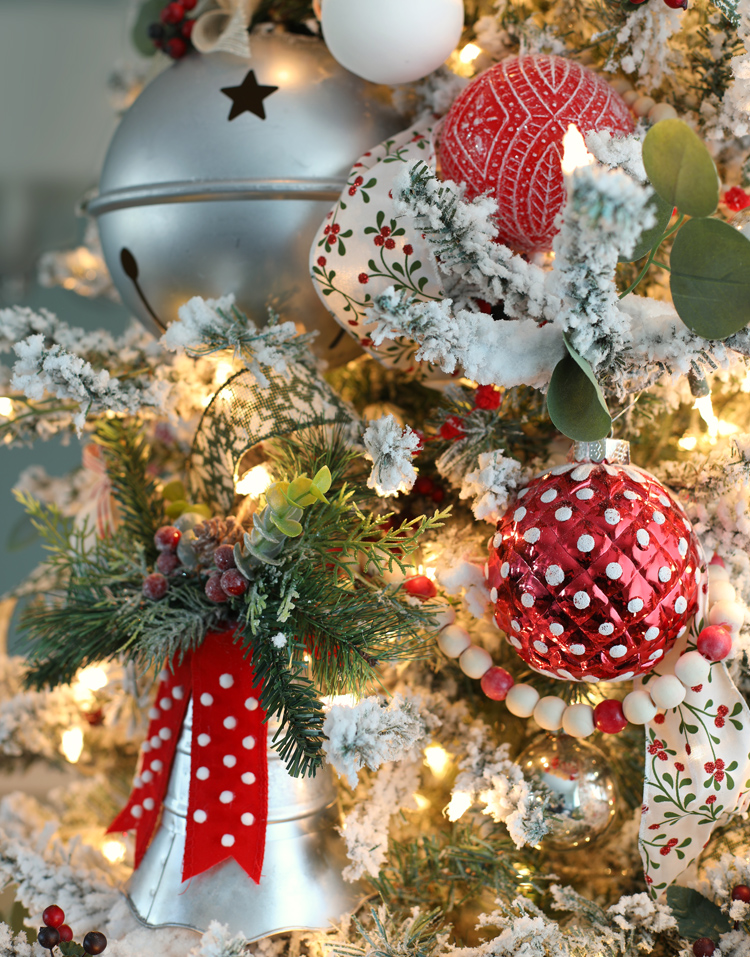
I fell in love with the red and white ball ornaments first. The pattern on them is just so pretty and since they’re classic red and white, I know I’ll be able to use them for years. I can see them fitting in with so many different decor styles, but I love the slightly Scandinavian vibe of them.
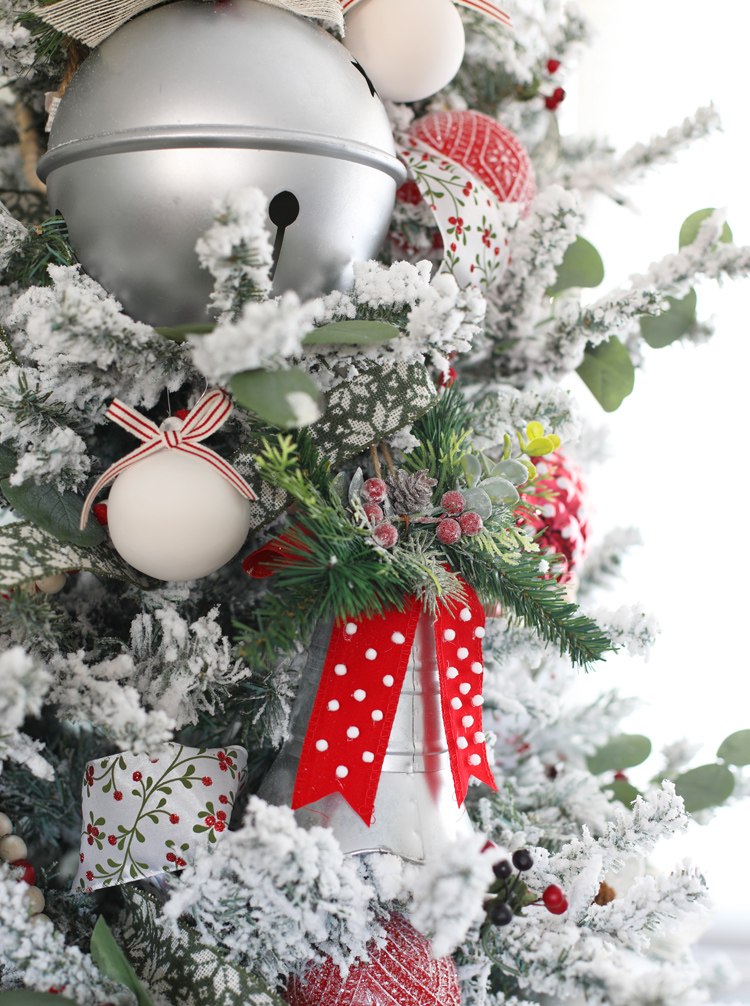
The oversized bells add SO much to the look of the tree. I think every tree needs something really large scale. It really makes the whole thing look so much more interesting.
The red ribbon on the bells was plain red velvet, but I hot glued mini pompoms on because once I hung the bells on the tree, the plain red stuck out a bit too much. And I’m so glad I took the time to do that because the extra texture is so cute.
The plain white ceramic ornaments came in a kids craft kit, but that raw matte texture is just so good that I left them unpainted and added a bow instead.
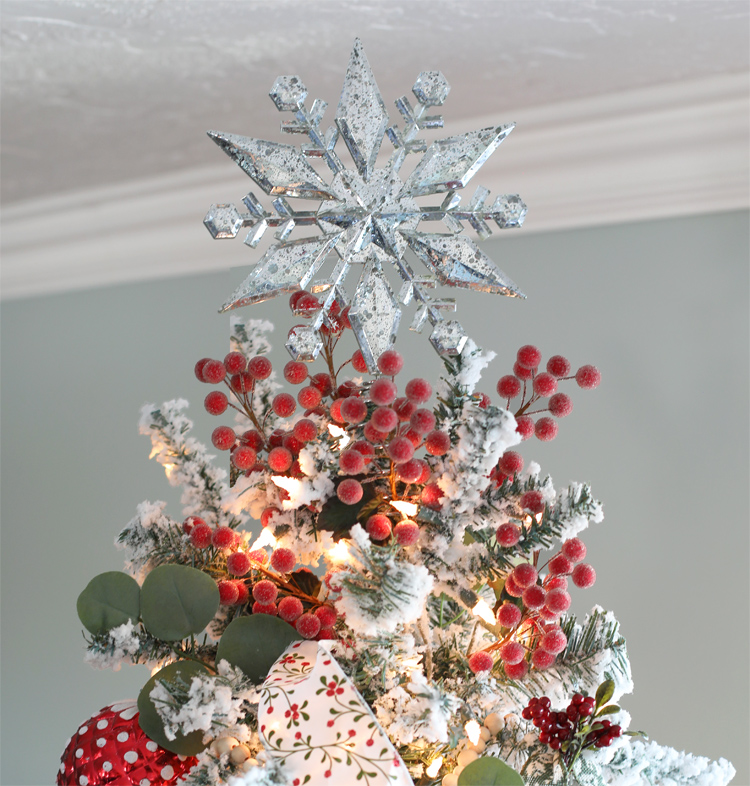
I needed a new tree star this year and I discovered that I don’t really like most of what’s out there unless it costs a bazillion dollars. Ha! But when I saw this plastic one that looks like mercury glass, I thought, “Yep, that’ll do.” Bonus that I don’t have to worry about it breaking.
I carried the silver through the tree with the bells and silver glass balls that I picked up at a thrift store years ago. I added wood bead garland for extra texture and the homey, warm feel it adds is perfection.
I had the tree 90% done for about a week and it still felt like something was missing. That’s when I added the green sweater ribbon and the eucalyptus sprigs and now I can’t imagine the tree without them. Two different ribbons on the tree plus mixing greenery at Christmas is one of my favorite tricks to getting a designer look. Floral picks on a tree are a great way to add dimension and ribbon is so cheap for the impact it gives.
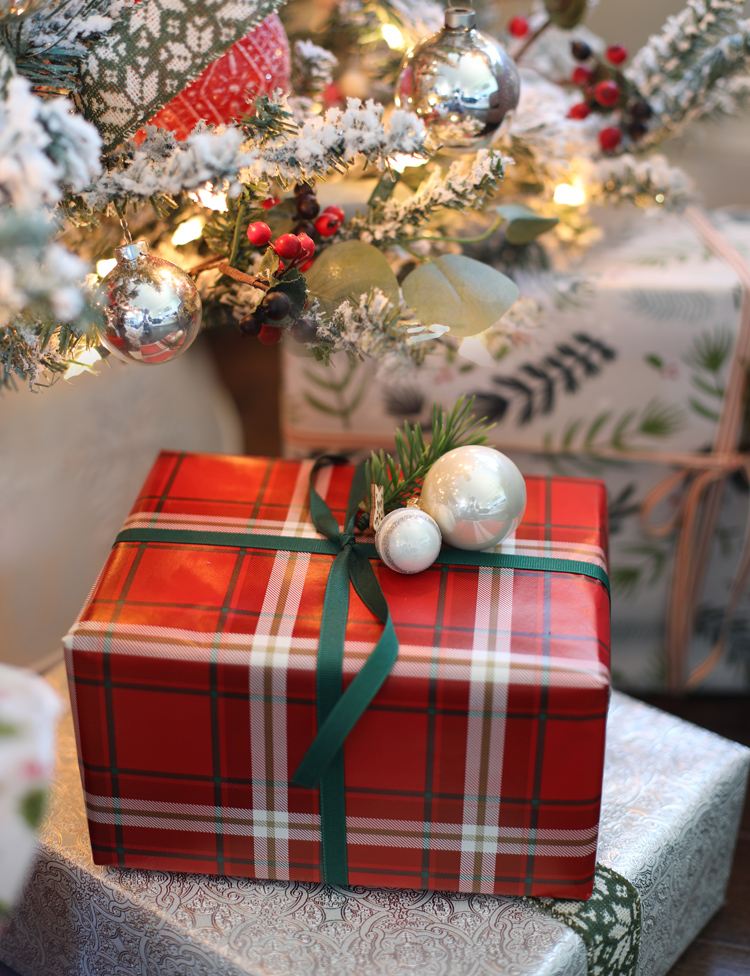
And can we talk about wrapping paper for a sec? I think it’s a holdover from my scrapbooking days, but I just adore wrapping paper. I love mixing patterns and seeing all of the beautiful prints. I could collect wrapping paper just because it’s pretty. You too? Or am I just a big dork? LOL.
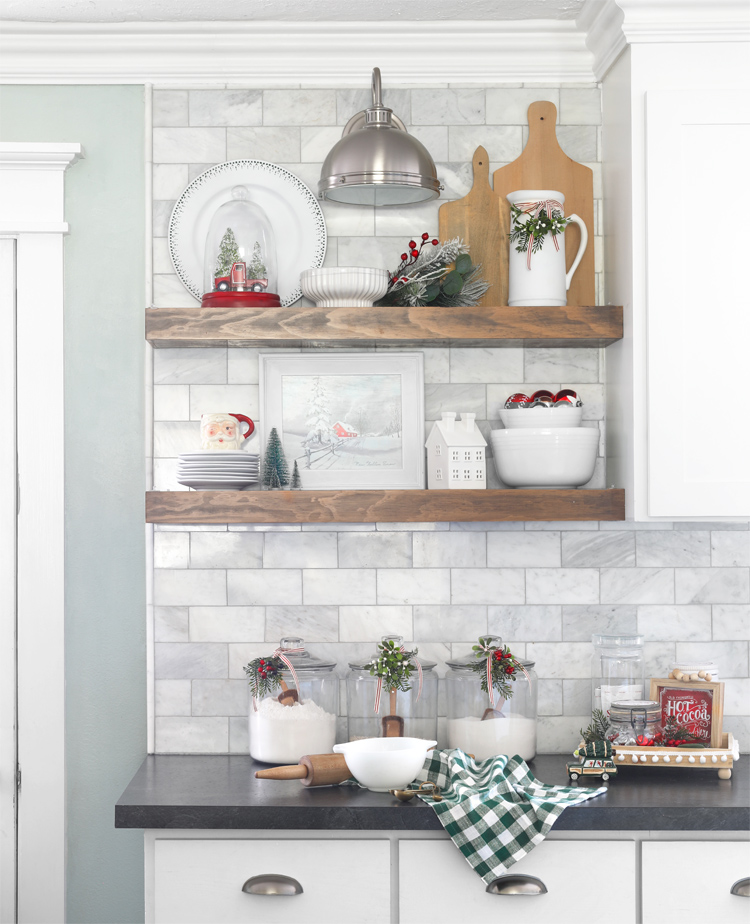
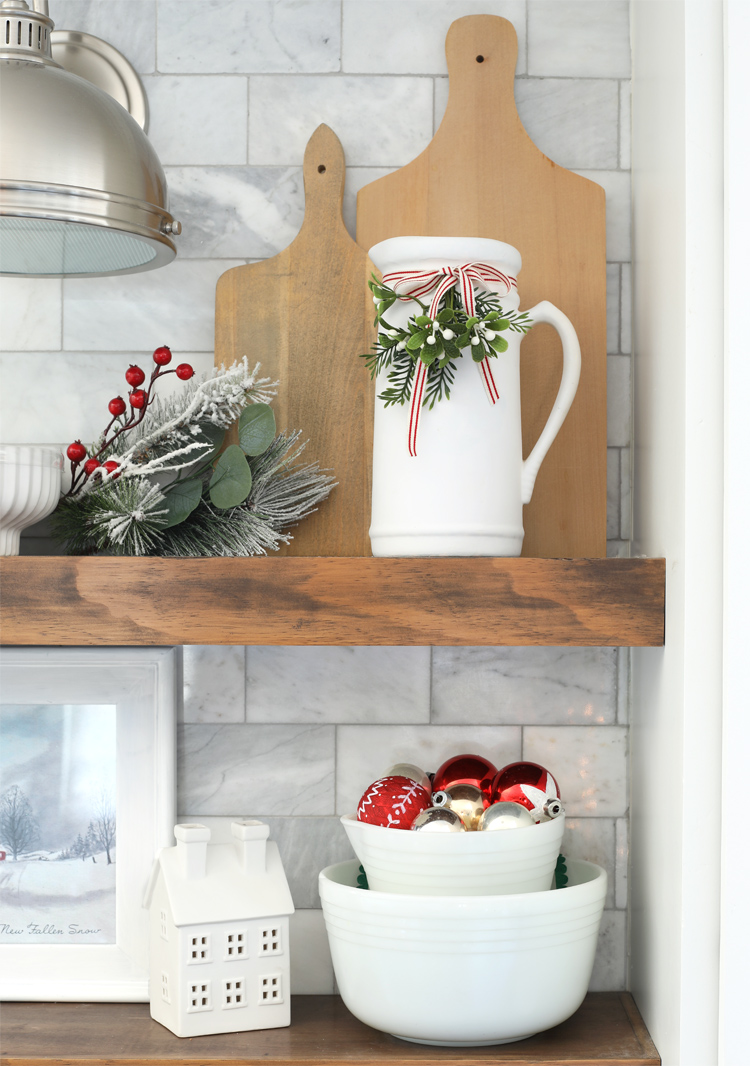
To make my home feel cohesive, I tried to carry elements from my tree around the rest of the house. Let’s peek into my kitchen. Here are the open shelves all decked out for the holidays.
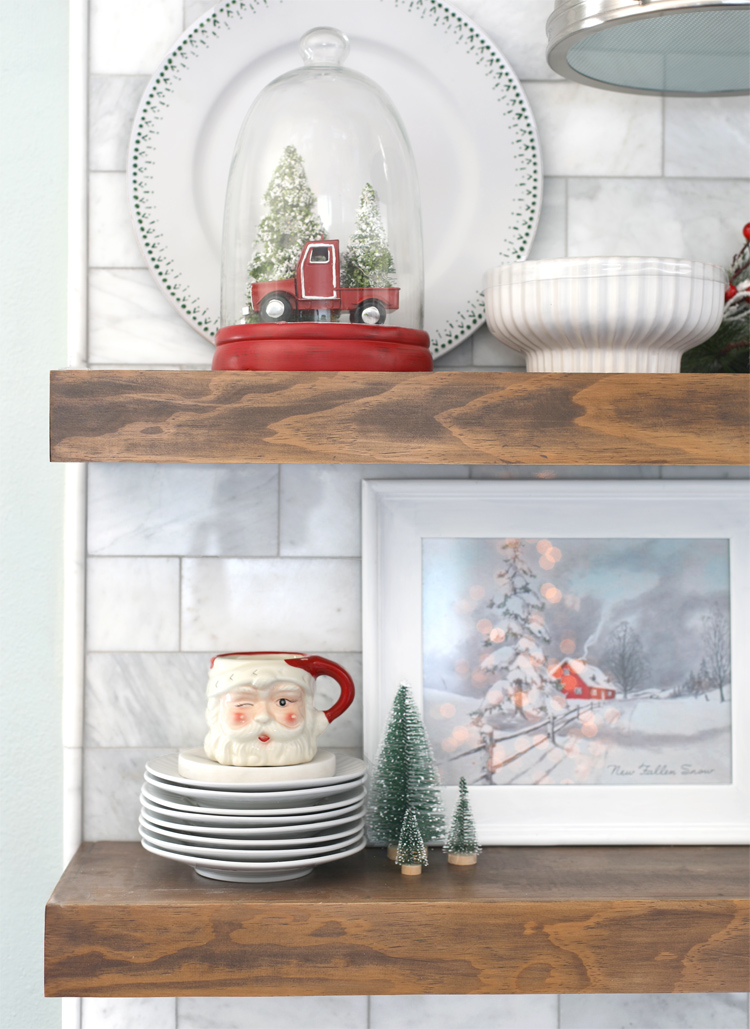
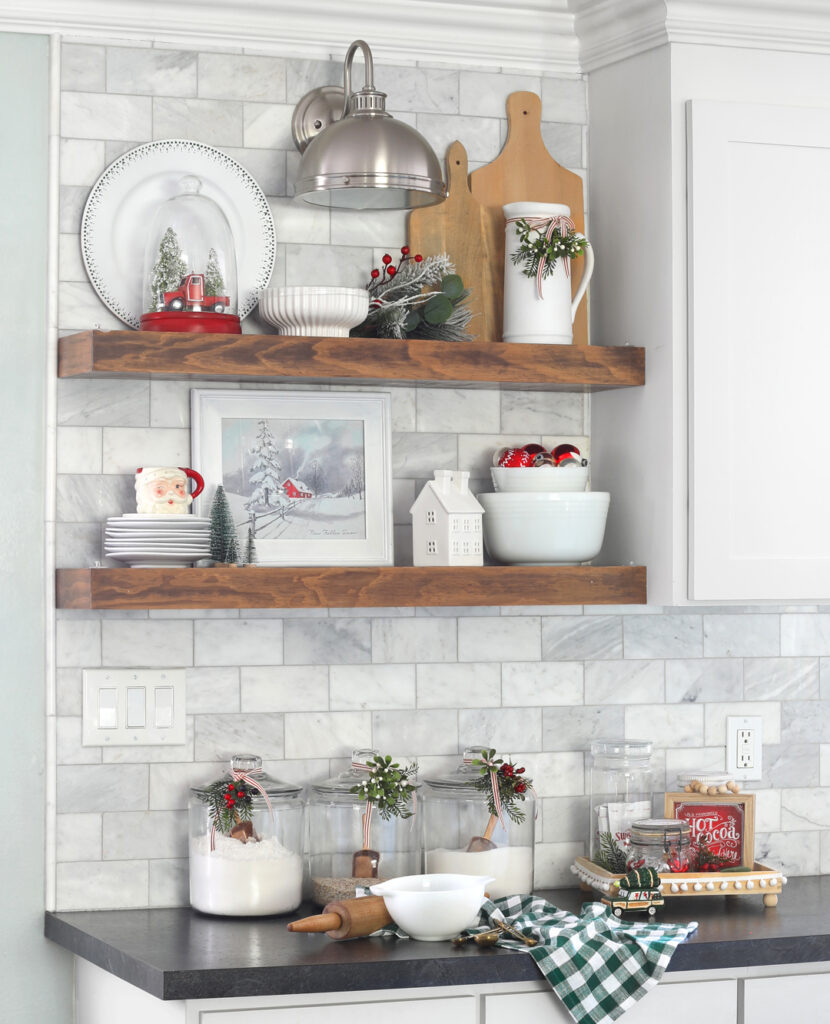
To decorate the shelves, I gathered some favorite things in red and white, then added greenery. The big plate is a cheapo charger from the dollar store that I spray painted matte white then hand-painted a Scandinavian inspired border because the shelves needed just a touch more green. The very best part of this next photo is that you can see the Christmas tree lights reflecting in the glass of the photo. BE STILL MY HEART.
Weirdly, the white vase is my favorite Christmas decoration in the whole house. I love the matte ceramic, the ribbon, the little sprig of greenery. I realize it’s a simple item, but it has my whole heart and I’ve tried to capture that feel throughout the rest of the house.
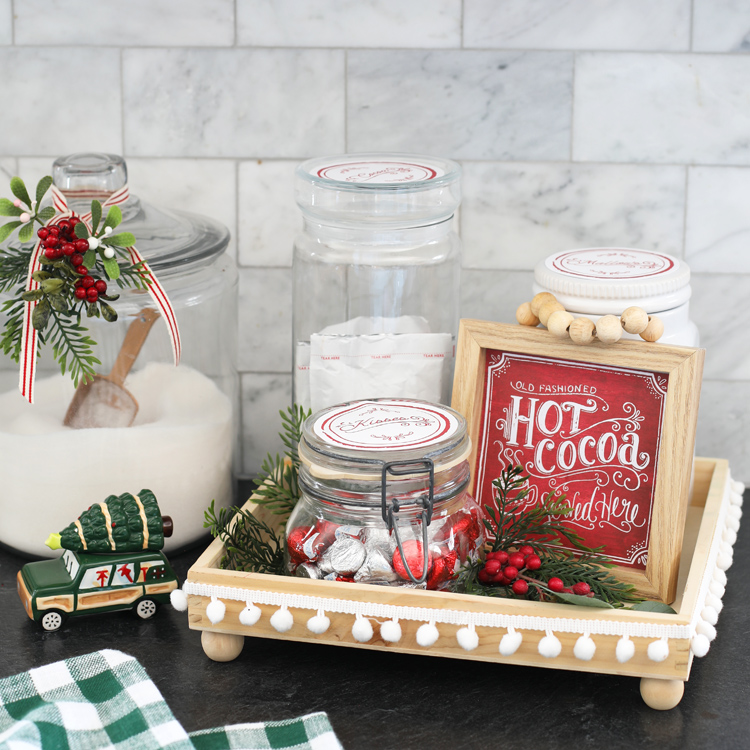
I try to make a cocoa station for the kids every year. It’s one of their favorite things, but if it’s going to be sitting out on the counter, it has to be pretty. So I corralled everything in pretty jars in a wooden tray. You’ll never guess what the tray is made of… it’s the packaging from a Melissa and Doug kids stamp set and I just glued wooden balls to the bottom for feet.
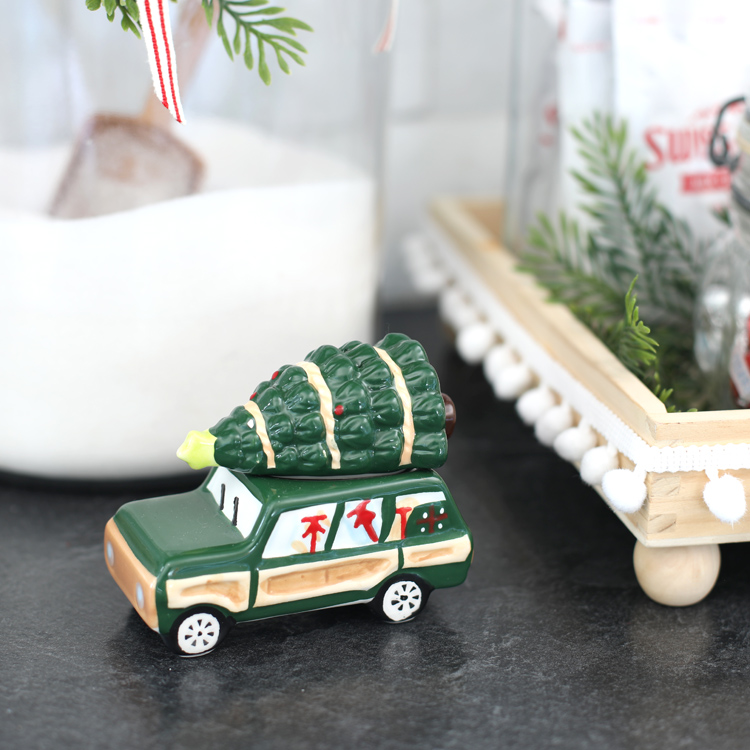
One of my favorite finds this year is this little green Christmas car. It’s a salt and pepper shaker! Could you die from the cuteness?!
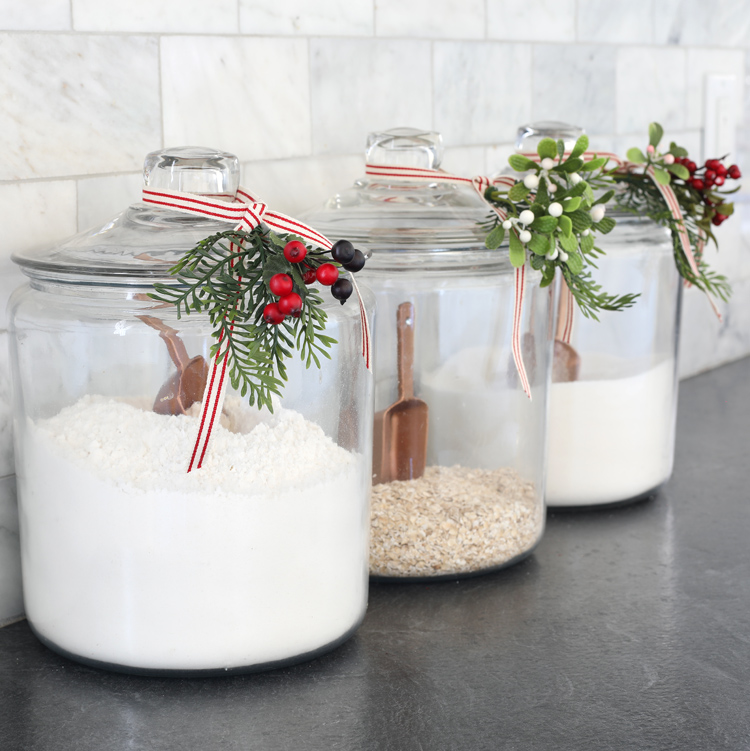
I leave these glass jars out year round, but they get dolled up for Christmas with ribbon and little bits of greenery and berries. I used the same ribbon from my tree to make things feel cohesive.
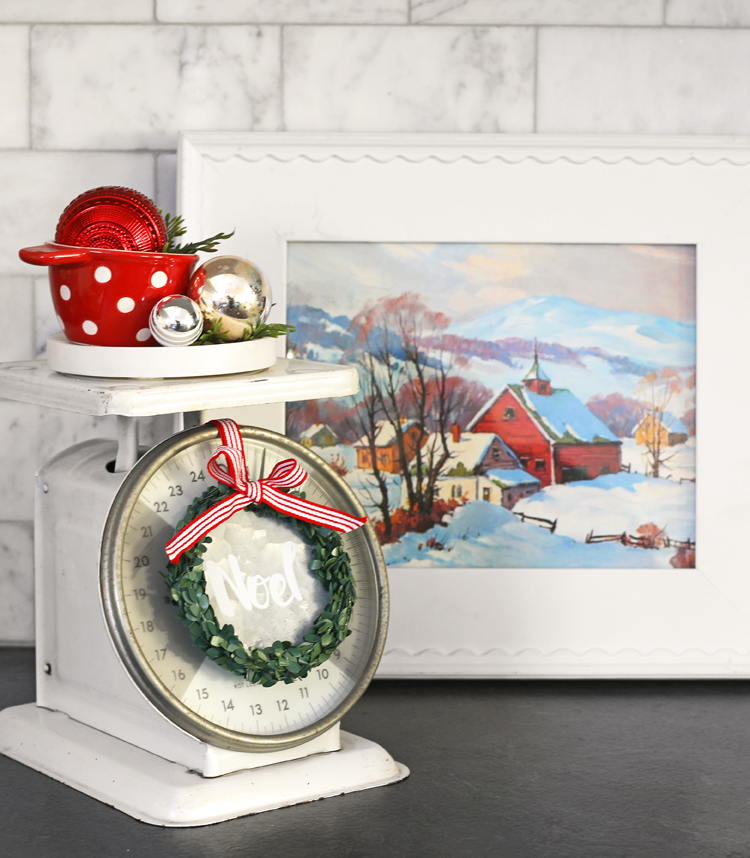
I found this vintage scale a few weeks ago at a thrift store for $2.75. What a deal, right?! I filled a red measuring cup with some ornaments and cedar sprigs, hung this little wreath from the front and now the other side of my kitchen has a happy little Christmas vignette.
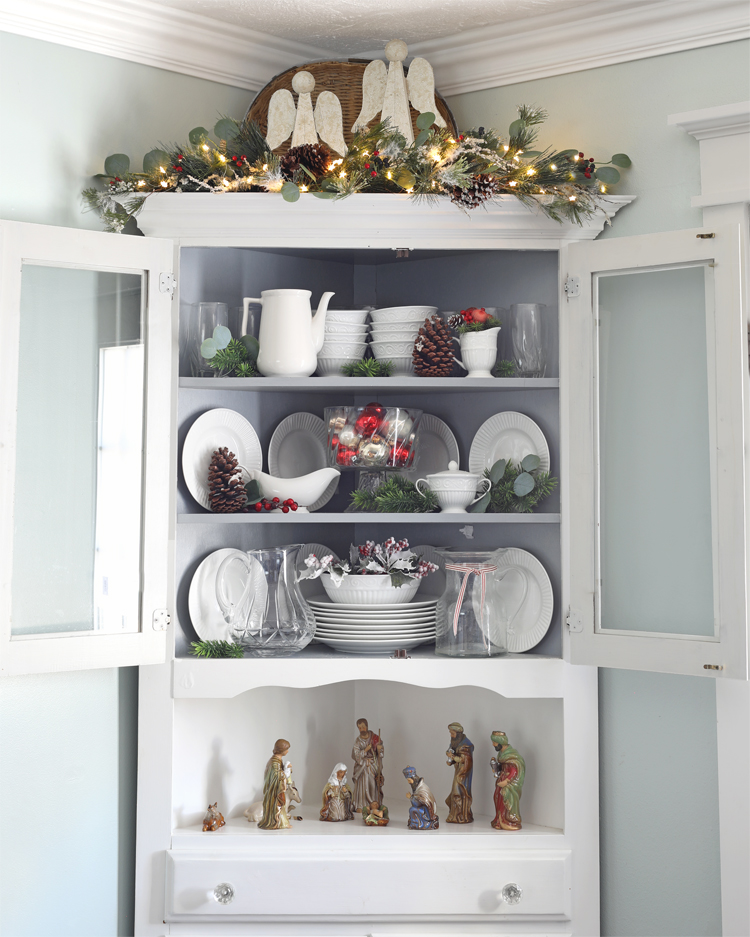
I always put our nativity set in the open part of our corner hutch so that we can look at it while we eat dinner. This hutch is one of my favorite FB Marketplace finds. It looked quite different when I bought it (see the before/after here), but I fixed it up to be more my style and now it’s one of my favorite places to decorate.
These open shelves are one of my favorite features from our kitchen remodel. I love styling them seasonally! I’m also really glad we only have this one small section and can keep the majority of our stuff behind closed doors.
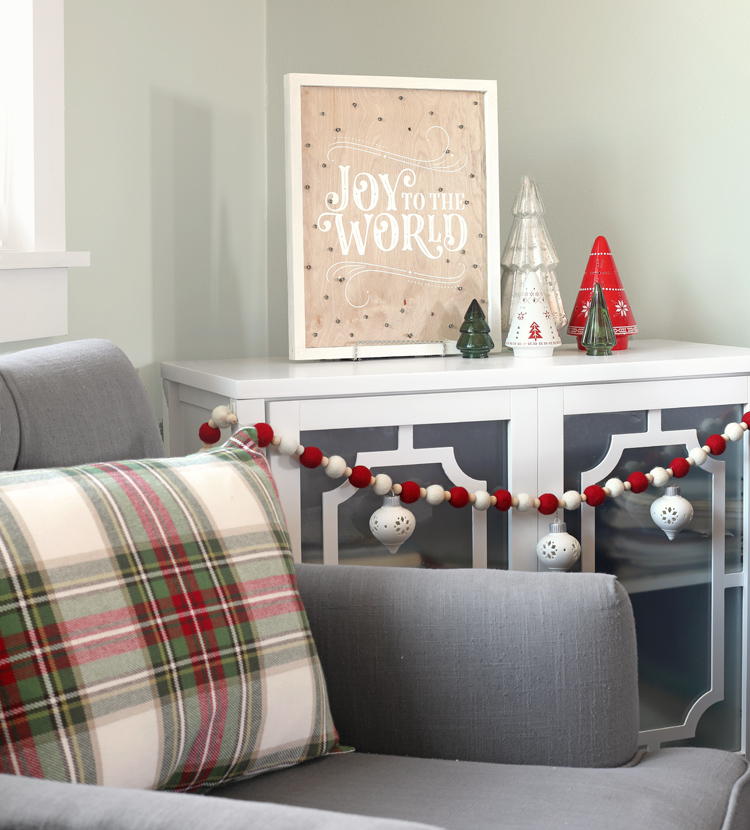
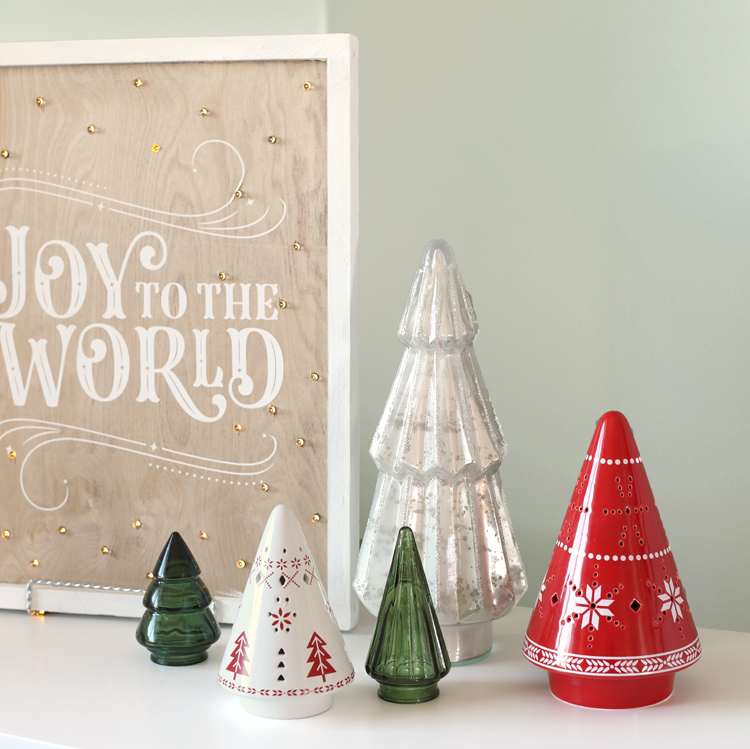
Back in the living room, I put out these ceramic and glass Christmas trees with the light up wooden sign I made a few years ago. The pillow is a placemat from Target that I made into a pillow three or four years ago. The ceramic ornaments hanging from the felt ball garland light up. I also added the wood beads to the garland myself… yep, I pulled all the felt balls off of one garland, then restrung the whole thing to add the beads. I know I’m nuts.
I think I may have to collect more ceramic Christmas trees so I can fill this whole table up with them. I especially love how they are mismatched so they feel like they were collected over time.
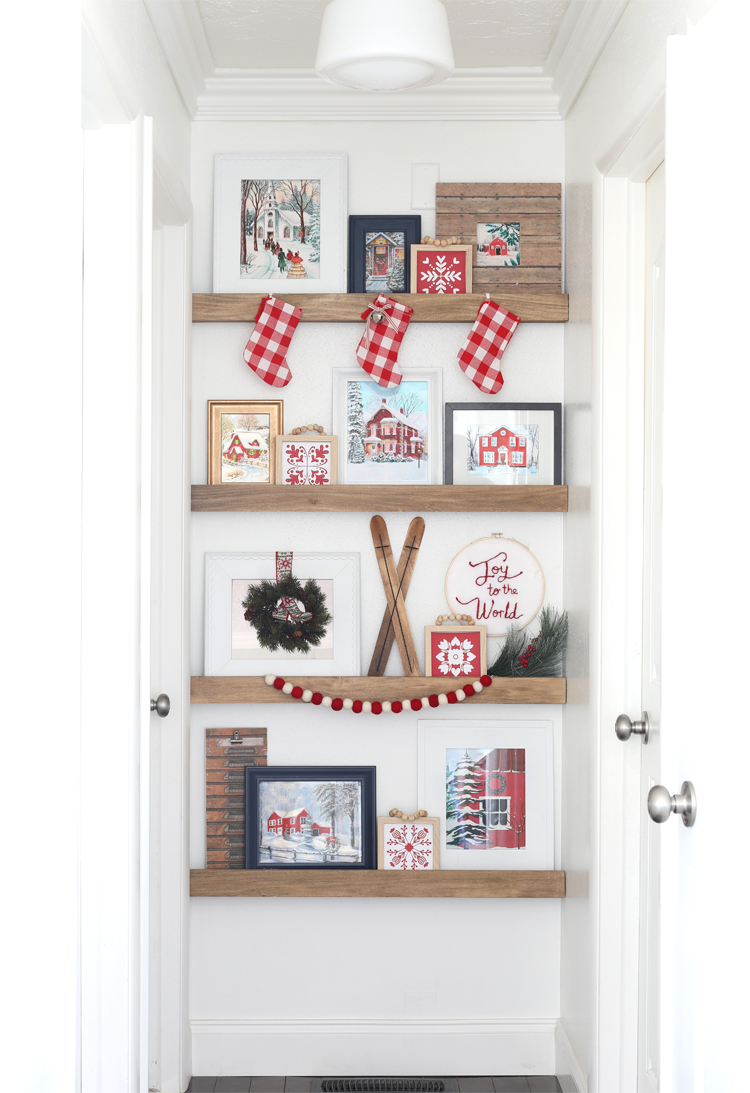
The picture ledge shelves at the end of the hallway are one area of my home that I’ve never decorated for Christmas before, but boy did I have fun with it. You can read all about how we built these shelves for about $20 here.
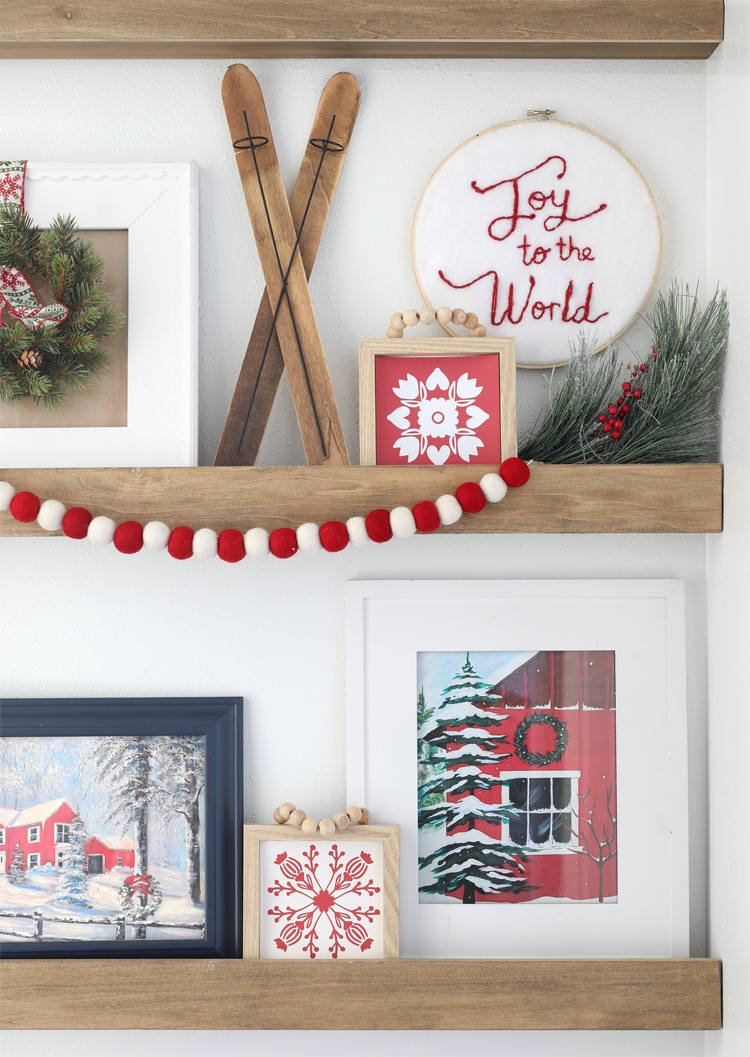
I swapped out our normal family pictures for a bunch of different Christmas-themed art and added the Scandinavian snowflakes to the square wooden frames. Isn’t it so fun? I was also toying with the idea of adding photos of Christmases past. Maybe I’ll do that next year!
Wow! That was a mega long post, friends! If you’re still reading, you deserve a virtual high five.
Go visit these talented ladies for more Christmas decorating goodness:
- Stacy Risenmay – Not Just a Housewife
- Kelli & Kristi – Lolly Jane
- Sarah – Thrifty Decor Chick
- Chris – Just a Girl
- Rebecca – Crafted Sparrow
Source List
- Green Sweater Ribbon
- White Ribbon with Berries (From Joann four or five years ago – 2.5 inch)
- White and Red Ticking Stripe Ribbon
- Red and White Shatterproof Ornaments
- White Ceramic Ornaments
- Oversized Jingle Bells
- Large Bells with Ribbon
- Wood Bead Garland
- Mercury Glass Tree Topper (From Big Lots but couldn’t find it online)
- Red + White Plaid Pillow Placemats
- Pom Pom Garland (I restrung it and added wood beads)
- Light Up Ceramic Ornaments
- Mercury Glass Tree
- Red Scandinavian Ceramic Tree
- White Scandinavian Ceramic Tree
- Green Glass Trees – Target Dollar Spot
- Joy to the World Light Up Wood Sign (DIY Tutorial)
- Green and White Buffalo Check Tea Towel
- White Ceramic Christmas House
- Christmas Car Salt and Pepper Shaker
- Square Wood Frames with Bead Handles (Dollar Tree!)
- Silver Dollar Eucalyptus (I pulled individual pieces off of one long garland)
I tried my best to gather all of my sources for you. If something isn’t on this list, it’s probably a vintage find or something I purchased a long time ago, but leave a comment if you have questions and I’m happy to help. Thanks for stopping by my little corner of the internet. I hope you have a very merry Christmas!

Comments & Reviews
Everything is so darn cute and pretty! Love all your pops of red!
Thanks girl!
Absolutely lovely Jennifer! Love it all!
Thank you Sarah! That means so much coming from you!
Oh my goodness! I can tell you put so much work into decoration and it is simply stunning! Every little detail so so well thought out. LOVE!!!
Thanks so much Stacy! It was definitely a lot of work, but I really wanted to make some Christmas magic for my family this year since it’s been such a hard year and that makes it all worth it.
Where did you get those pics of the Scandinavian snowflakes? Those are gorgeous! You did a beautiful job of displaying this year. It’s the prettiest I’ve seen so far on anyone’s blog! I love every single inch of everything!! I couldn’t even pic just one because they are all just beautiful!
Shirley, you are my new favorite person. Thank you so much for the kind words!!!
The snowflakes are a Silhouette Studio dingbat font, Design ID 302367. Aren’t they so cute?! I originally tried hanging the little square frames on my Christmas tree, but it didn’t quite work. I’m so glad I found another home for them because I love them!
Gosh, I forgot to mention just how much I love the backsplash in your kitchen, your little bit of kitchen that I can see of your cabinets and countertops and all those little glass trees….I could go on and on and on and on and…..
The garland with the Christmas ornaments hanging from the cabinet…wow I am just so overjoyed with everything!
Thank you so, so much! Seriously, comments like this keep me going. The kitchen was a huge labor of love. We completely remodeled it a few years ago and did all the work ourselves, so it kind of feels like my baby.
Aaah your Christmas spaces are so cheery and welcoming! 😍
Oh, I just love it all! Makes me want to change all of my decorations. I didn’t see the red ornaments with polka dots on your source list. Just wondering where they came from.
Hi Jill! Thank you for the kind words. The red polka dot ornaments were part of a set of retro style ornaments I bought at Michaels two years ago when I did my colorful Christmas tree. https://www.thecraftpatchblog.com/colorful-vintage-christmas-tree/ I keep hoping Michaels will make something similar again in the future because that set is my favorite ever!
Love those vintage framed snow scenes. Where did you find all those?
I searched online and found several digital print shops where I could purchase the images for just a few dollars each.