Create a beautiful faux stained glass Christmas window using transparent glitter craft vinyl.
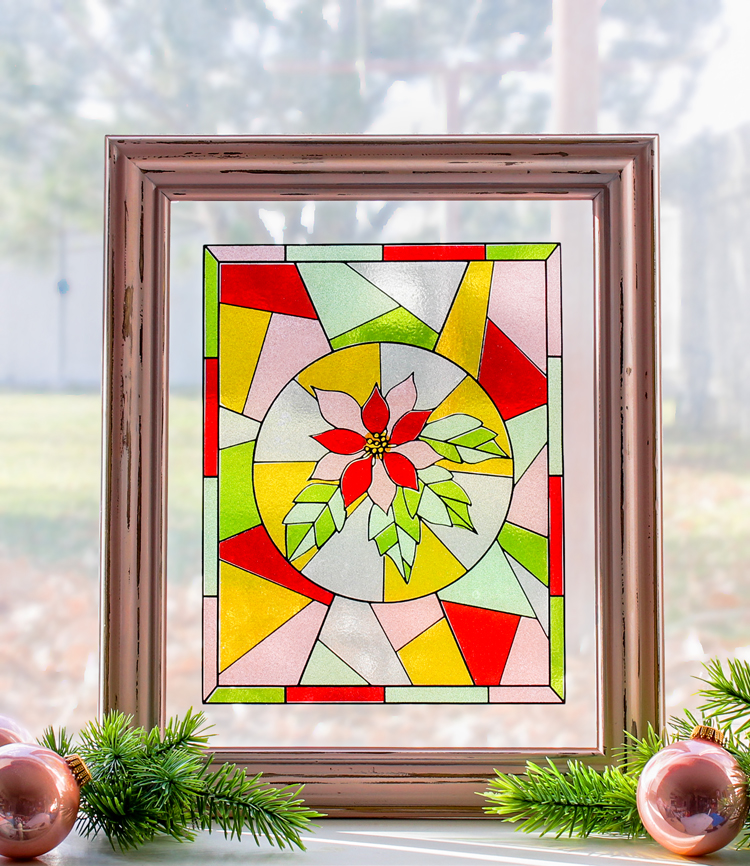
Today I’m going to show you how to make a faux stained glass window using my new favorite kind of craft vinyl… transparent glitter vinyl! This vinyl is just like regular vinyl, but it’s see through and sparkly. It reminded me so much of stained glass that I decided to try making a stained glass design and sticking it to a glass picture frame.
I have to tell you, this is one of the most fun-to-make crafts I’ve done in a while. It’s basically like a sticker puzzle because you get to stick all of the stained glass shapes to fit into the black outline. I loved making it!
This post is brought to you by Expressions Vinyl. Best place to buy craft vinyl, hands down! Affiliate links may be used.
If you want to make this cute craft, you will need:
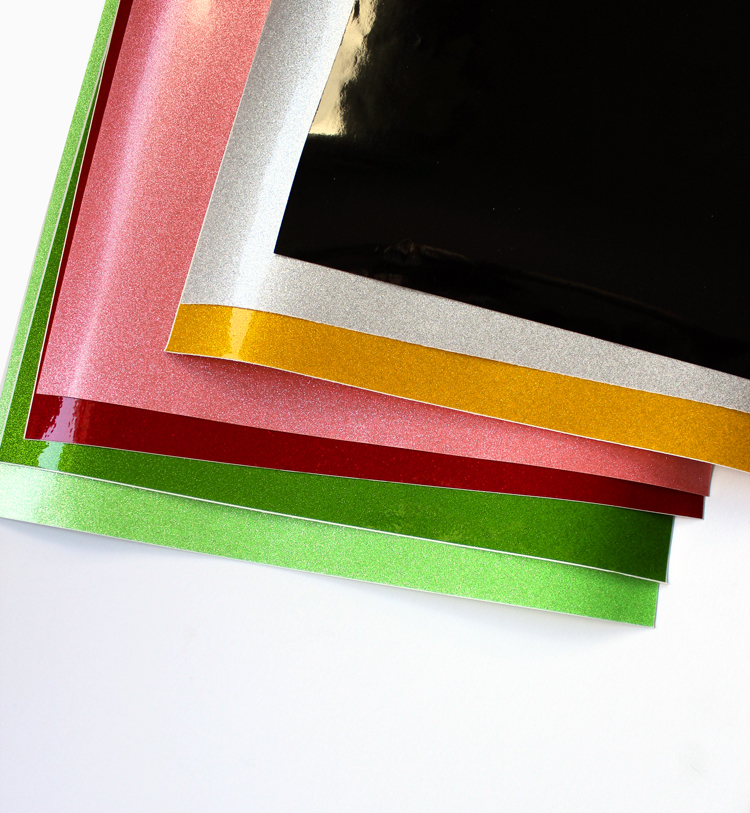
Materials
- Transparent Glitter Vinyl (in six different colors)
- Black Permanent Adhesive Vinyl
- Silhouette Cameo 3 Craft Cutting Machine
- Large Picture Frame with Glass
- Stained Glass Cut File (sorry, it’s a Silhouette Studio File, so it won’t work if you have a Cricut machine)
Instructions
Step 1. Open the Silhouette Design Studio File. There are three parts to the file. The first part is just for reference so you know how the design comes together. You don’t need to cut this out. The second part is all of the colored pieces. Each group of colors should be cut from a different color of vinyl. You’ll have to move them all off the cutting mat and cut the groups one at a time. The third part of the file is the outline and should be cut from black vinyl. You may need to resize all of the separate pieces to fit whatever size frame you use. If you need to resize, just be sure to select everything first, then resize, so that all of the pieces stay proportional.
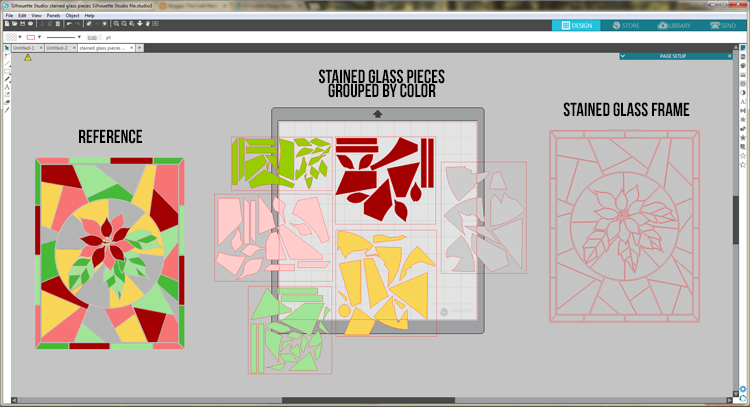
Hopefully that makes sense. It’s definitely a more complicated vinyl project, but if you’re comfortable with your Silhouette machine and you’ve used vinyl before, you can totally handle it!
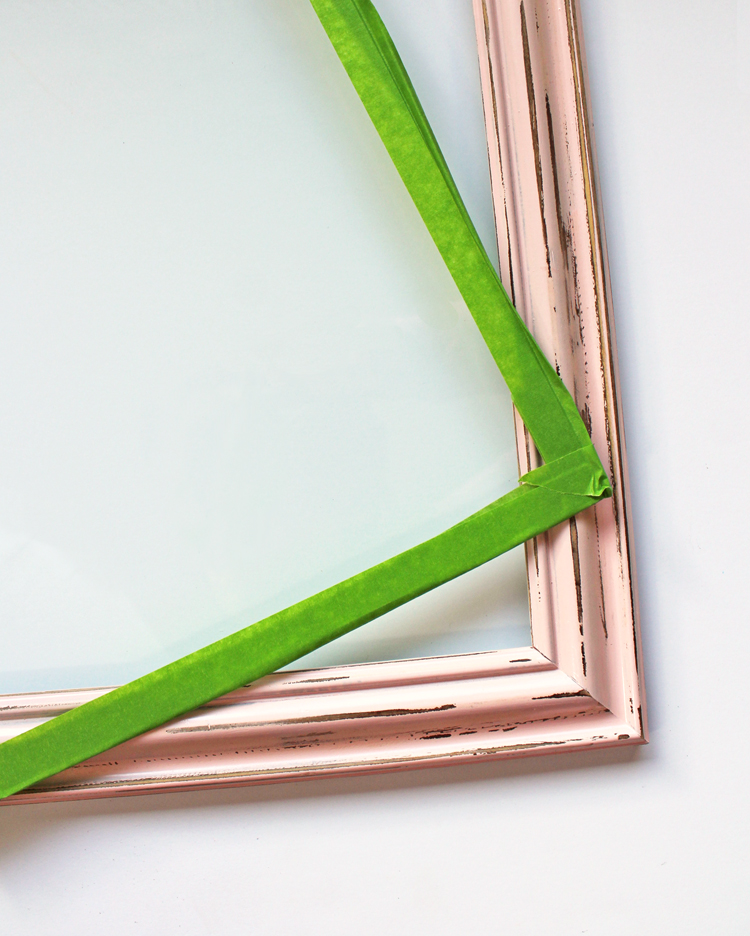
Step 2. Remove the glass from your picture frame and wrap all of the edges with painter’s tape to prevent getting cut.
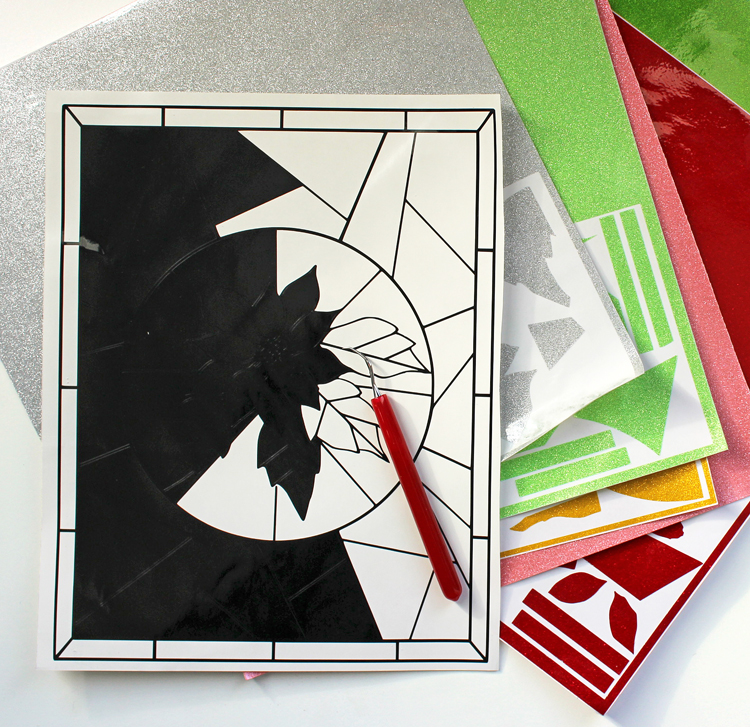
Step 3. Weed! Remove all the excess vinyl to reveal the pieces you will use. I love my little red weeding tool. It is so handy!
Step 4. Use transfer tape to apply the black frame design to the front side of the glass.
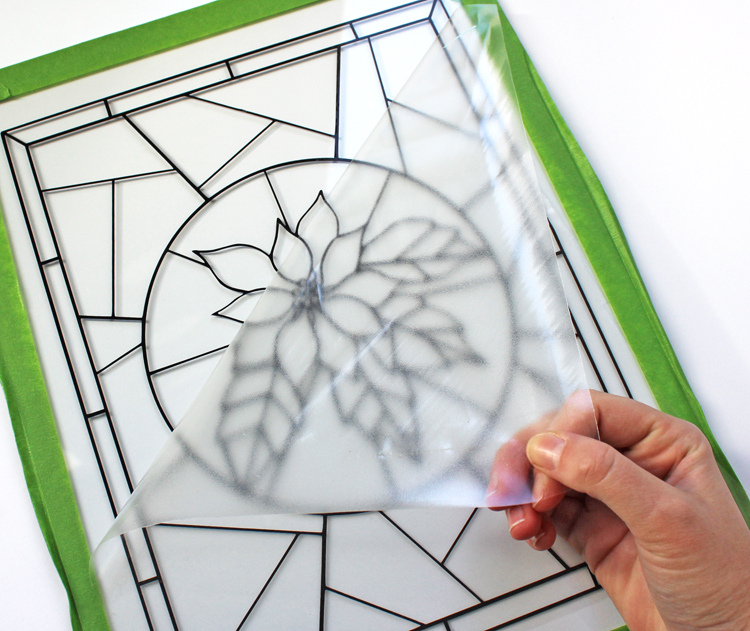
Step 5. Turn the glass over and start applying the colored pieces. This is the fun part! It was like doing a puzzle, but with stickers!
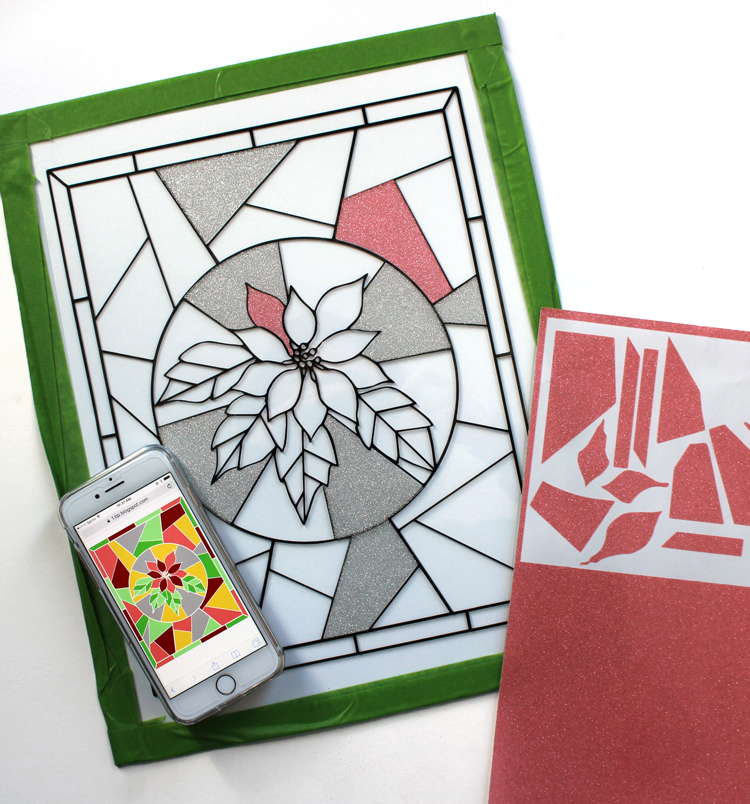
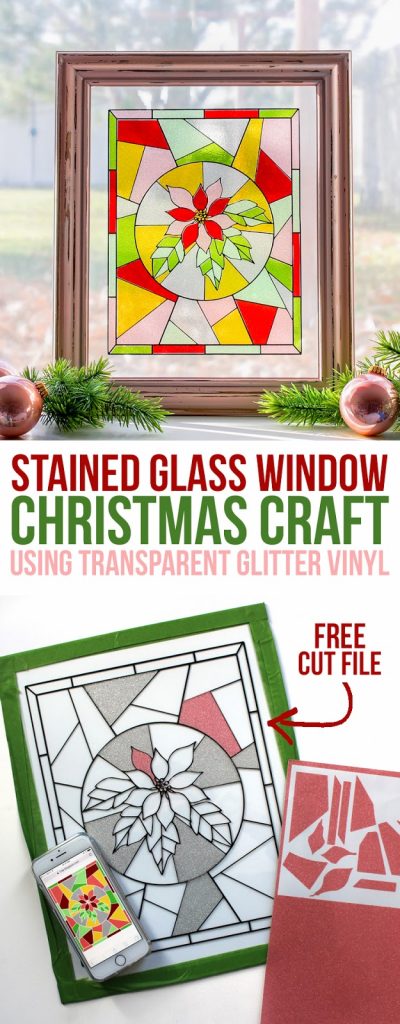
I pulled up the image below on my phone to use as reference while I put all the stickers on. It is mirrored since you’ll be putting the stickers on from the back side. Just click on the image below to make it bigger so you can see where each piece goes as you work on your window.
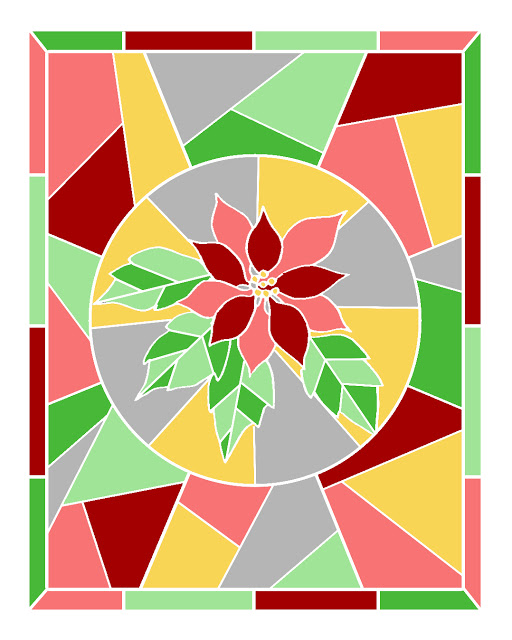
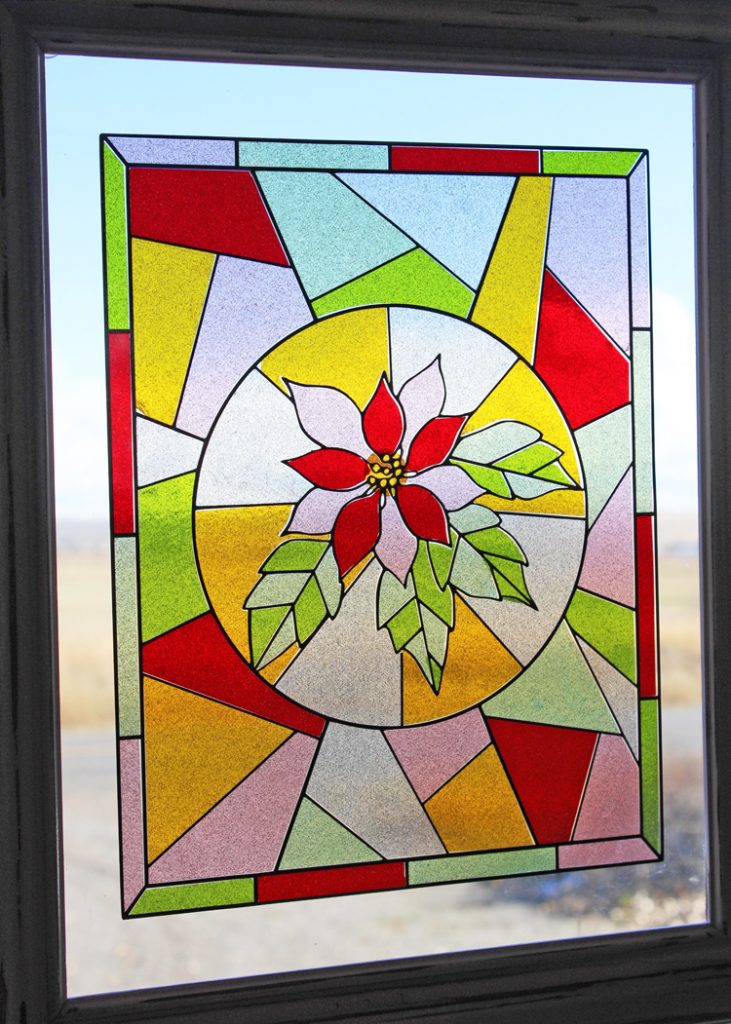
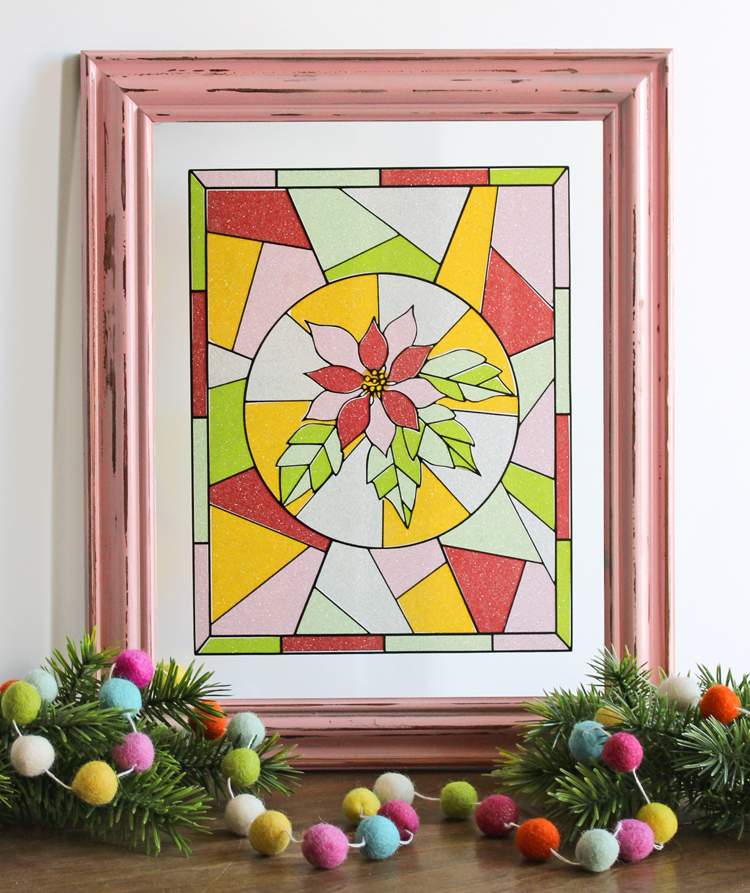
After all of the pieces are placed, you’ll have a gorgeous stained glass window! It’s so, so pretty and much more sparkly and magical in person.
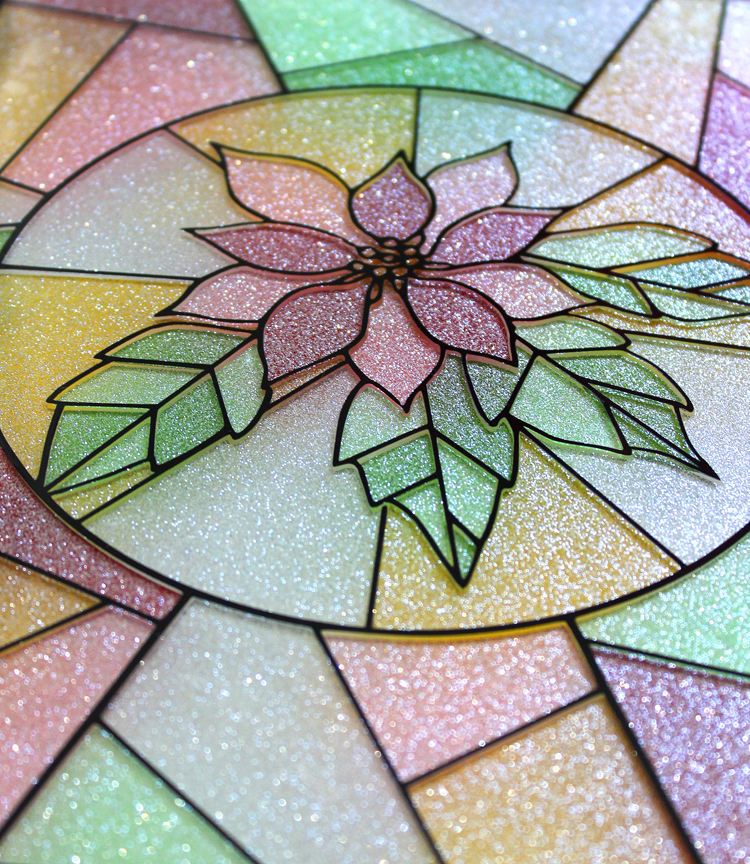
It’s interesting… when there is no light shining through, it’s very muted and pastel, but when the light shines through, the colors come to life!

Comments & Reviews
That is Very Very Cool!
These are totally beautiful. Love them
Do you have a tutorial on how you made the template? I’d love to make my own designs but not sure where to start.
I don’t have a tutorial, but you really just need to draw out the black line part of the design and trace it in Silhouette Studio. Then you can separate the background pieces from the line parts. Does that help you get started?
Yes! I’ll give it a go! thank you!