I’ve been working on getting my living room decorated the way I want it and I’m excited to share the full finished room with you. But before I am done, I’ve got some big painting projects that will have to wait until Spring. Or at least until it is not hovering around 0 degrees outside. So over the next little while I’ll just share some tidbits with you.
To start with, I knew I wanted a big piece of art for the wall above my server. I was ready to move my lime green “canvas” art to a new location in the house…sometimes you just need a change. I already had a big frame that I got 8 or 9 years ago from a pile of free stuff that was headed for the thrift store. It used to be a gold frame with a cowboy painting surrounded by a crimson velvet matte. I know…so tacky! I painted it white long ago and it has been a nursery decoration and then a master bedroom decoration ever since.
But what to put in the frame?
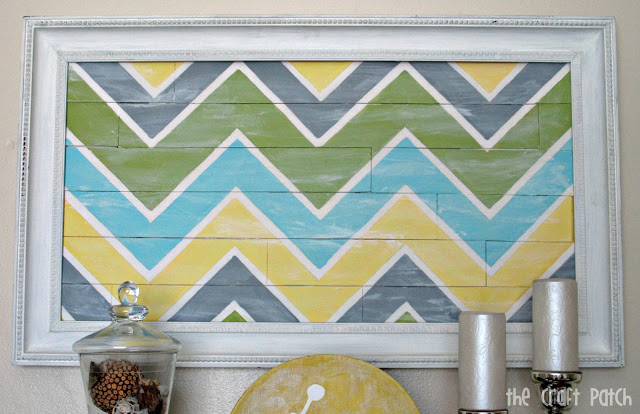
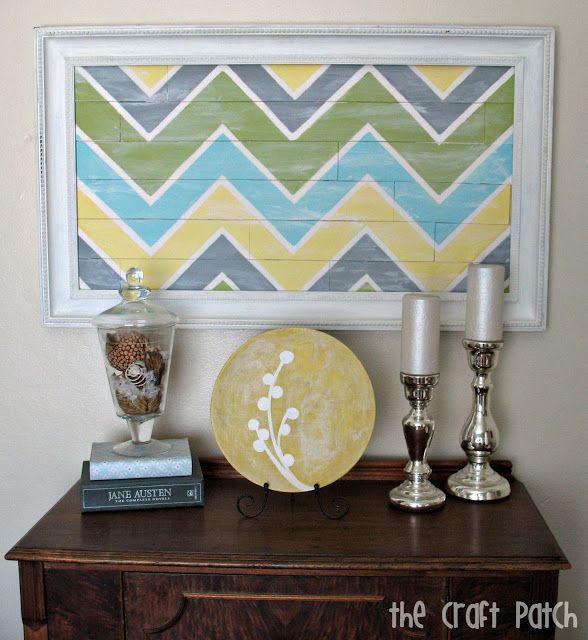
I knew I wanted something bold that tied all the room colors together. Here’s what I came up with:

It looks like pallet art in a frame, but it’s not made of wood at all! I used foam core! And best of all, I bought the foam core from Dollar Tree! Yeah, baby! If you haven’t used foam core before, it comes in poster board sized pieces but is much stiffer. Artists use it for displaying presentations. You can buy foam core at any craft store or office/art supply store. And it would probably be a little bit better quality than the stuff at Dollar Tree, but I couldn’t resist the price.
Why use foam core? The stuff is much cheaper than wood. It is very thin, so it could easily fit into my frame. It is also more lightweight and easy to cut. That’s why it was perfect for my project.
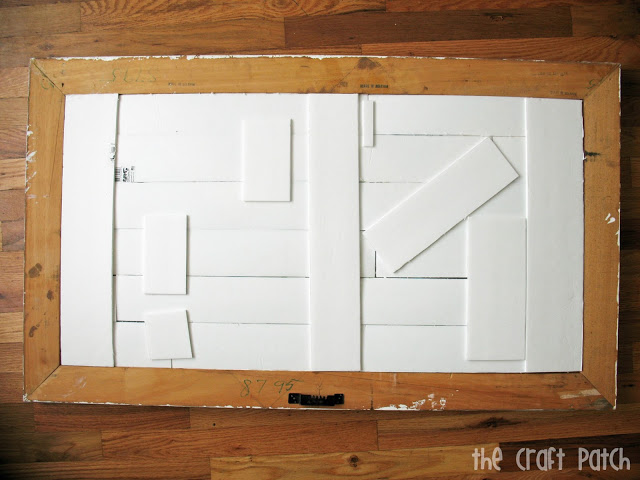
To make my masterpiece, I cut “planks” of equal widths out of the foam core, then cut them to different lengths and laid them all out. I used extra pieces of foam core as a backing and hot glued the whole thing together. Here’s a view from the back:

I know…I’m so neat and tidy. Ha ha.
Then I just painted the chevron design over the whole thing with craft paint. I did have to be careful not to get the foam core too wet because it made the outer layer of paper start to bubble a little. Since I was going for a rustic look, it wasn’t a problem for me. I just smoothed it out and glued a few edges back down after the paint was dry.

Anyway, there you have it…the cheater’s way to make “pallet” art!

Comments & Reviews
I love it! It looks amazing!
I love how clever this is and so pretty!
I want to do this as well, did you use tape to make the white chevron lines? I am worried peeling it off once done painting would peel the paper off the foam board.
@ColleenI was worried about the same thing, so I cut a zigzag line out of cardboard to use as a stencil and traced the lines on with pencil.